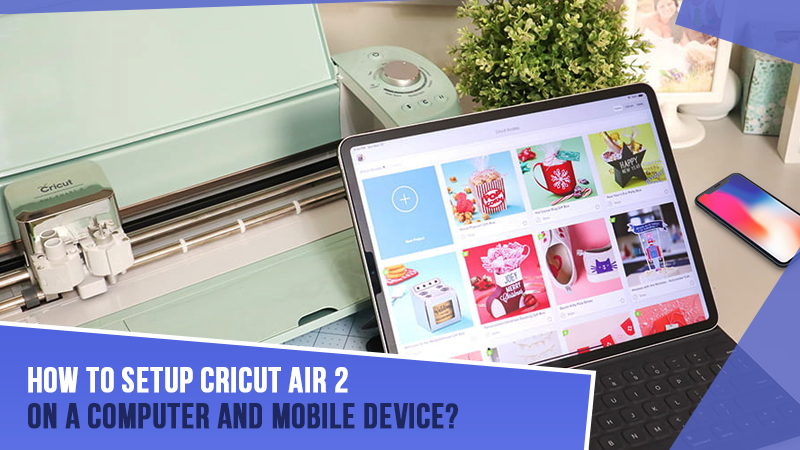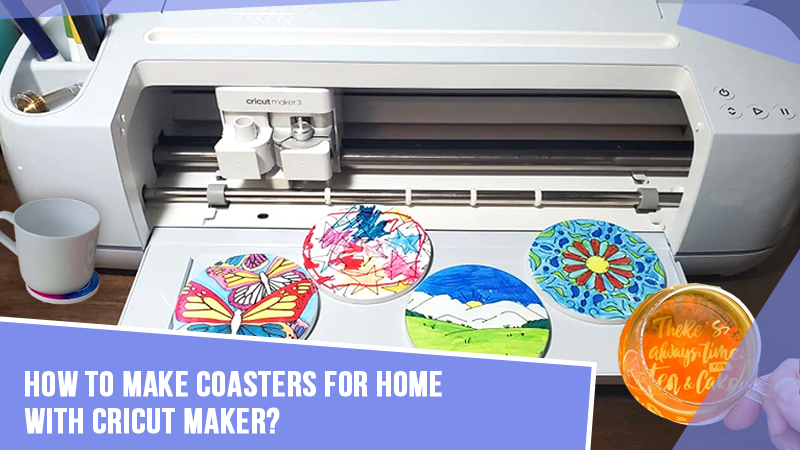
How to Make Coasters for Home With Cricut Maker?
If you love to decorate your home, especially the dining area, then Cricut Maker is the best option for you all. This electronic cutting machine opens new doors for all the crafters, giving them the freedom to create anything out of scratch. Furthermore, the Design Space app helps them in creating art by using its tools.
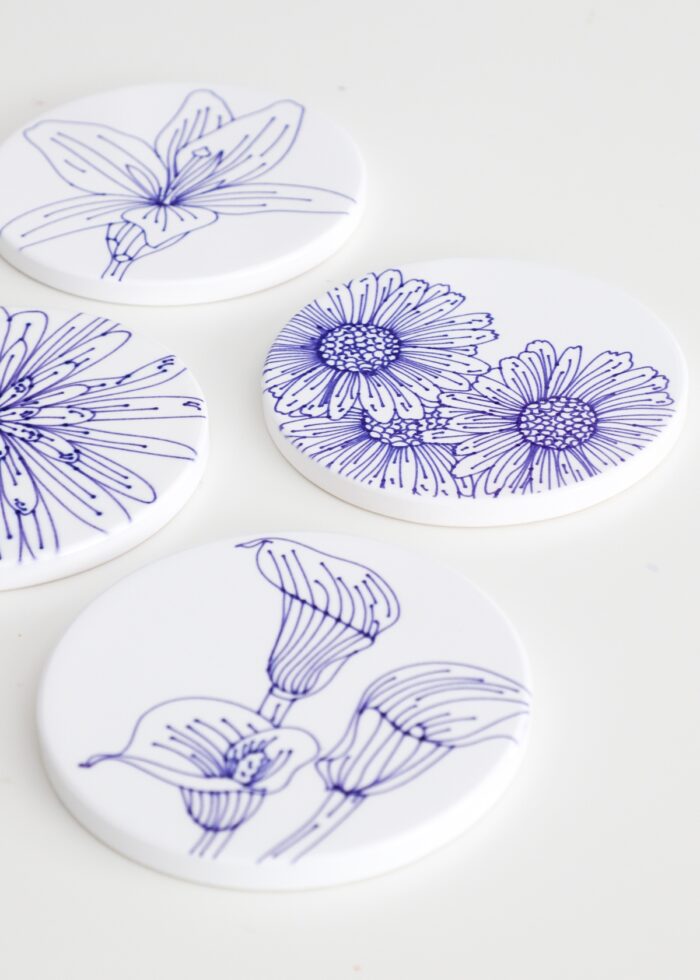
The enthusiastic DIYer can design unlimited coasters in different sizes and shapes. Moreover, all the crafters need to buy specific supplies that will help them in forming the coaster as per the expectation. If you are curious to access this cutting machine and eager about how to make coasters for home with Cricut Maker, then explore this blog.
Step 1: Create Designs on Design Space
- First, open the Cricut Design Space app and sign in with your Username & password.
- Now, press the New Project tool and then the Upload option.
- At the Upload page, tick the Upload Image option and choose any image from the library.
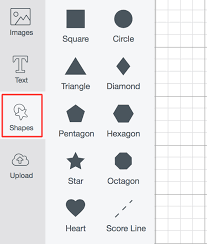
- After that, resize it as per your choice & tick the Shapes symbol.
- Inside the drop-box, choose the Circle and resize it equal to the chosen image.
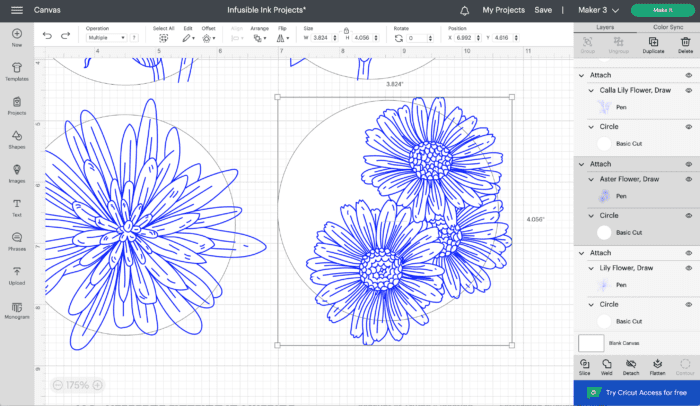
- Following this, drag the image inside the shape and attach it by pressing the Attach button.
- After approving the design, tick the Make It button available on the top right side of the screen.
Step 2: Draw & Cut Coaster Designs
- Furthermore, tap the Mirror option given on the left hand of the screen.
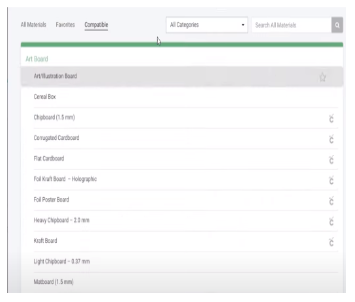
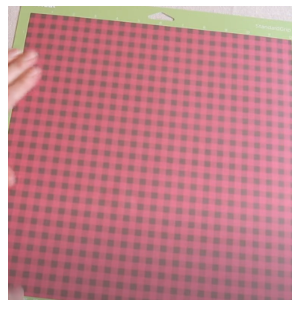
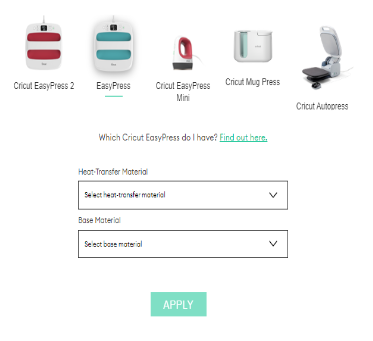
- Next, press Continue and select the materials that you will be using from the list.
- After selecting the material, select the machine’s pressure as per your choice.
- Now, turn on your Cricut Maker machine and start unpacking the supplies.
- Next, gently place the material on the cutting mat and roll over the lint roller to remove any dust from the material.
- Afterward, turn on your cutting machine and simply load the mat by using the Load/Unload button.
- Now, tick the flashing Cricut/Go button to begin the cutting/drawing process.
- Once the cutting/drawing process comes to an end, unload the mat and peel away the extra material.
Step 3: Press Cricut Coasters
- Before transferring the design into the Cricut coaster blank, you need to clean it properly with wipes or cotton cloth.
- Now, preheat the EasyPress by setting the material type, temp & timing from the online Heat Guide.
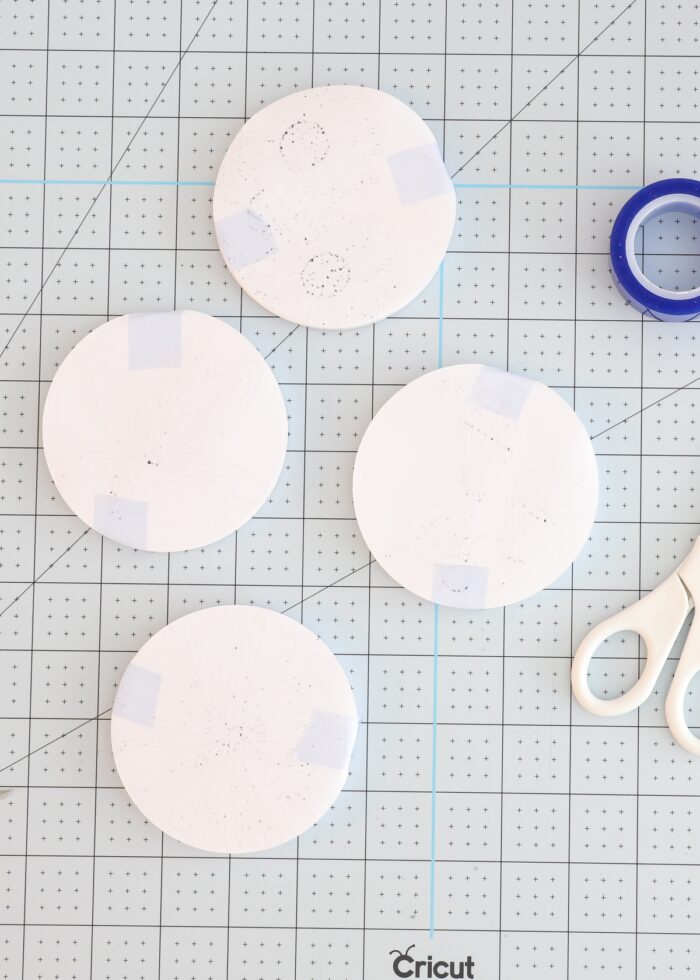
- Following this, remove the coaster designs from the mat and slowly put them on the coaster.
- Next, stick Cricut Heat Resistant Tape and let the design in its place during pressing.
- Now, take out the EasyPress mat and cover it up with butcher paper to avoid any mishaps.
- After placing it in the correct position, take your heat press and place it on the coaster.
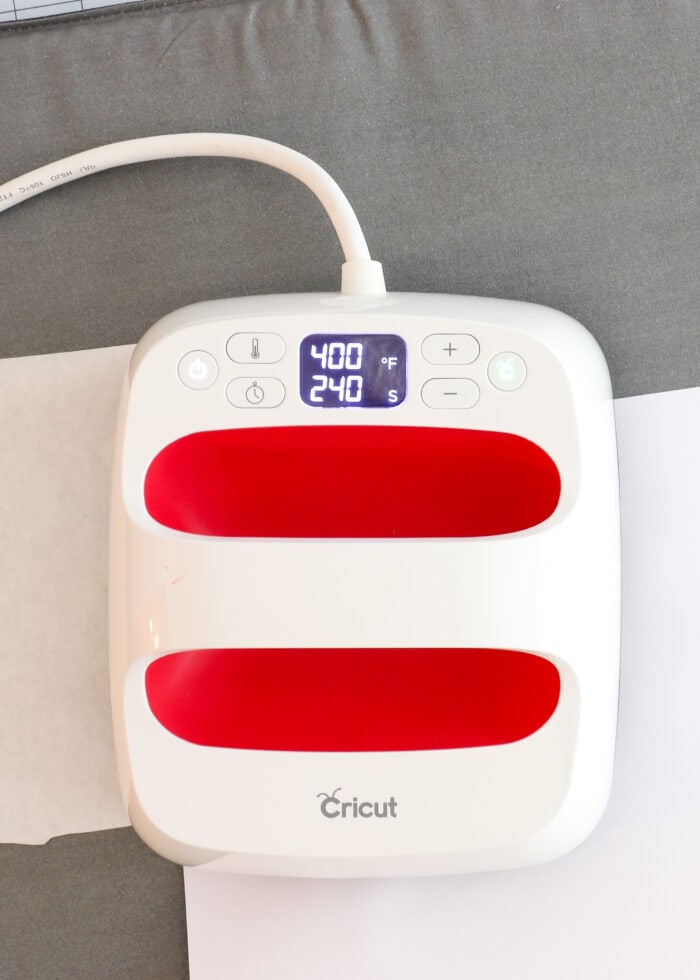
- Now, you need to wait till the pressing process is in progress.
Step 4: Peel Out Coaster Designs
- After the completion of the heating process, let the coaster cool down to avoid getting yourself injured.
- Next, you need to touch the coaster, remove the butcher paper, and steadily remove the sheet.
- Following this, keep removing the paper from all the coasters to complete the process.
- Here you go; your custom Cricut coaster for your dining area is all ready to be utilized.
On the whole of the blog, we hope that you were able to collect all the primary details related to how to make coasters for home with Cricut Maker. You will be able to create this project by yourself as per your choice. Besides, they can also give them to their family members at various events
FAQs
Question: What Cricut Supplies are Needed While Creating Coasters?
Answer: In order to design the custom coasters, it’s important for all the DIYers to keep the basic supplies with them. The supplies will help them in giving perfect form to the project as per the expectation. Have a look at the supplies names in the pointers below:
- Cricut Maker Machine
- EasyPress Heat Press
- Heat Guide App
- Cricut Cutting Mat
- Cricut Coaster Blanks
- Design Space Account
- Infusible Ink Pen Set
- Heat Resistant Tape
- Cricut EasyPress Mat
- Lint Roller
Question: How Hard Do I Need to Press EasyPress While Heating?
Answer: The pressure of pressing the EasyPress completely depends upon the type of project you are going to create out of the press. Some projects require firm pressure with both hands and 15-20 lbs body weight. On the other hand, gentle pressure means one hand with 05-10 lbs of body weight. In all cases, a high-waist table is needed to make the application process easier.
Question: Can the Cricut Maker Cut Coasters?
Answer: Yes, Cricut Maker can definitely create coasters out of any material. With its variety of tools & design software, the DIYer can form custom coasters as per their preference. This cutting machine, along with Heat Press, gives the best result of the scratch within a few minutes. Cricut Maker permits the DIYer to design the custom coasters and gives them as a gift to their family members and friends.
Question: How Can I Save My Surface From Cricut EasyPress?
Answer: Cricut EasyPress Mat saves the surface area from getting damaged due to heat. Plus, it also develops the ideal environment for flawless iron-on transfers while utilizing the heat press. Otherwise, to protect your surface, you can also use items you probably already have at home. In addition, all the DIYers must use a mat that is bigger than the heat plate for successful results.