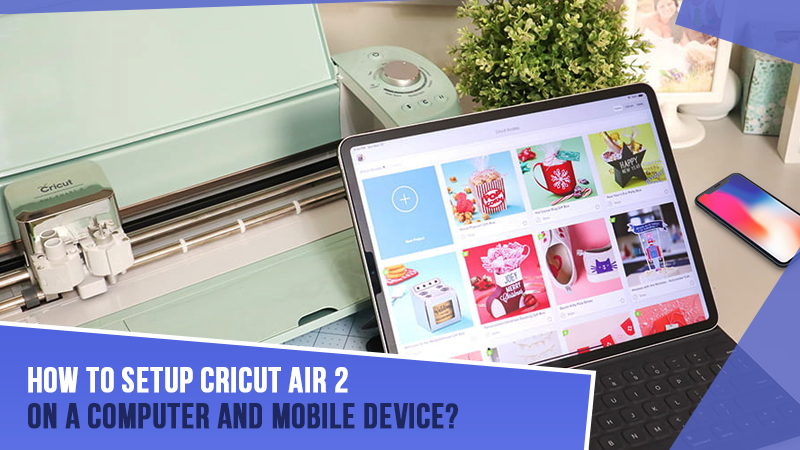
Cricut Design Space is a software program that lets you create project designs with an array of different functions. It is compatible with both computers and laptops, whether Windows or MAC. Whatever desktop system it is, there may be a different way to download and install the Cricut Design Space. Not everyone would find it easy to install and use this software program, especially beginners. Several issues may also arise during the installation process, such as connection problems, material loading, and more.
So, we have piled up the ideal solutions to use cricut design space on desktops & laptops. Read further to learn each instruction step-by-step.
Steps to Launch Cricut Design Space on Desktop and Laptop
Do you eagerly want to learn how to use cricut design space on a desktop and laptop? Below are some of the steps that you should adhere to launch Cricut Design Space on your computer:
Step 1: When you sign into Cricut Design Space, you’ll land on the home page.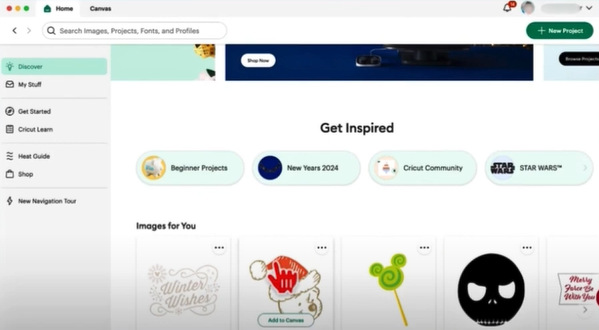
Step 2: Next to the Home tab, there’s Canvas so you can move between these two screens easily. 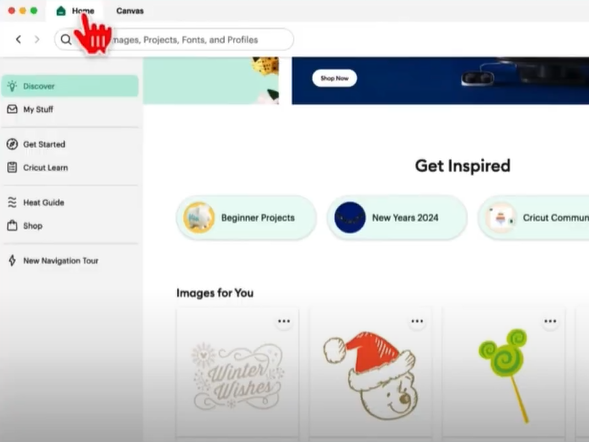
Step 3: On the top right side of the screen, there’s a notification icon where you can set your preferences and privacy.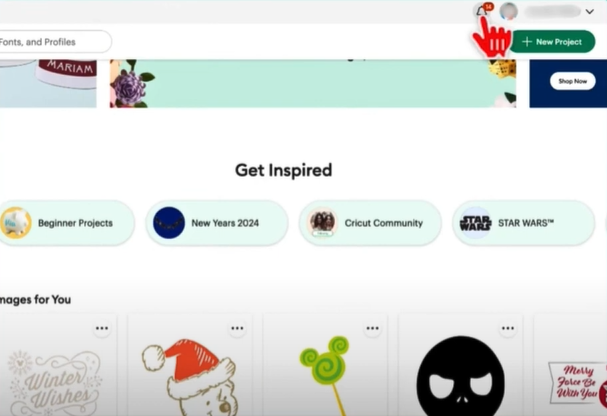
Step 4: Next to the notification icon is the account menu. From here, you can access your Profile, Notifications, Settings, Help, Account, and Sign Out Options.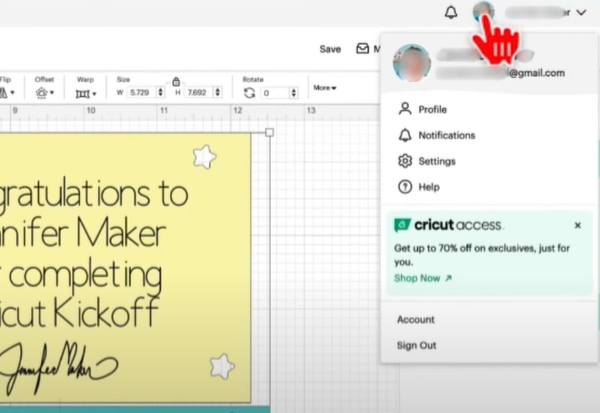
Step 5: When you select Settings from the account menu, you can access all Design Space settings: General, Machines, Canvas, Load Type, Notification, and System.
Step 6: From the General tab, you can change Country, Language, Saving Option, Application Experience, your subscription, and your version of Design Space.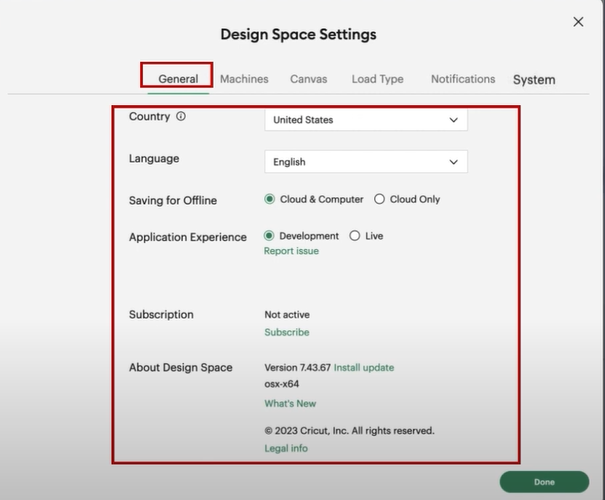
Step 7: From the Machines tab, you can start a New Product Setup, Update Firmware, Machine Calibration, Machine Care for Venture, Custom Material Settings, and Link Cartridges.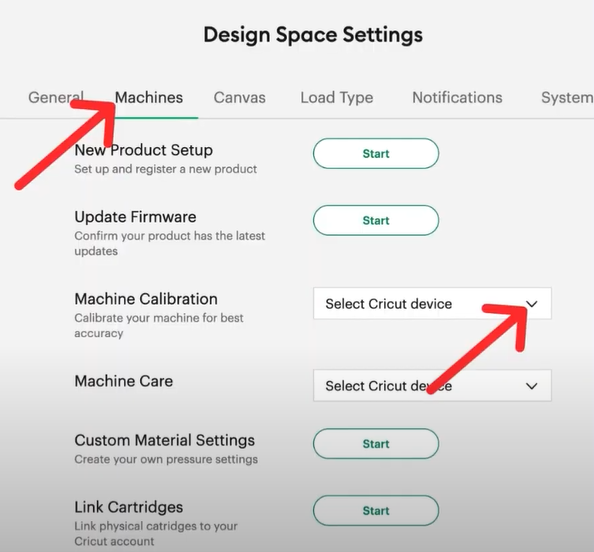
Step 8: From the Canvas tab, you can change the Canvas Grid, Units, and Operation Type.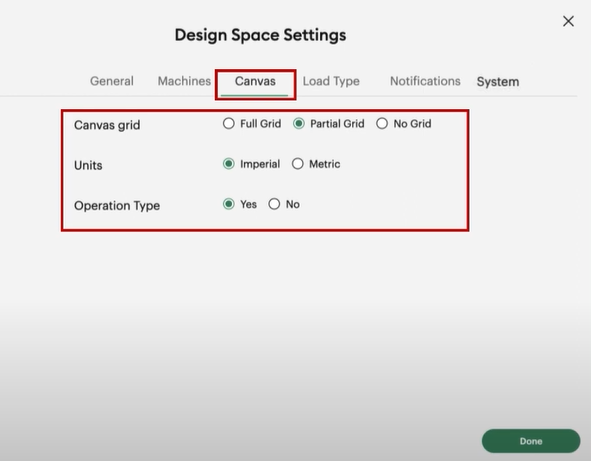
Step 9: From the Load Type tab, you can set Defaults, Load Type, and Print Then Cut Page Size.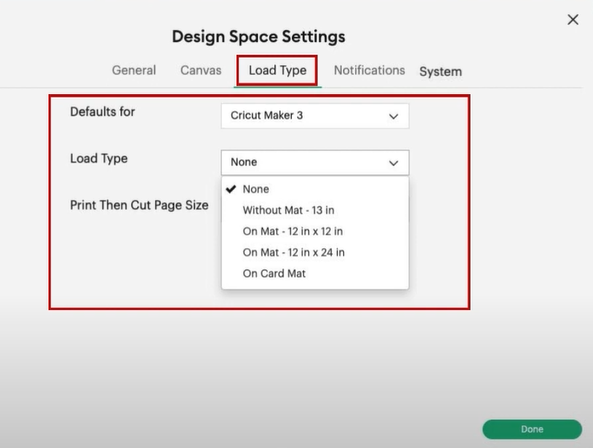
Step 10: From the Notifications tab, you can turn on or off all the notifications you want and do not want to receive.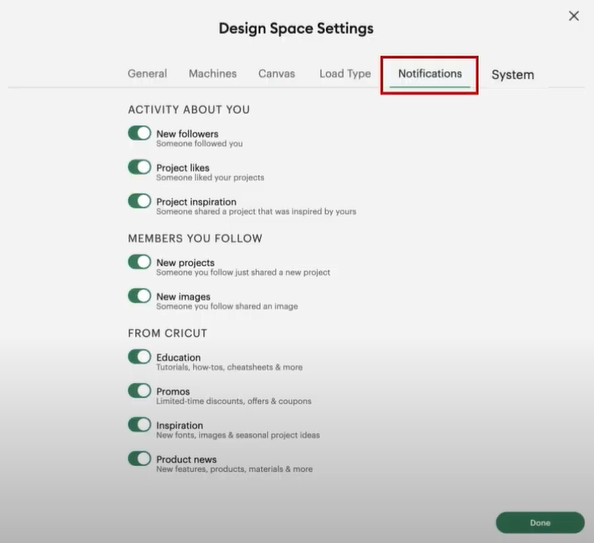
Step 11: From the System tab, you can check the System Architecture and System Memory.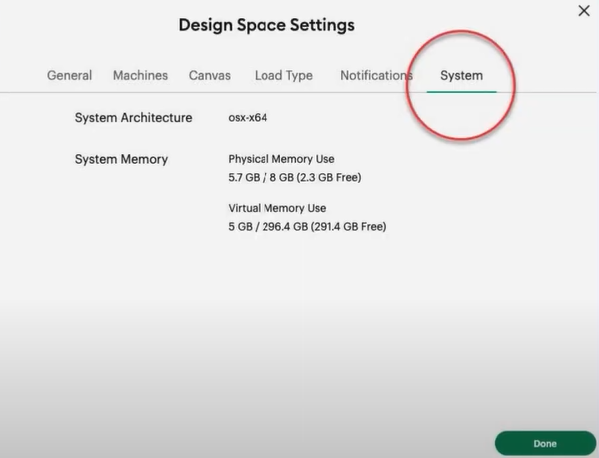
Step 12: On the left panel on the Home page, you can navigate to the Discover menu, My Stuff, Get Started, Cricut Learn, Heat Guide, Shop, and New Navigation Tour.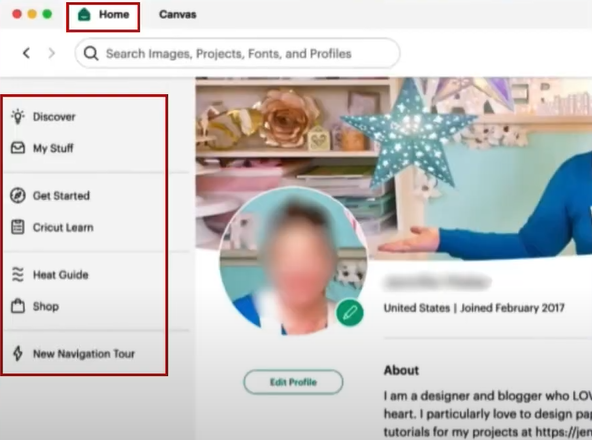
Step 13: Click on the Canvas tab to start designing.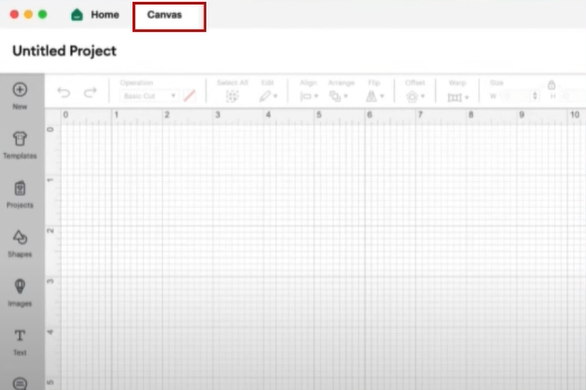
Step 14: From the left panel in the canvas, you can access Templates Projects, Shapes, Text, Phrases, Editable Images, Upload, and Monogram.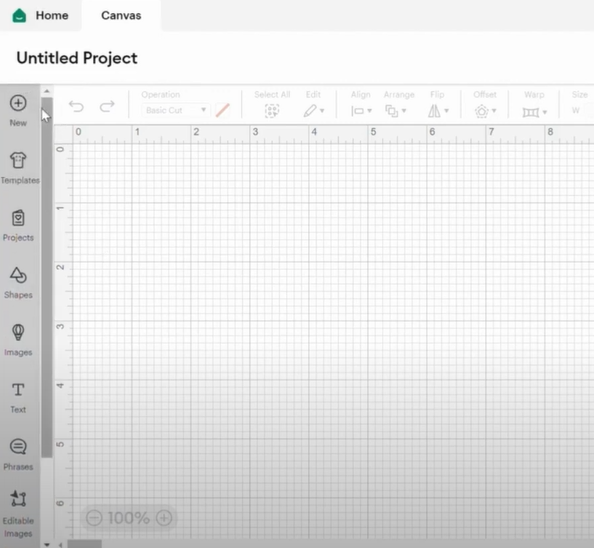
Step 15: The Template tool features various templates you can use to visualize your project.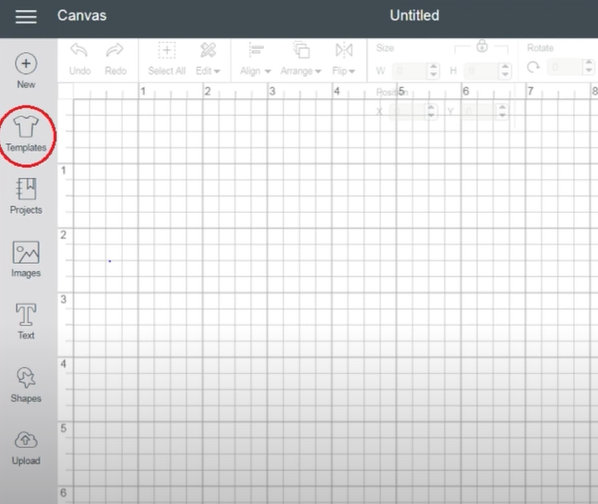
Step 16: From the Projects feature, you can access thousands of Ready-to-Make projects.
Step 17: You can search for projects from the search bar or use the filter to search.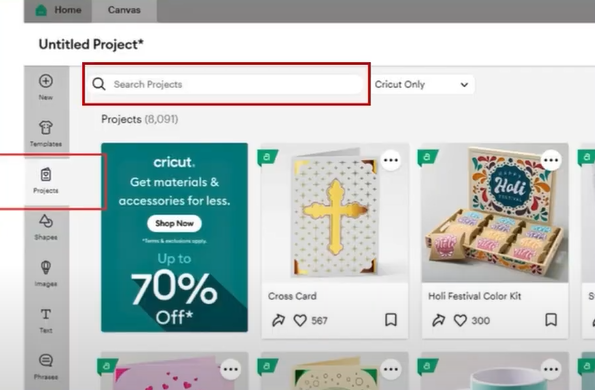
Step 18: The Shapes feature comes with a variety of shapes to use while creating projects.
Step 19: The images feature contains over 600,000 images to be used for your projects.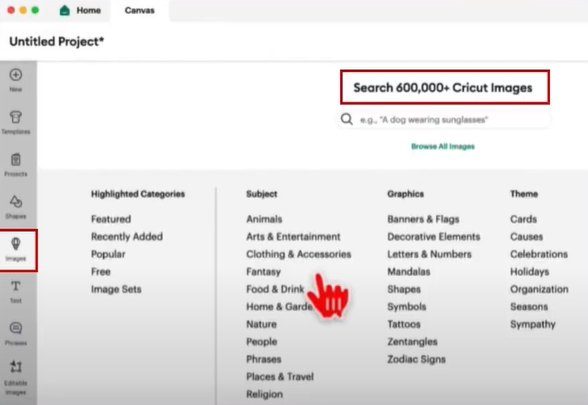
Step 20: The Text feature allows you to add or edit Text for your project.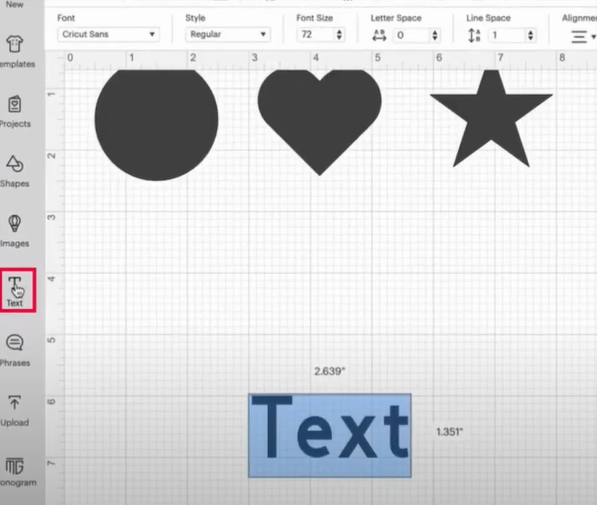
Step 21: The Phrases feature is similar to images but contains designs with Text.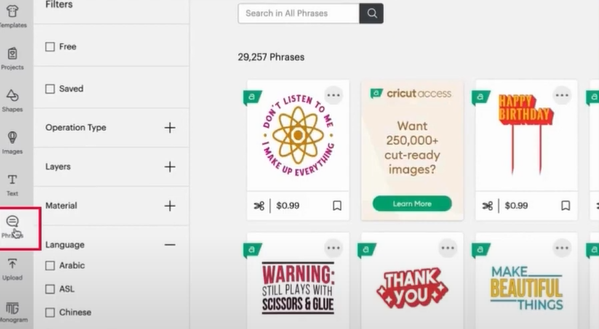
Step 22: The Editable Images feature contains designs that can be edited to make personalization easier.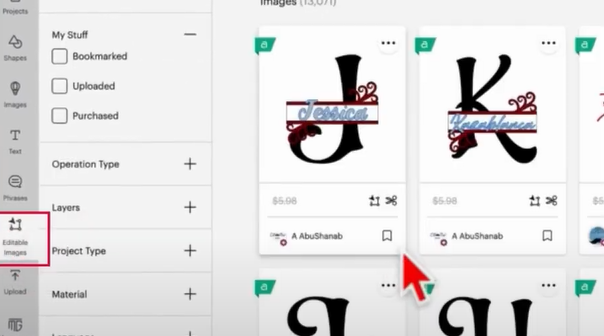
Step 23: In the Editable Image designs, the blue highlight part of the design can be edited.
Step 24: The Upload feature in Design Space allows you to upload your own image and design for your project. 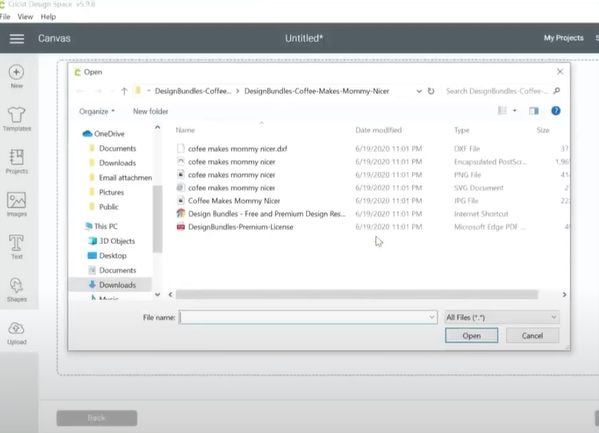
Step 25: With the Monogram Feature you can make custom Monogram design using a variety of classic and thematic designs, text styles, and frames.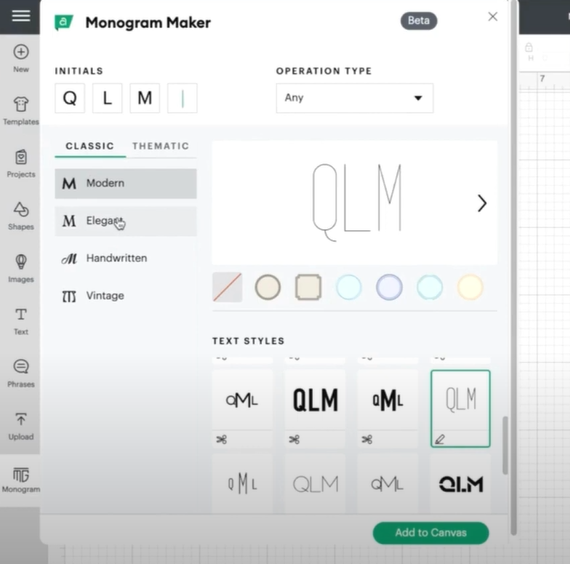
Step 26: The Edit Bar on the top of the screen allows you to Undo, Redo, Edit, Align, Arrange, Flip, Size, Offset, Warp, Rotate, Position, and more.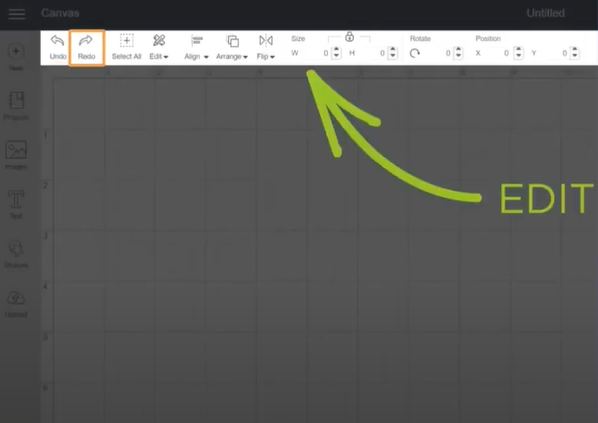
Step 27: When working with Text, you’ll see a text panel where you can change font, style, spacing, alignment, and more.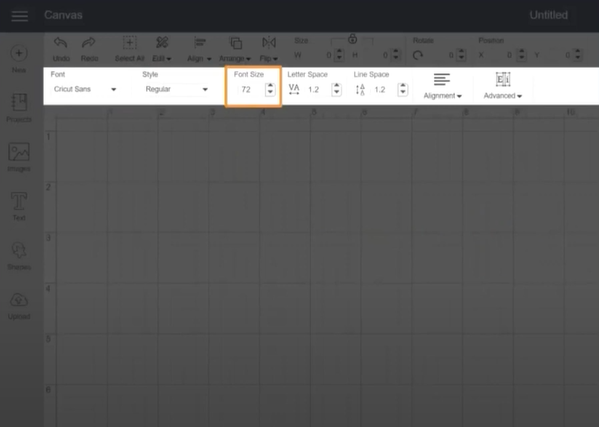
Step 28: On the right panel, you’ll find the Layers panel and Color Sync panel.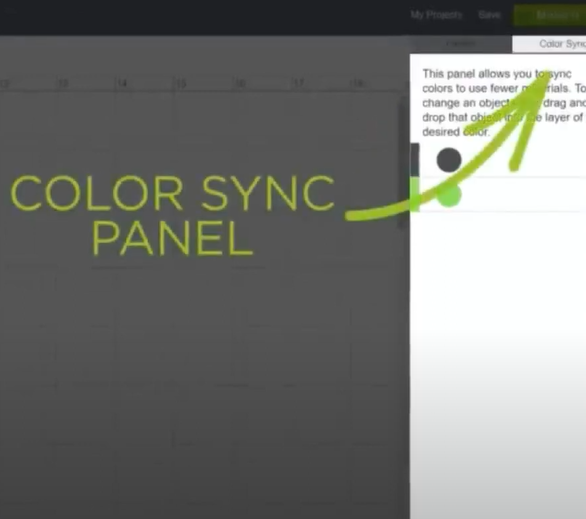
Step 29: At the top of the layers panel, you can use commands like Group, Ungroup, Duplicate, and Delete.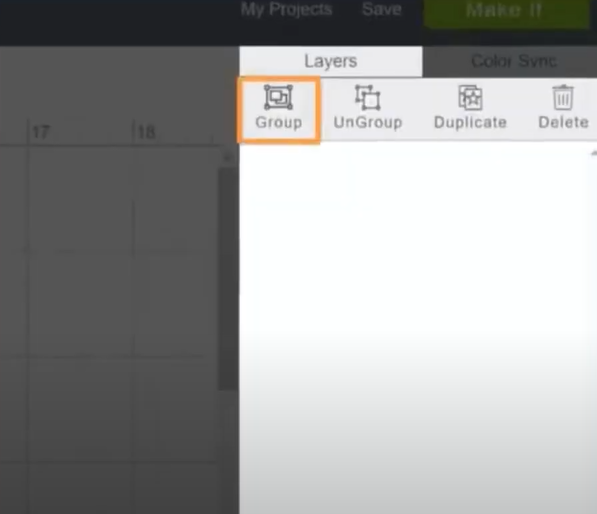
Step 30: On the bottom of the layers panel, you can use Slice, Combine, Attach, Flatten, and Contour actions.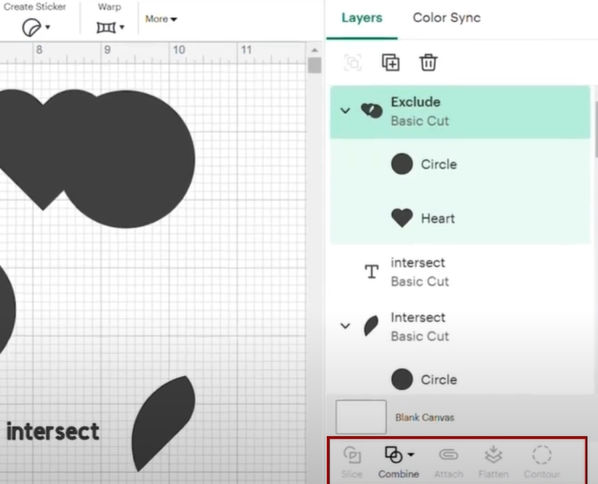
Conclusion
Those were all the critical steps you should know about using Cricut Design Space on a desktop and laptop. Even if you find anything or face difficulty using Design Space, don’t panic. You can contact an expert for help.