Cricut Maker is an excellent crafting machine that enables you to bring your creativity to life. It has loads of convenient features, including Bluetooth connectivity. Bluetooth connectivity lets you wirelessly transfer your designs from your desktop or mobile to the Cricut Maker for cutting, drawing, and more. It also enables seamless communication between your devices and uncovers many opportunities for crafting projects.
However, you should be aware of potential problems while connecting Cricut Maker to Bluetooth. These problems include software compatibility, pairing failure, or slow transfer speeds.
Do you want to learn how to connect your Cricut Maker to Bluetooth and make the most of this crafting machine? We have discussed solutions for this. Let’s delve into it.
Steps to Connect Cricut Maker to Bluetooth
Follow the below-mentioned steps to successfully connect your Cricut Maker to Bluetooth.
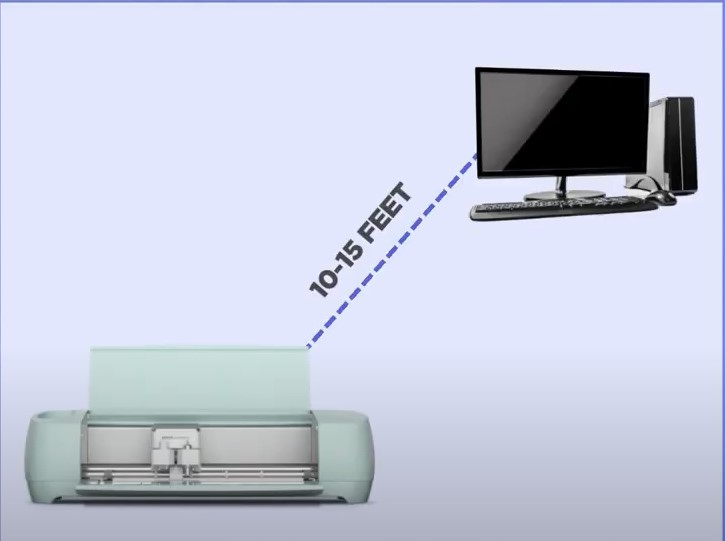
Step 1: Ensure that your Cricut machine is powered on and within 10 to 15 feet of your computer.
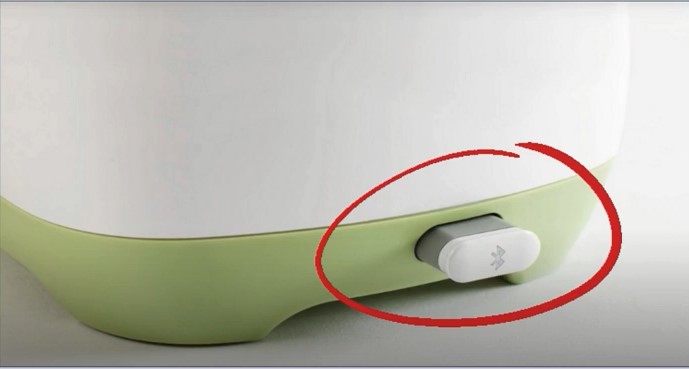
Step 2: If you have Cricut Explore or Cricut Explore One, ensure the Wireless Bluetooth adapter is inserted.
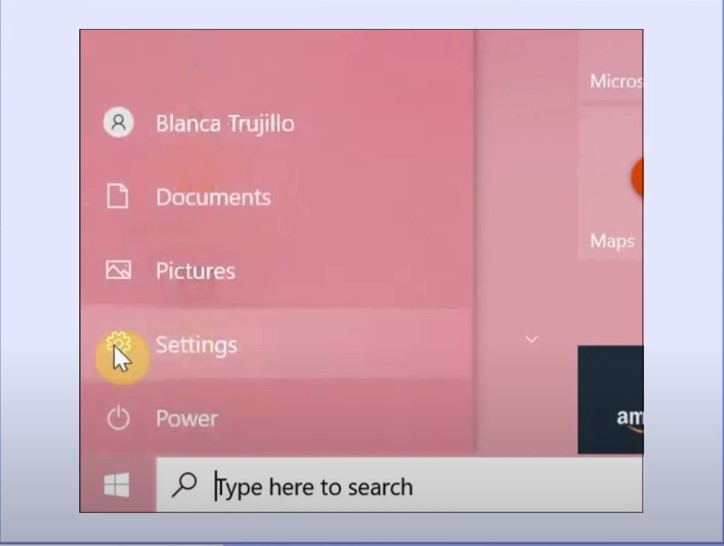
Step 3: Click on the Windows start button and select Settings.
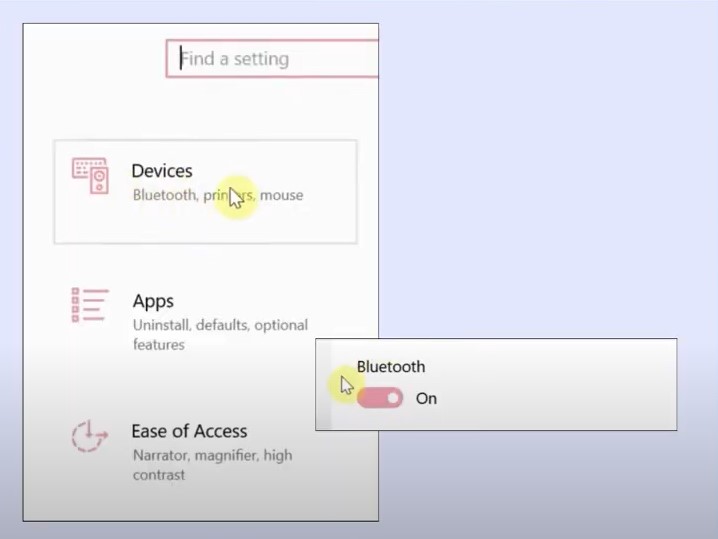
Step 4: Click on Devices and ensure Bluetooth is turned on.
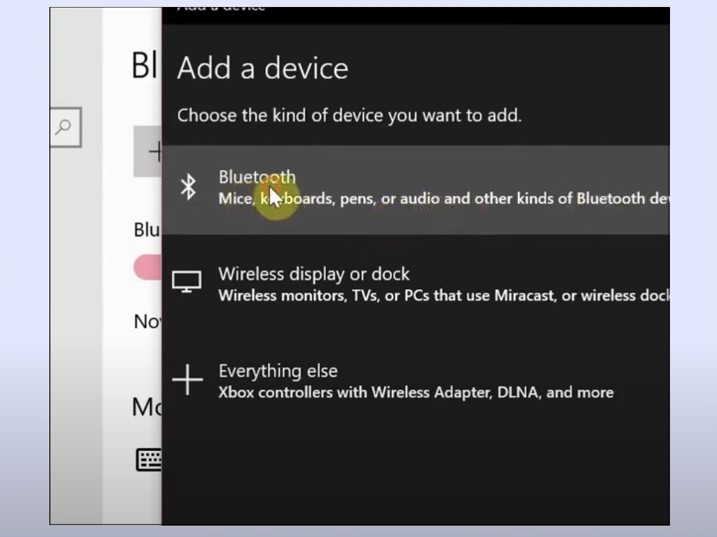
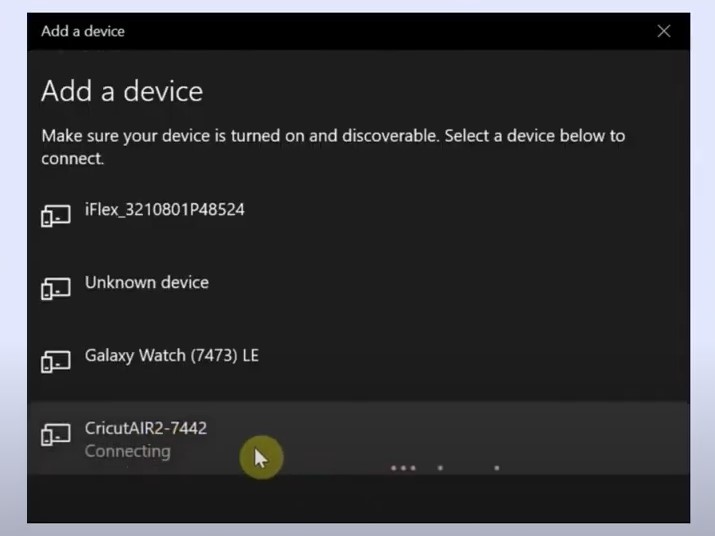
Step 5: Click Add Bluetooth or Other Device, select Bluetooth, and wait for the computer to detect the machine.
Step 6: Select your machine from the list.
Also Read : – How to Fix Cricut Design Space Not Working Issue?
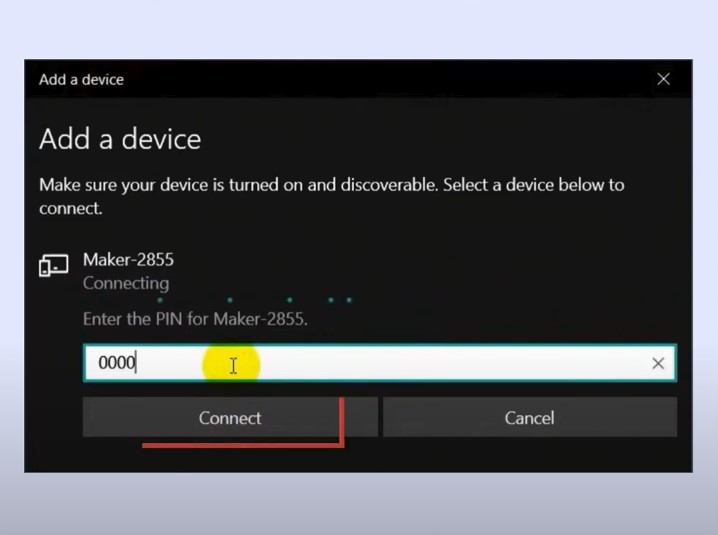
Step 7: If you’re prompted to enter the pin, enter the default pin or the one you’ve setup and click connect.
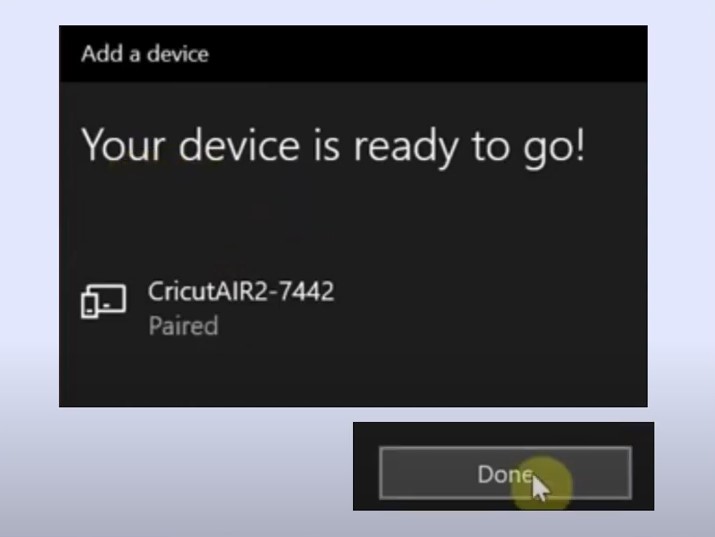
Step 8: Once it says, Your Device is Ready to Go, click Done.
Conclusion
Take into account the above steps. Ensure seamless bluetooth connectivity for your Cricut Maker. Contact a professional if you need help or face problems like software compatibility or pairing failure.

