The Cricut Joy Xtra, a remarkable addition to your crafting arsenal, is designed with your convenience in mind. Like any other machine, Cricut Joy Xtra must also be set up properly before you start operating it. For some people, setting up the Cricut Joy Xtra may seem complicated. Moreover, when setting up the Cricut Joy Xtra, the user may encounter power Issues, firmware updates, bluetooth pairing, and so forth.
Are you also one of those individuals who are unable to set up the Cricut Joy Xtra machine? We have brought you some insightful steps on how to do the Cricut Joy Xtra setup. So, read further.
Discovering How to Do Cricut Joy Xtra Setup
Let us walk you through the step-by-step process to set up your new Cricut Joy Xtra without any problem.
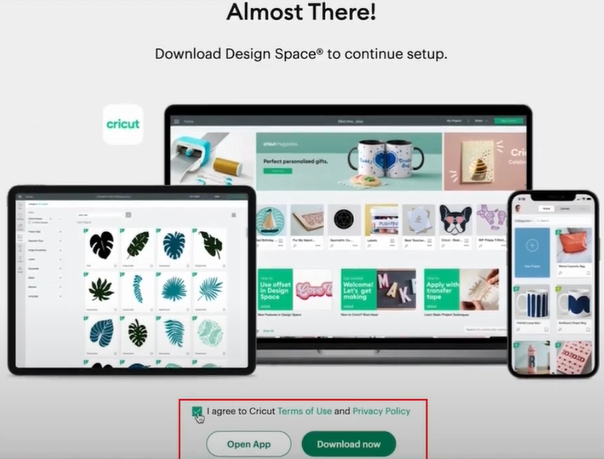
Step 1: Go to your device and navigate to the official Cricut setup page.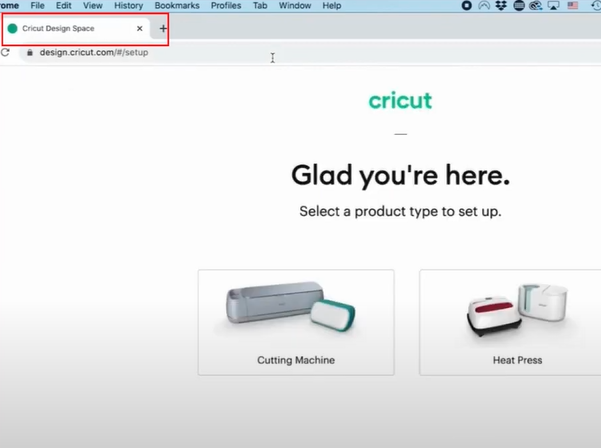
Step 2:
- Select Cutting Machine.
- Agree to the terms and conditions.
- Click Download Now if it isn’t in your system.
Step 3: Once the download is complete, open the downloaded file, then drag and drop Cricut Design Space to Applications.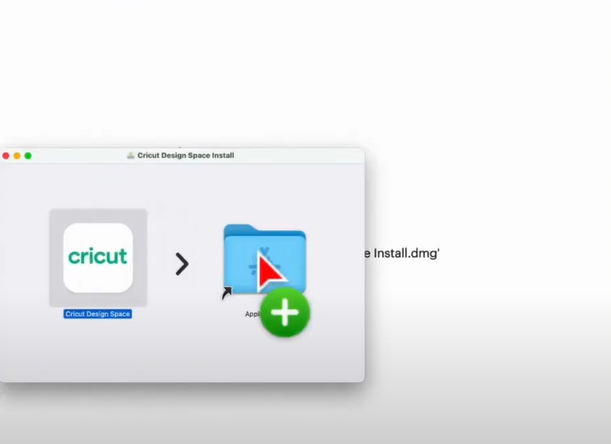
Step 4: Double-click Cricut Design Space, then click open when prompted.
Step 5: When the Cricut Design Space screen loads, click Product Setup.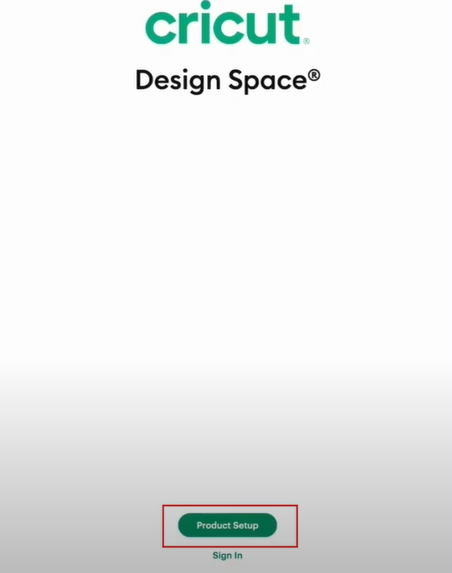
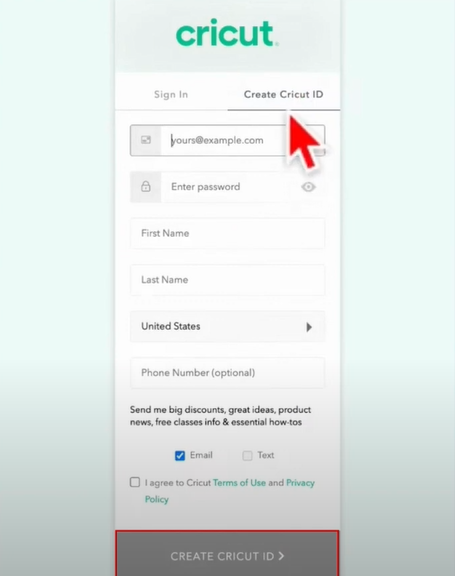
Step 6:
- Now, go ahead and create a Cricut ID.
- Agree to the terms of use and privacy policy.
- Click Create Cricut ID.
Step 7: When you get the Let’s Get Set Up screen, select Smart Cutting Machine and then Cricut Joy Xtra.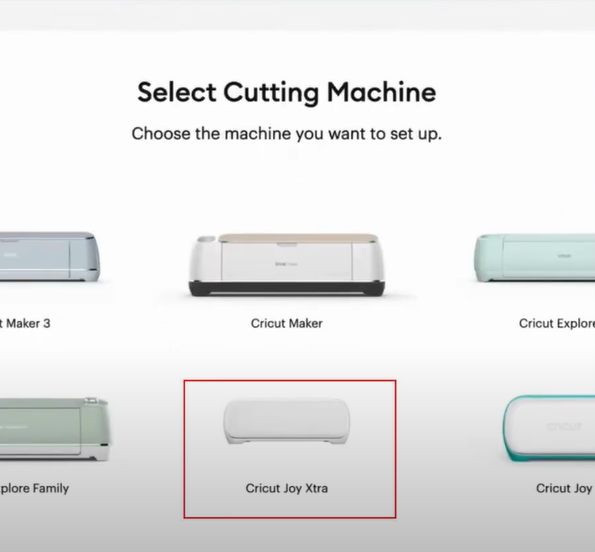
Step 8: On the Prepare Workspace screen, follow the instructions and click the arrow icon to proceed to the next screen.![]()
Step 9: When you get the Find an Outlet screen, plug the power cord into the machine and power outlet, then click the arrow icon.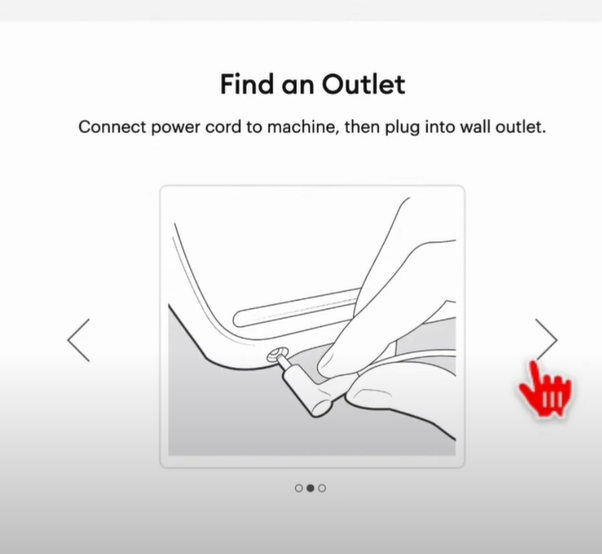
Step 10: When it tells you to connect using Bluetooth, navigate to Settings on your device, then select Bluetooth.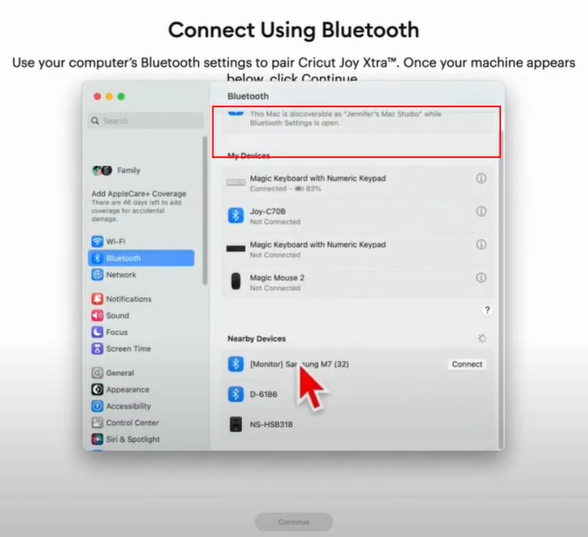
Step 11: Check Bluetooth is turned on, then look for your device.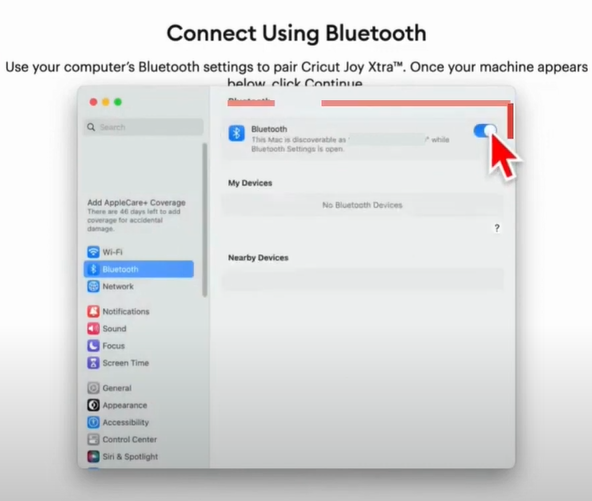
Step 12: If it cannot detect your device, turn off Bluetooth, turn it back on, and see if it can detect your device.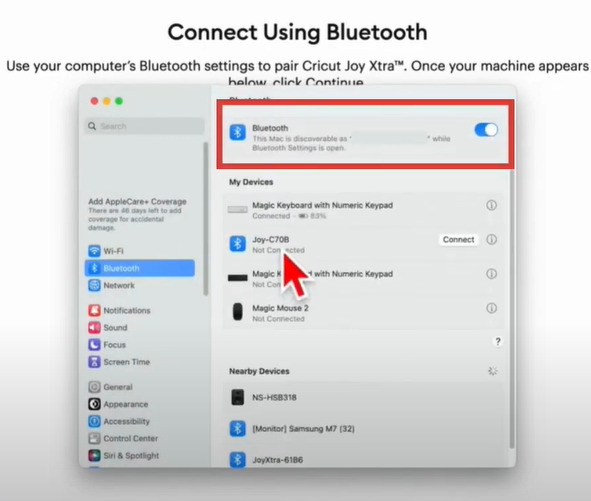
Step 13: Once it detects your device, click Connect next to it and wait for the connection to establish.
Step 14: Once the connection is established, it’ll say Connected under the device.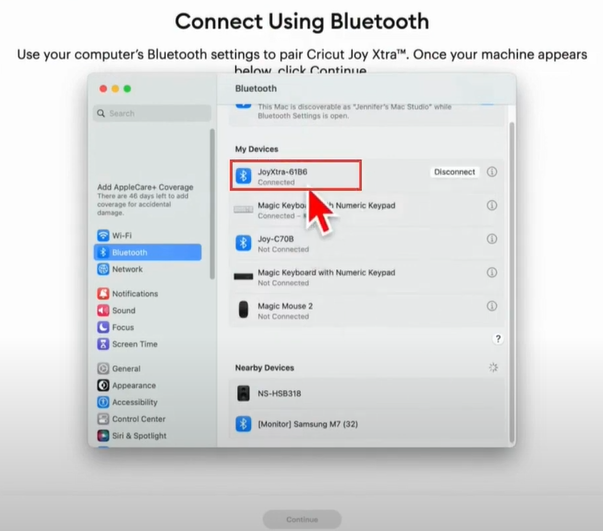
Step 15: Now, go back to Cricut Design Space and you’ll see that it’s connected, then click Continue.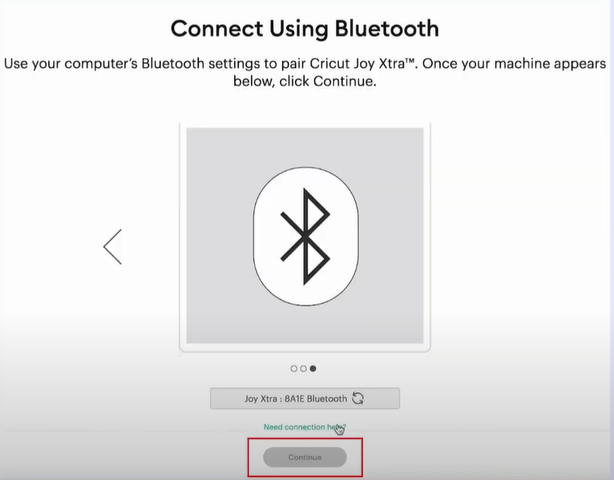
Step 16: In the Activate Cricut Joy Xtra screen, double-check your email address, agree to the terms of use and policy, and click Activate.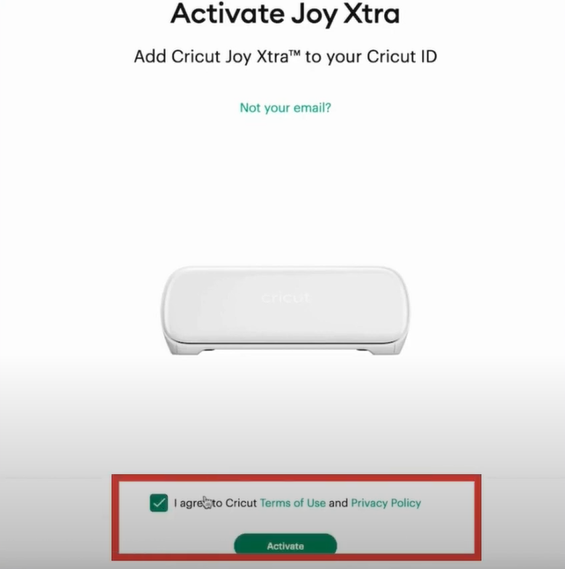
Step 17: You’ll get a machine registration successful notification banner, and it’ll start updating automatically.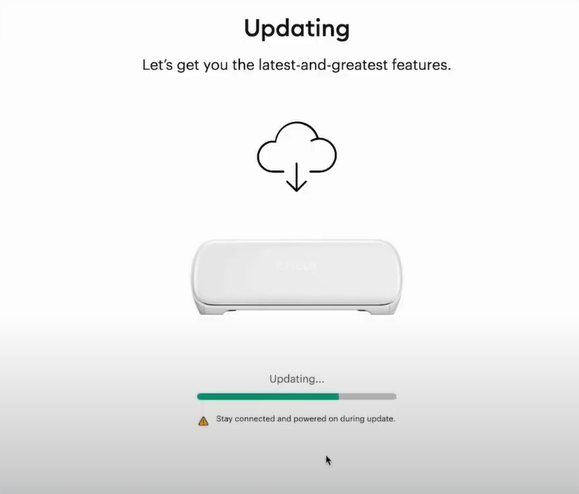
Step 18: Once the update is complete, click Next in the Setup Complete screen.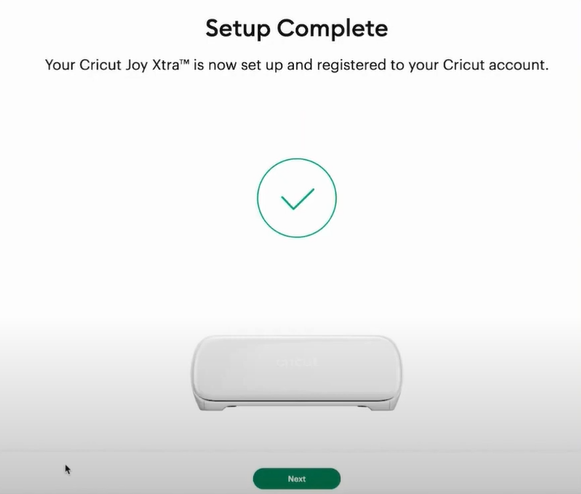
Step 19: Now, you can click Start Free Trial or No Thanks.
Step 20: When you get the Let’s Test your Machine screen, click Next, then go ahead and try cutting a project.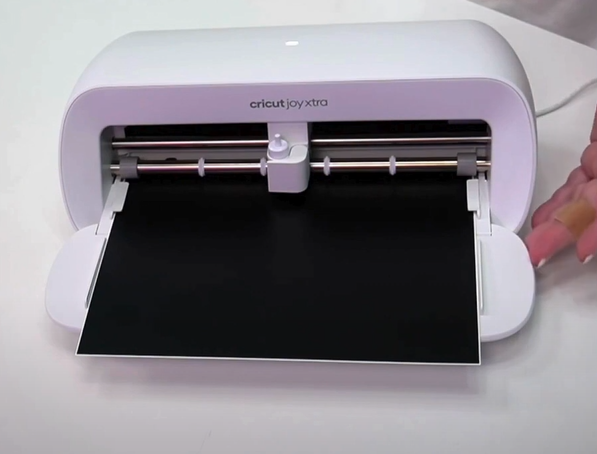
Conclusion
Now you have the right solution for setting up Cricut Joy Xtra. So, follow each step properly and learn the full potential of your Cricut Joy Xtra.
Are you still unable to set up your Cricut Joy Xtra? If so, reach out to an expert and get the right assistance.