You may have bought your all-new Cricut machine. Setting up a Cricut machine can be complicated, especially if you do it for the first time. Some may find it tough and frustrating. They may face issues like driver installation, lost connection, or software compatibility.
You have come to the right place if you are new to the Cricut machine. Let’s learn Cricut machine setup and get ready to start with your crafting projects.
Steps to Setup Cricut Machine
Regardless of what Cricut machine you have, the setup process is the same for most of them. Take a glimpse at the steps below to set up your Cricut machine.
Step 1: First, take the machine out of the packaging.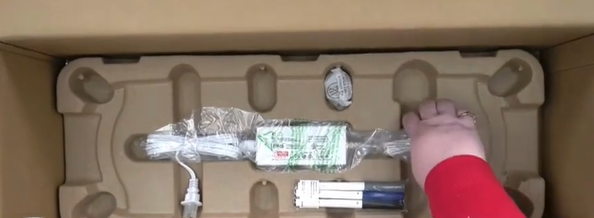
Step 2: Take it out of the sleeve and remove the shrink wrap.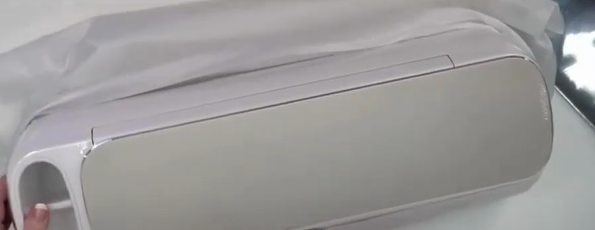
Step 3: Open up the top lid, and the bottom lid will open automatically.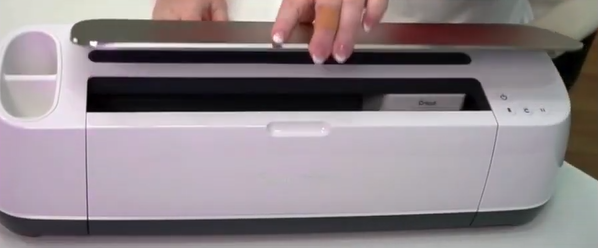
Step 4: Remove the Styrofoam from the carriage, also known as the Adaptive Tool System.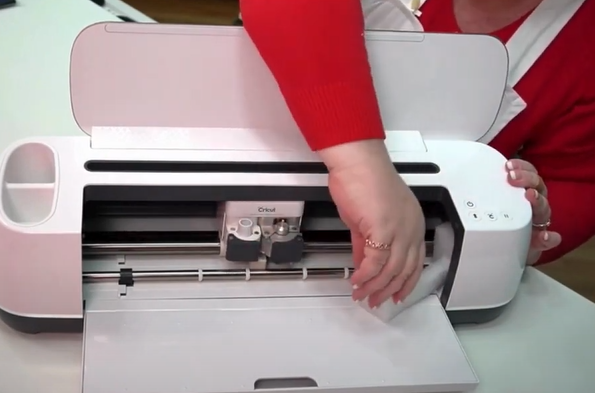
Step 5: Now, open the web browser and visit the official Cricut Setup page.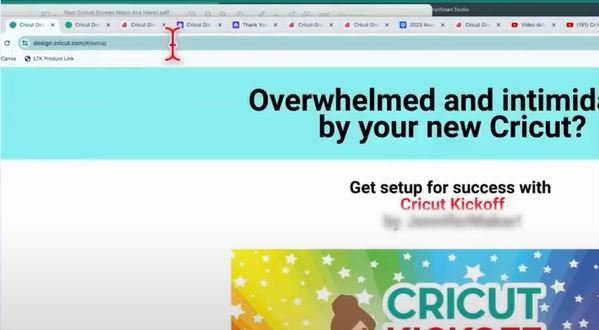
Step 6: Select Cutting Machine, agree to the terms of use and privacy policy, and then click Download Now.
Step 7: Open the downloaded file, drag and drop Cricut Design Space in the Application folder.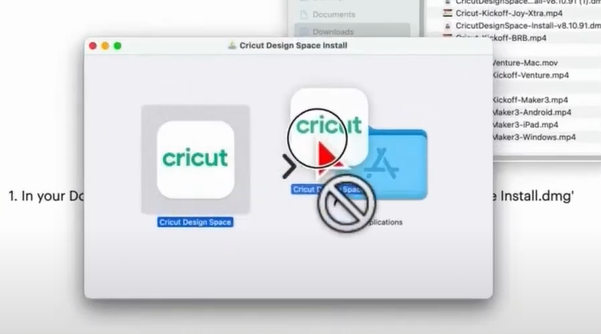
Step 8: Open the Applications folder, open Cricut Design Space, and click Open if you get a pop-up prompt.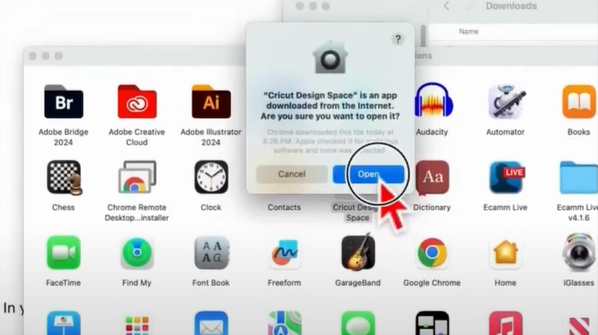
Step 9: Click Product Setup, then sign in or Create a Cricut ID if you do not have one.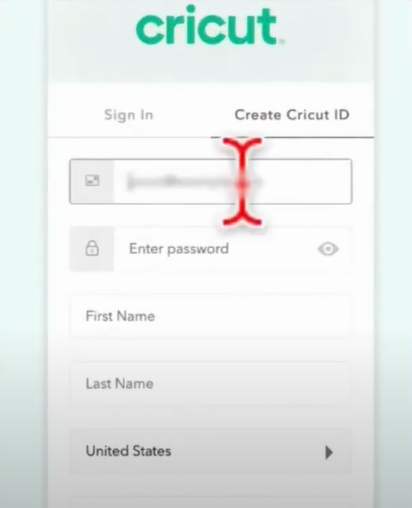
Step 10: Once you’ve filled out all the information, check the terms of use and privacy policy box, and click Create Cricut ID.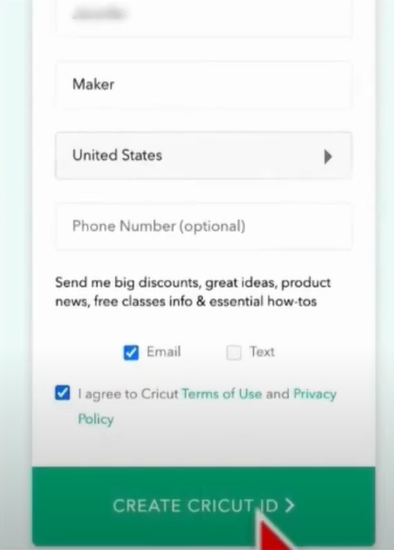
Step 11: Select Smart Cutting Machine, then select your Cricut Maker.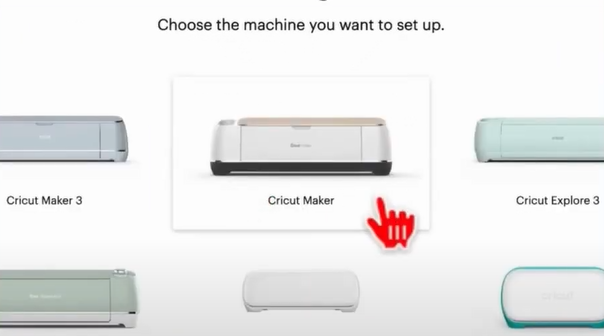
Step 12: Check the Prepare Workspace screen, follow the instructions, and click the next arrow button.![]()
Step 13: When it tells you to find an outlet, insert the power cable into the machine and the wall outlet, turn on the machine, and click the next arrow.![]()
Step 14: When it tells you to connect to the computer, insert the USB cable into the machine and the computer.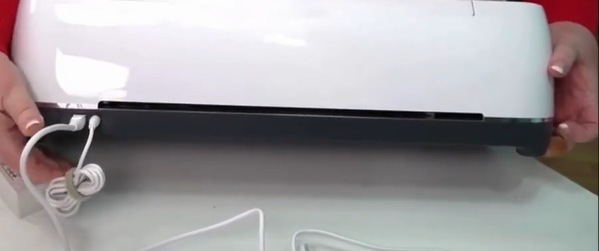
Step 15: Click the Select Cricut Maker drop-down and select your Maker.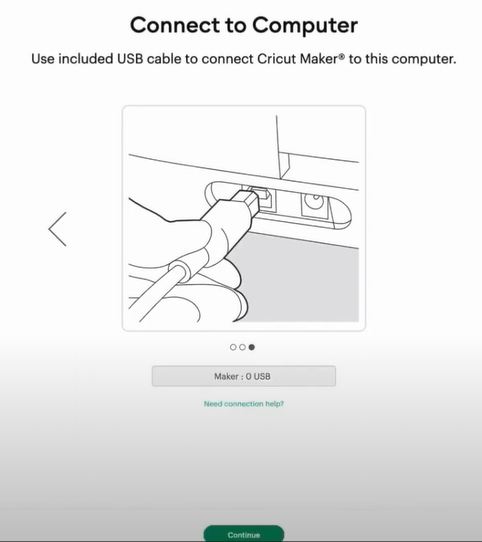
Step 16: If you want to connect to the computer via Bluetooth instead of USB, navigate to Settings and go to Bluetooth.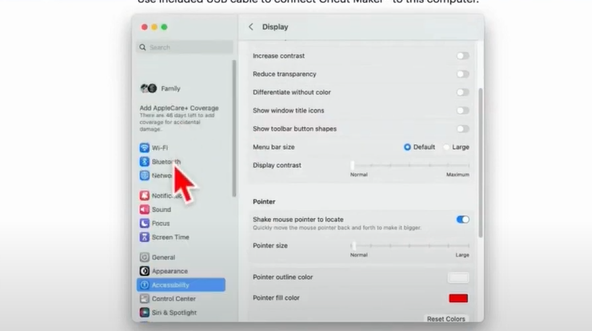
Step 17: Scroll to Nearby Devices, locate your Maker, and click Connect next to it.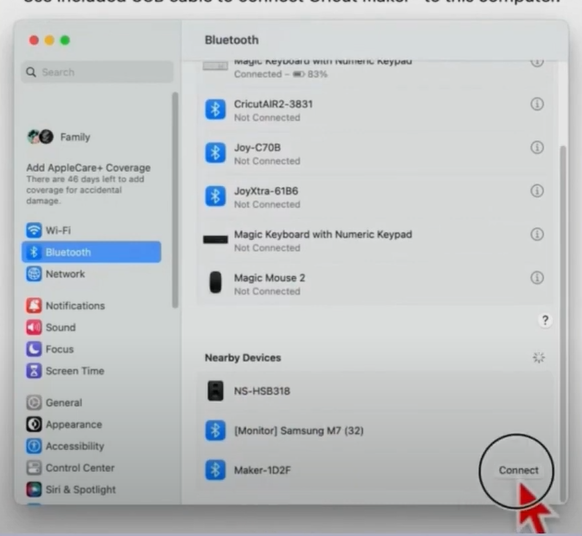
Step 18: Once connected, click Continue, double-check your email address, agree to the terms of use and privacy policy, and click Activate.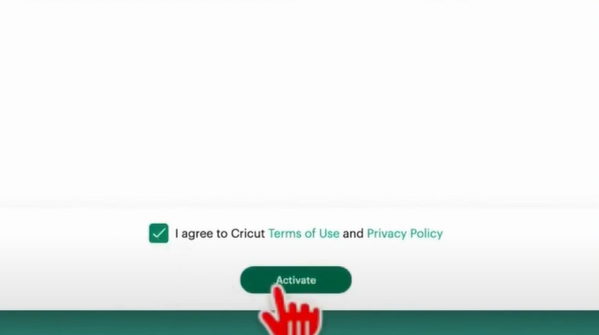
Step 19: Click Next in the Setup Complete screen.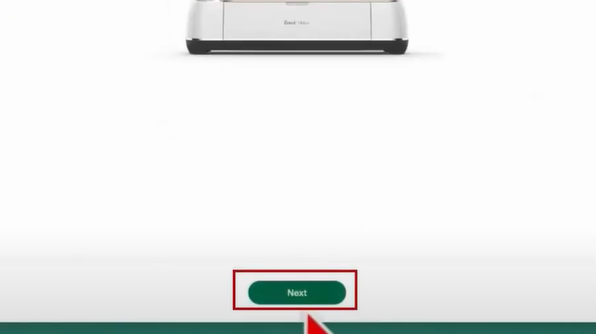
Step 20: Now, you can sign up for Cricut access or sign up later.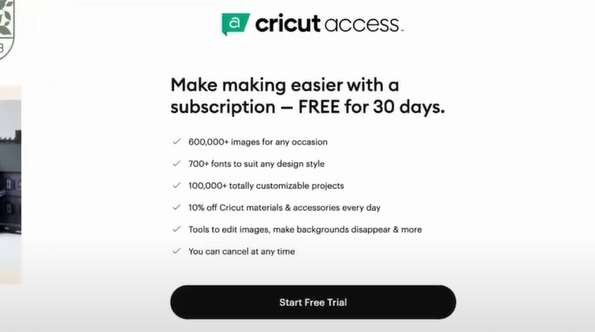
Step 21: Go ahead and perform a test cut following the on-screen instructions.
Conclusion
Cricut can be connected to any device, such as Windows, MAC, Android, and iOS. The setting up process becomes quite exciting with all the above “how to do cricut machine setup” steps. So, do that and follow other necessary steps. If you still cannot set up your Cricut Machine, contact an expert.