A Procolored DTF (Direct to Film) Printer gives you top-grade quality prints on an array of substrates, including garments, promotional products, and so on. Setting up a Procolored DTF Printer requires attention to detail and adherence to manufacturer guidelines to ensure the best performance and printing quality. However, users often face problems in setting up the Procolored DTF Printer. Common problems that may arise during the setup process can be driver installation, hardware setup, or software compatibility.
Below, we have covered everything about setting up a Procolored DTF Printer. So, let’s delve into the process and learn the full potential of this printing device.
Methods to Set Up Procolored DTF Printer
Do you want to learn the setting process for the Procolored DTF Printer? Several steps are involved in setting up the Procolored DTF Printer. Let us take a glance at each step:
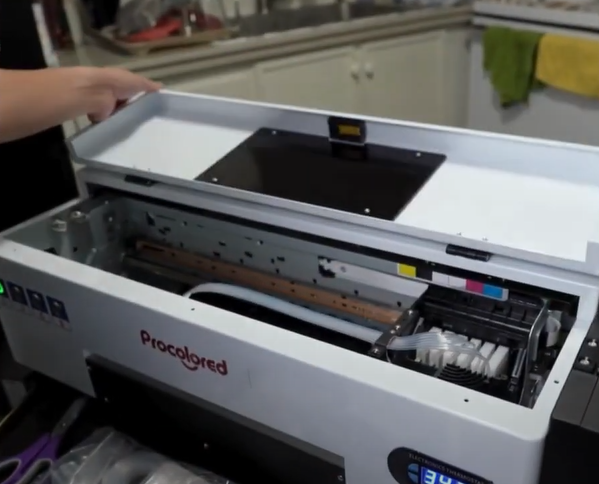
Step 1: Open the link compartment and take out the ink waste container and mounting holder.
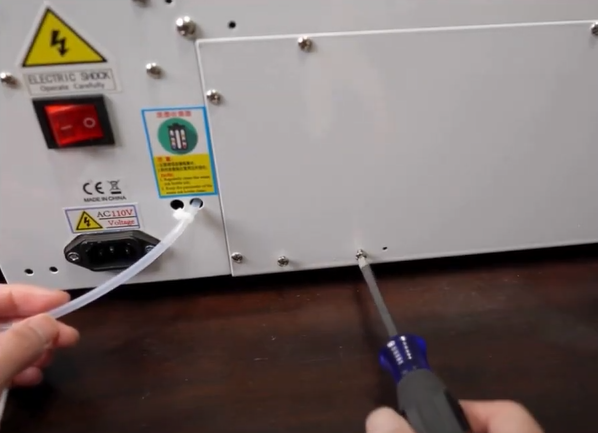
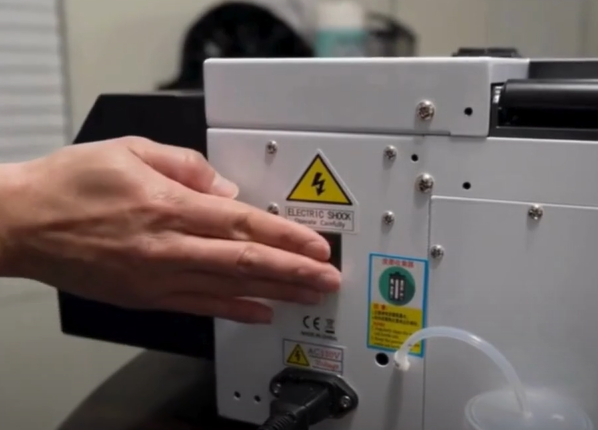
Step 2: Go to the back of the printer, remove two screws next to the power socket of the machine.
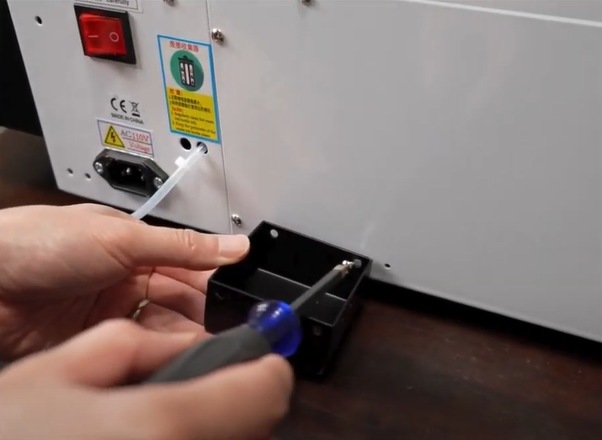
Step 3: Align the holes on the ink waste holder to the holes and screw the holder to the printer using the same screws you unscrewed.
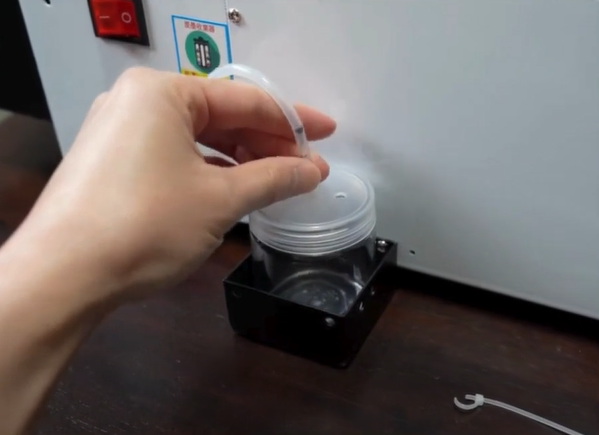
Step 4: Place the ink waste container in the holder, then carefully snip the zip tie from the tube.
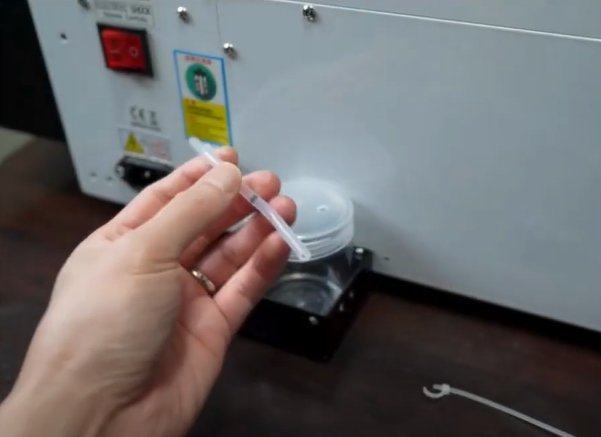
Step 5: Put the tube through the hole of the ink waste container.
Step 6: Insert the power cord into the printer, plug the other end into a power source, and turn it on.
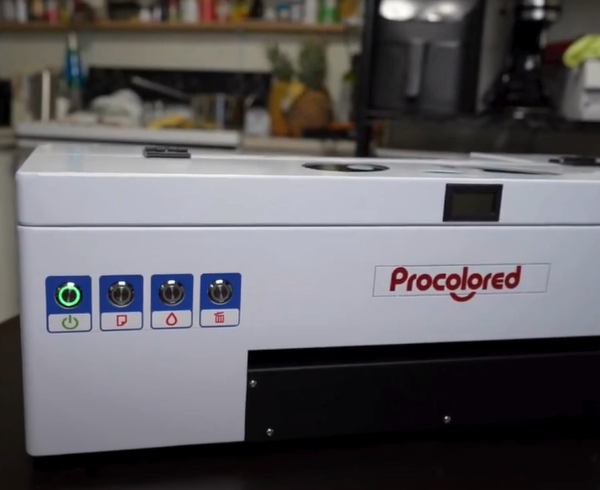
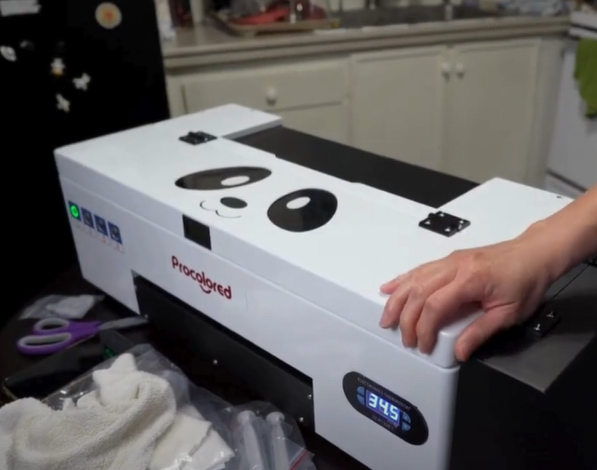
Step 7: Go to the front of the printer and press the power button.
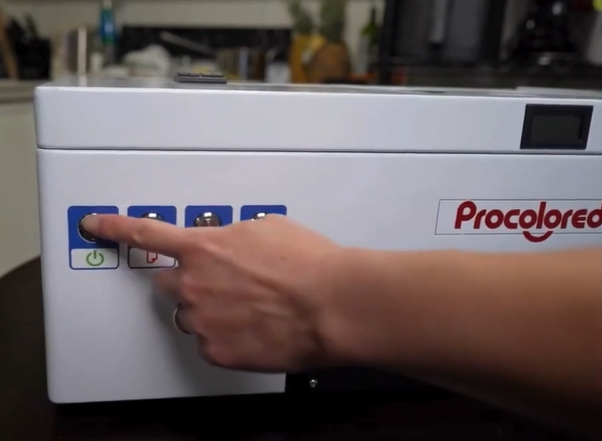
Step 8: The power light will blink a few times and turn into a solid green.
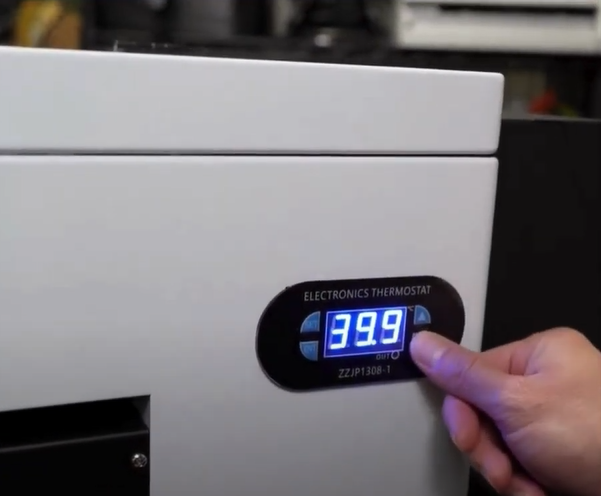
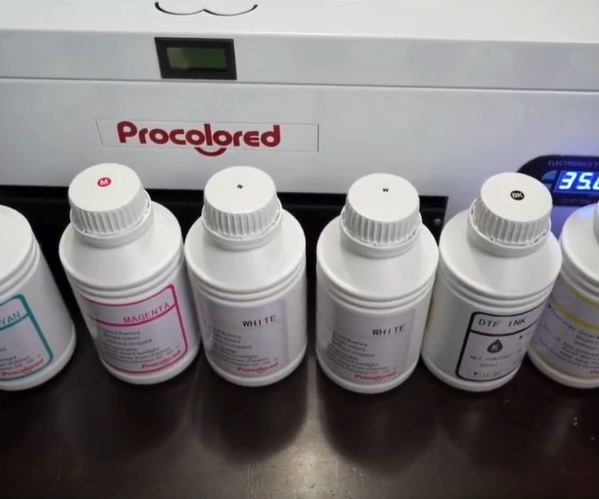
Step 9: Set the preheating temperature of the printer between 35 to 45 degrees Celsius from the right panel of the printer.
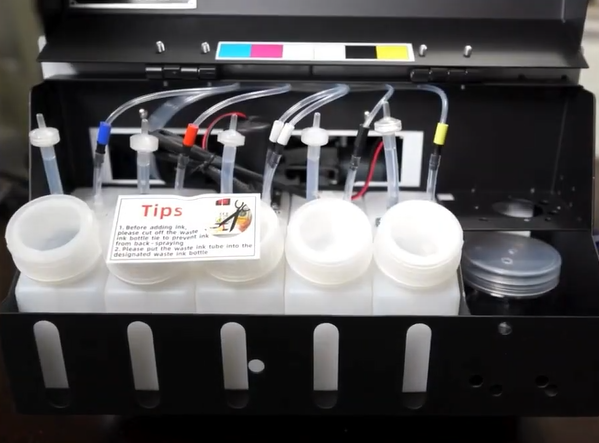
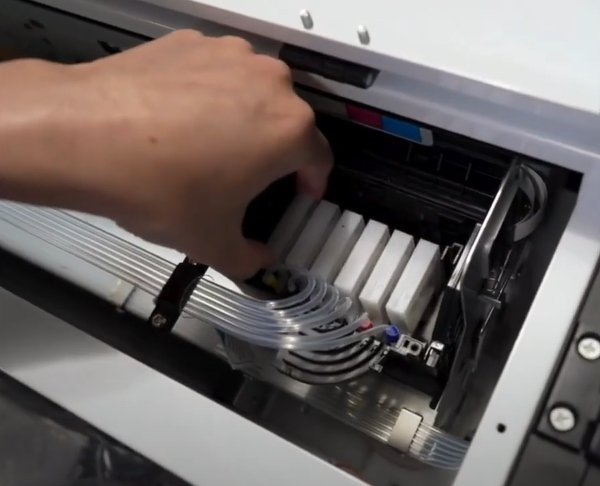
Step 10: Open the ink compartment again, look for the black ink waistline, remove the twist tie, and untangle it.
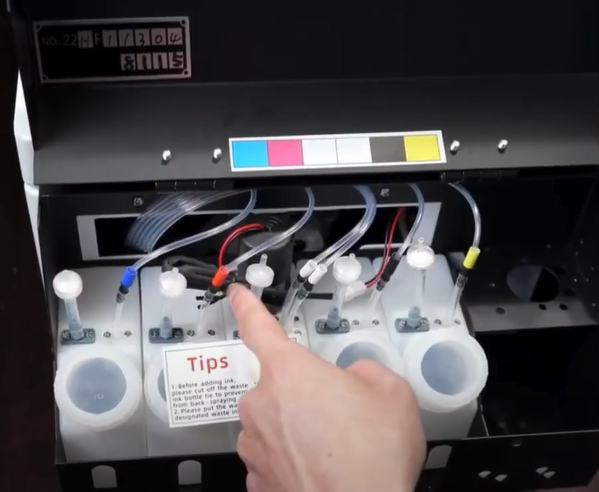
Step 11: Peel off the sticker from the ink bottles and get your colors ready.
Step 12: The ink bottles correlate with the color-coded tape on the tube line and the ink colors displayed on top.
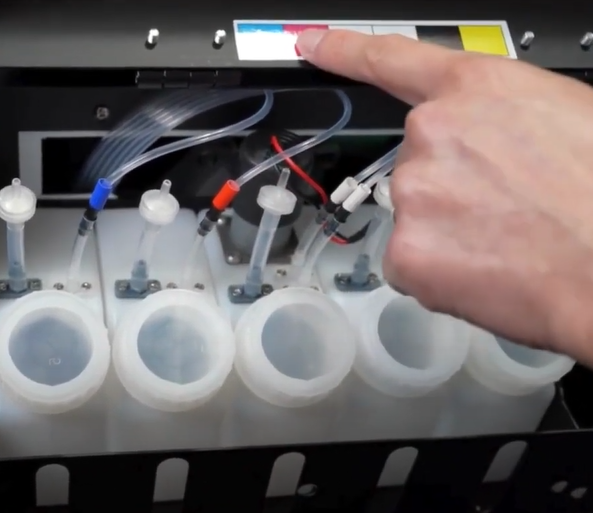
Step 13: You’ll notice that there are five bottles but six colors, as the white bottle has two tubes for the two white colors.
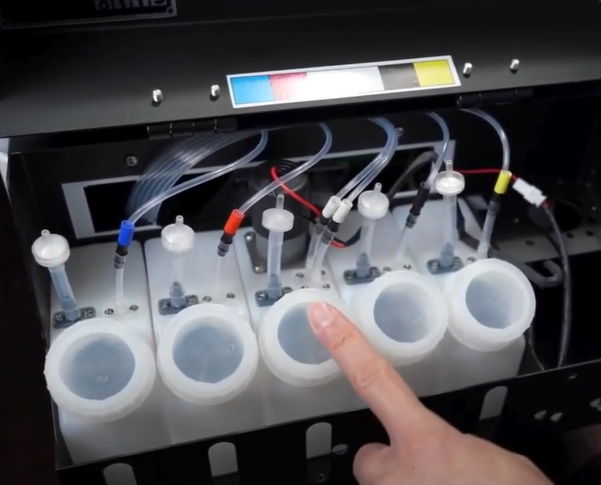
Step 14: Pour the ink into the containers following the color code guide and close the lid.

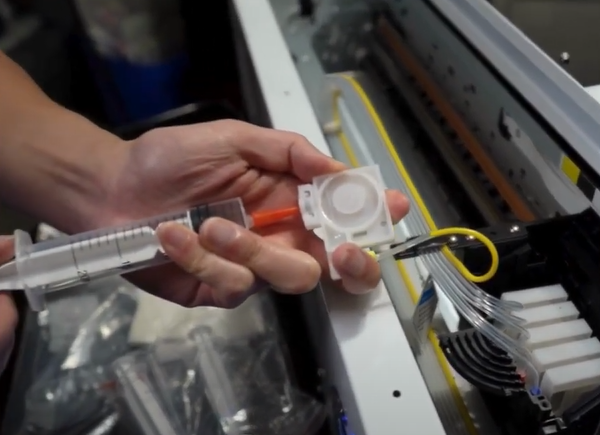
Step 15: Insert the orange tab into the syringe and open the printer cover to access the printhead and tubes.
Step 16: Carefully remove the ink cartridge from the printhead.
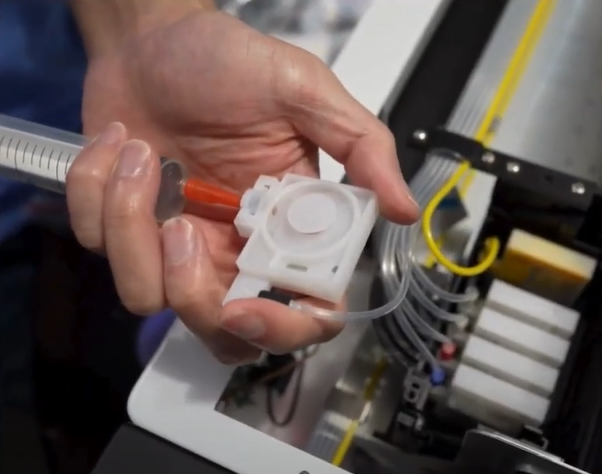
Step 17: Insert the syringe into the inlet, then slowly and carefully pull the syringe handle back.
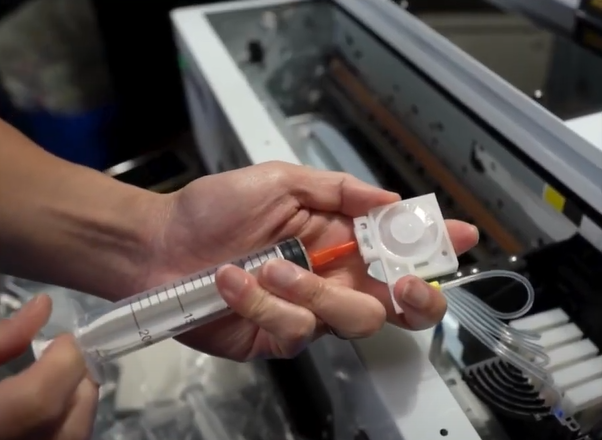
Step 18: As you pull slowly, the ink will flow through the tube and into the ink cartridge.
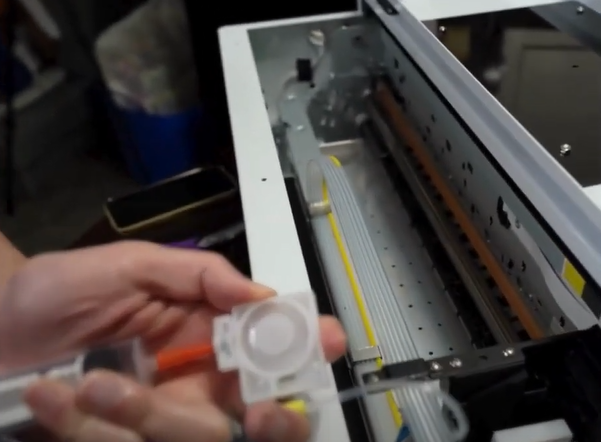
Step 19: Be careful not to push the ink back into the tube to prevent air bubbles inside the tube.
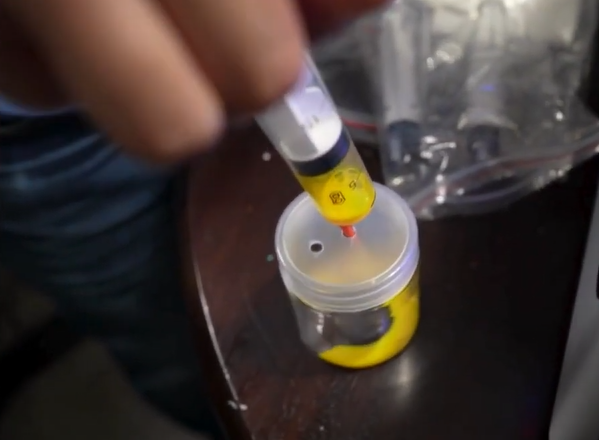
Step 20: Once the cartridge is filled, pull out the syringe and empty the excess link in the syringe into the waste container.
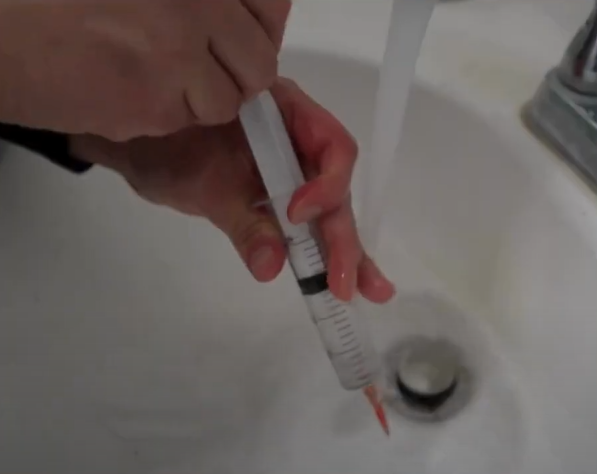
Step 21: Rinse the syringe with water.
Step 22: Go ahead and repeat the same steps with the rest of the ink cartridges.
Step 23: After you’ve pulled all the colors through the tubes, close the printer cover.
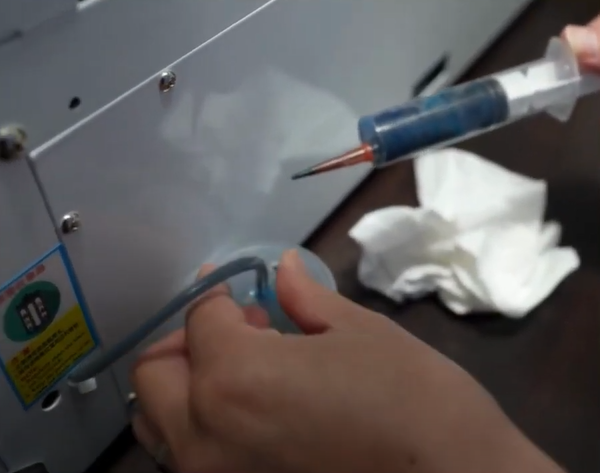
Step 24: Go to the back of the printer, insert the syringe onto the ink waistline tube, and pull it until the black ink flows through the tube.
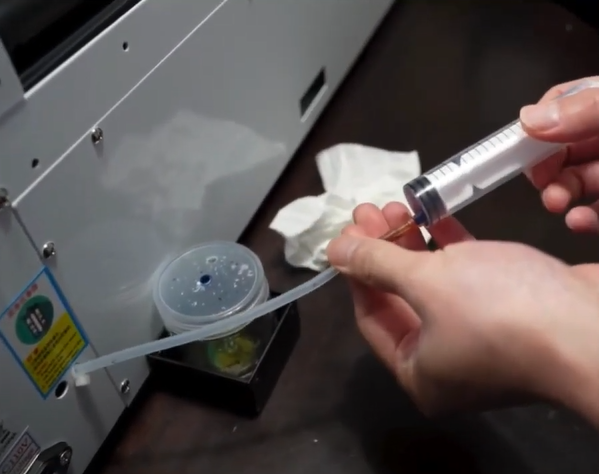
Step 25: Insert the ink tube into the ink waste container and squirt the excess ink from the syringe into the container.
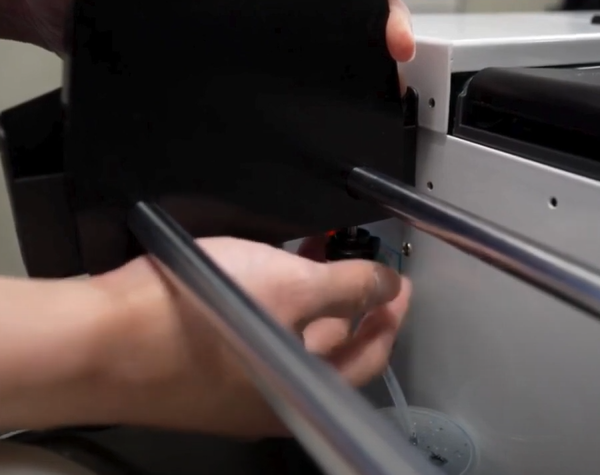
Step 26: Next, grab the roller bars and unscrew the screws from each end.
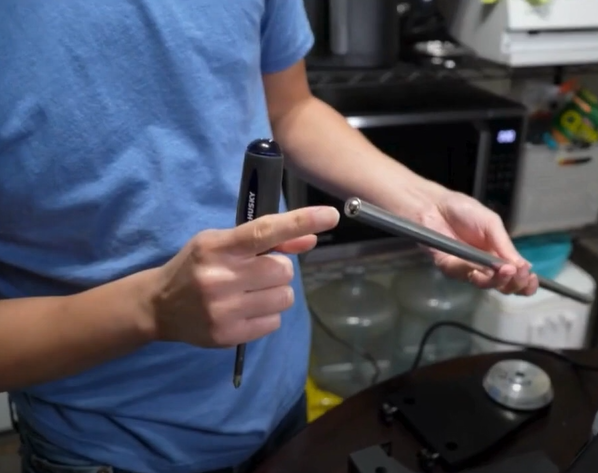
Step 27: Slide the roller bars through the roller bracket and screw them in place.
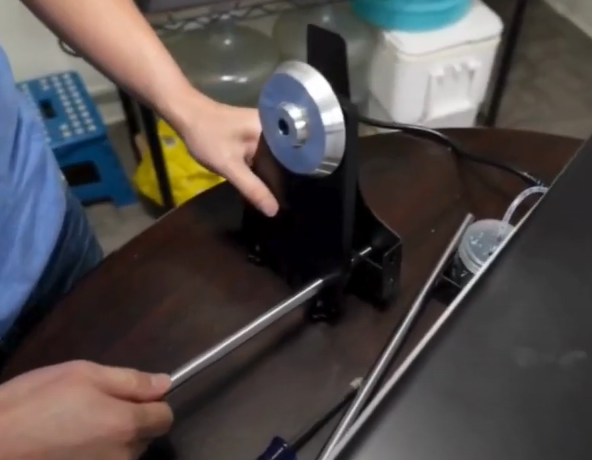
Step 28: Repeat the same steps to screw the other side of the roller bracket and the roller bars in place.
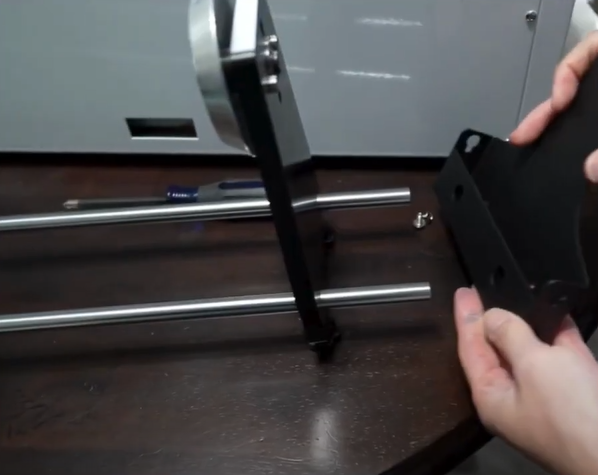
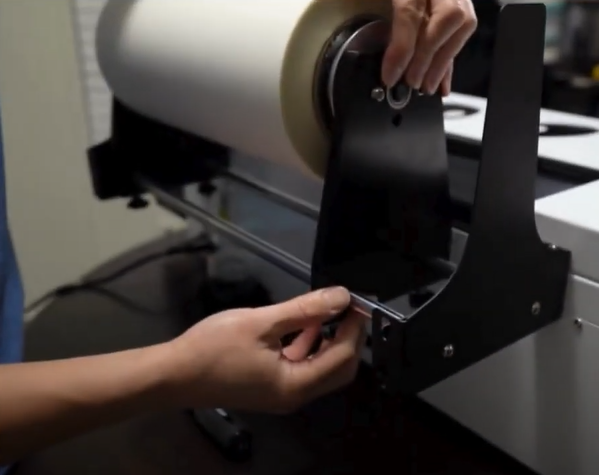
Step 29: Loosen the four screws located on the back of the printer to clip on the roller rack.
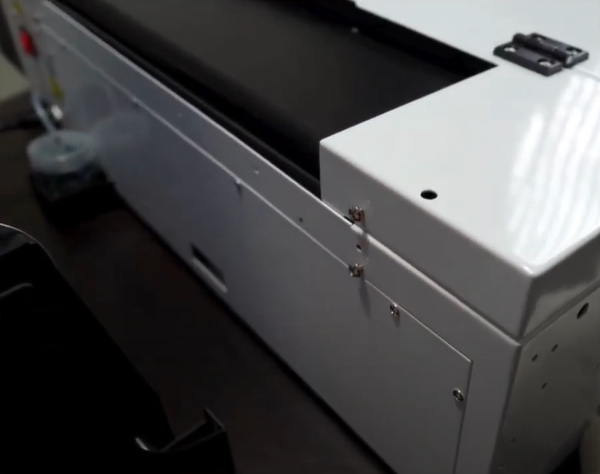
Step 30: Align the mounting holes to the screws, mount the roller rack, and tighten the screws.
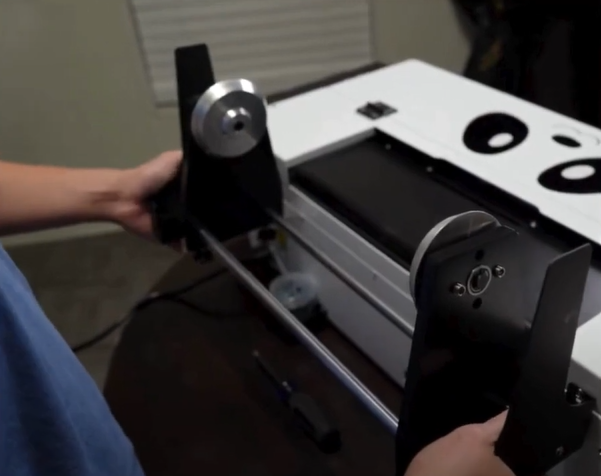
Step 31: Twist the knob located at the bottom of the roller rack to move the film row holders closer or further apart.
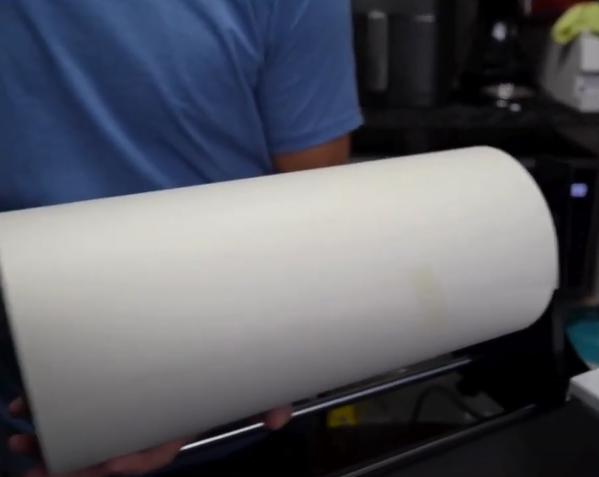
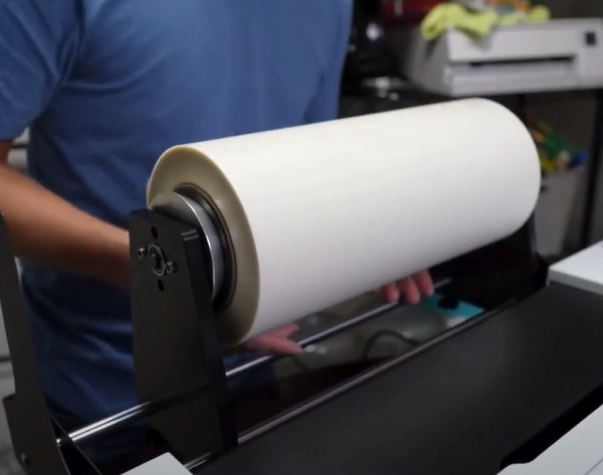
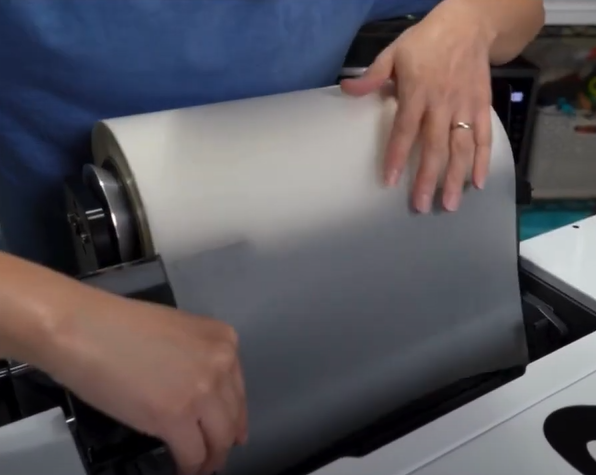
Step 32: Install the film roll and tighten the twist knob to lock it in place.
Step 33: If you’re standing behind the printer, the roller needs to be on your left side.
Step 34: If you’re standing in front of the printer, the roller should be on your right side.
Step 35: Pull the film over the rod and into the feeder, and slide the film guide to hold it in place.
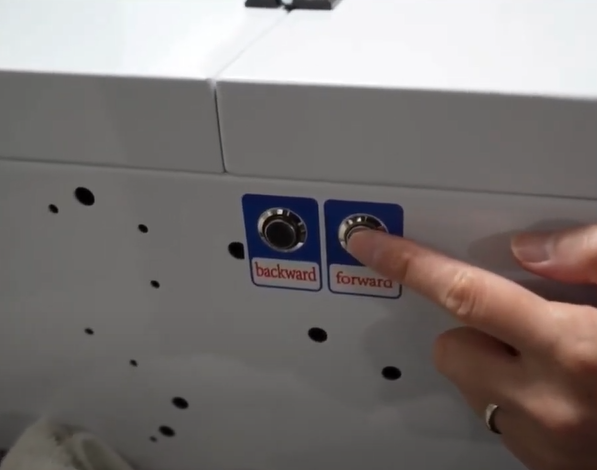
Step 36: Press the forward button on the side to feed the paper through.
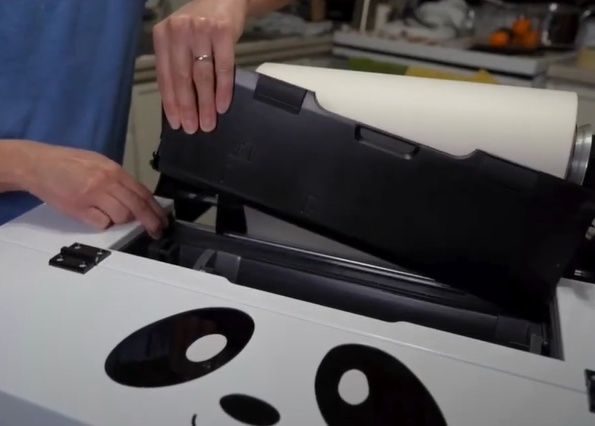
Step 37: If you are using a film roller, you can remove the film tray; to remove it, simply press the outer wall and pull up the tray.
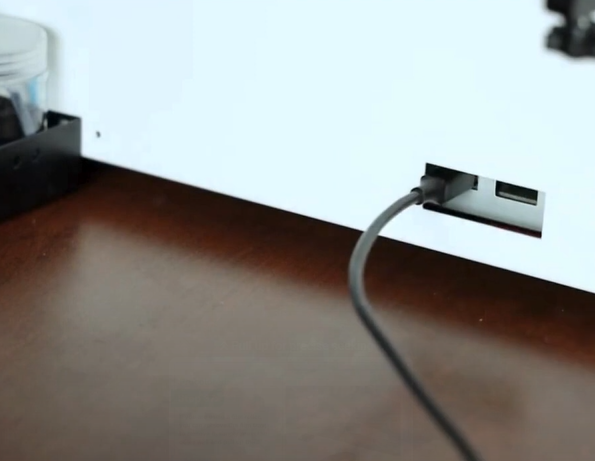
Step 38: Plug the USB cable into the printer and the other end of the computer.
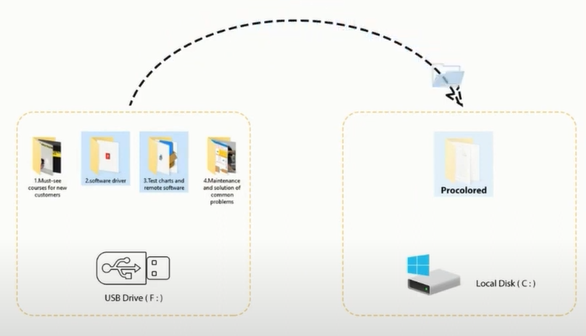
Step 39: Locate the USB flash driver with an instructional video and blue flash drive.
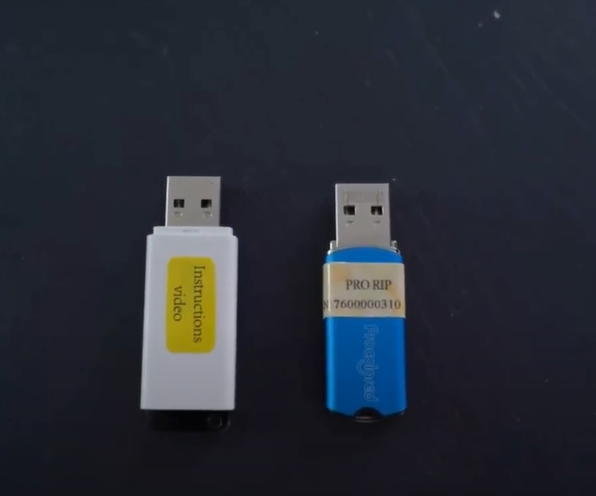
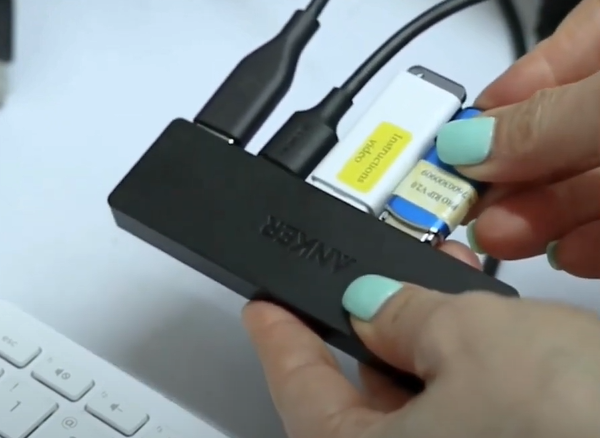
Step 40: Insert both the flash drives into the computer.
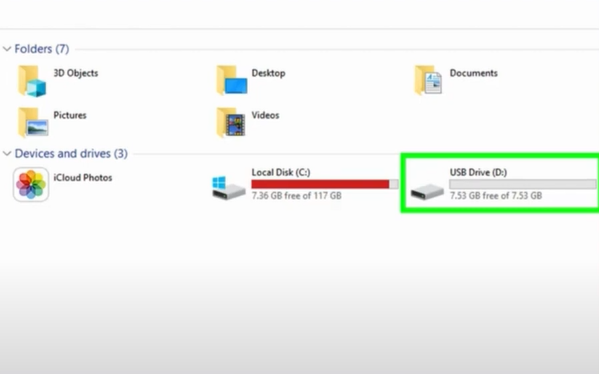
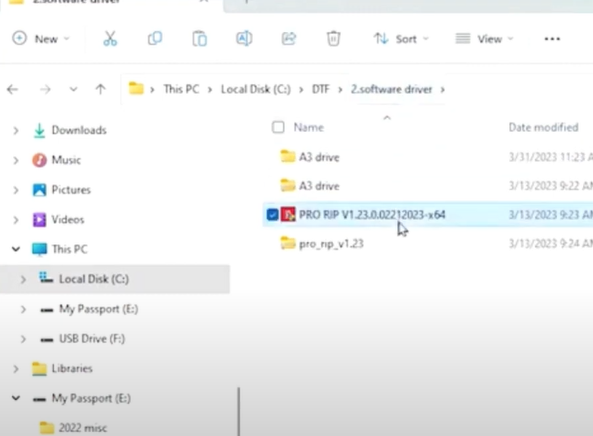
Step 41: Open the white USB flash drive and locate the Software Driver folder.
Step 42: Now, go to C drive, create a new folder, and name it.
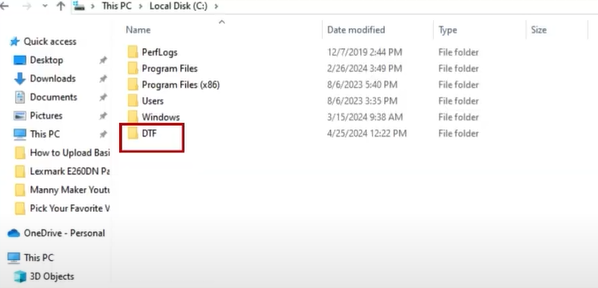
Step 43: Go back to the flash drive, copy the Software Driver folder, go to C drive, and paste it into the folder you just created.
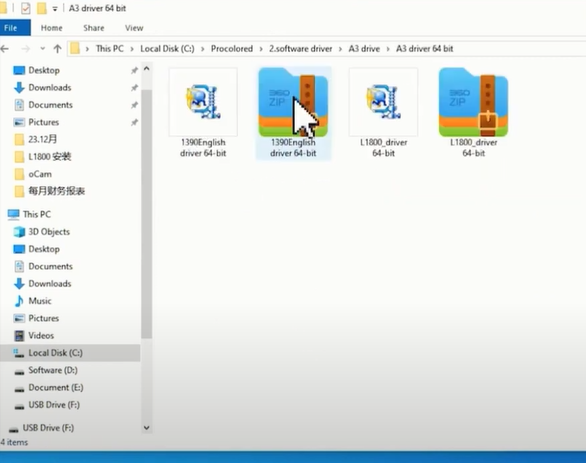
Step 44: Open the copied folder, select the first folder, select your operating system folder, and double-click the first file.
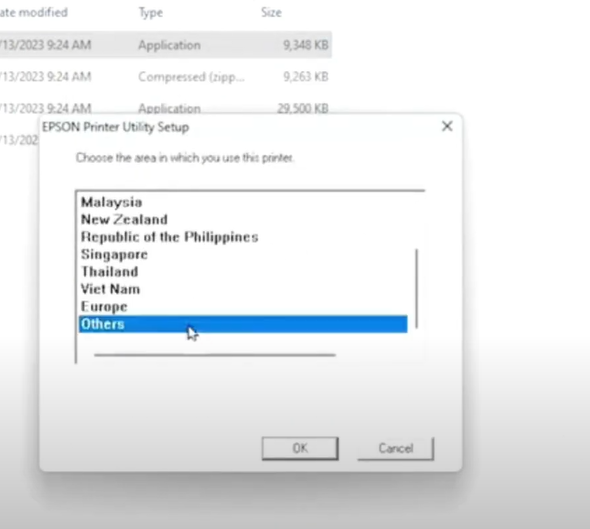
Step 45: Click OK in the pop-up window, accept the license agreement, select your country, and click OK.
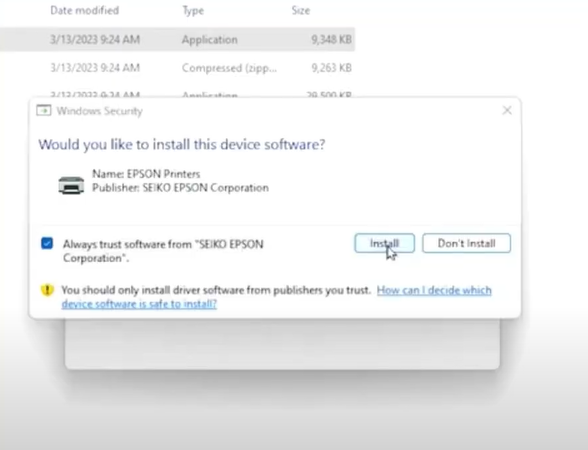
Step 46: Click Install, then click OK on the pop-up prompt.
Step 47: Return to the Software Driver folder and select the software that says PRO RIP.
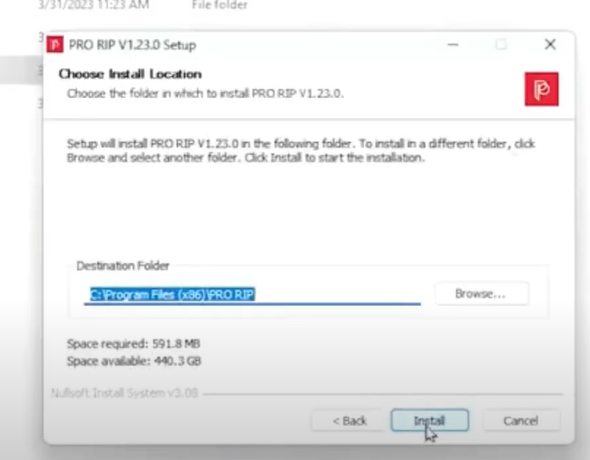
Step 48: Click Next in the Welcome screen, then click Install to begin the installation process.
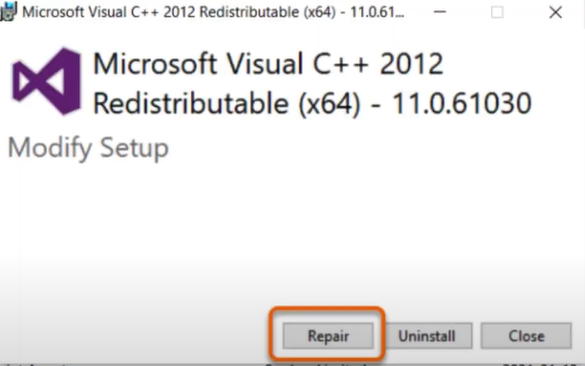
Step 49: Click Repair in the Microsoft Visual C++ window.
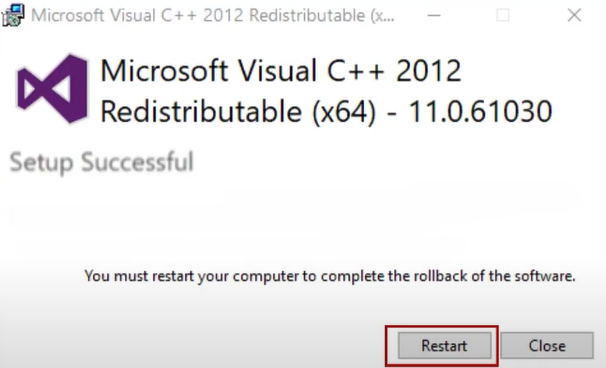
Step 50: When it tells you to restart the computer, click restart to complete the process.
Conclusion
By adhering to the aforementioned steps and referring to the user’s manual, you can set up your Procolored DTF printer. If you are still facing problems setting up your printer, contact a professional for help. Get expert guidance on the Procolored DTF Printer setup process.