
Silhouette Cameo 4 is a DIY cutting machine that allows you to make accurate cuts in vinyl, paper, fabric, cardstock, and other materials. So, have you got your new Silhouette Cameo 4 but don’t know the right way to set up Silhouette Cameo 4?
Most people need help setting up their Silhouette Cameo 4 cutting machine. They may often face problems like a lost bluetooth connection, cutting settings, or blade calibration. If you are also one of those, here is a step-by-step guide you can follow. Read further to learn all the basic instructions, from unboxing to connecting the device to your desktop.
Silhouette Cameo 4 Setup Process: Steps to Follow
The Silhouette Cameo 4 Setup Process can be complex and time-consuming. So, if you are new and want everything to go right, adhere to the following:
Step 1: Take the Silhouette Cameo 4 out of the box and remove all the tape.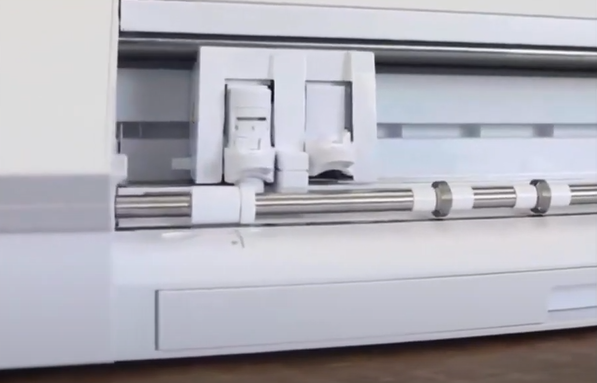
Step 2: Open the web browser and visit the official Silhouette setup page.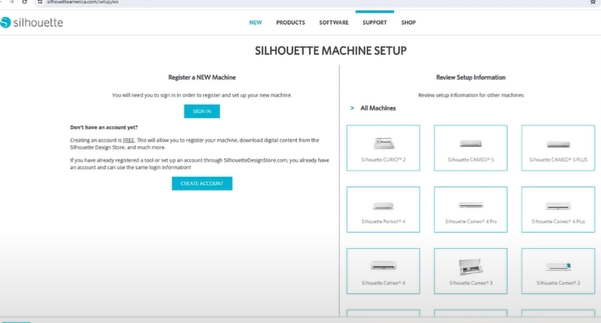
Step 3: Click Create Account, fill in all the information, confirm that you’re not a robot, and click Create Account.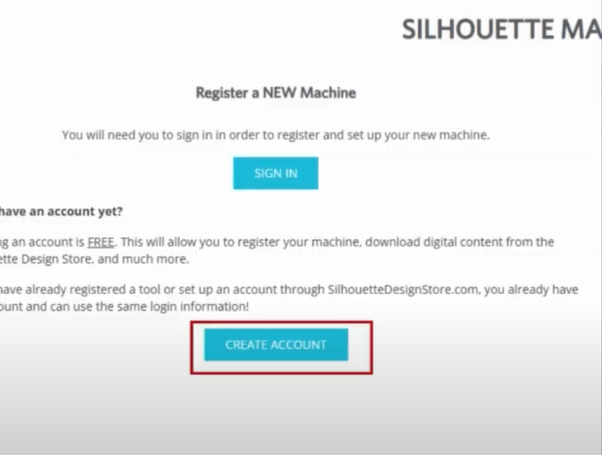
Step 4: Once you’ve created an account, fill in your address and click Continue.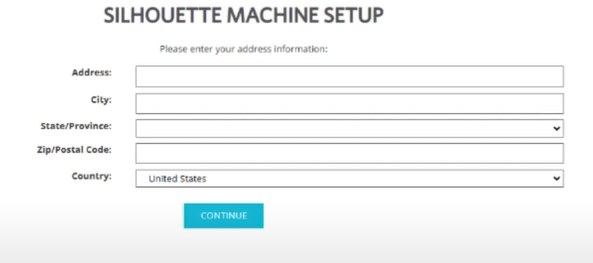
Step 5: Now, go ahead and enter the serial number of the machine, the purchase date, and where you purchased it from, and click Submit Registration.
Step 6: Navigate to the official Silhouette Software website.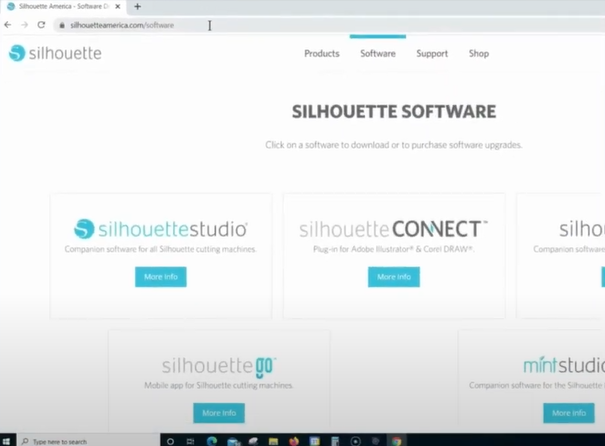
Step 7: Click the More Info button under Silhouette Studio.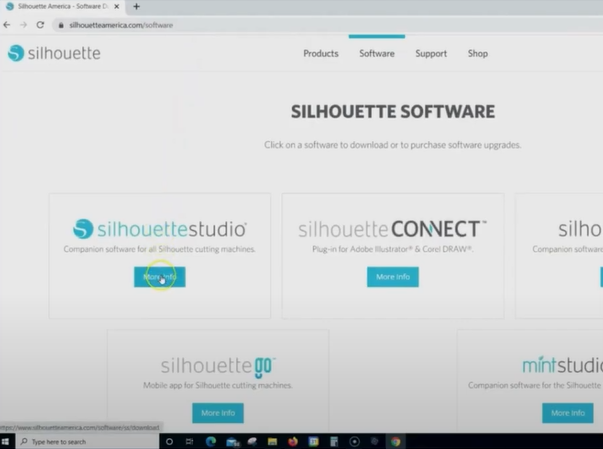
Step 8: Select your Windows operating system from the drop-down and click Download Silhouette Studio.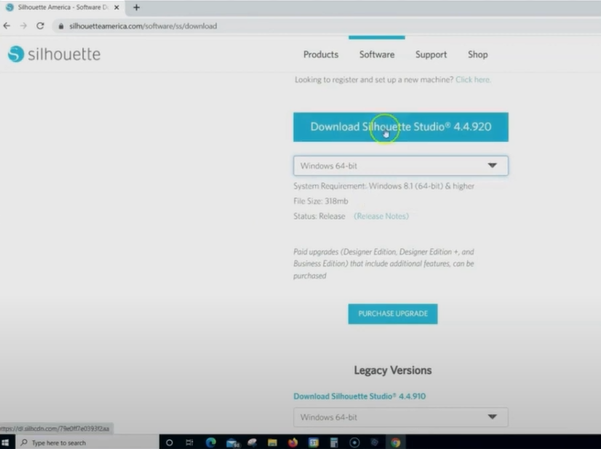
Step 9: Open the downloaded file and click Next on the Welcome screen.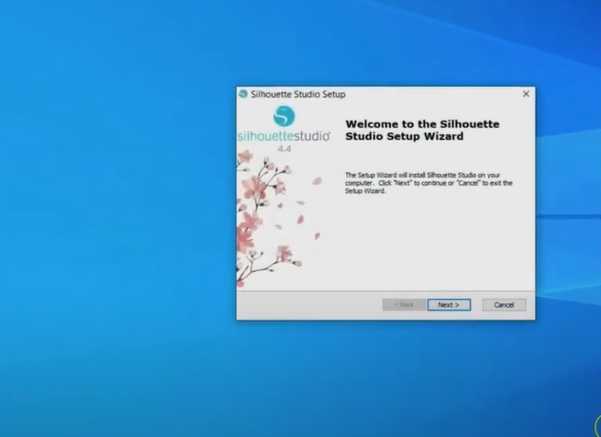
Step 10: Click Next again, click Install in the Ready to Install screen, and it’ll start installing.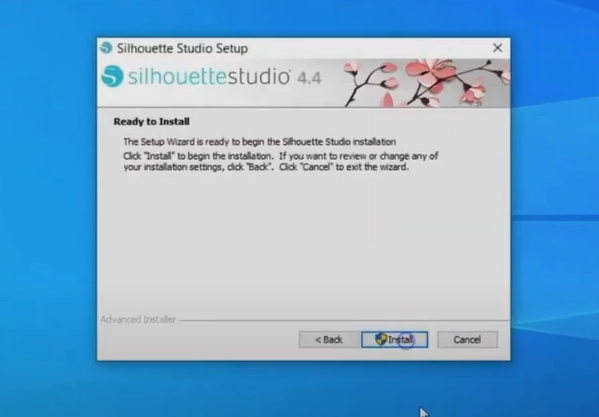
Step 11: When you get the Completing the Silhouette Studio Setup Wizard screen, click Finish.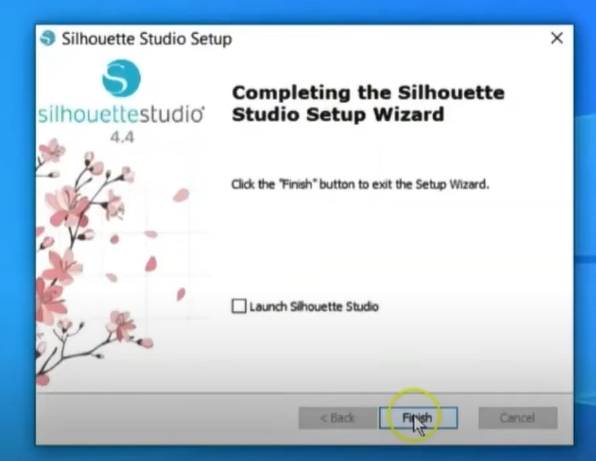
Step 12: Once done, plug the power cable into the machine.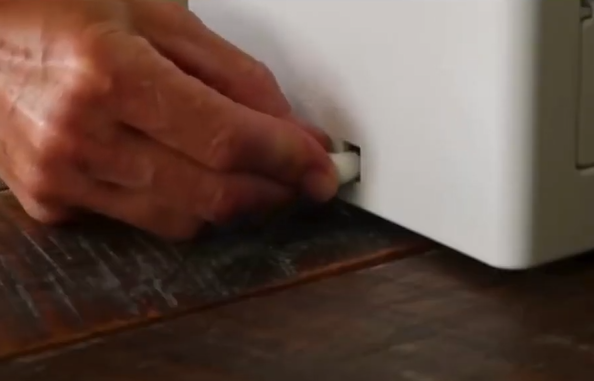
Step 13: Connect the machine to the computer using a USB cable.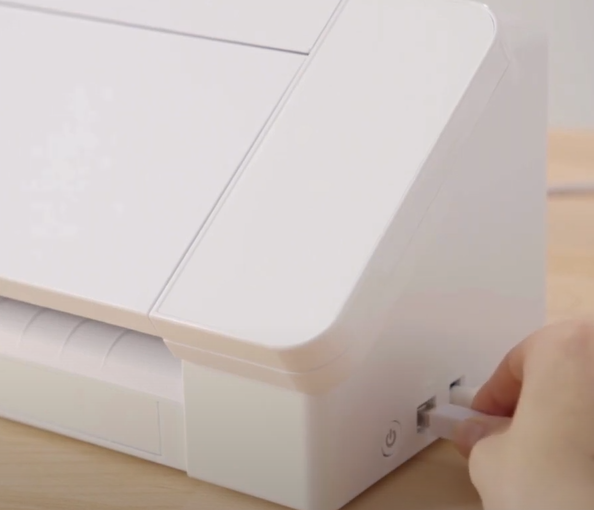
Step 14: Power on the machine, open it, and insert the blade.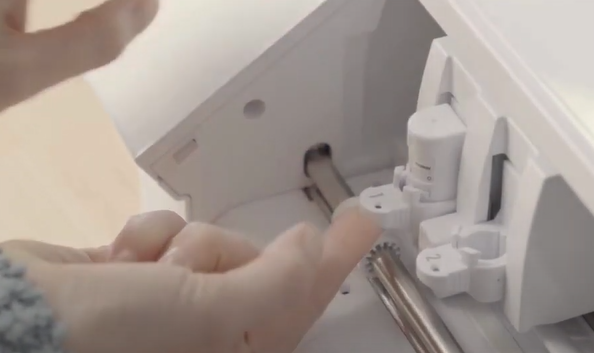
Step 15: Open Silhouette Studio, and you can start designing.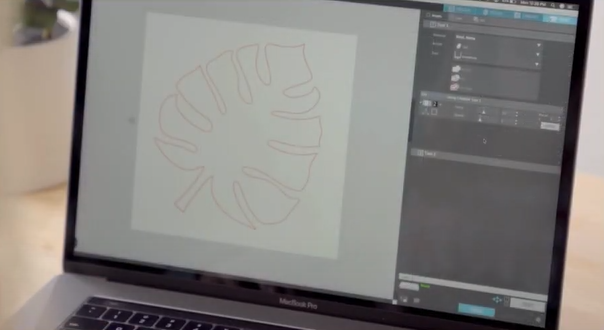
Conclusion
We hope you found the above “how to do silhouette cameo 4 setup” steps helpful. However, reach out to a professional if you are unable to set up your silhouette cameo 4 even after trying these steps.


