

But do you know the process of setting up your machine? If not, then we are here to help you. Take a look at the step-by-step result-oriented instructions to setup your Silhouette Cameo 4 machine without any hassle.
Common Problems During Silhouette Cameo 4 Setup
Though the Cameo 4 setup process is easy, it is not surprising if you face any problems. Let’s take a look at some common problems.
- Facing Bluetooth connectivity issues due to distance.
- Software not working properly or crashing.
- Problems with blade functionality and cutting precision
- Unable to create the account or sign in problem.
- There is a problem with the registration marks for the Print Then Cut and more.
Steps to Setup Silhouette Cameo 4
Follow-up is the proven steps on how to setup Silhouette Cameo 4 machine on a PC. Follow the steps to complete the setup process and start making stunning projects right away.
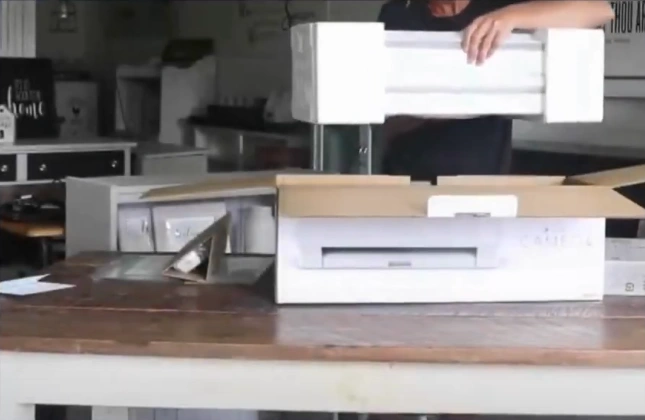
1. First and foremost, take the Silhouette Cameo 4 out of the box and remove all the tape.
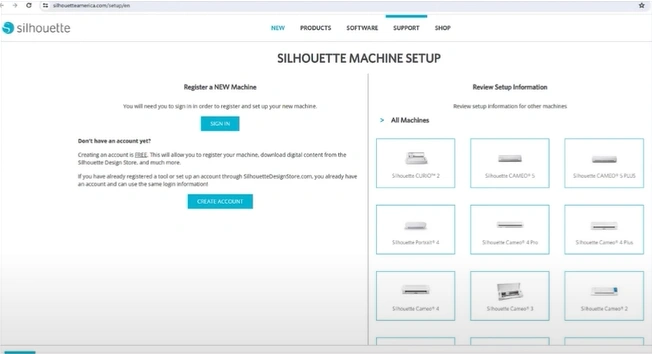
2. Open the web browser and visit the official Silhouette setup page.
3. Next, click on the Create Account button, fill in all the information, confirm that you are not a robot, and click Create Account.
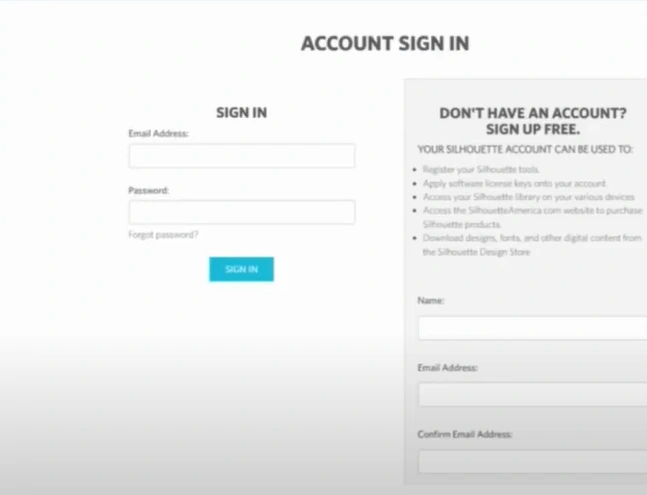
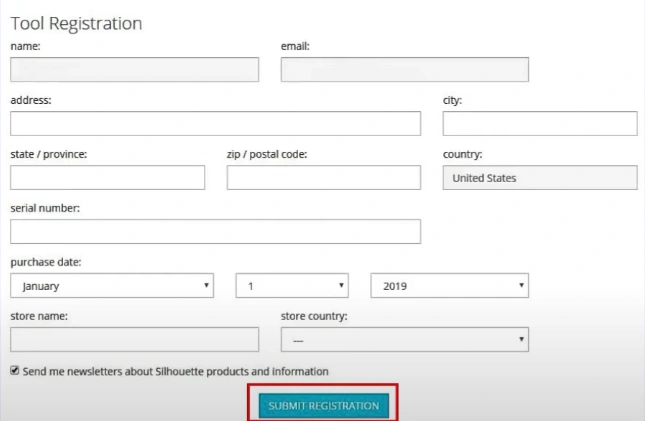
4. Once you have created an account, fill in your address and click Continue.

5. Now, go ahead and enter the serial number of the machine, the purchase date, and where you purchased it from, and select the Submit Registration option.
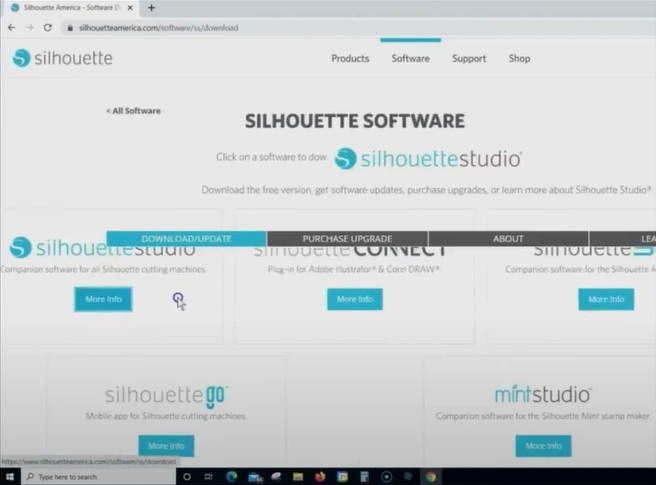
6. Next, navigate to the official Silhouette website.

7. Click the More Info button located under Silhouette Studio.
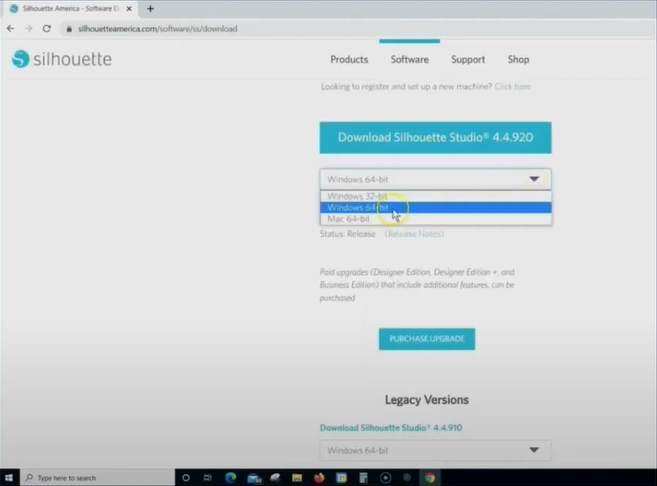
8. Select your Windows operating system version by opening the drop-down menu and clicking Download Silhouette Studio.
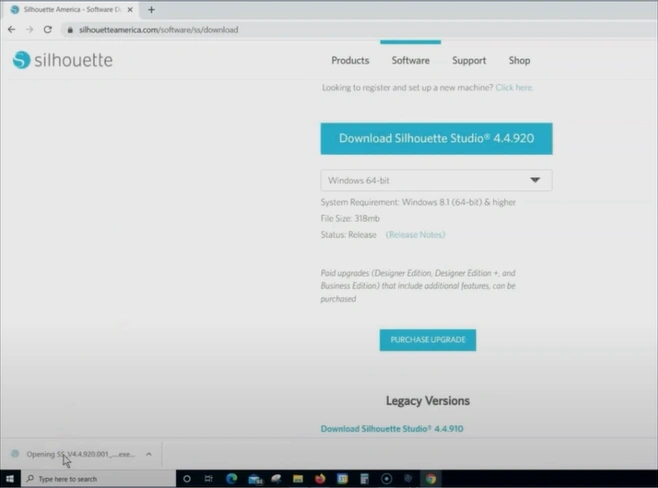
9. After downloading the file, click Next on the Welcome screen.
Also Read:- How to Calibrate Silhouette Cameo 4?
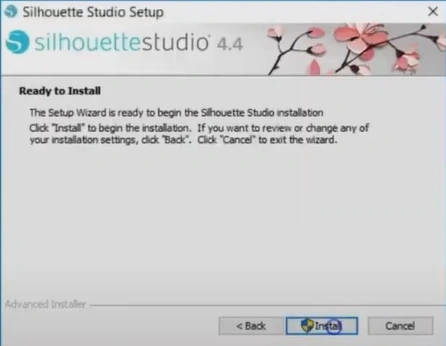
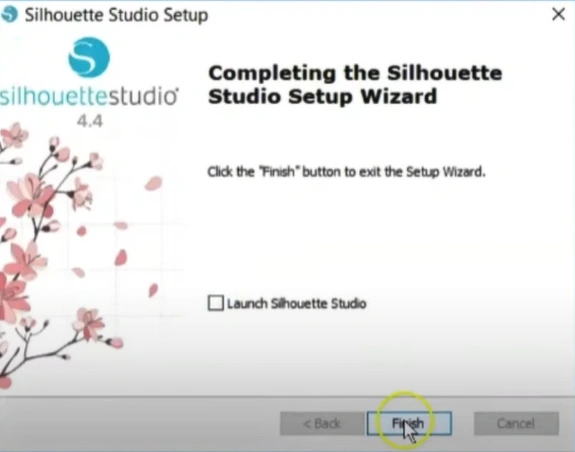
10. Choose Next again, click Install in the “Ready to Install” screen, and it will start installing.
11. When you get the Completing the Silhouette Studio Setup Wizard screen, click Finish.
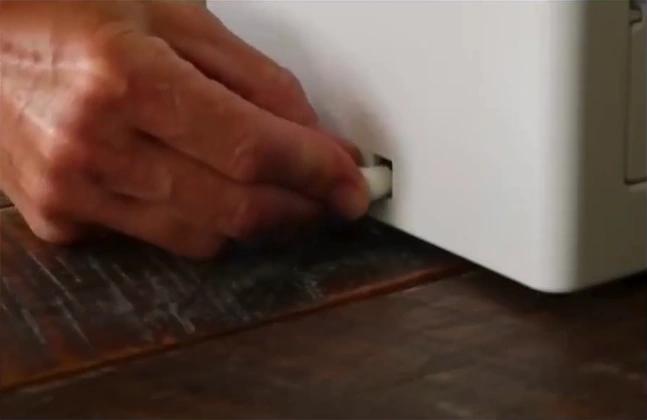
12. Once done, plug the power cable into the machine.
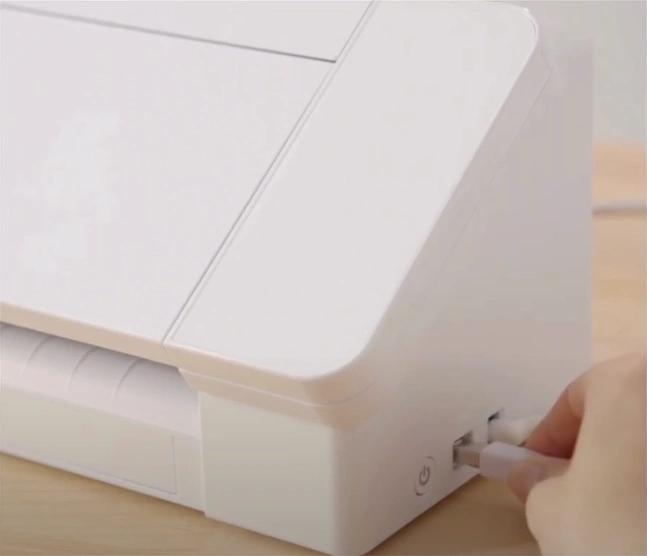
13. Connect the machine to the computer using a USB cable.
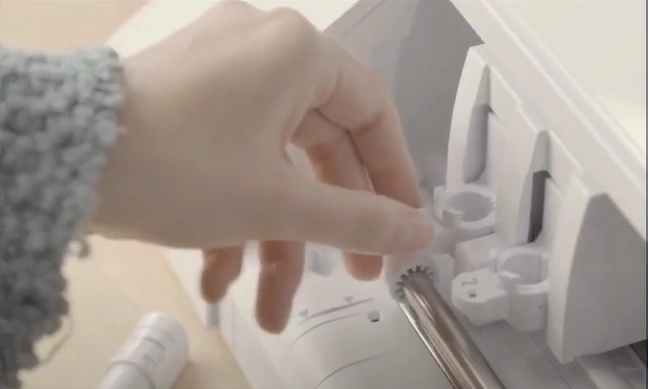
14. Power on the machine, open it, and insert the blade.
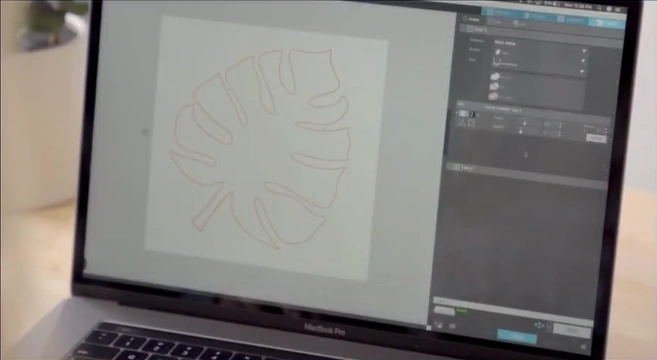
15. Now, open the Silhouette Studio app and start designing.
You now have detailed information on how to setup Silhouette Cameo 4 and the potential problems you may face during the process. If you use all this information correctly, then you will be able to setup the machine and use it without facing any challenges.
In addition, make sure to consider other things like downloading the design software from the official website, using the correct materials, keeping the machine on a flat surface, and more. Besides that, if you have any doubts or are facing any difficulties while setting up the crafting machine, feel free to get additional assistance.


