
The Silhouette Cameo 3 is a versatile crafting machine that is perfect for creating personalized designs, cutting materials, and enhancing DIY projects. It offers advanced features, such as a sleek design and cutting-edge technology, that ensure precise and effortless cutting for various projects. In addition, its easy-to-use interface makes it easier for beginners and hobbyists to use the machine.
If you are new to the Silhouette Cameo 3 machine, it’s helpful to understand the basics before starting your first project. So, ready to learn how to use Silhouette Cameo 3? Discover the straightforward tutorial to gain detailed steps for using and creating a project with your Silhouette Cameo machine.
Common Issues When Using Silhouette Cameo 3
You may face many common issues while using your Silhouette machine. Let’s take a look at some issues.
- The machine is not cutting perfectly.
- The blade is not moving correctly up and down.
- Your crafting machine is not connected thoroughly.
- The machine faces issues when registering the mark on the page.
Steps to Use Silhouette Cameo 3 to Create a Project
Carefully read every step of the follow-up procedure to learn how to use your crafting machine thoroughly.
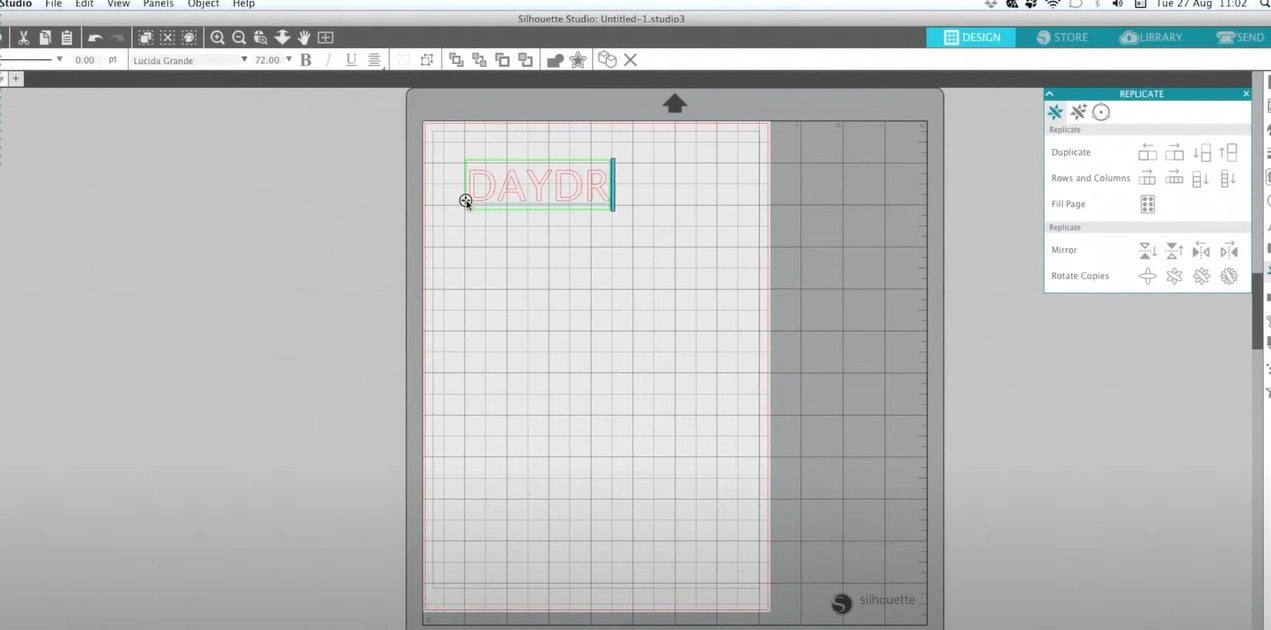
1. First, open the canvas and write some words.
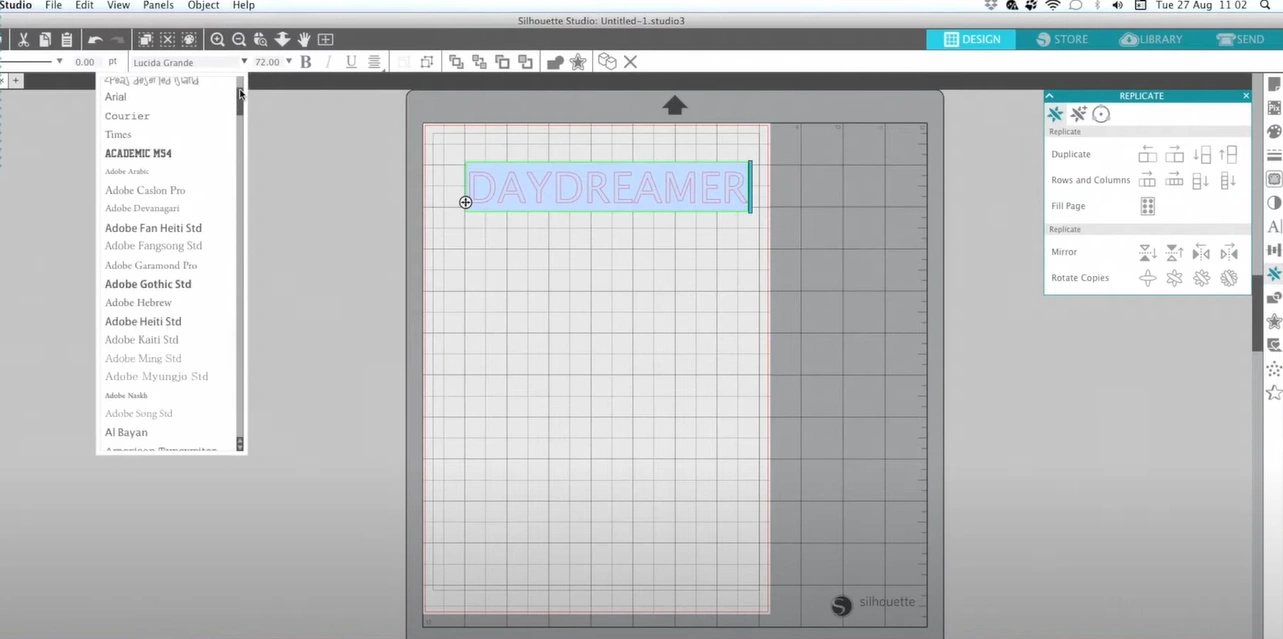
2. Next, select a font if you want.
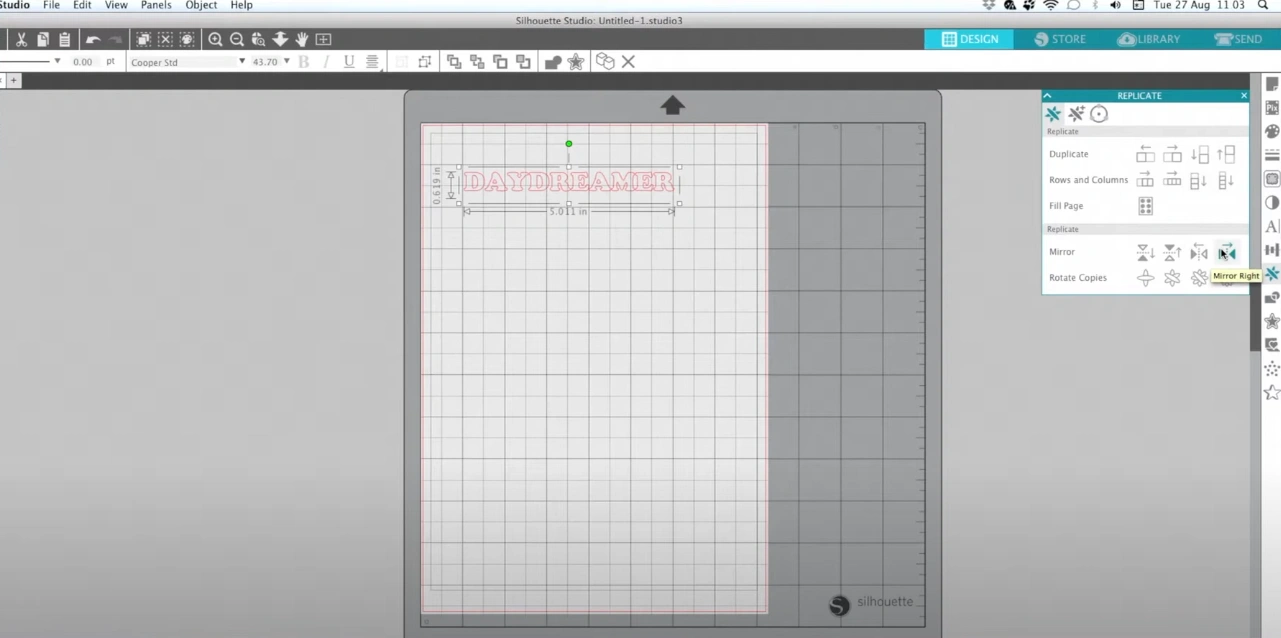
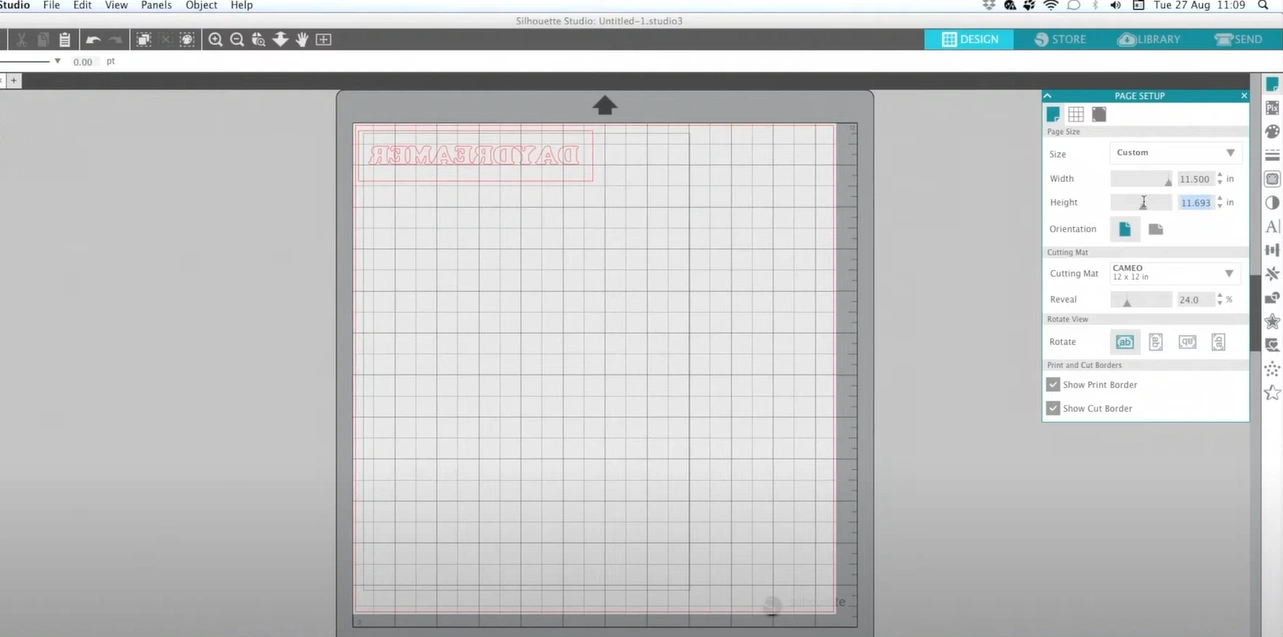
3. Now, you need to flip your text horizontally by going to the mirror section. (Add a box around your text! This will help you with weeding later.)
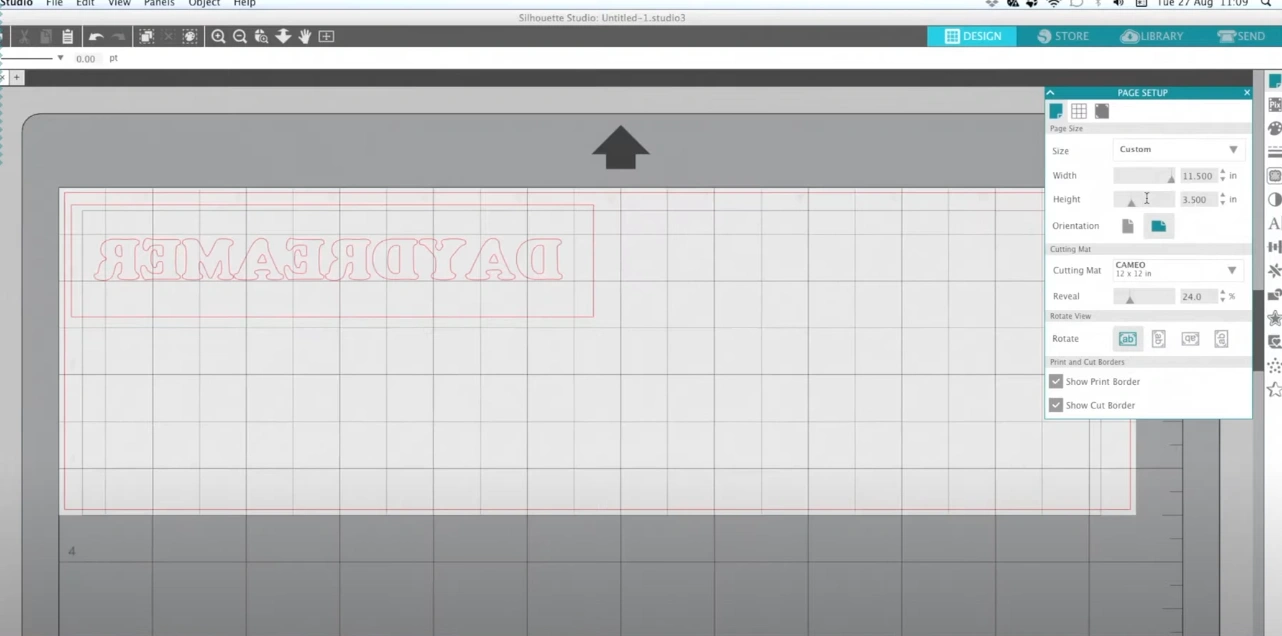
4. After that, change the size of the page to match the size of the vinyl.
5. Select the material settings you are using to suit the vinyl.
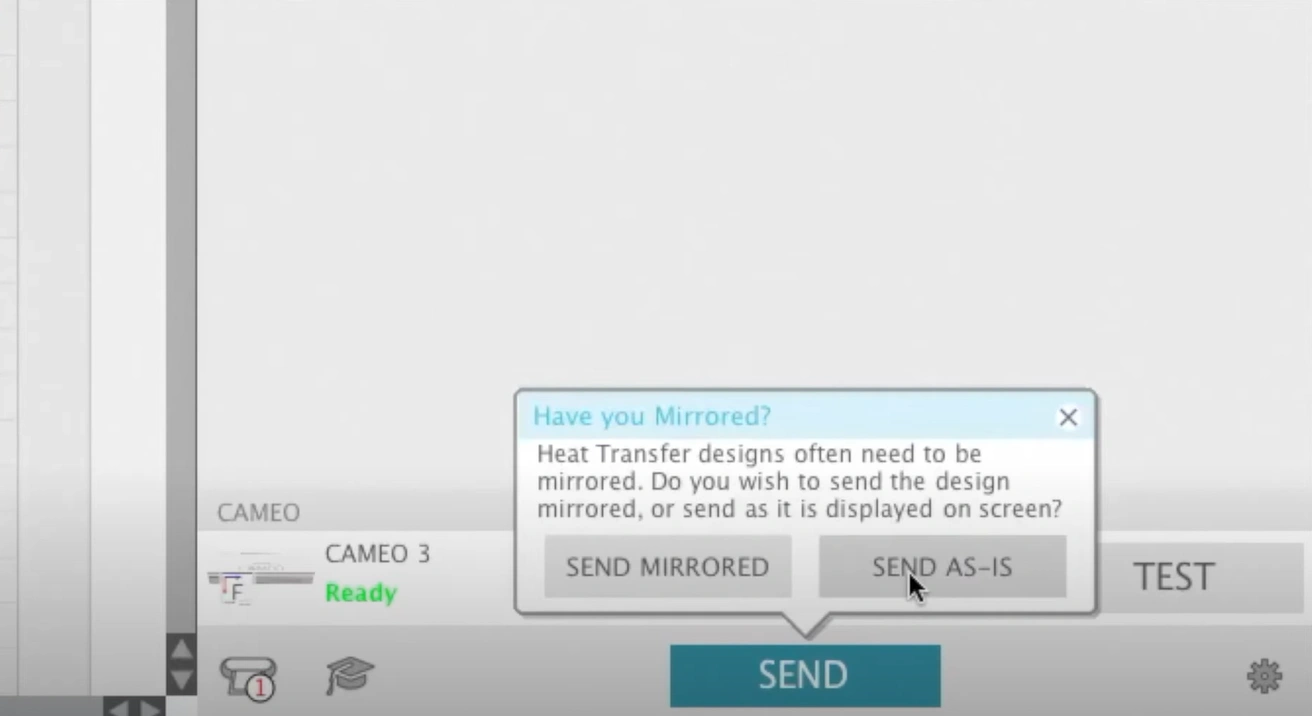
6. You should choose the ‘Send as is’ option later after loading the vinyl into the machine.
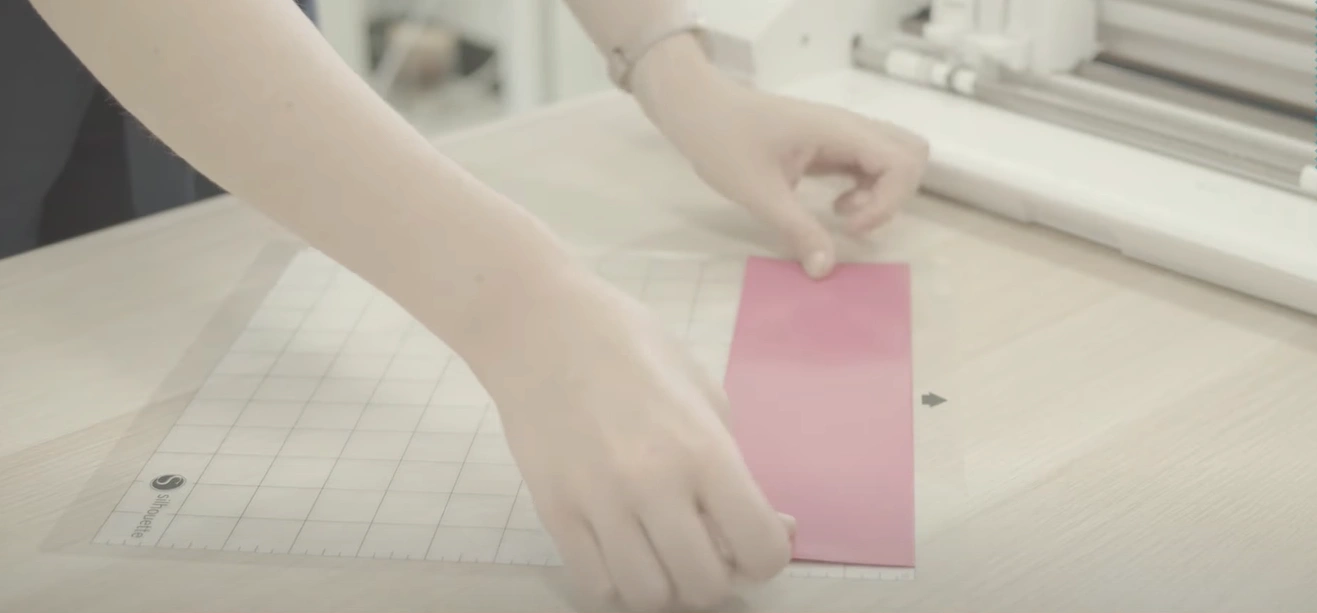
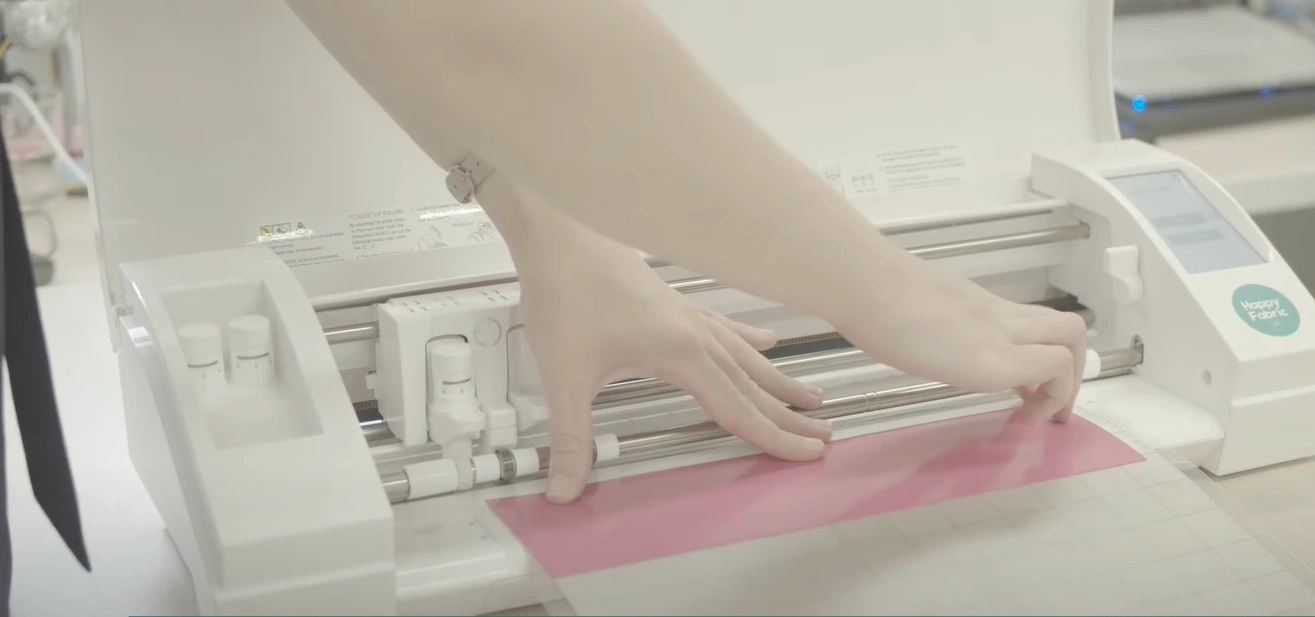
7. Peel off the protective sheet and place the vinyl on the gridded mat that aligns it with the grid on the screen. (Make sure that the shiny side of the vinyl is down)
8. Insert the mat into the cutter, ensure that the arrow points toward the machine, and press the Load button. Then, head to your computer and select the ‘Send as is’ option.
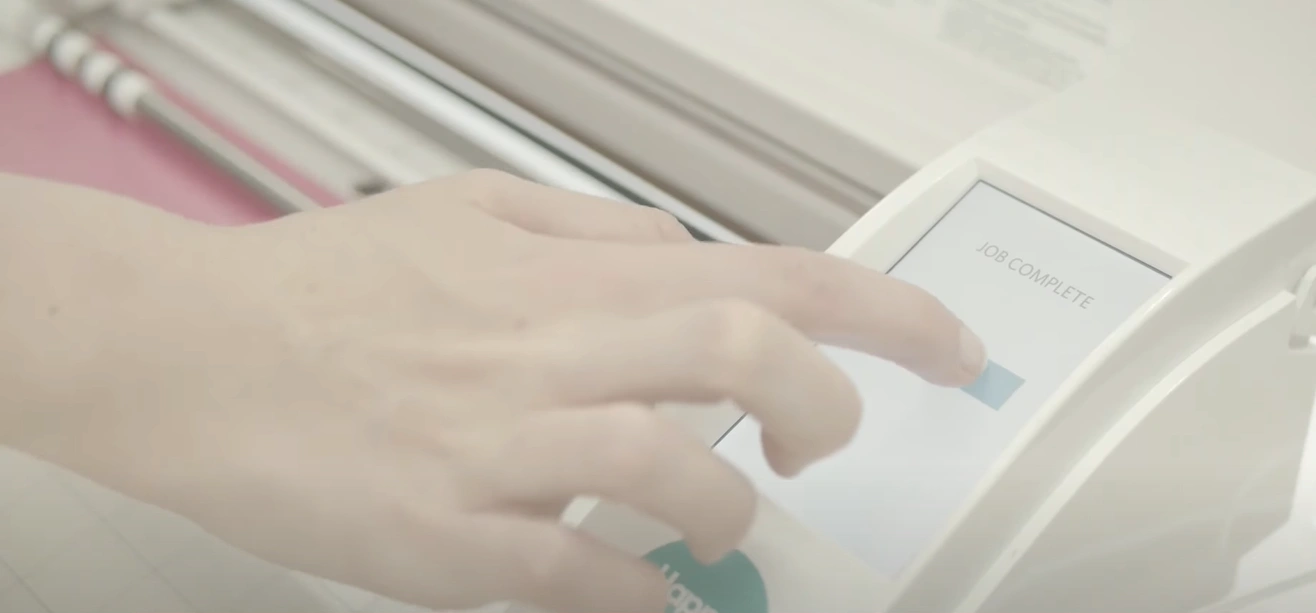
9. When the cutting is complete, press Unload on the cutter.
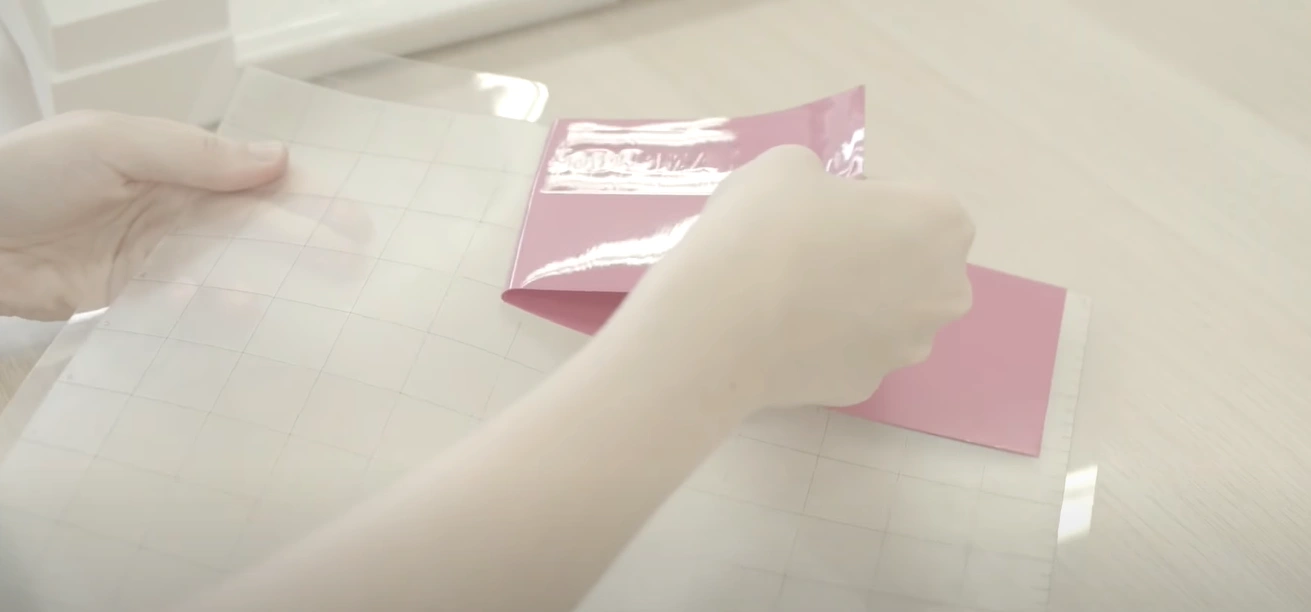
10. Remove the vinyl and take out the extra part from it.
Also Read:- How to Connect Silhouette Cameo 3 to Bluetooth?
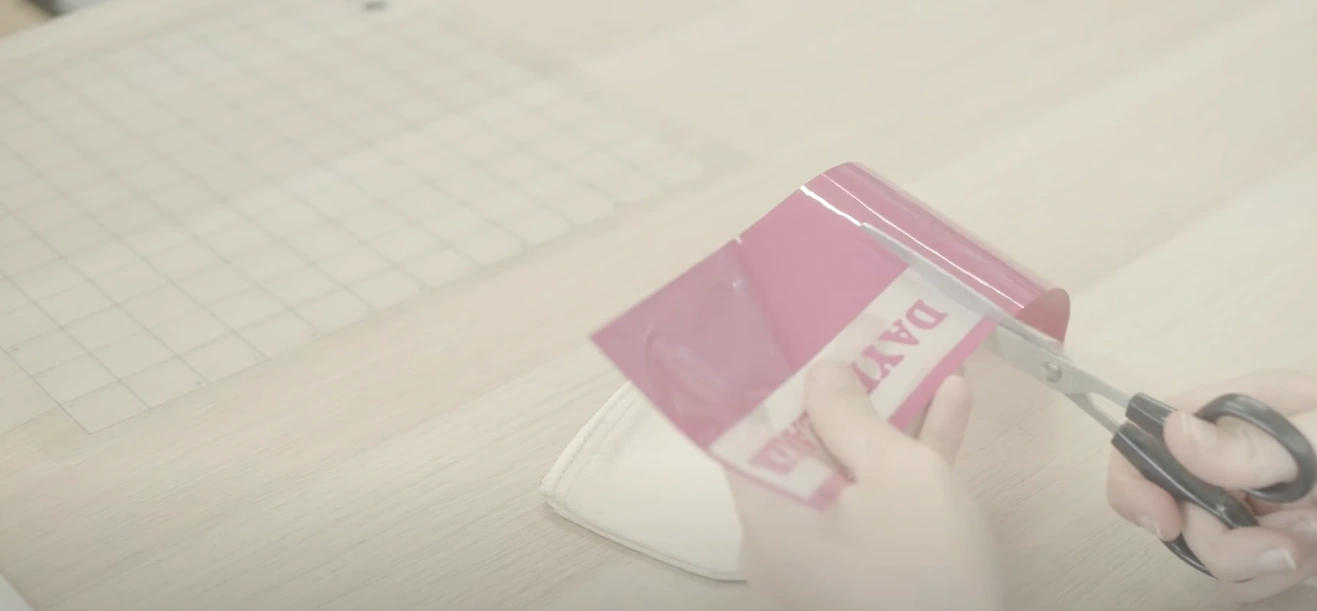
11. Cut any excess vinyl with the help of a scissor.
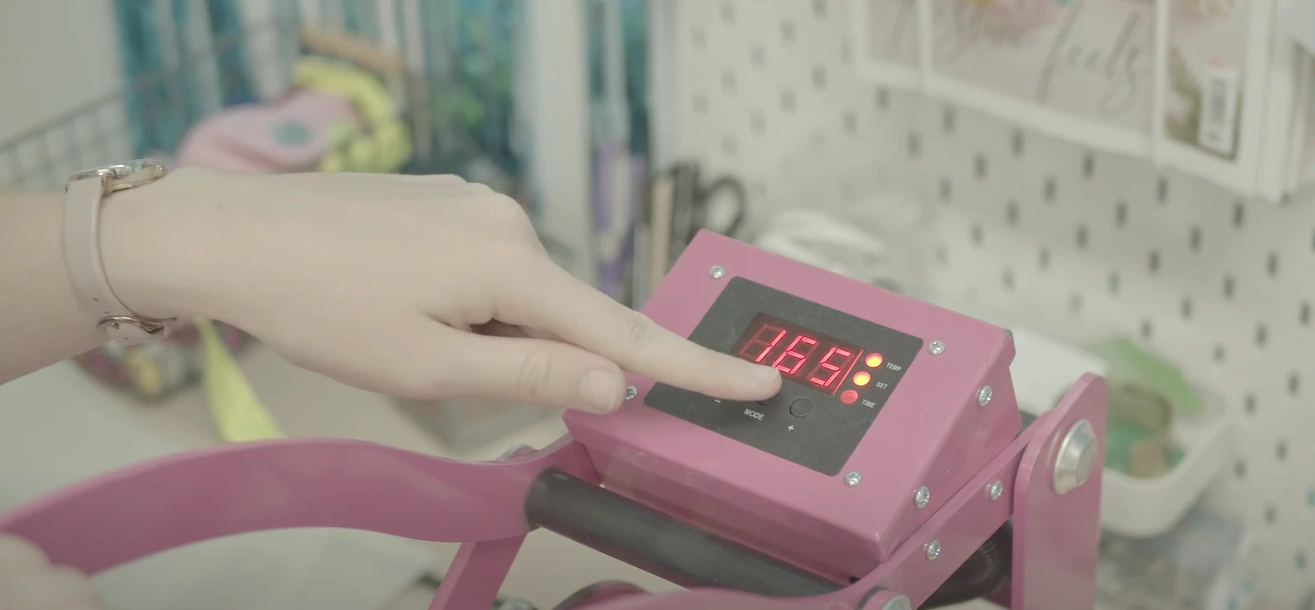
12. Turn on your heat press machine and choose the settings as per the vinyl and base material you are using.
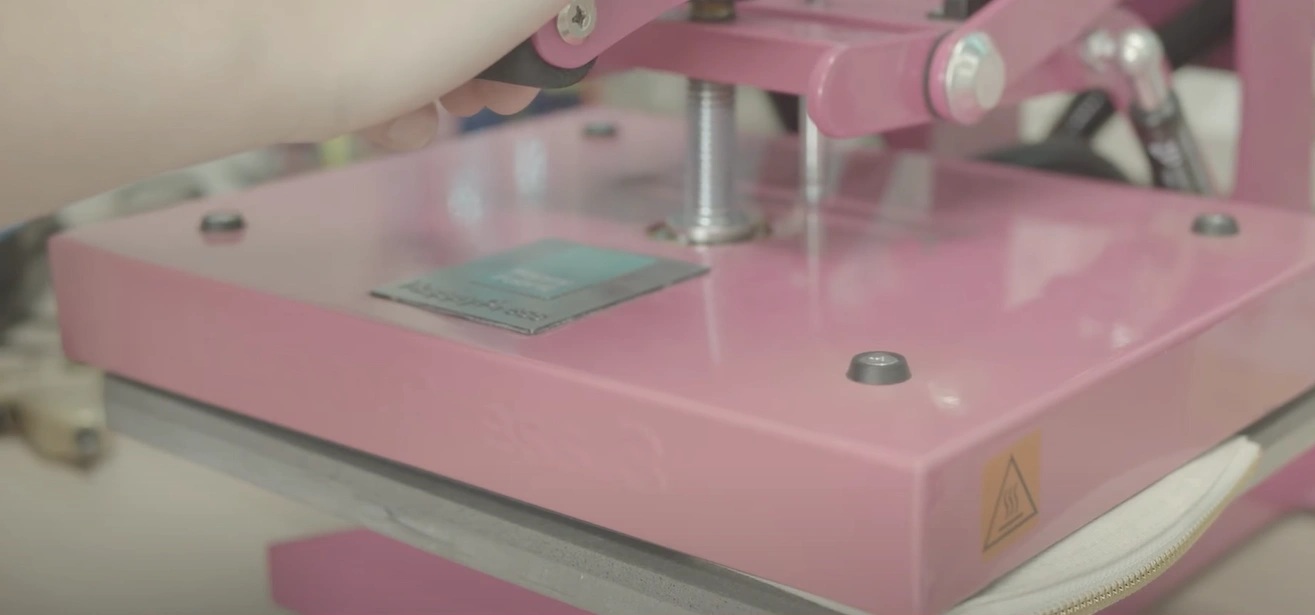
13. Take the material and pre-press it with the machine to remove the creases and moisture from it.
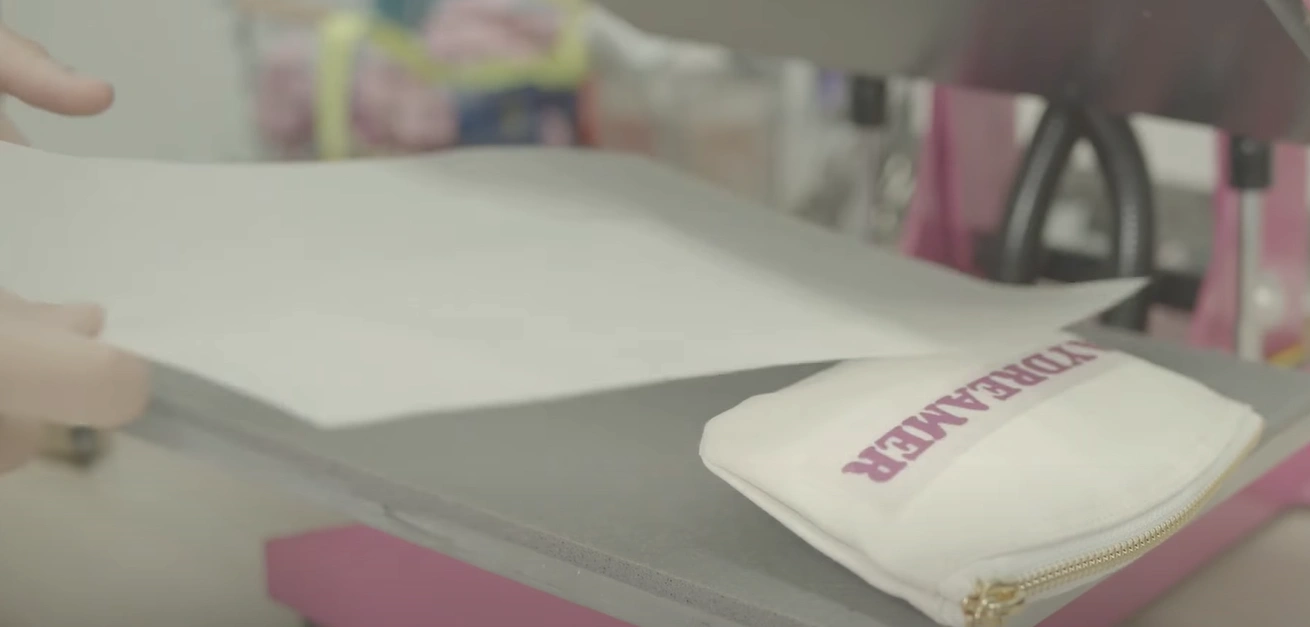
14. Keep the vinyl design on the fabric, add the grease-free paper, and then apply the pressure.

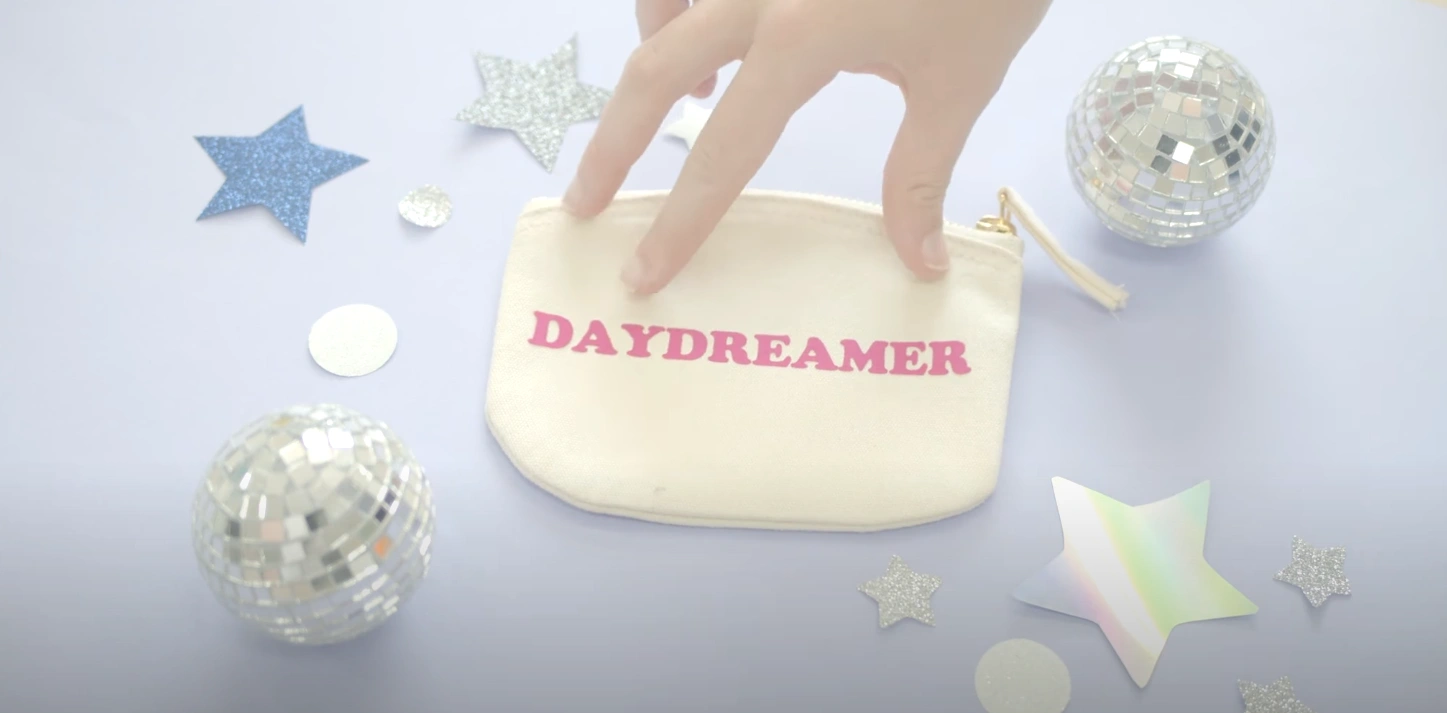
15. After that, take out the fabric and leave it to cool before peeling the sheet.
16. Here you go; your project is complete.
Sum Up
Creating a DIY project with your Silhouette Cameo 3 is simple once you know how to use it. Follow the easy steps we have shared here on how to use Silhouette Cameo 3 to create your first project easily. If you still have any questions or are facing any hurdles in creating the project, then make sure to get your hands on the other resources.


