
This machine also comes with built-in Bluetooth, allowing easy connection to your desktop or smartphone. This feature lets you enjoy a wireless sticker-making experience. Let us learn the process of making stickers with the Cricut Explore Air 2. Read further!
Potential Issues When Using Cricut Explore Air 2 for Stickers
When you are making stickers with the crafting machine, you may face several issues that can hinder the process. These issues can be:
- Incorrect printer settings
- Design Space settings
- Material compatibility
- Material jamming
- Design complexity
Steps to Make Stickers With Cricut Explore Air 2
Let’s take a look at these quick steps, focusing on creating stickers in your crafting machine:
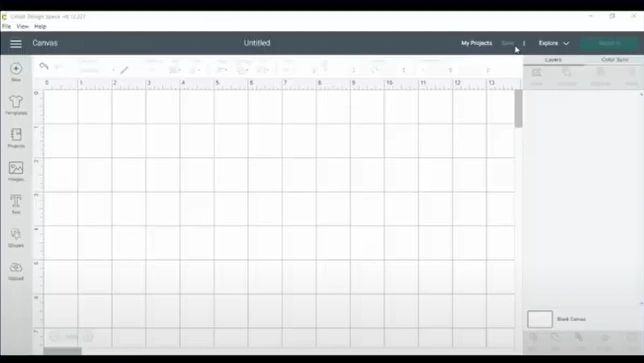
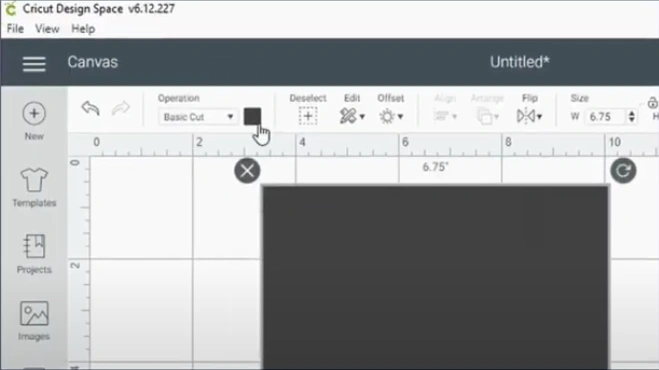
Step 1: Open your Cricut Design Space.
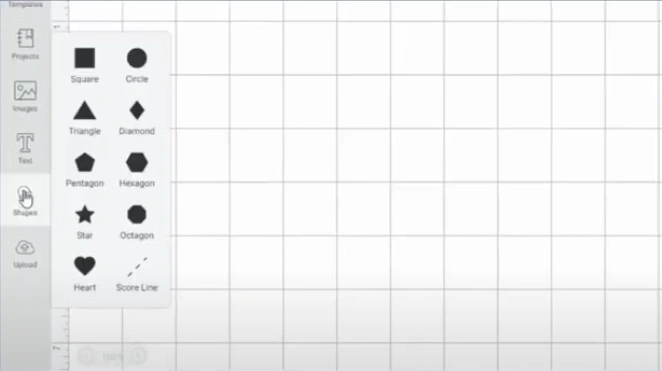
Step 2: Click on Shapes and select Square.
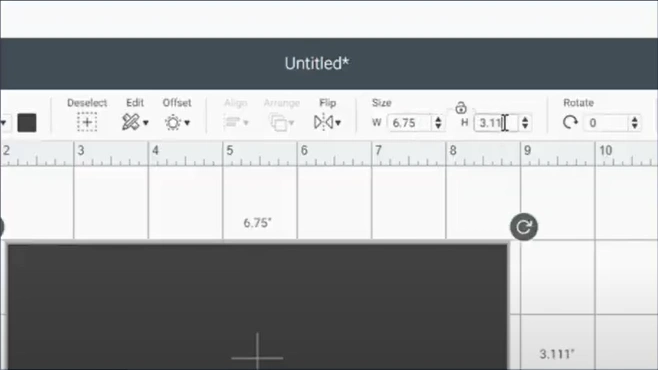
Step 3: Click the lock icon to unlock the square’s aspect ratio.
![]()
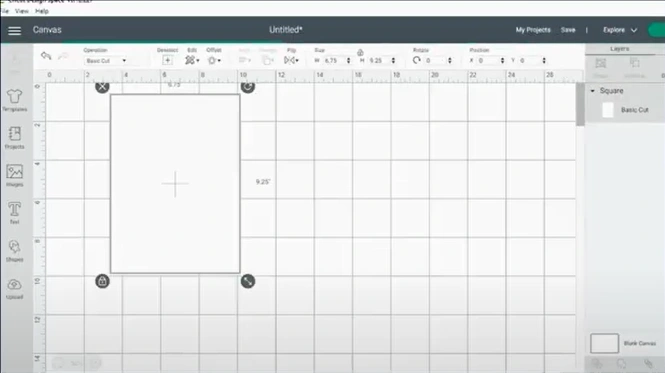
Step 4: Change the width size to 6.75 and the height to 9.25.
Step 5: Change the square color to white.
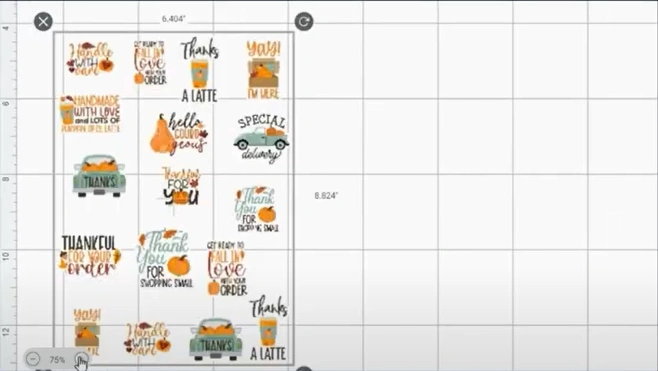
Step 6: Upload the sticker designs on the canvas.
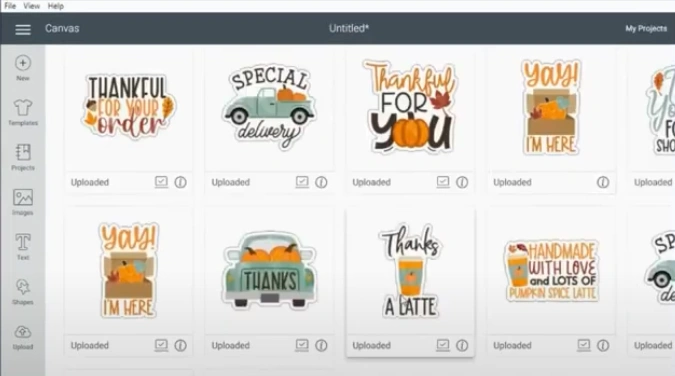
Step 7: Place the stickers inside the square.
Step 8: On the layers panel, go to Square.
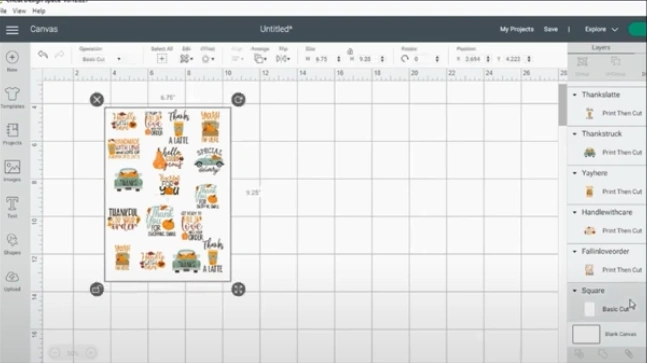
Step 9: Click on the eye icon to hide the square layer.
![]()
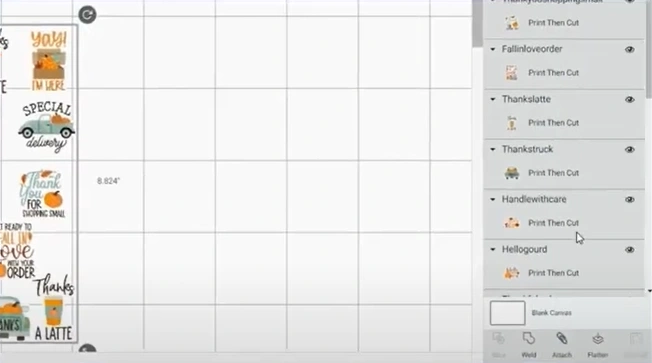
Step 10: Select all the stickers.
Step 11: Click on Attach.
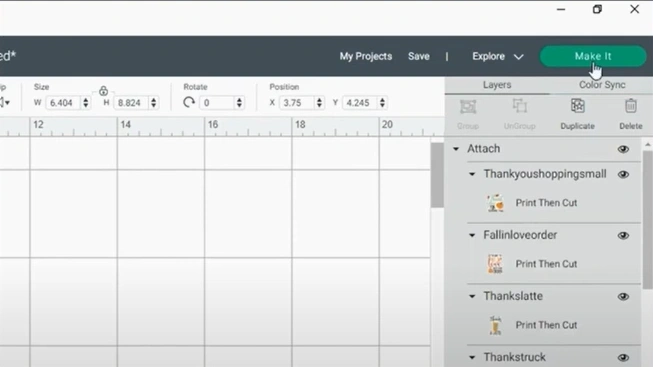
Step 12: Click on Make it.
Also Read:- How to Use Cricut Maker 3
Step 13: Click on Continue.
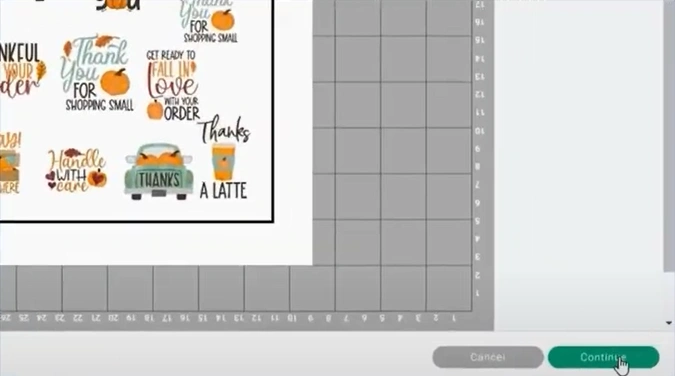
Step 14: Click on Send to printer.
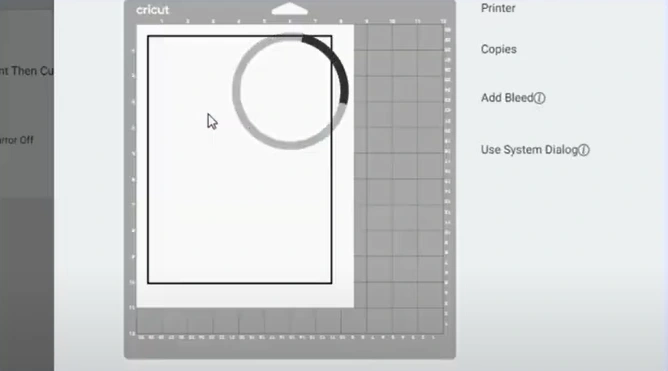
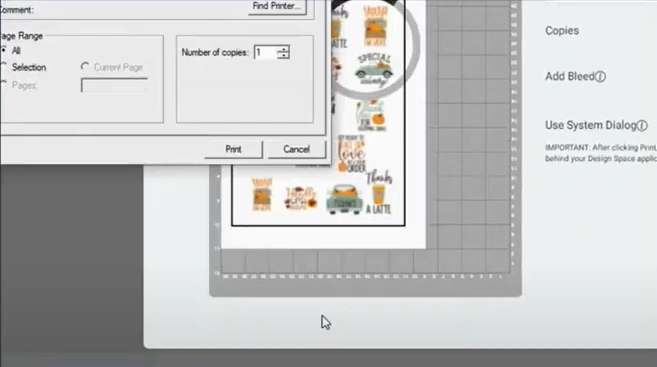
Step 15: Turn on the Use System Dialog box option.
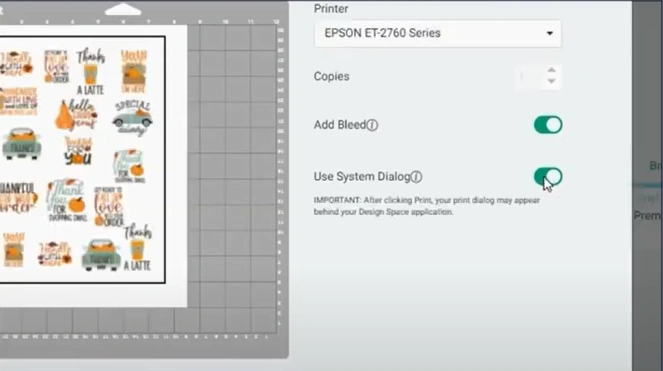
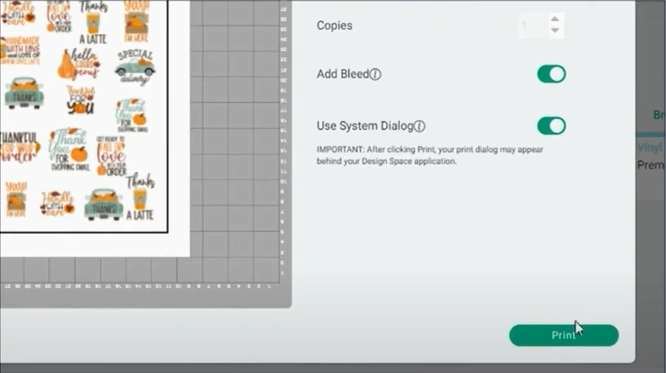
Step 16: Click on Print.
Step 17: In the Print dialog box, make changes according to your needs.
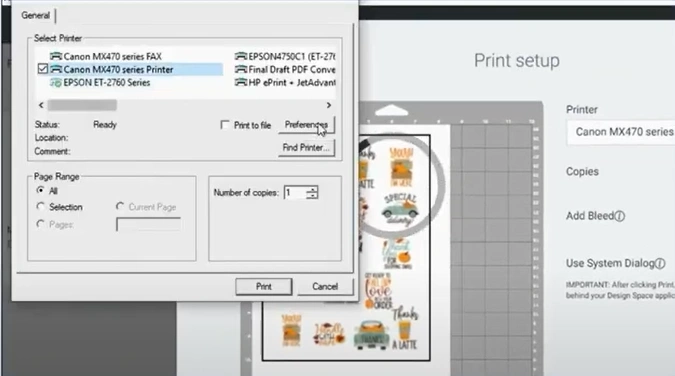
Step 18: Once changes are made, click on Print.
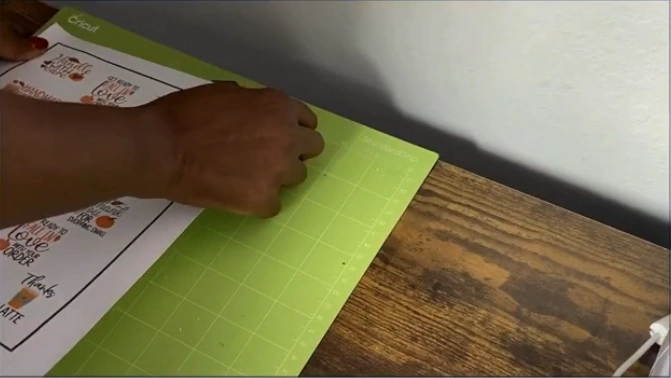
Step 19: Once the design prints out, place it on the cutting mat.
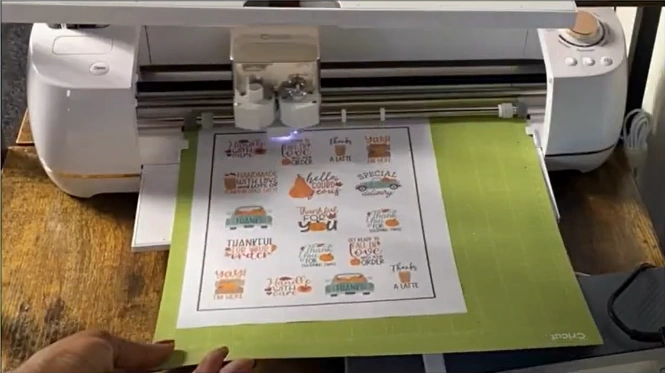
Step 20: Load the mat into your machine to begin cutting.
The Cricut Explore Air 2 is the perfect cutting machine for anyone looking to create custom stickers. With the ability to work with various materials, this machine can cut intricate designs and produce professional-quality results.
You can connect the machine to your desktop, laptop, or smartphone via Bluetooth. You won’t need any adapters or cables to use the machine. It is a convenient option for you to start creating stickers.


