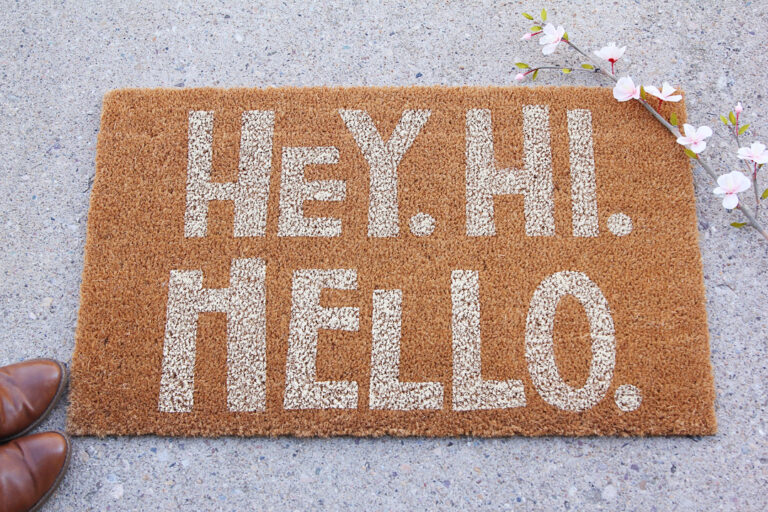
How to Make a Doormat With Silhouette Cameo for Home?
Hey, fellow crafters! I am happy that you are eager to learn how to make doormats and enhance your crafting skills. Creating a doormat for home on your Silhouette Cameo machine is an enjoyable process if you know the exact steps. However, it is necessary for beginners to have professional guidance to avoid any mistakes. To help you with that, I will share the complete step-by-step procedure of making a DIY doormat Silhouette Cameo project.
To create a custom doormat with the Silhouette Cameo, you have to know the process of setting up the machine. Also, knowing about the essential tools and supplies is a must. You will learn everything in detail after you read this comprehensive guide.
The Procedure to Setup a Silhouette Cameo on Your Device
These are the steps you can follow to complete the setup process of your Silhouette Cameo machine.
- First, you have to unbox the machine and prepare it for the connection.
- Then, visit the official Silhouette website to complete the machine registration.
- Now, you have to complete the registration form on the registration page. (If you already have an account, then you can click on the option Sign In)
- After that, download and install the Silhouette Studio software on your device.
- Specify the OS version you are using and then click on the Download option.
- Next, use the USB cable to connect your Silhouette machine to your computer.
- Also, follow the instructions to complete the machine setup process.
- Now, the machine will be ready to make a custom doormat with the Silhouette Cameo.
Supplies Requirement to Create a DIY Doormat Silhouette Cameo
If you want to create a doormat, then these are the system requirements you should complete. Here are the supplies you need for that.
- Silhouette Cameo® machine
- Blank door mat
- Silhouette Studio® – Basic Edition or Higher
- 24 in. vinyl roll
- Hook
- Transfer tape
- Masking tape/painter’s tape (optional)
- Paint (I used craft acrylic paint)
- Paint applicator, some others
The Process of Making a DIY Doormat Silhouette Project
Once you have collected all the supplies and tool requirements for your doormat craft, then we can move to the basic steps of learning how to make a doormat with Silhouette Cameo.
Step 1: Creating a Design in Your Silhouette Machine
- First, you have to visit the Silhouette official website and go to the Page Setup.
- Then, specify the Cameo machine you are using. (Also, choose No Mat, Media Size, and click on the Show Cut Border.)
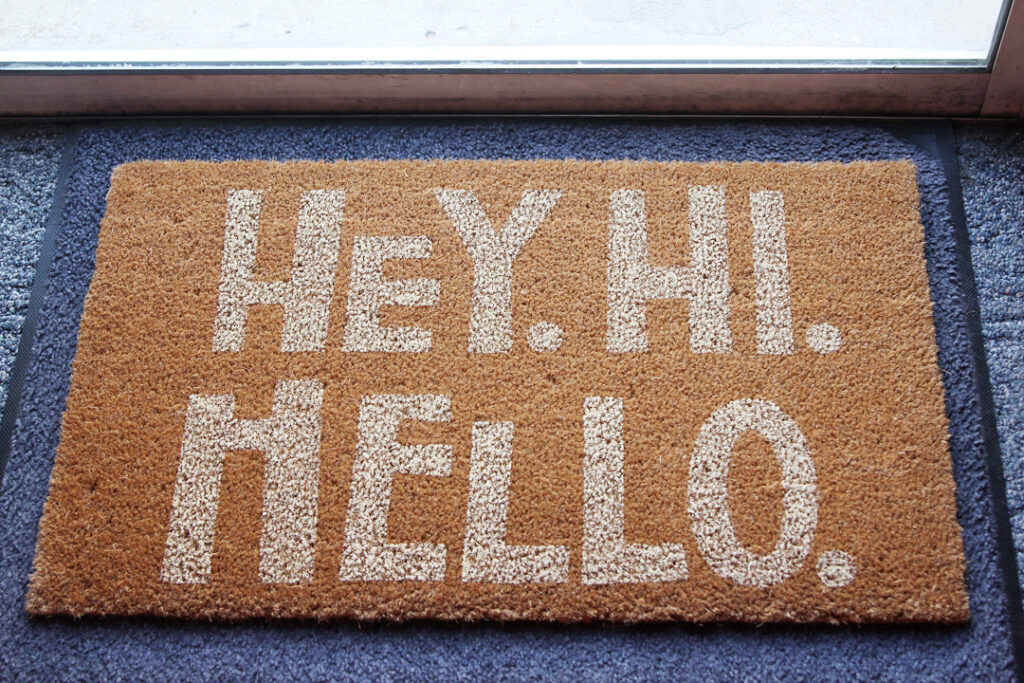
- Also, select Hey, Hi, Hello (Design ID #328565) from the design section.
- Check the size of your doormat. (I am using the 30 in. wide x 18 in. high)
- 5.Now, you have to choose the temporary rectangle from the Shapes section.
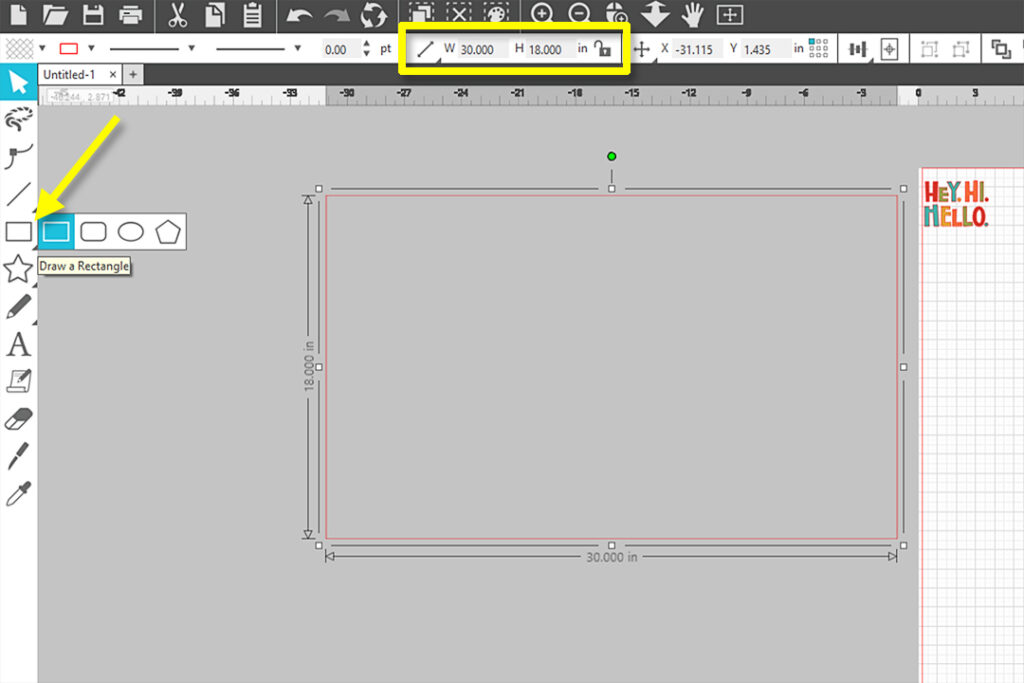
- Next, take the design inside the temporary rectangle for some time.
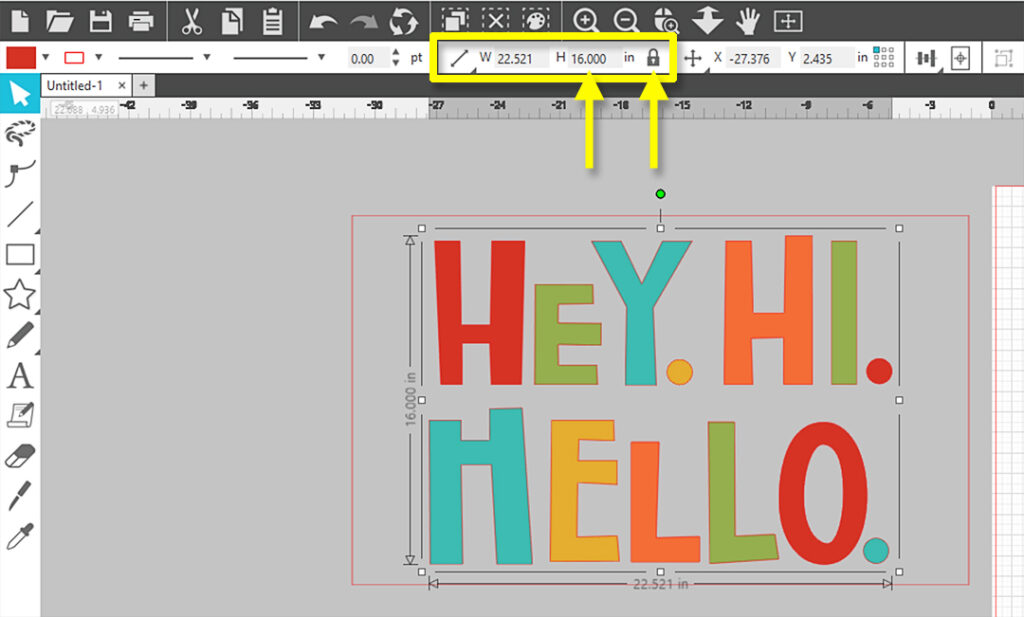
- Resize the design as per your DIY doormat Silhouette size. (Here is an example of how I am resizing the design.)
- Afterward, select the “Center” button in the Quick Access Toolbar to center the design into your triangle.

- And then, click off the side of the rectangle to deselect it.
- Now, copy the text to the digital media area.
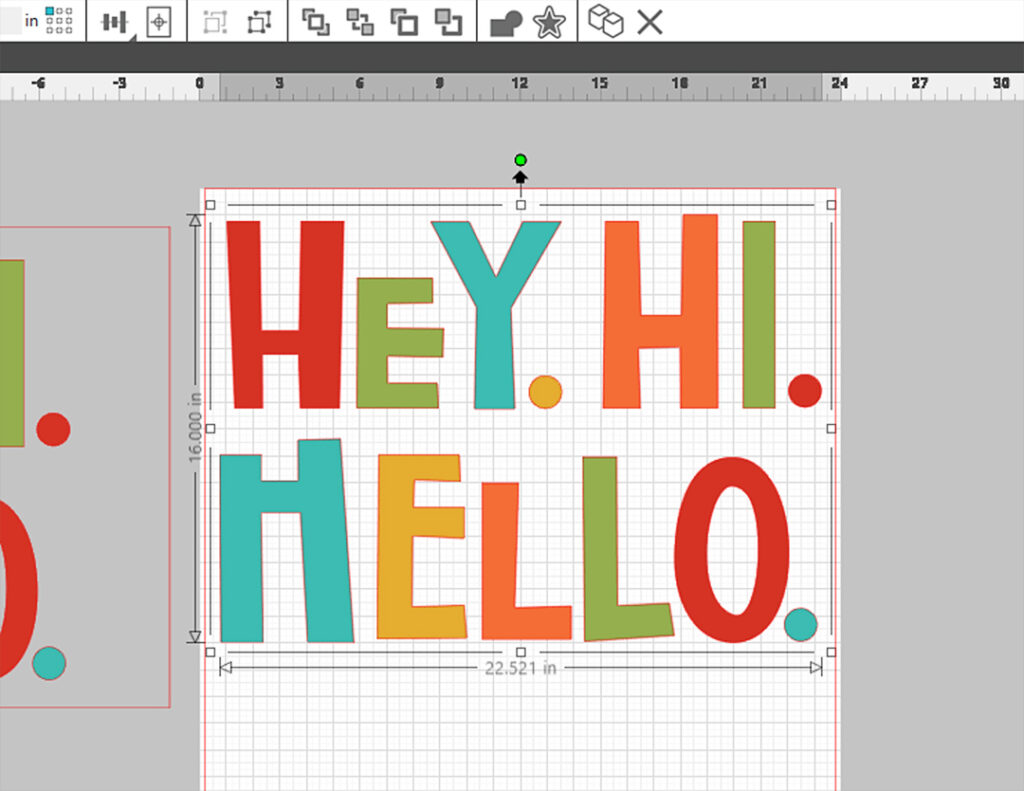
- Finally, the design will be ready to cut.
Step 2: Cut Your Doormat Design on Vinyl
- You have to design from a 24-inch roll of vinyl. For that, you have to move to the Send Tab. (Also, make sure that your Cameo machine is connected to your computer.)
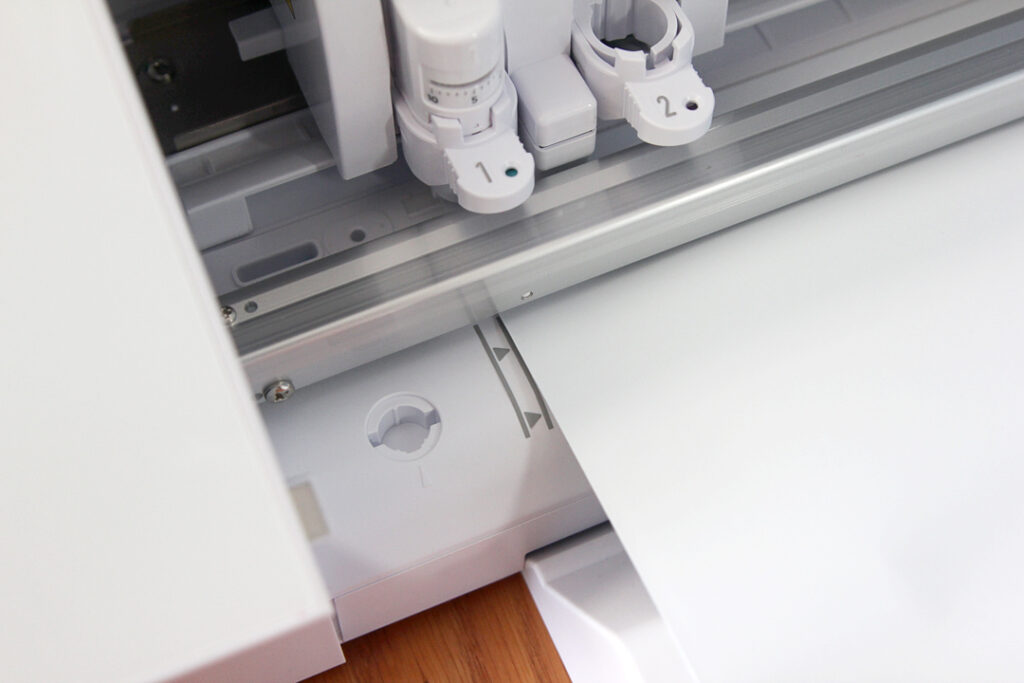
- Then, attach the blade to the Tool Carriage 1 of the Cameo machine.
- Next, select vinyl and matte for the Material, and select the Cut option; for the Tool, click on Autoblade or other 1 mm blade.
- Choose the option to set the Cameo Pro roll feeder and load the vinyl directly into your machine.

- Also, choose the button to start the cutting process.
Step 3: Weed Out the Design and Apply It to a Mat
- Once the design cut is complete, remove the extra part from the machine with the help of the weeding tool.
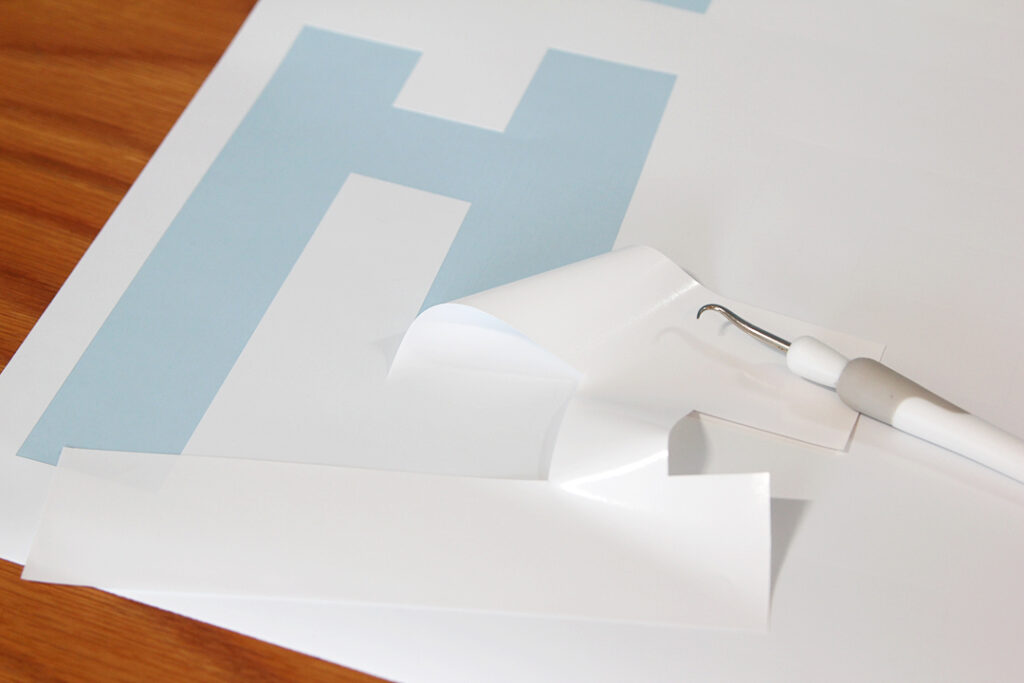
- Then, take the design and apply the design on the transfer tape. (You can also use multiple pieces of transfer tape if necessary.)
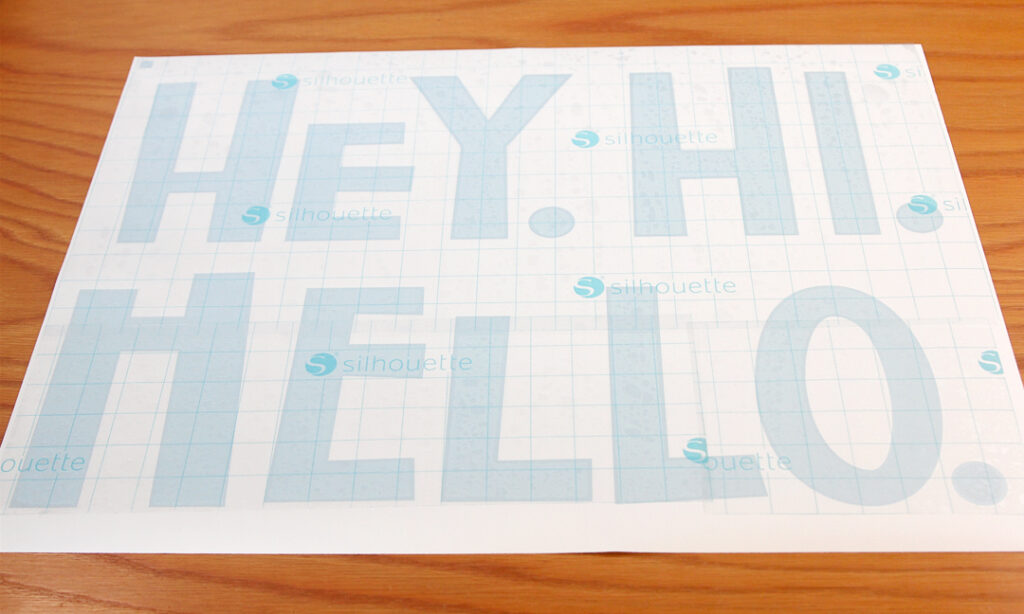
- Now, remove the vinyl in this way so that the stencil is still stuck to your doormat.
- With the help of a paint color, the blank letter space of the stencil.
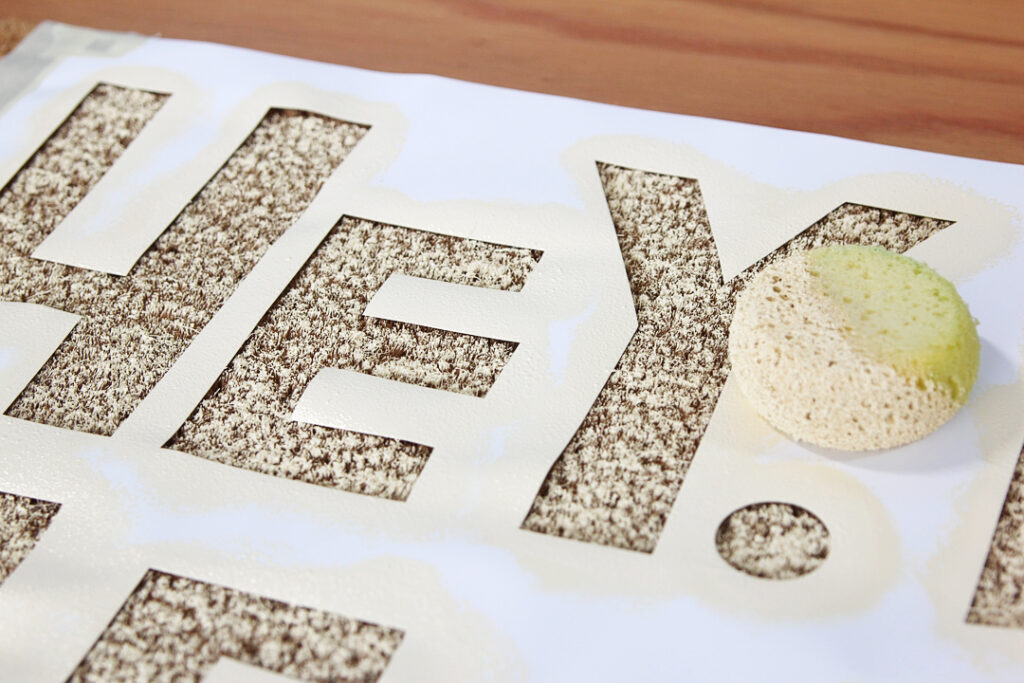
- Henceforth, remove the stencil sheet from your doormat, and your DIY doormat Silhouette project will be complete.
FAQs
Which Machine Is Best to Make Doormat Craft?
There are various machines available in the market to get pro-level results while creating the DIY doormat. However, if you are looking for an easy-to-use machine that provides flawless results, then Silhouette machines can be a great choice. Plus, you can choose to pick any of the Silhouette Cameo machines to make awesome doormat crafts. These are used worldwide by the professional crafters. Also, the best part is that they are very budget-friendly machines that are hard to find on the market.
What Are the Basic Supplies to Create a Silhouette Doormat?
The supplies and tools can vary depending on the project and the nature of the design. However, there are some supplies the crafter must have if you are making the DIY doormat Silhouette Cameo design.
- Silhouette Cameo® machine
- Blank door mat
- Machine compatible blades
- Masking tape/painter’s tape (optional)
- Silhouette Studio® – Basic Edition or higher
- 24 in. vinyl roll
- Hook
- Paint
- Weeding tool
- Scissors
- Materials
- Heat Press Machine (Optional)
- Transfer tape
- Paint applicator, some others
What Are the Features of the Silhouette Cameo Machine?
Silhouette is a prominent name among crafters all over the world. It provides innovative and cutting-edge crafting machines, and Silhouette Cameo is among them. Here are some key features of the machine.
- 100 exclusive cutting designs
- built-in roll feeder and crosscutting
- Cuts a plethora of products, including vinyl, cardstock, fabric, and more
- Silhouette Studio® design software for Windows 7 and newer and Mac OS X 9.5 and higher
- For warranty-One year parts and labor (Limited to USA and Canada only)
- Also, cuts Vinyl, Heat Transfer material, Cardstock, Photo paper, Corrugated paper, Chipboard, Fabric, and more
- Cuts 3 mm clearance thickness of materials
- USB 2.0 high speed / Bluetooth® connectivity option and more.