
You may be a beginner or upgrading from an older version of Cricut. If you are new to Cricut and want to use the Cricut Explore 3, you must first set up the machine. This step is necessary before you can start crafting. Setting up the Cricut machine is a matter of a few simple steps. How to do it? Read further to know the complete Cricut Explore 3 setup process.
Common Issues When Setting Up Cricut Explore 3
There can be certain problems when setting up your brand-new Cricut cutting machine. Some common problems during setup include:
- Cricut machine not powering on
- Design Space does not recognize the machine
- The machine gets stuck mid-cut
- Software installation issues
- Error messages on the Cricut machine
The Right Steps to Setup Cricut Explore 3
For beginners, it might be confusing and complicated to set up a crafting machine. But it can be a bit easier if they learn these “how to setup Cricut Explore 3” steps:
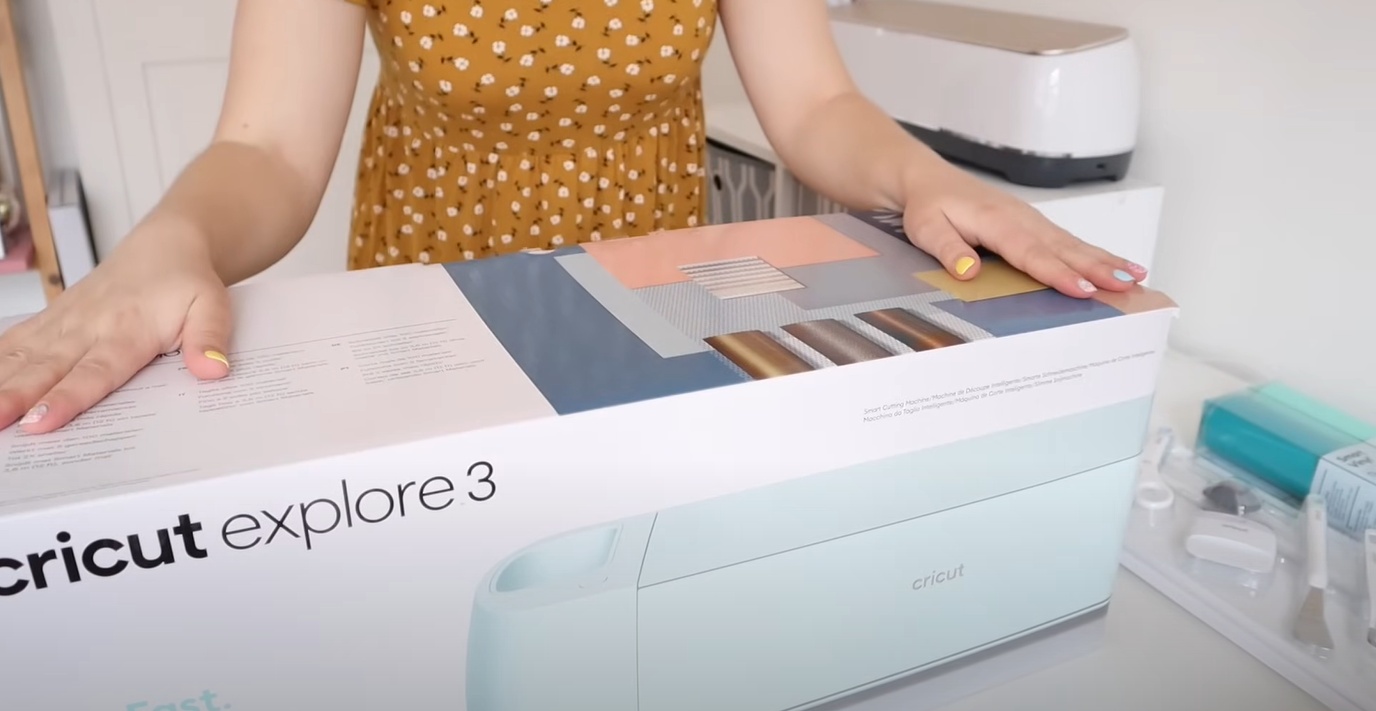
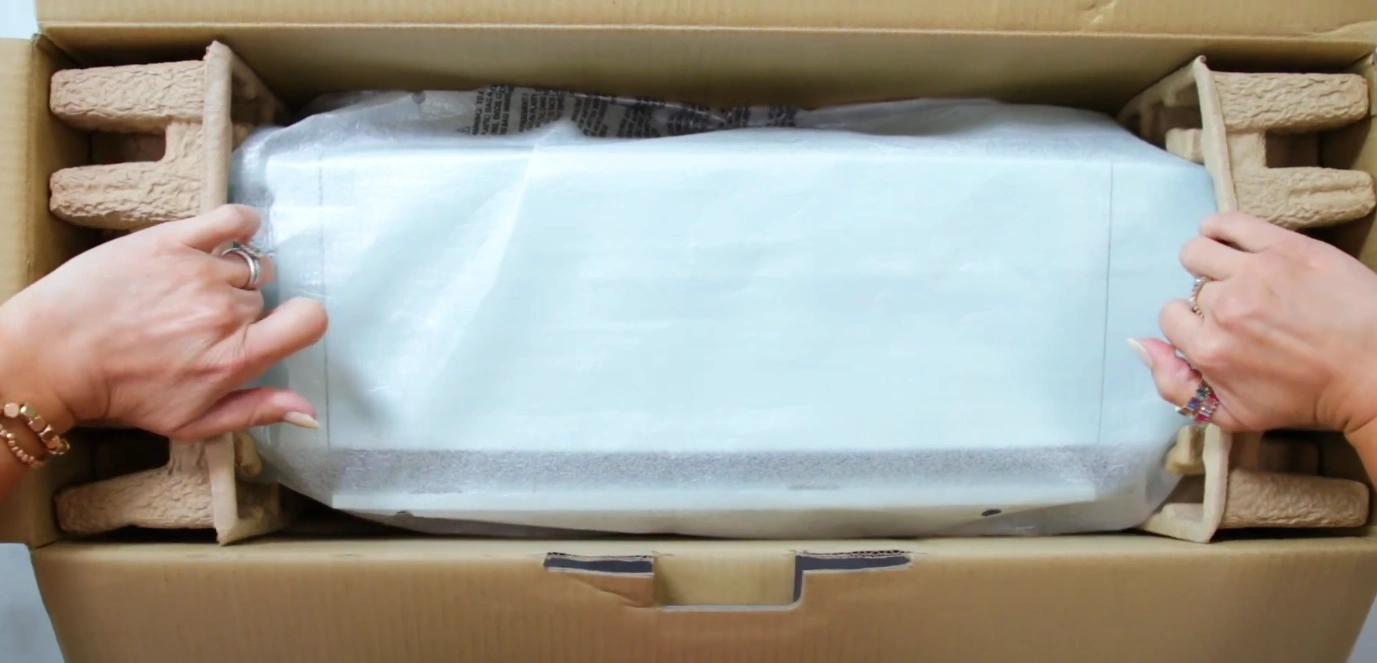
Unboxing
Step 1: Unseal the box from the top.
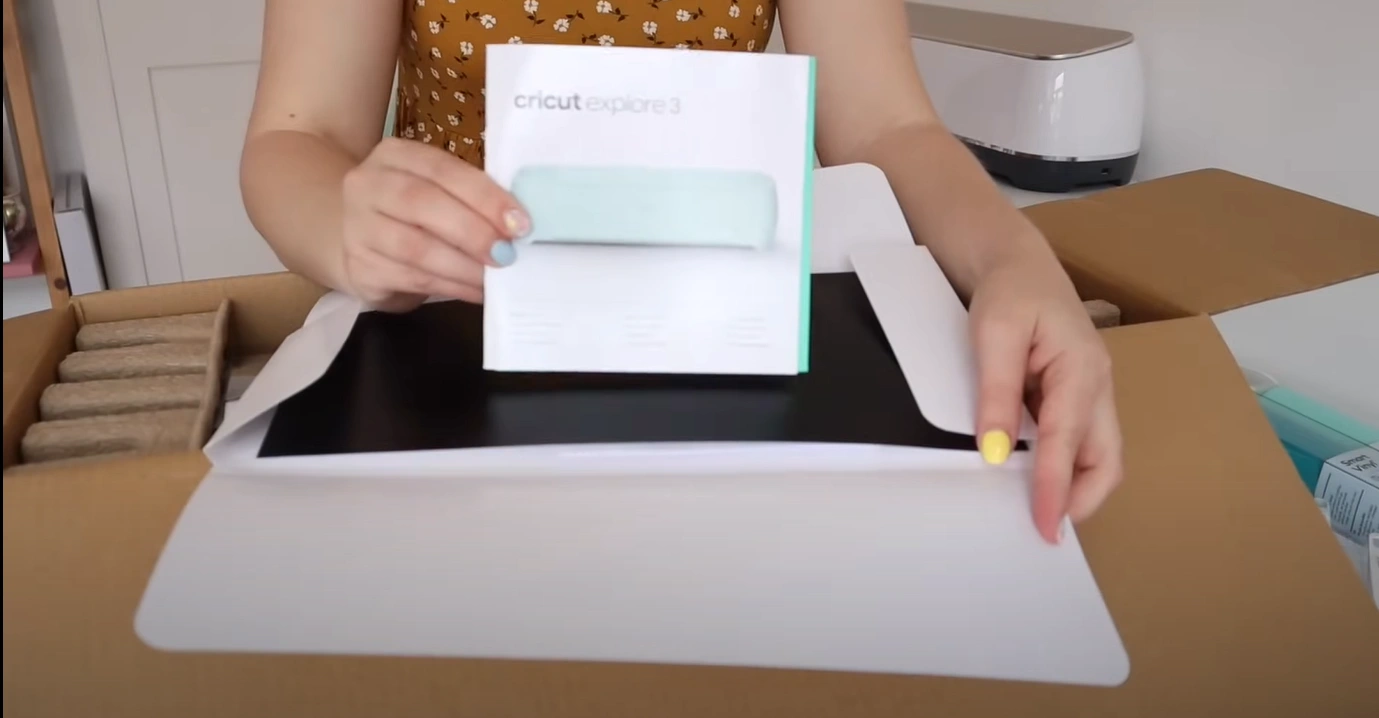
Step 2: Inside, you will get an envelope containing a Cricut manual, a warranty, and some text materials.
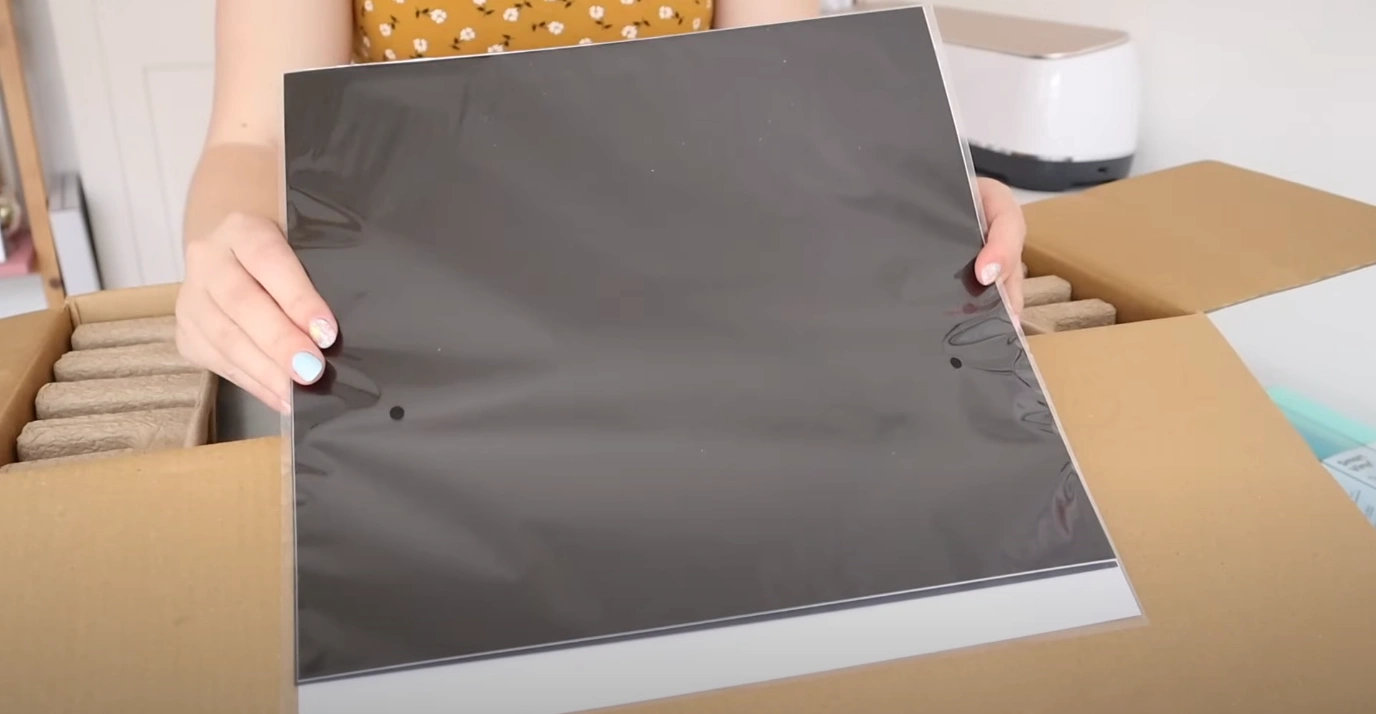
Step 3: The box also has some packaged smart materials.
Step 4: The Cricut machine is right below all the other items.
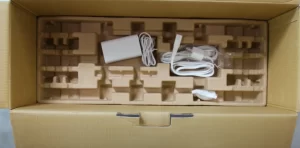
Step 5: Underneath the Cricut is a USB cable and a power adapter. Take them out and set the box aside.
Step 6: Go ahead and remove the plastic from the machine.

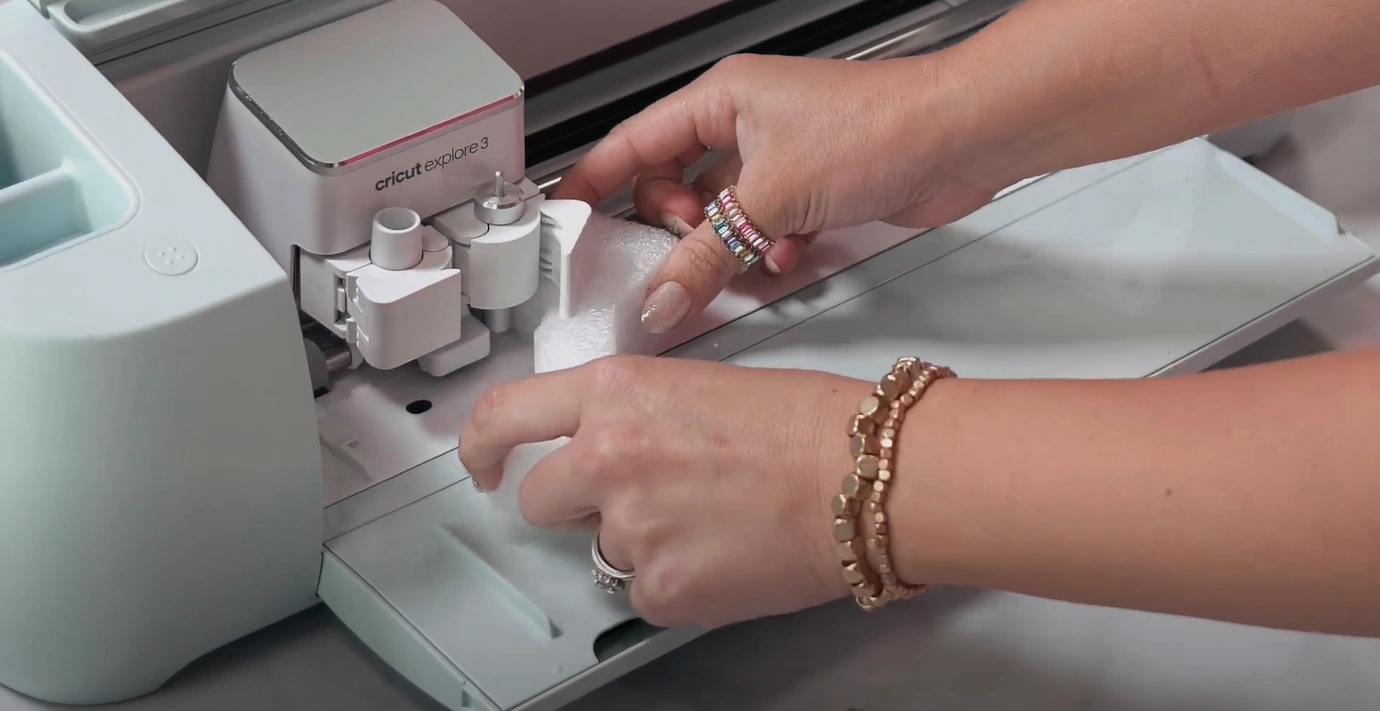
Step 7: The Cricut Explore 3 comes preinstalled with a Premium Fine-Point Blade.

Step 8: Remove that Styrofoam piece from the machine.
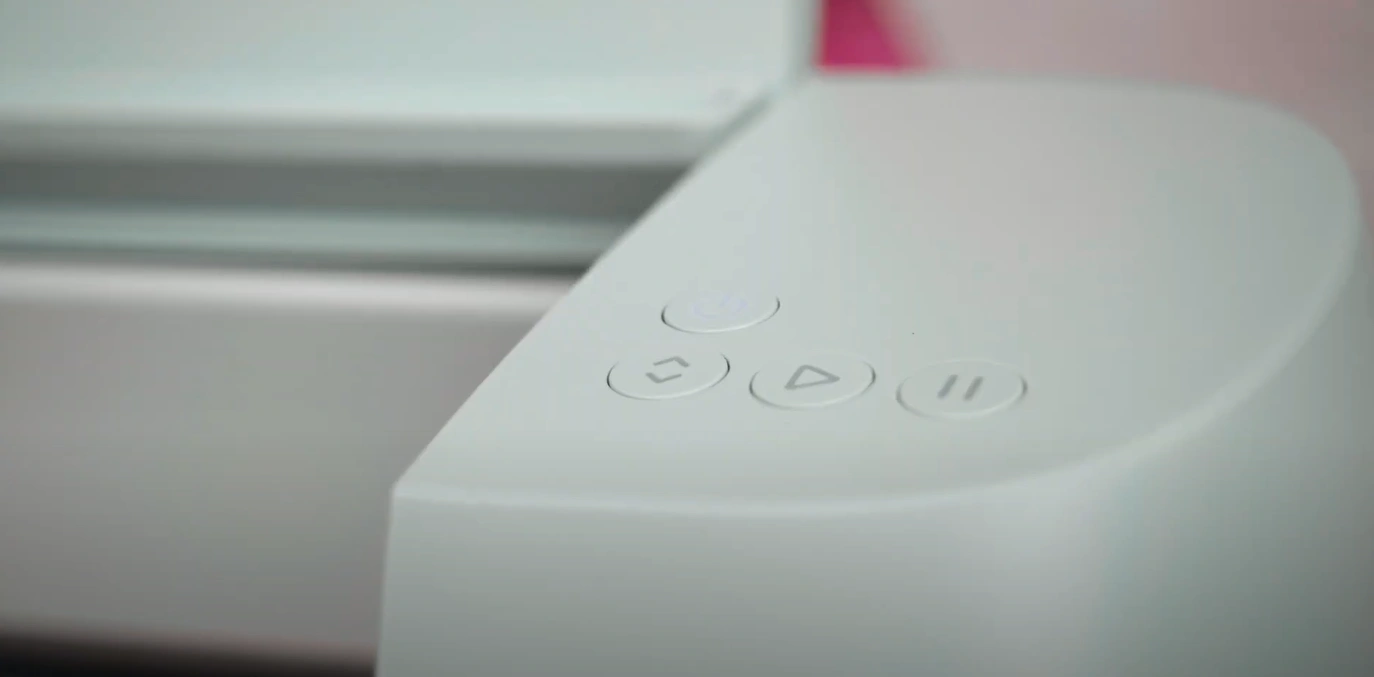
Step 9: On the right-hand side of the Cricut machine, you can see four buttons: the power button, the load/unload button, the start button, and the pause button.
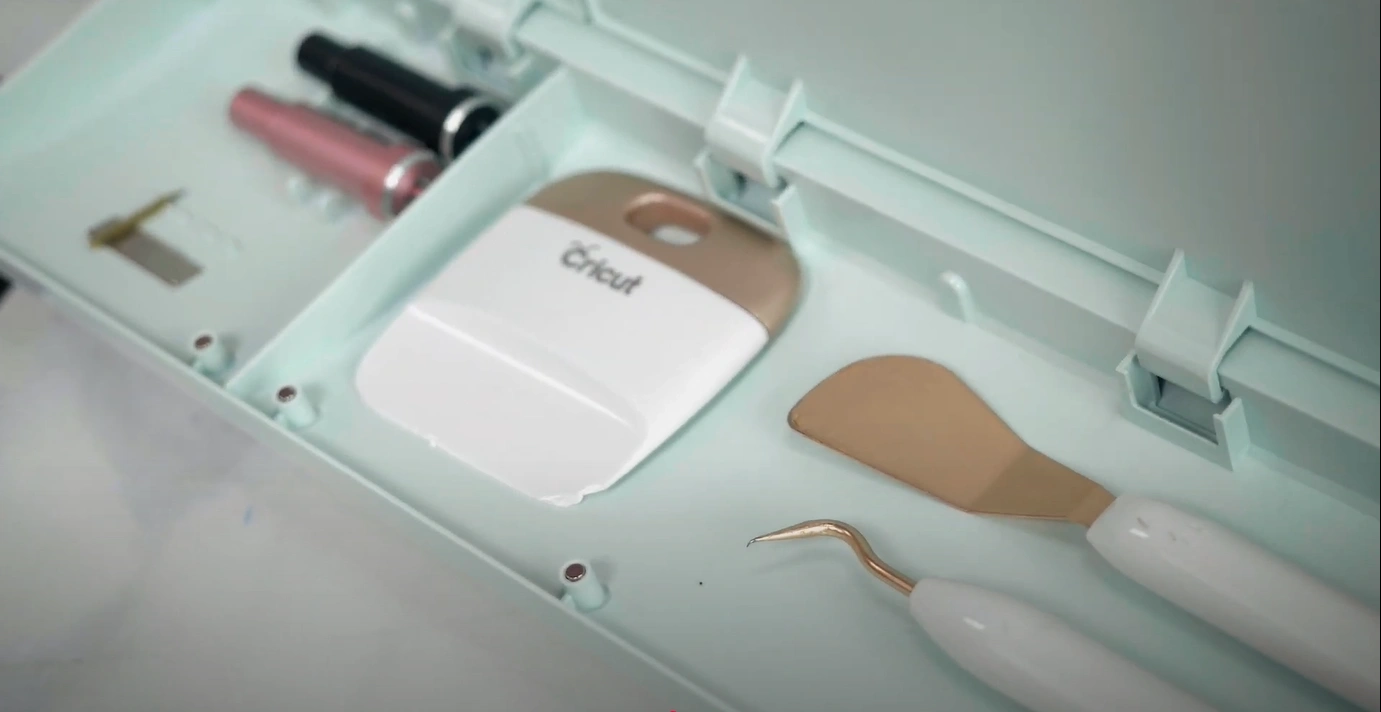
Step 10: You can see a silicone storage cup on the left. Each section is lined with a silicone layer. Here, you can store your tools and blades.
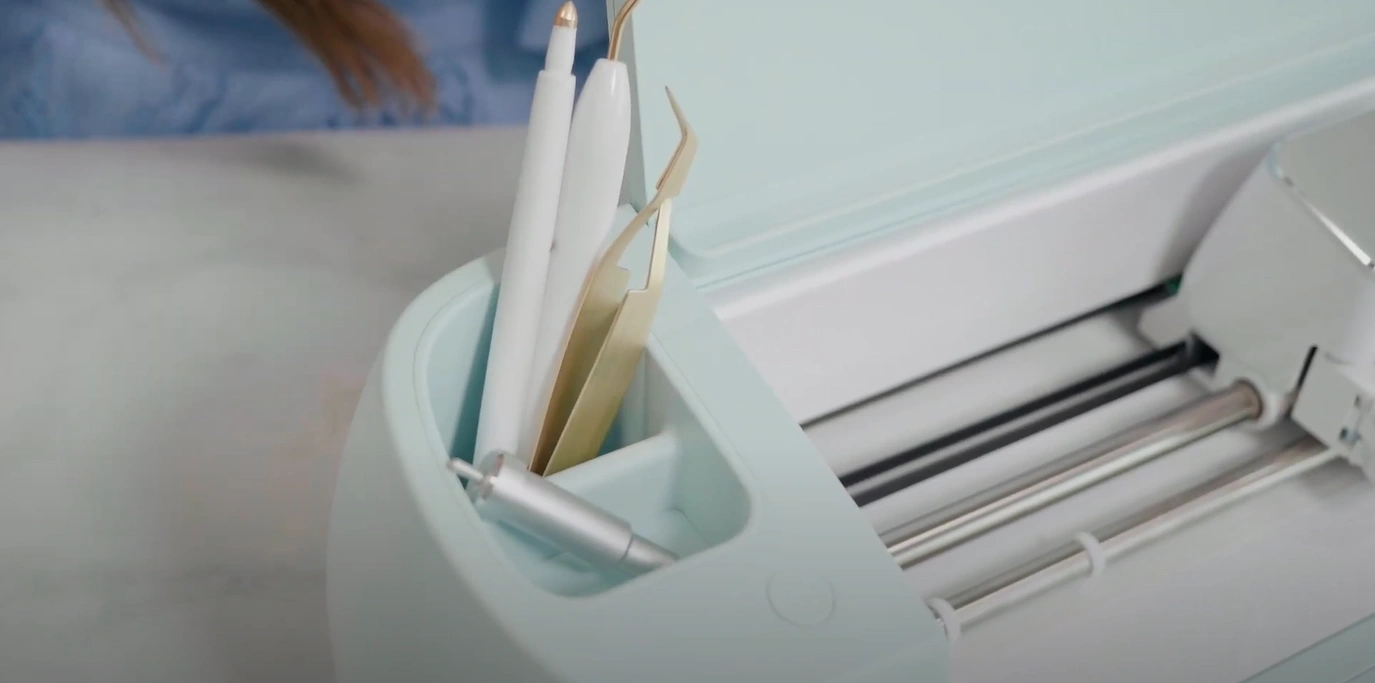
Step 11: There is an additional storage compartment at the bottom of the Explore 3. You can use this to store extra blades or hand tools.
Setup Cricut Explore 3
Step 1: Click the power button on the right side of the machine to turn it on.

Step 2: To start the setup process, open your web browser and search cricut.com/setup. You can download the Design Space app from here on your device.
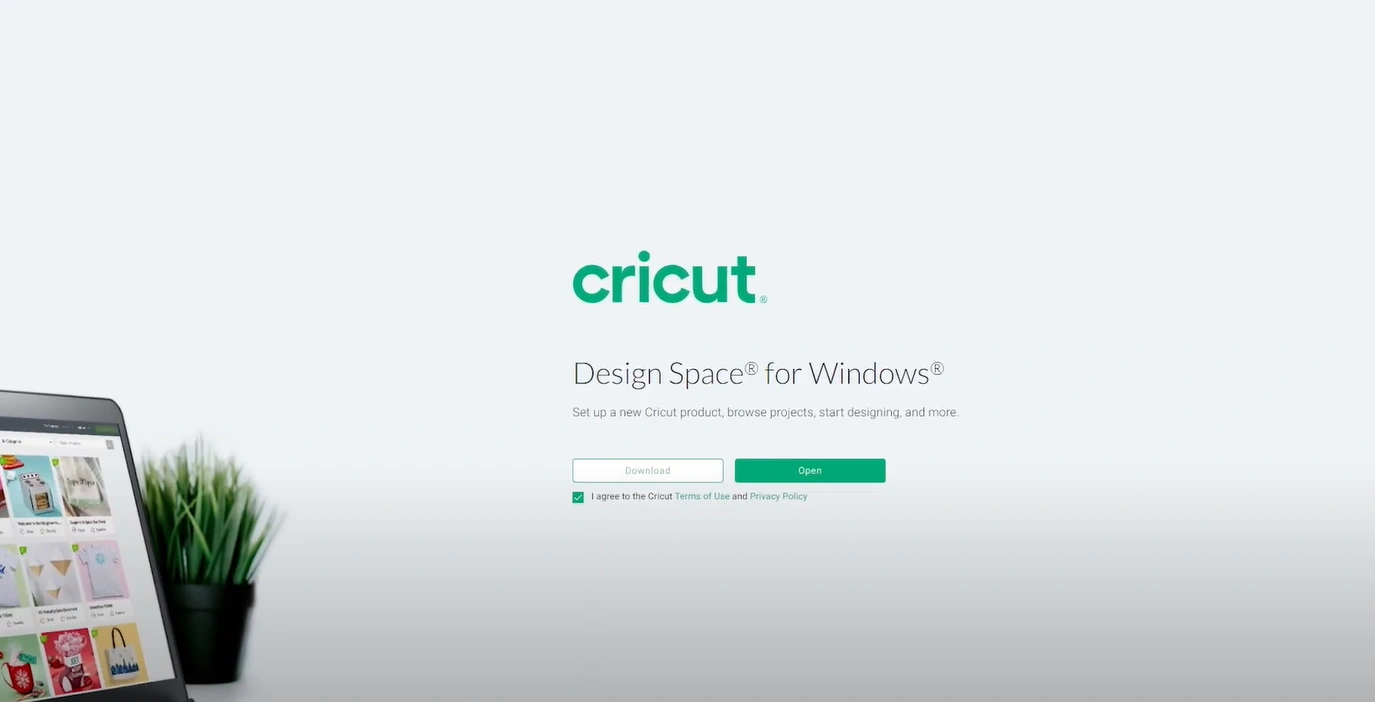
Step 3: Go ahead and click on Download. Once you’ve downloaded Design Space, open it and go to New Product Setup.
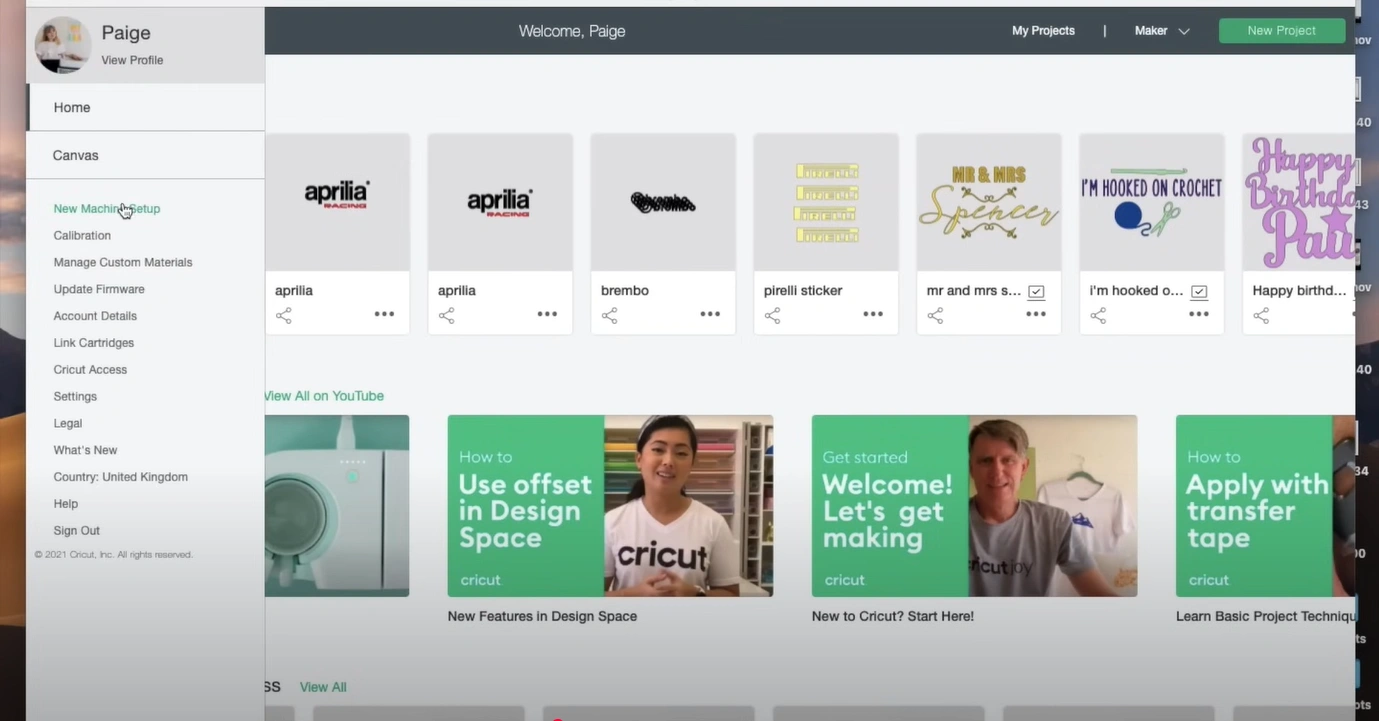
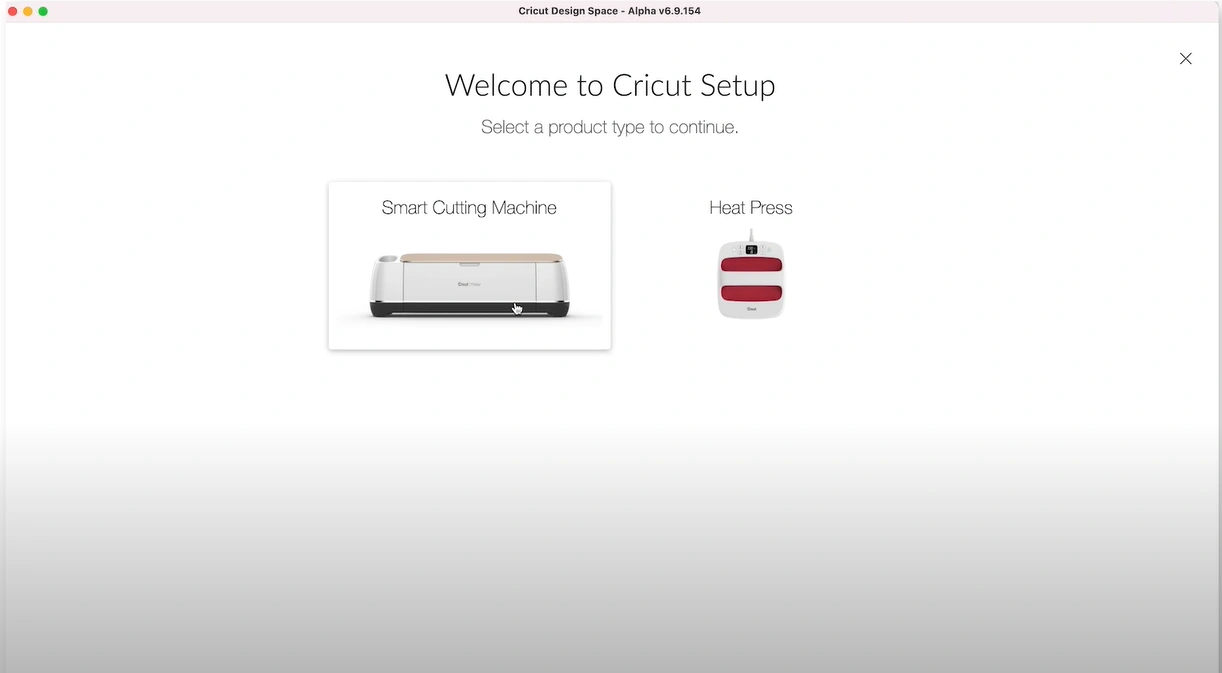
Step 4: Select Smart Cutting Machine.
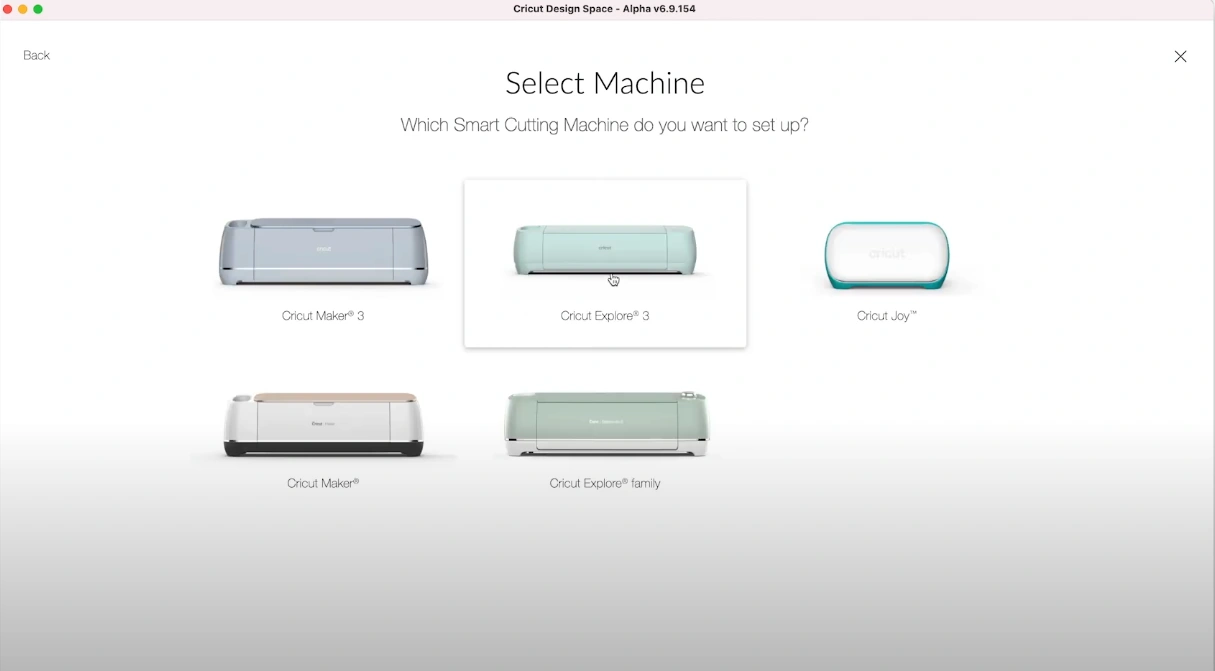
Step 5: After that, select the Cricut Explore 3 option.
Step 6: Next, click the arrow icon and follow the on-screen prompts within Design Space.
![]()
Step 7: It will ask you to leave some space behind your Cricut Explore 3.
![]()
Step 8: Connect the power cord to the machine and plug the other end into a power outlet.

Step 9: Use the USB cord to connect your Cricut machine to the computer.
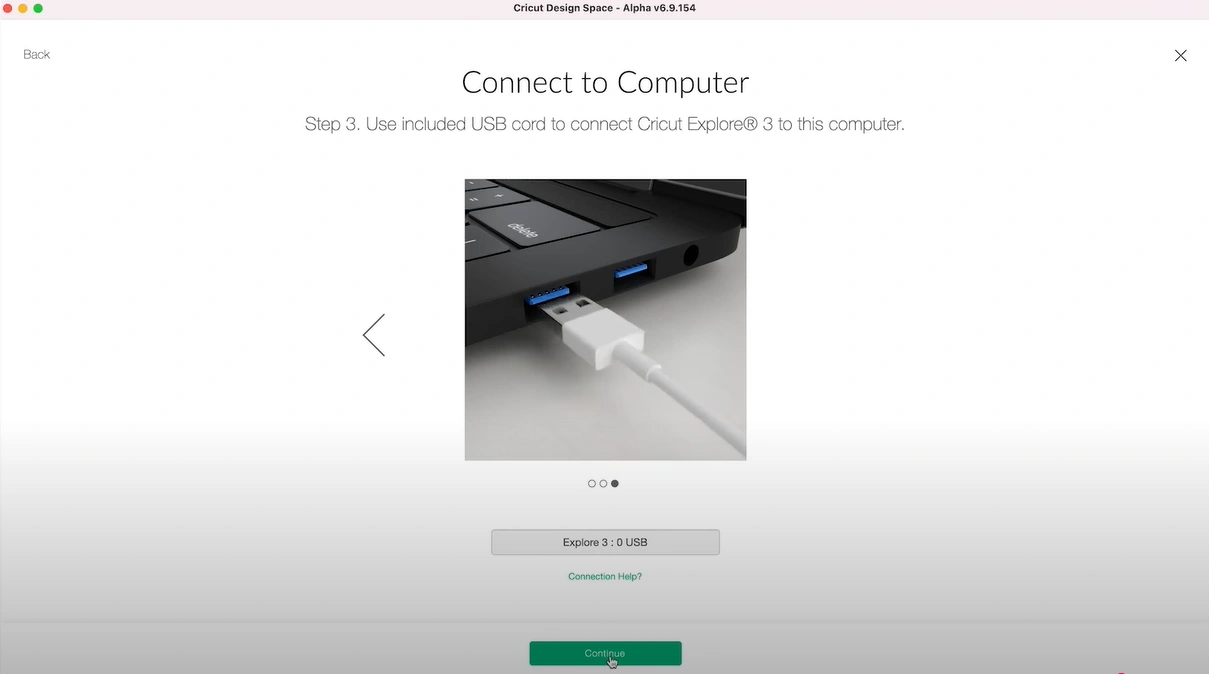
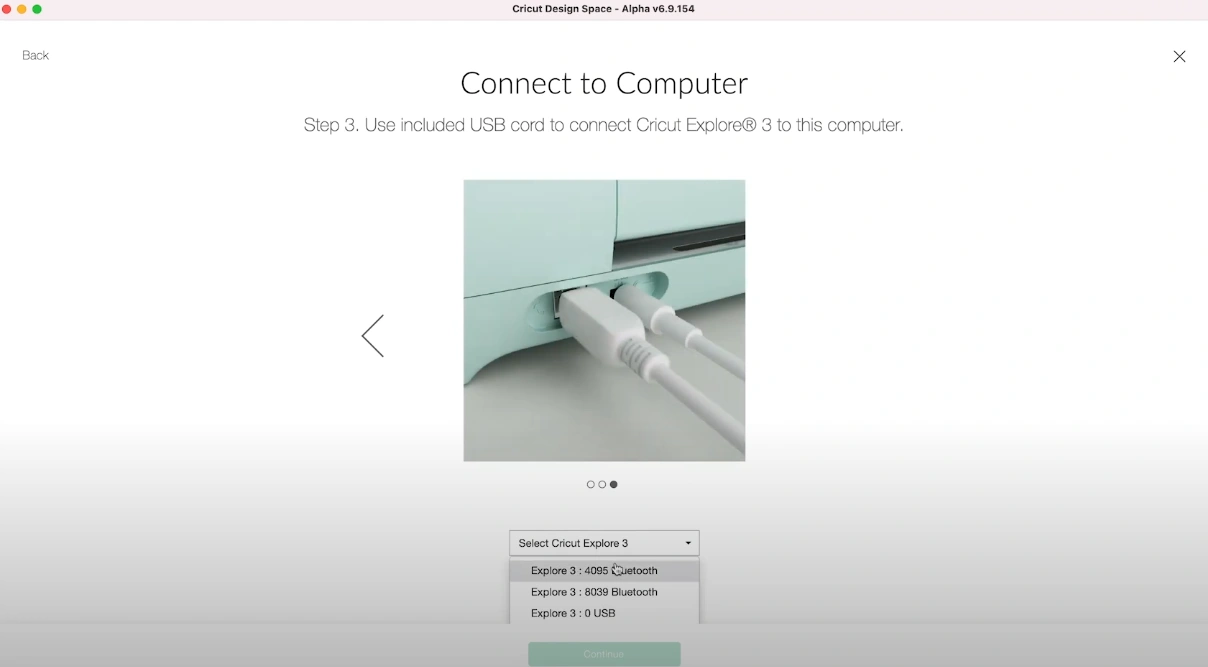
Step 10: To connect the Explore 3, click the “Select Cricut Explore 3” drop-down menu and choose Explore 3: 0 USB.
Step 11: Next, click on Continue.

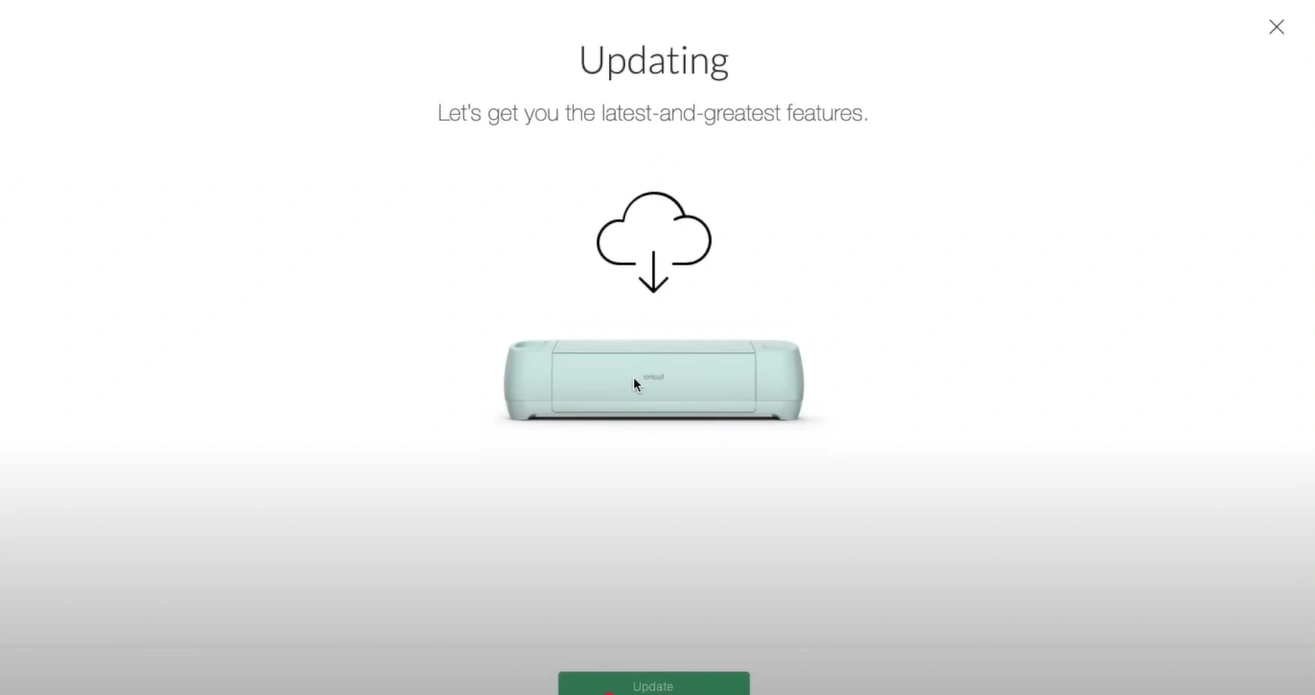
Step 12: Wait a few seconds; the Cricut machine will check for updates.
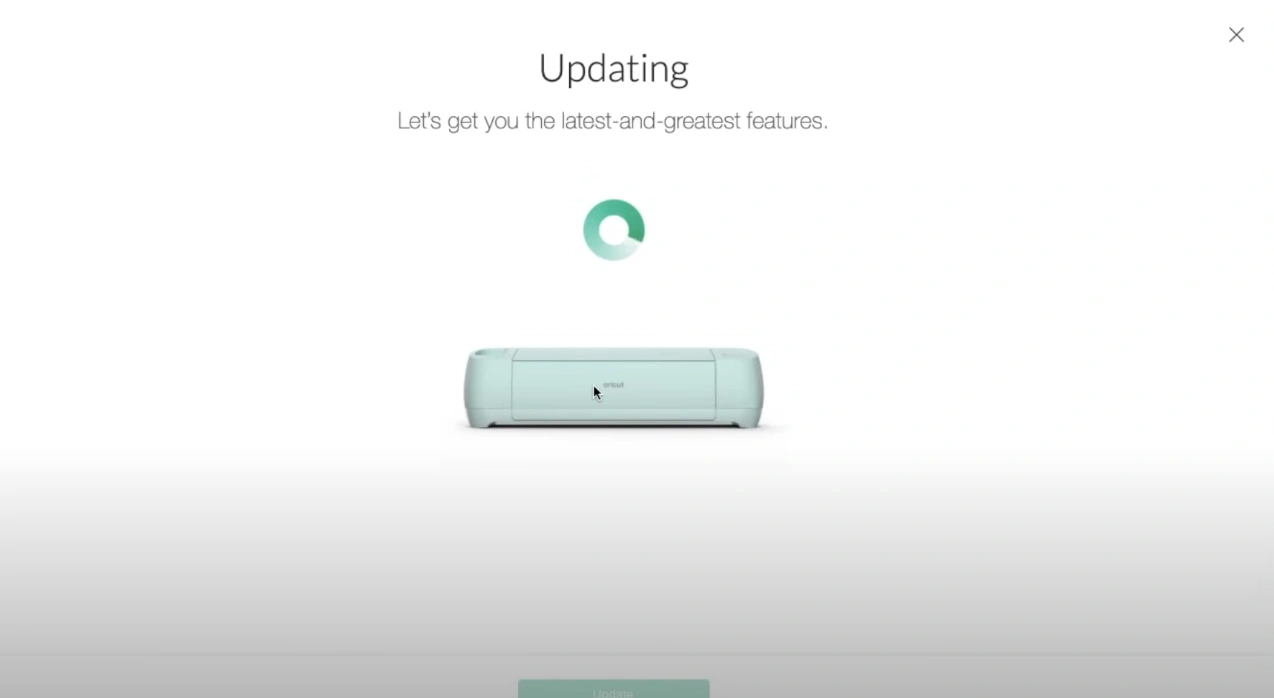
Step 13: Press the “Update” option if prompted.
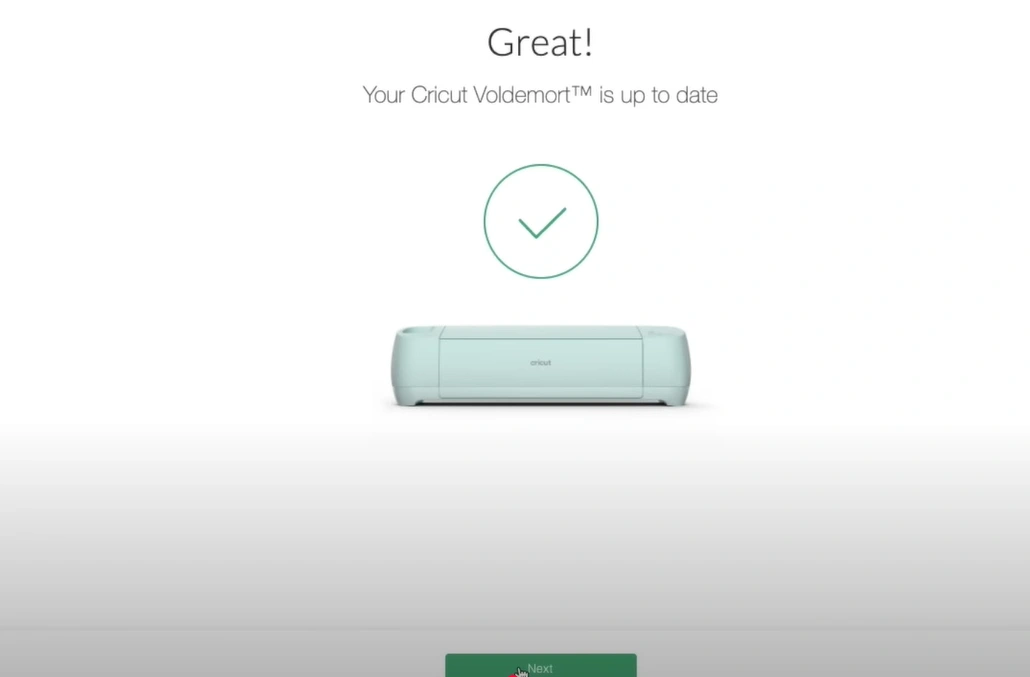
Step 14: Once it is all set to go through, click on Next.
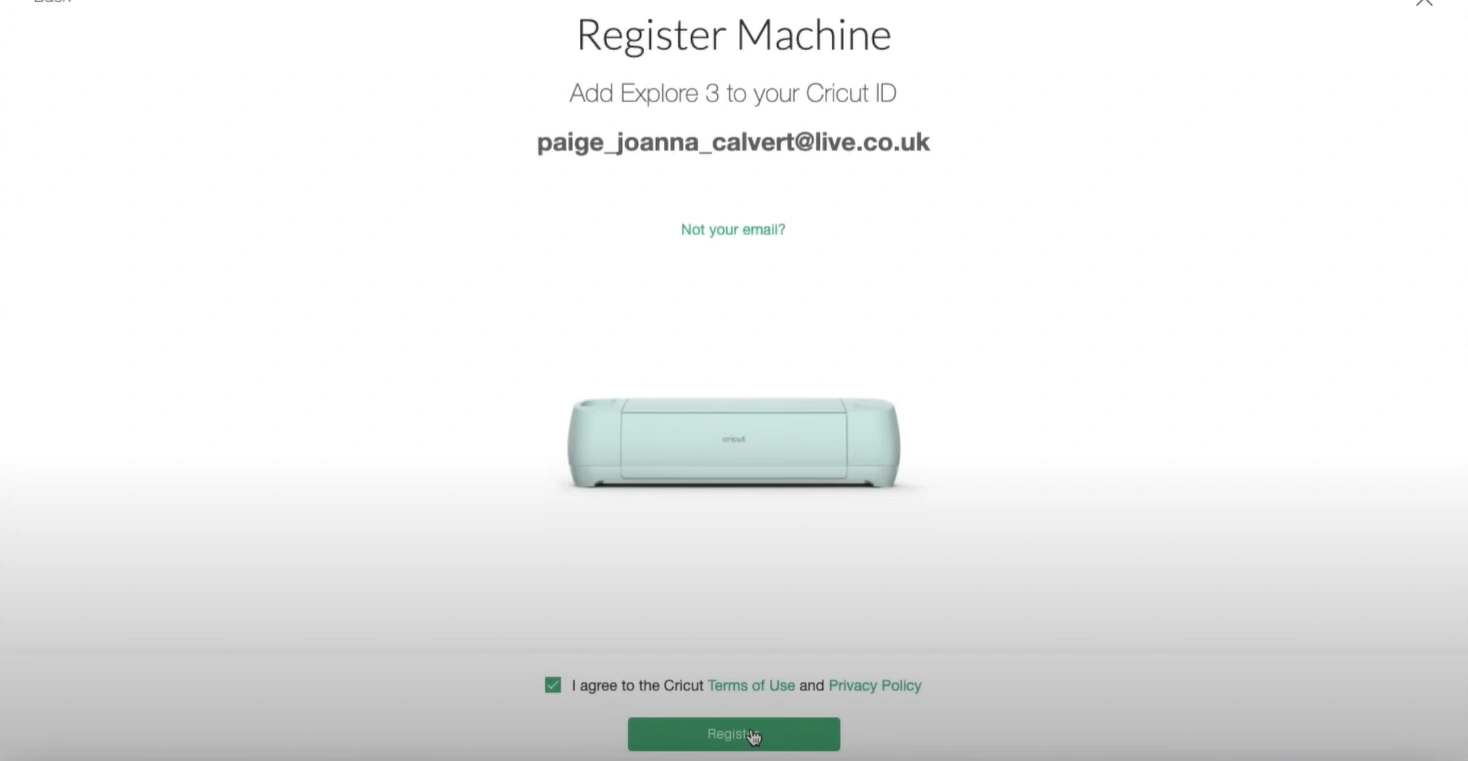
Step 15: Check the “I agree to the Cricut terms of use and Privacy Policy.”
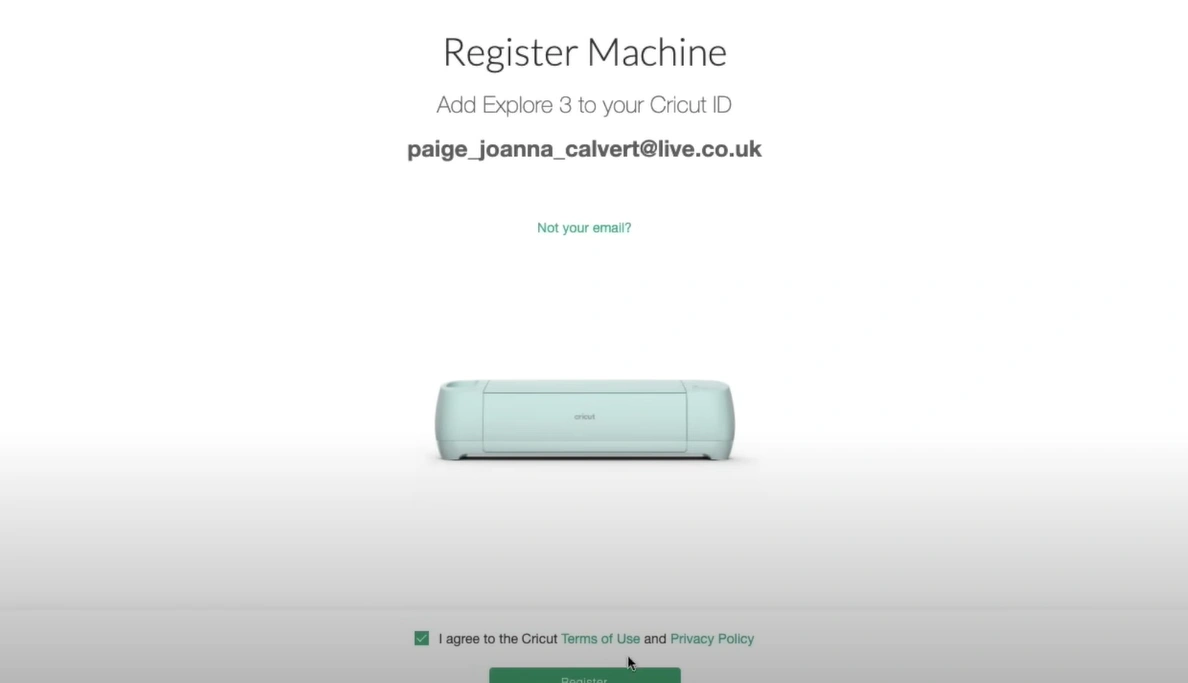
Step 16: After that, click “Register.”
Step 17: You’ll see a Success screen confirming your registration. Click Next to finish the setup.

Also Read:- How to Set Up Cricut Explore 3
Summing Up
Ensure your Cricut Explore 3 is properly plugged in and connected to your device during setup. Remember, most Cricut machines come with a one-month free trial of Cricut Access. So, don’t forget to take advantage of this limited-time offer. With the trial version, you can access over 100 ready-to-make projects. Moreover, you can use the Design Space software online and offline, giving you more flexibility in your work.
Contact Cricut support or an expert for help if you face issues during the Cricut Explore 3 setup process.


