You can easily connect your Cricut Maker to a Windows computer if you are aware of the
complete process. However, if you do not know the process, then it can seem quite hectic to connect both machines. Plus, there are considerable chances to make a mistake too. Hence
it is necessary to first attain a complete understanding of the process and then try to connect
both devices. Also, if you are a new user and make any mistake, there is a high chance that you will damage the machine. To help you avoid any mistakes, below is a simple guide to
connecting Cricut Maker to Windows.
Take the USB cable provided with the machine and connect it to your Windows PC and Cricut Maker.
After that, click on the Start menu and then select the Settings option.
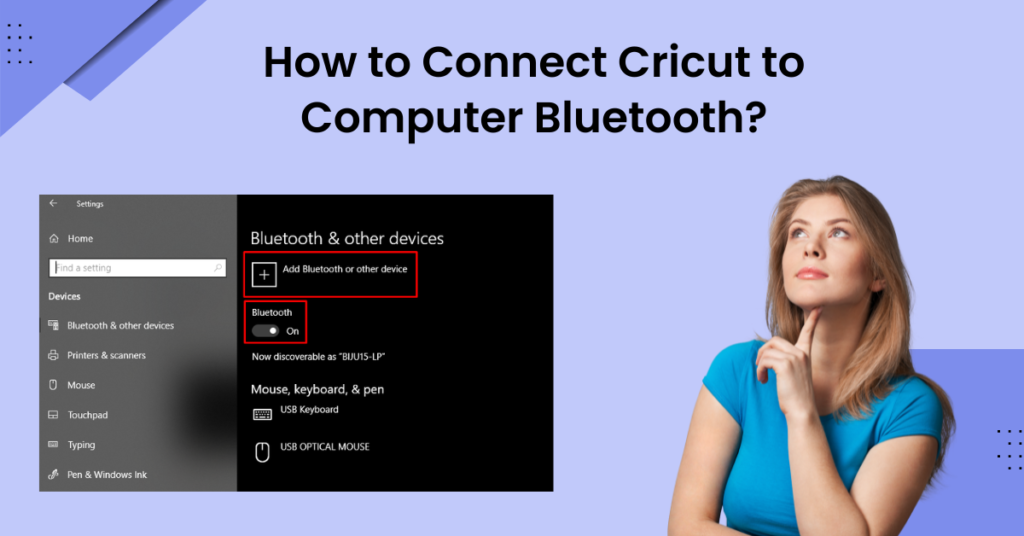
Select the option of Devices and then enable Bluetooth connectivity in your device.
Now, the computer will scan for all the available machines near it.
Once the Cricut Maker name appears on the screen, select it.
If the machine name does not appear in the list, then you need to choose to Add Bluetooth and other devices.
Afterward, when you click on Bluetooth, the machine name shows up.
Enter 0000 if you are asked to enter the PIN.
The notification will inform you when the connection is complete.