
In addition, firmware updates can resolve bugs or glitches that may cause operational disruptions. You won’t face connectivity problems, lag, or tool failures. With the latest updates, the Cricut Maker 3 can handle new materials, design features, and evolving software requirements in Design Space.
Let’s explore the correct method to update the firmware on the Cricut Maker 3.
Common Issues During Cricut Maker 3 Firmware Update
When you are attempting to update firmware on a crafting machine, you are likely to face potential issues like this:
- Cricut machine not recognized
- The machine stops working after the update
- Update not available
- Firmware update loop
Steps to Update Firmware on Cricut Maker 3
Updating your Cricut Maker 3 firmware ensures optimal performance and access to new features. Here are all the steps to update firmware on a machine:
Step 1: Power on the Cricut machine and ensure that it is connected to your device via Bluetooth or a USB cable.

Step 2: Open Design Space on your desktop or laptop.
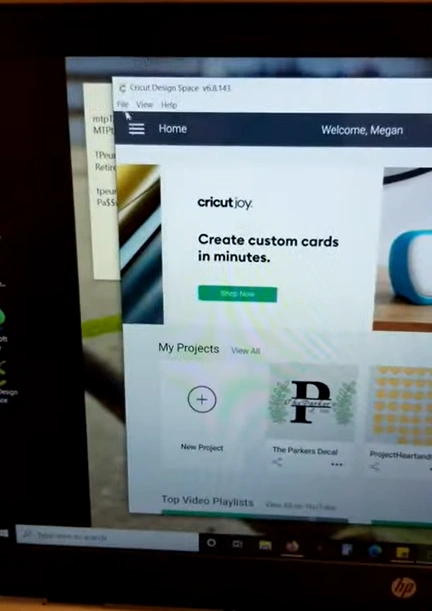
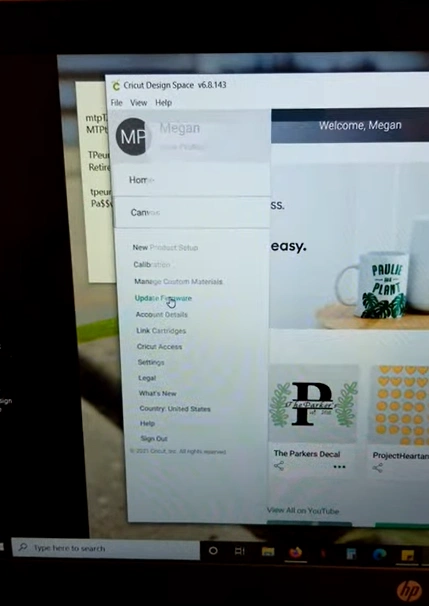
Step 3: Go to the Menu button.

Step 4: Select the “Update Firmware.”
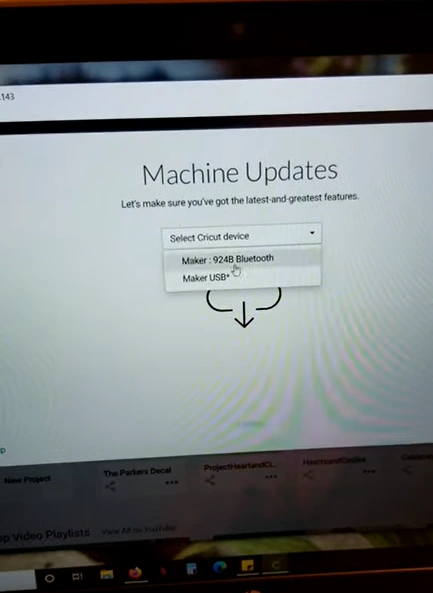
Step 5: Select your machine model from the list that appears.
Step 6: Click on Update.
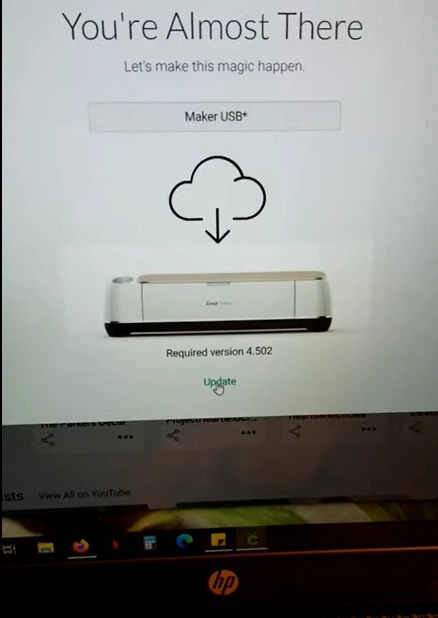
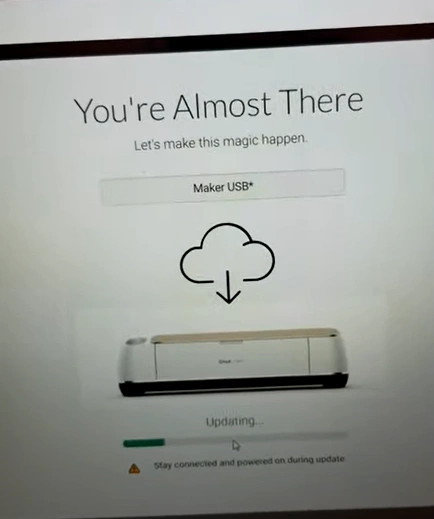
Step 7: Wait for a few minutes for the update to complete.
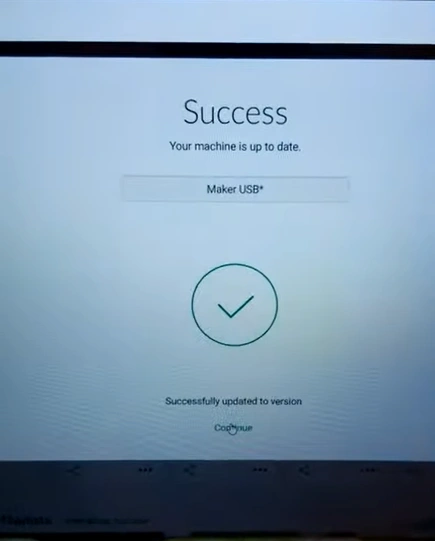
Step 8: Once completed, click Continue.
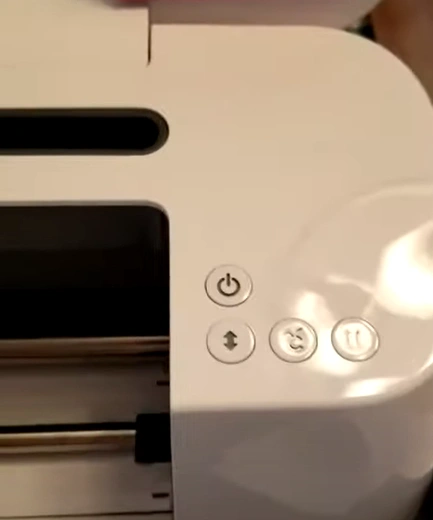
Step 9: After the update is complete, the Cricut machine will automatically restart.
Also Read:- How to Setup Cricut Maker 3 with Bluetooth
In Closure
Update your Cricut Maker 3 firmware using the method described above. See your cutting machine functions at its best. Access new features, enhance functionality, and prevent common issues such as connectivity problems and tool glitches.
Following the right instructions through Design Space lets you keep your machine running seamlessly and ready for your creative projects.


