How to Make Stickers for Home With Cricut Maker Machine?
Cricut Maker designs for home have made it easy for all home crafters to create a wide range of stickers for personal and professional reasons. Whether you are a newbie or a longtime crafter making custom stickers is always on top of the list. The electronic cutting machine can design and cut any sticker in any shape, size, or color you choose.
But doing this project isn’t a piece of cake, as the DIYer needs to buy all the justifiable supplies before crafting these projects. If you have decided and want to take a new step, here we go. Get ready to start a new journey and learn the steps required to form a custom Cricut Maker sticker.
Step 1: First, Design Formatting
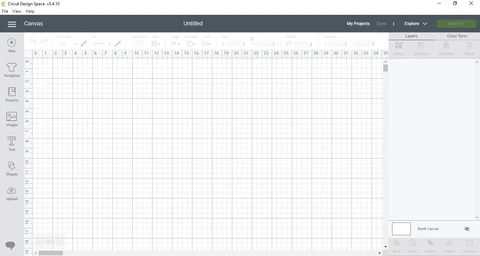
- Start the process by opening the Design Space canvas and pressing the Images tool visible on the left-hand of the screen.
- After that, you will connect to the image search page and search for the design you are looking for.
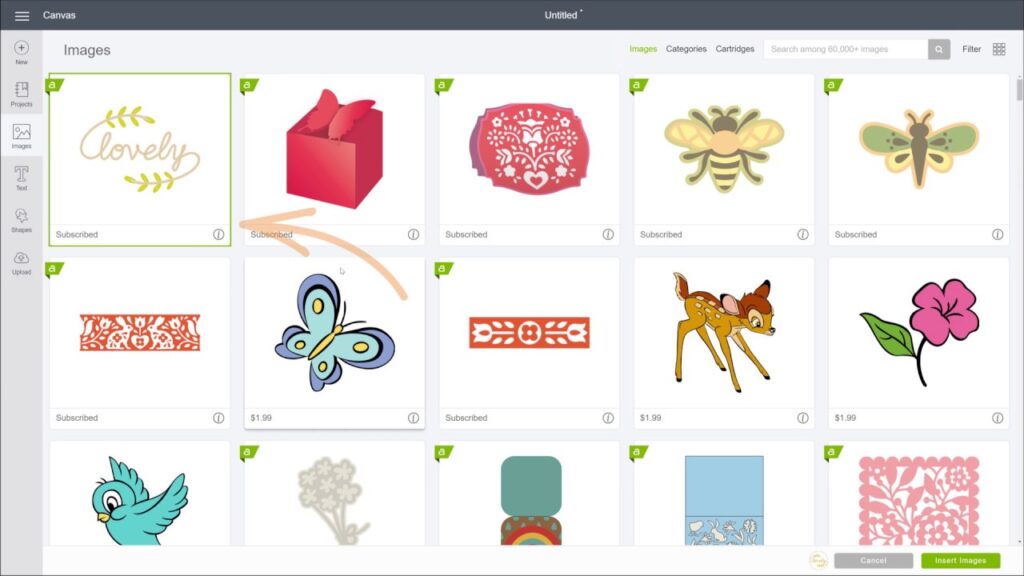
- Next, select one or more images per your choice and tick the Insert Images option.
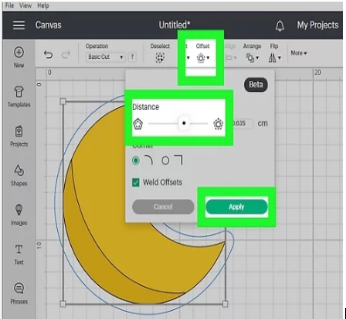
- You must select the uploaded sticker and press Offset from the horizontal menu.
- After this, adjust your offset’s thickness and curve and click Apply to finalize settings.
- Click and move the cursor over the sticker, and it will directly select all the design layers.
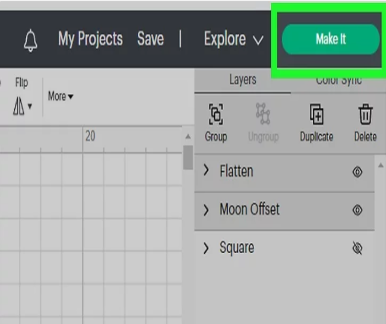
- Besides, press the Flatten box appearing in the bottom right-hand corner of the screen.
- Further, tick the Shapes button and choose the Square or Rectangle option as your preference
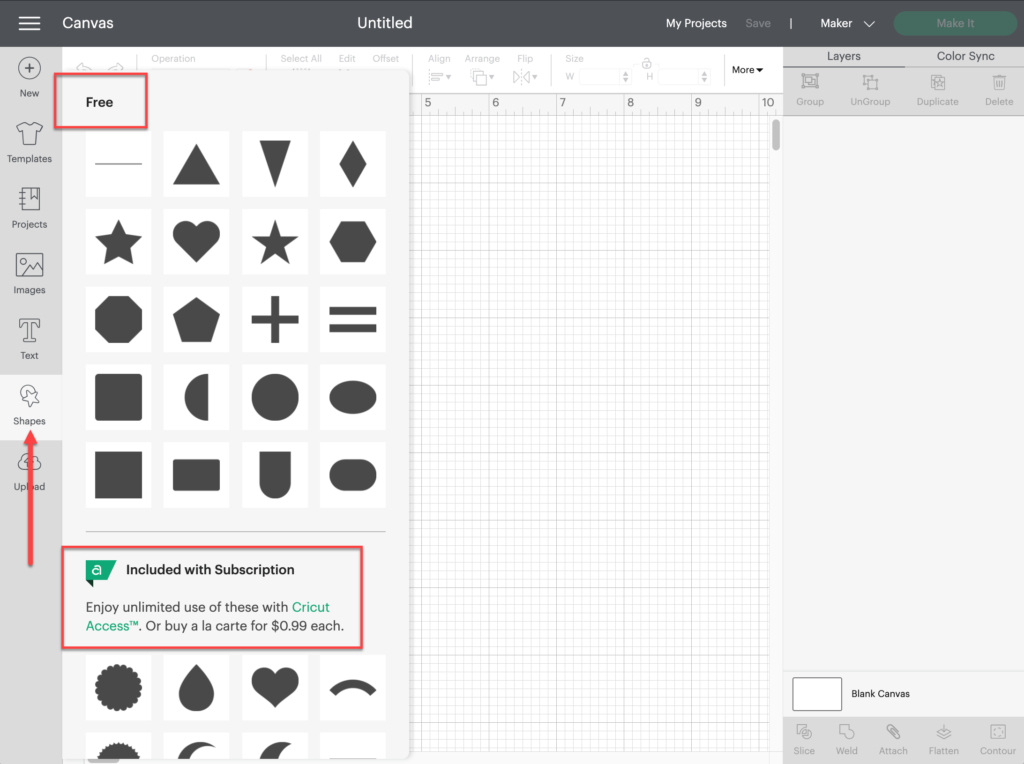
- Click and move the sticker into the selected shape and resize it. After that, choose Duplicate to make extra copies.
- Select and move the cursor over the sticker and tap the Attach box. It will save the sticker’s exact format and layout.
- Also, tap the Save option and then press the Make It button to pull up the printer settings.
Step 2: After that, Sticker Printing
- Now, cross-check whether your Cricut Maker is connected to a PC.
- Select the profile icon and then press the Calibration button to start the process.
- Ensure the sheet is aligned in the top left-hand corner of the cutting mat.
- Then, press the Continue present on the bottom right side of the page.
- Next, choose Send to Printer to pull up the Printer Setup screen.
- Confirm your printer settings, toggle on Use System Dialog, and then select the Print button.
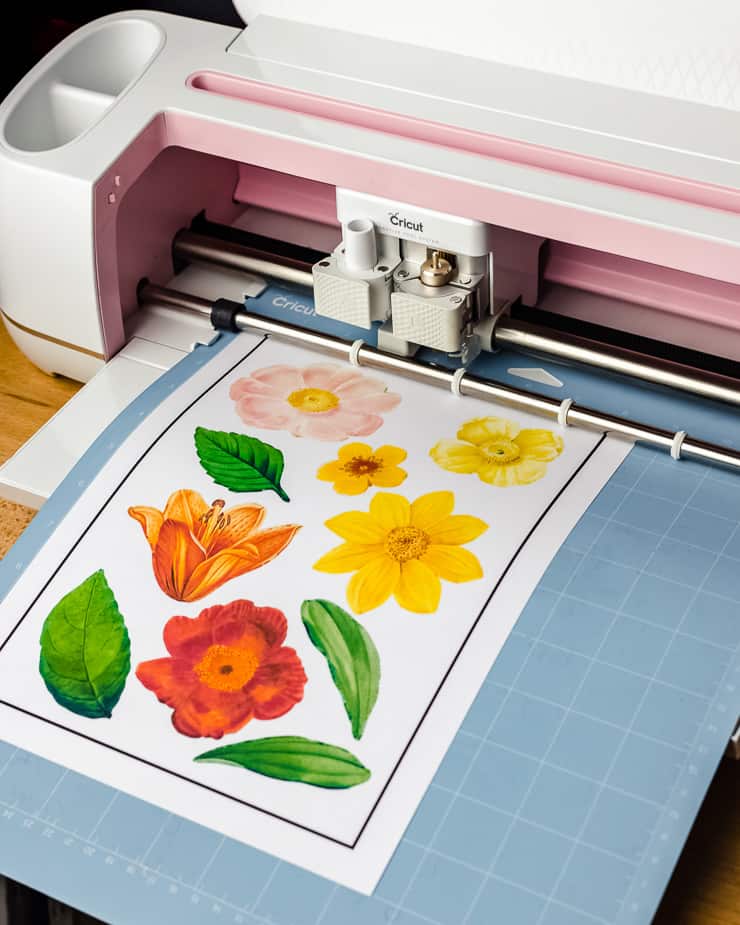
Step 3: Now, Cut Loaded Material
- Select the material under the Set Base Material dropbox and edit machine settings for kiss cut or die cut.
- After finalizing the settings, place the material on the top-left corner of the mat.
- To stick the material carefully, use the brayer tool so that it gets settled down in its place without any bubbles.
- Load the mat into the machine and click the Hit button to begin the cutting process.
- Now, you need to wait till the cutting process is going on.
- After that, gently pull out the sticker from the mat and admire them by sticking it on your place.
Through this section, you must have gotten details about how to make Cricut Maker designs for home. You are also guided to take all the steps seriously to avoid future mishaps.
FAQs
Question: Can I Make My Own Designs with Cricut Maker?
Answer: Yes, you can create your designs out of a Maker machine. You just have to upload or create your own art to Cricut Design Space. It doesn’t matter whether you have designed something on paper or digitally; you have to save it as either a JPG, PNG, or SVG file and import it similarly. SVG files are one of the easiest processes of transferring images into Design Space.
Question: How Will I Get Free Designs & Fonts That Came With Maker Machine?
Answer: Follow these steps to know about how to locate free designs on iOS/Android devices:
- Open the Cricut app and tick the New Project option.
- Under the Free Images dropbox, choose Image and select Filter icon.
- After that, press Free under the Ownership.
- Moreover, to get free fonts, you have to read the steps given below:
- Tick Text from the bottom of the screen, and the Font menu will get open.
- Under the Dropbox menu, choose your favorite font available for free to the DIYers.
Question: What Projects Can You Create with Cricut Maker?
Answer: If you own a Cricut Maker cutting machine, you can create personal projects. However, it’s important to learn in-depth about the Maker machine and how to operate it. The names of the projects include:
- Wood Monogram & Felt Flowers
- Crepe Paper Flower Wreath
- Chipboard Bird Box
- Felt Stocking
- Custom Water Bottle
- DIY Desk Organizers
- Home Sweet Home Sign
- Paper Party Crackers