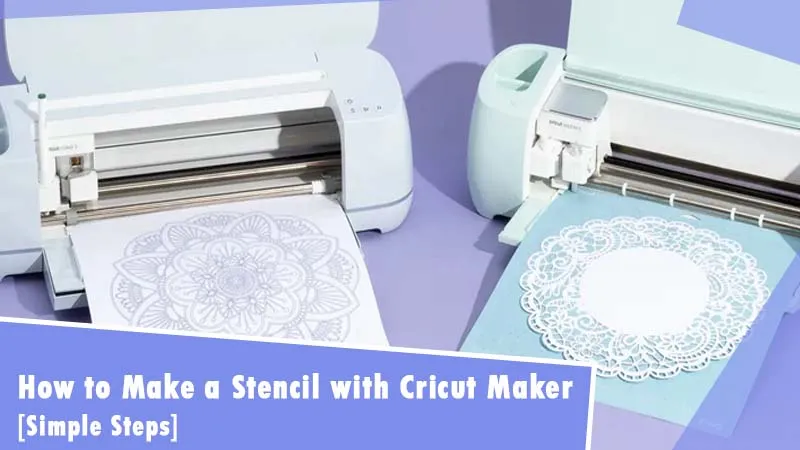
How to Make a Stencil With Cricut Maker? [Simple Steps]
Creating stencils is a fun activity with the Cricut machine. It takes just a few steps to create a stencil with your Cricut Maker machine. You can make a stencil with the removable vinyl. Many users may have tried it but couldn’t make one. But don’t worry; you can try again and create your desired stencil. This blog will guide you through making a worthwhile stencil with your Cricut Maker machine. Well, you have the option to either select from a pre-made design or create your own design for the stencil. So, let’s have a look at Cricut Maker designs for office.
Step 1: First, Select a Design
First, you need to choose what you want to design in the Cricut Design Space. And you don’t need to bother about making your designs, as the Design Space comes up with lots of free images, pre-made designs, and fonts. You can get many fonts and images at a minimal cost with Cricut Access. For this, you are required to sign up for Cricut Access, and you’ll get a monthly plan. With the plan, you’ll have access to more than 400 fonts and 10,000 images.
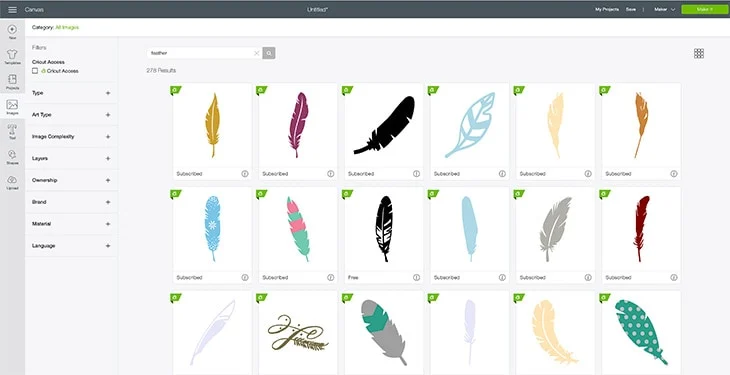
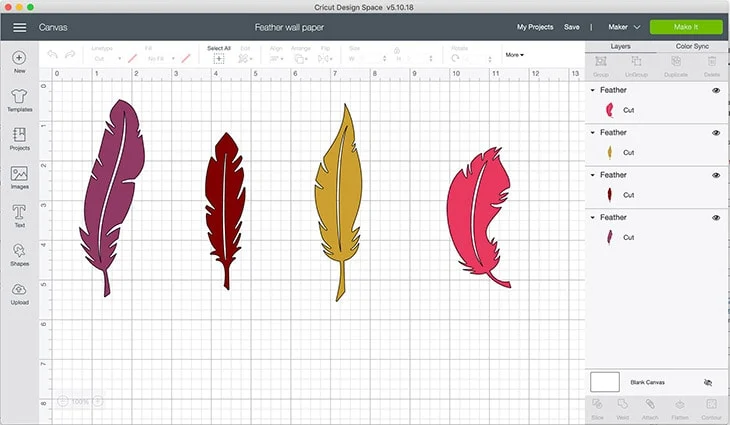
So, here we are using a feather image, which you can simply search by typing “feather,” and you’ll get many feather options.
Step 2: Then, Import Your Design
Now decide on a design and add it to the project. However, you should note that the design you select is a solid shape and doesn’t have broken lines. These are examples of feathers we picked up.
Step 3: After that, Adjust the Size
Once you pick up the design, you need to set up a size for your design according to the Cricut Design Space. To print multiple designs in the same pattern, just right-click on the design and click Weld.
Step 4: Next, Adjust the Position on Mat
Prior to sending the command to the machine, set the position on the mat in such a way that you’ll get at least 2 inches of space around the design. By default, the Cricut machine sets every material at the corner of the mat to be used completely. But for stencils, there is another rule. And you’ll have to provide a recommended space around your design.

Step 5: Set the Material and the Blade
We will use Cricut stencil vinyl to create a reusable stencil. So, in the main step, you need to set the material that you are using for the stencil. Then, set the fine-point blade in your machine.
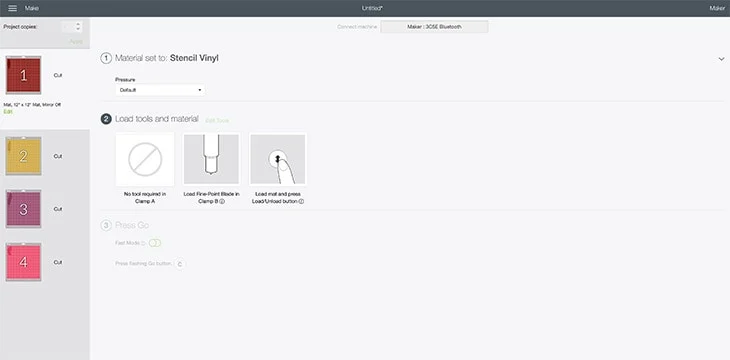
Step 6: Load the Material Into Cricut and Cut the Stencil
Now, place the stencil vinyl over the StandardGrip mat and insert it into the Cricut machine. After that, operate your machine to cut the stencil.
Step 7: Now, Weed Out Excess Vinyl
Once your Cricut is done cutting and you receive the final cut, weed out the excess vinyl from your design. Use a weeding tool to remove the unwanted vinyl. Here you can see that the 4 feathers are cut into different pieces.
Now get ready with your color palette. Choose bright colors that will look good on your walls.
Step 8: Lastly, Paint With the Stencil
Once you are done with making the stencil, take off the blue stencil vinyl from the white backing, stick them to the wall, and add paint to them. Just peel off the stencil and place it in a dummy location. And then, dab the excess paint with a dry paper towel. After that, repeat the step, stick the stencil to the wall in a different place, paint, and peel. Repeat this process until you cover the entire wall. Finally, you have created a nice design on your wall. You can apply this stencil method to create various Cricut Maker designs for office. This stencil really worked well, and you can also work well by making amazing stencils with your Maker machine.
Conclusion
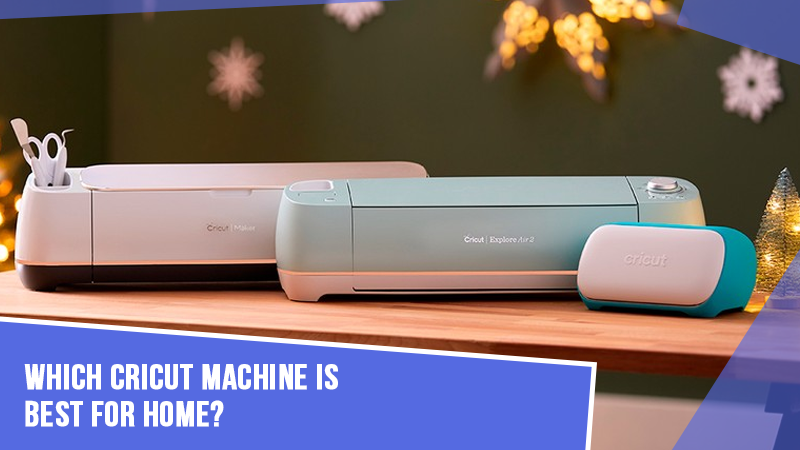
The Cricut Maker is one of the best Cricut machines to make stencils. Also, there are many Cricut machines that you can use to create stencils, such as the Cricut Explore Air 2 and Maker. Start creating stencils by choosing a design from the Design Space. Then, cut it through your machine. Then, you can apply the design to the surface or walls you want to design. So, you are good to go with Cricut Maker designs for office.
FAQs
Which Materials Can I Use to Make Stencils With the Cricut?
There are various materials that can be used with the Cricut. You can cut materials like stencil vinyl, freezer paper, and mylar sheets. On a Standard size Cricut mat, you can make a stencil with a dimension of 11.5” x 11.5.” So, you will have to use larger mats to create a bigger stencil. Removable vinyl is the most preferred choice for making stencils.
Is the Cricut Maker Best for Stencils?
Yes, a Cricut Maker is the best choice for making stencils. This machine has nice features, and it lets you create bigger stencils. The Maker can cut even complex cuts easily and quickly. Stencils are creative and versatile creations that need a high-featured machine to cut. Not only the Maker but the Maker 3 and the Explore Air 2 are also the right machines to make a stencil.
What is the Best Material to Create a Stencil With Cricut Maker?
Many materials can be used for making stencils. But Mylar sheets are used more often for making stencils. This material is good for stencils as it is reliable, durable, and even washable. They are also reusable and a good choice due to their flexibility. This material will be ideal for branding work. Hence, you can use Mylar sheets to make stencils with the Cricut machine.