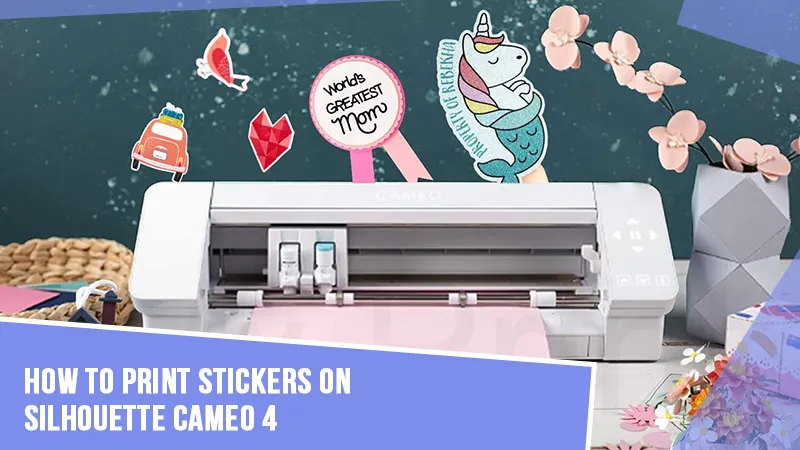
How to Print Stickers on Silhouette Cameo 4?
Have you just got a new Silhouette Cameo 4 for making beautiful crafts? Do you want to print stickers using a Silhouette machine? You have come to the right place. With this smart machine, you can make monograms, sticker labels, or many fun stickers that can be used to decorate your bullet journal. However, creating things on a Silhouette machine is not that hard. With easy-to-follow tutorials, you can get started quickly. In this blog, we will learn how to print stickers on Silhouette. The blog explores the printing of stickers on the Silhouette-cutting machine from scratch. Before printing the stickers, you will need to go through the process of designing stickers. We will go into the details with a step-by-step printing process for stickers.
What is Silhouette Studio?
You can design the stickers on the software called Silhouette Studio. This is a companion design software that works with Silhouette Cameo 4. The platform is excellent for making design projects. You can also upload the design to the library and purchase the pre-made design from the app. The workspace gives the platform to create your own text and design using various tools that you can use. Further, you can send the designs to your machine to cut on various materials such as cardstock, Vinyl, paper, and fabric.
What Items Will You Need to Print Stickers on Cameo 4?
Here, we will see the items required for printing stickers on the Silhouette Cameo 4 cutting machine. In addition to items, you will only need to buy sticker paper. However, you will need Silhouette Studio, a free software that you can download and install on your device from the official website.
- Cameo cutting machine
- Printer
- Sticker Paper
- Sticker Laminate
- Silhouette Studio software on the computer
The Process for Designing, Printing and Cutting Stickers
Most beginner crafters prefer to make stickers when they are working for the first time on machines. Because making stickers is simple and easy, it doesn’t take much time to create them. With these beautiful stickers, you can decorate your journal and other things. Let us start with the first step, i.e., design your stickers.
Step 1: Setting Up the Silhouette Studio
A new Silhouette machine comes with a software installation manual. In case you have lost it, then follow the following steps.
- Download the Silhouette app by navigating to silhouetteamerica.com.
- Choose the operating system from the given drop-down menu (under Silhouette Studio).
- Then, click on Download and then finish the installation.
- Open the software on your device and start designing.
Step 2: Designing Stickers
Now, after installing the app, you can design the stickers on it. However, if you don’t know how to use Silhouette Studio, then you can also go with the alternative options. These alternative software are Canva, Photoshop, and others. After creating the designs on third-party apps, you can save them in PNG and JPEG formats.
We will take the example of Canva software. So, if you made your stickers on Canva, then you will need to export them. To export from Canva, follow the following steps:
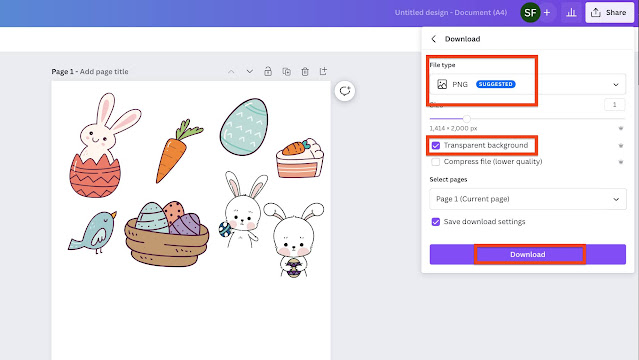
- You can go to the Share option on the upper right.
- Upon clicking the Share button, you will find the download option.
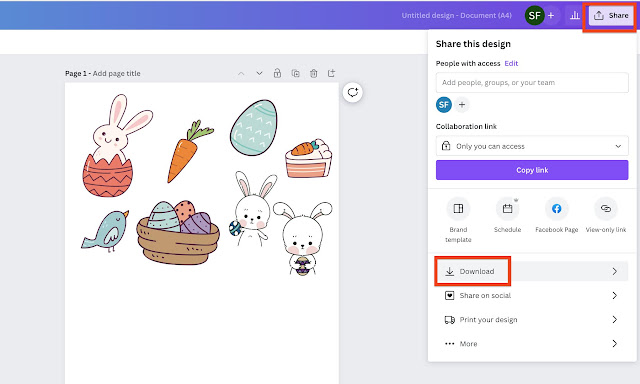
- Select the Download option, and choose PNG as the type of file.
- While saving, make sure you select the Transparent option. It will help you when you will create the sticker outline.
Here, we have finally exported the designs, and now we will follow the steps to import them into the Silhouette app.
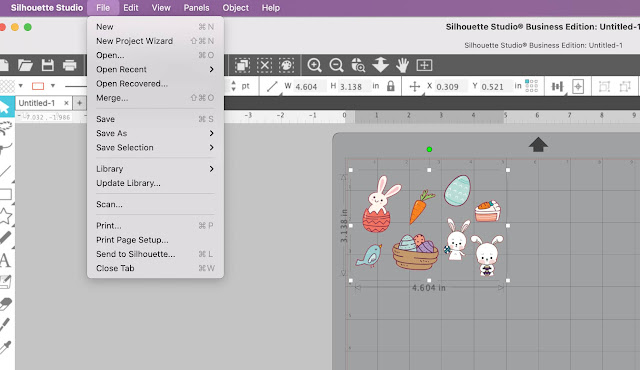
- Launch the Silhouette Studio on your device.
- On the app, go to the File option and then click Open.
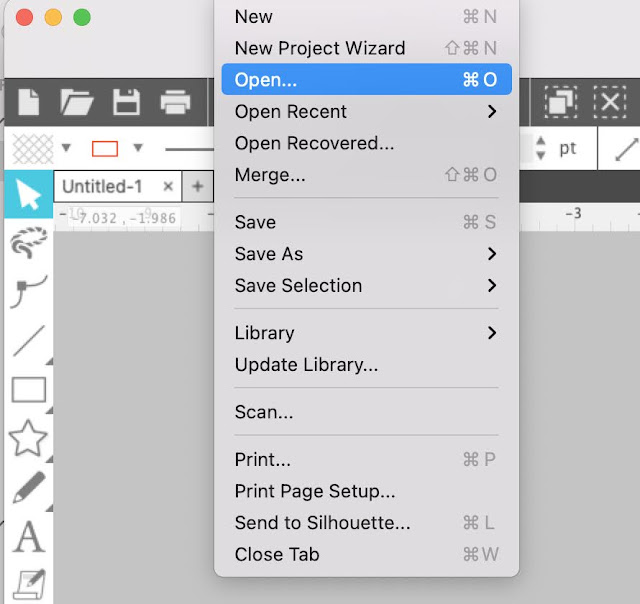
- Further, select the image you have saved from Canva.
- Afterward, you can go to the Page Setup panel and select the Printer option to change the page size. Further, add the registration marks.
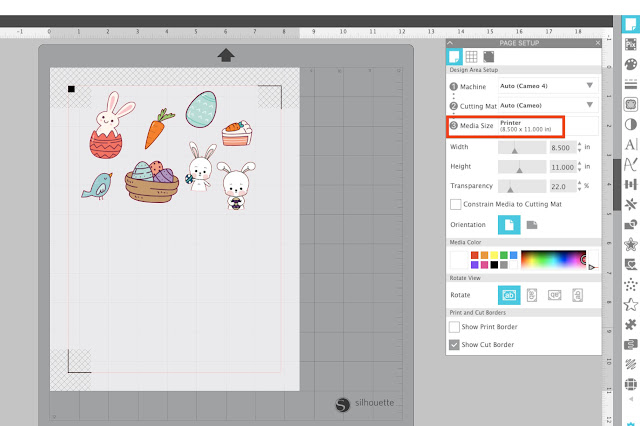
- Further, you will need to make cutting lines on your designs. You can make it via the same software that you used to make our stickers.
Step 3: Printing the Stickers
Finally, we are ready to print the stickers. To print, you must click on the printer icon at the top left corner. Send the design to printing. Make sure you are opting for the best quality color printer. So you can get the beautiful stickers. After printing, your design is ready to be cut on Silhouette Cameo 4.
Conclusion
In a nutshell, this blog covered all the essential points. For example, it explained what Silhouette Studio is, and then we focused on the materials required for printing the stickers. Further, we discussed the step-by-step process for designing, printing, and cutting the stickers on Silhouette Cameo 4. The post will also guide the process of making stickers on the Cameo 4 machine.
FAQs
Question 1: What can a Silhouette Cameo 4 do?
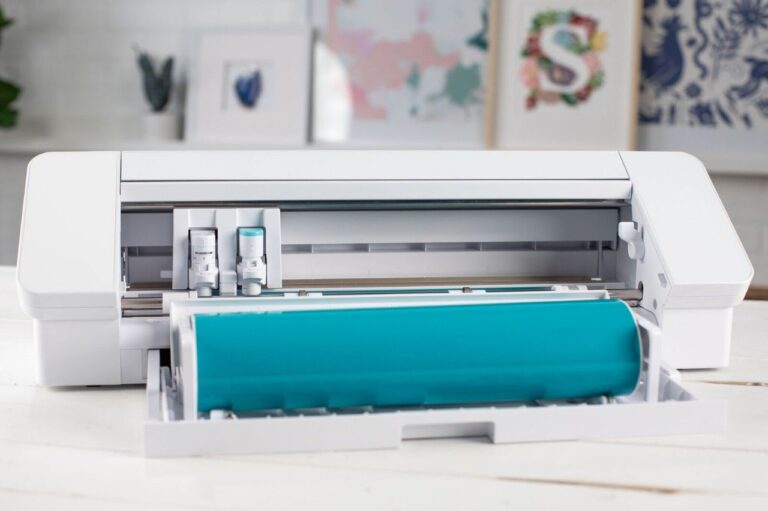
Answer: The Cameo 4 cutting machine is a smart device that can cut certain materials completely without a mat. If you want, you can also cut the materials using the rolls. The machine has a built-in roll feeder that helps feed the materials. However, it can cut dozens of materials such as vinyl, fabric, cardstock, and more.
Question 2: Which one is better: Silhouette Cameo 4 or Cricut?
Answer: It is difficult to say that one is perfect or better. Because it entirely depends on the personal choice of the users. If they want certain types of features that are only available in Cricut, then they should go for it. Otherwise, they can go for Cameo 4. However, Cricut Design Space is more user-friendly for beginners, whereas the Studio app is more advanced.
Question 3: Can I use a Silhouette Cameo 4 machine without the internet?
Answer: The Silhouette Studio is a free software that can be easily downloaded. It means when the software is installed on your computer, the internet connection is not required anymore. However, users can prefer designing their projects in real-time at their convenience.