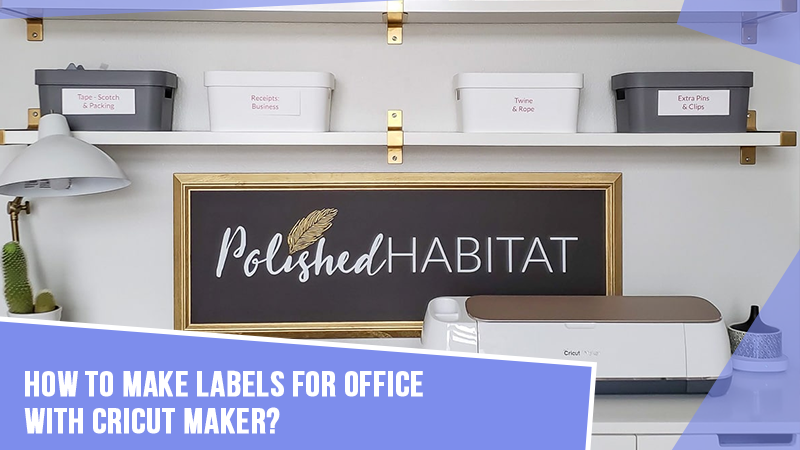
How to Make Labels for Office With Cricut Maker?
Labeling is one of the crucial parts of every company. It helps in creating, managing, and maintaining things in a correct manner. There are times when labels give a finishing touch to the product, making it look more appealing and praiseworthy. With a smart cutting machine, it gets simpler for the DIYer to craft custom labels. Moreover, labels also assist in settling down things in a correct manner without breaking or damaging them.
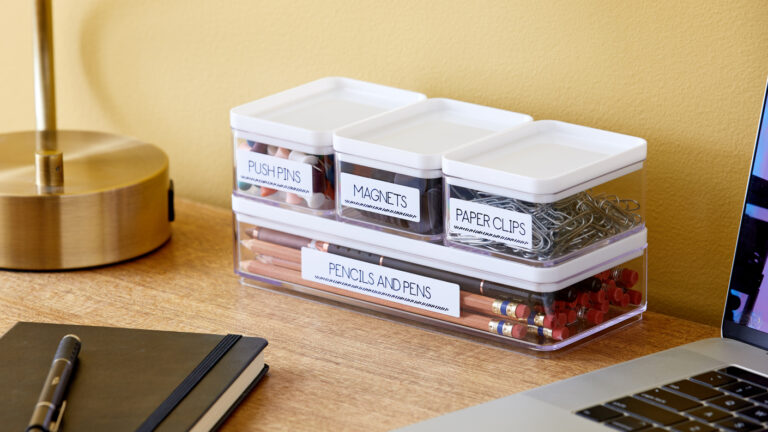
Most people create labels for their offices to arrange files, accessories, and other items in the correct place without making them look messy. Cricut Maker is one of the most demanding cutting machines, which allows the DIYer to create custom projects. It helps the user by offering different facilities that can add a personal touch to their design. Keep reading this post and come across all the steps on how to make labels for office with Cricut Maker.
Step 1: First, Sign In to Cricut Design Space
- First, download and install the Design Space app on your PC/mobile phone and create your account.
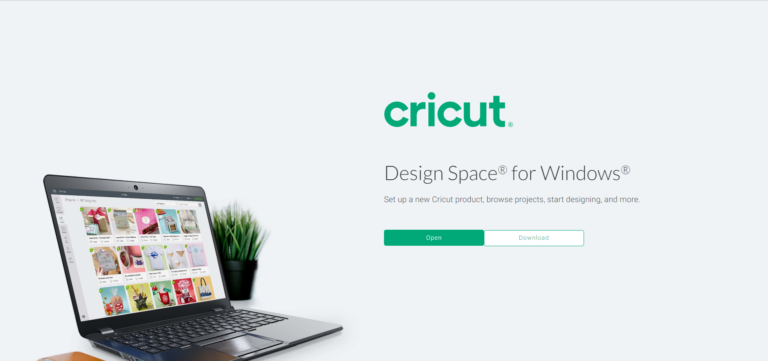
- To get the Cricut app on your Windows computer, open the web browser and search for the Design Space setup page.
- Now, press the Download option and let the download process take place.
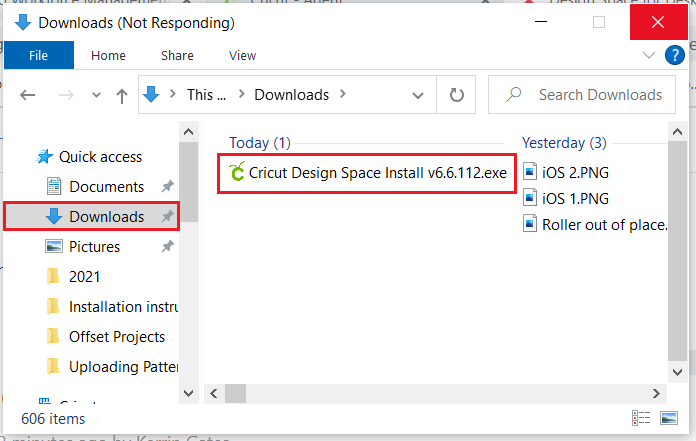
- After a few minutes, double-click the download available on your Downloads folder.
- Next, a screen will ask you to trust the application; tick the I trust application option.
- Within a few minutes of making the decision, a pop-up window will be visible, sharing the installation percentage of your computer.
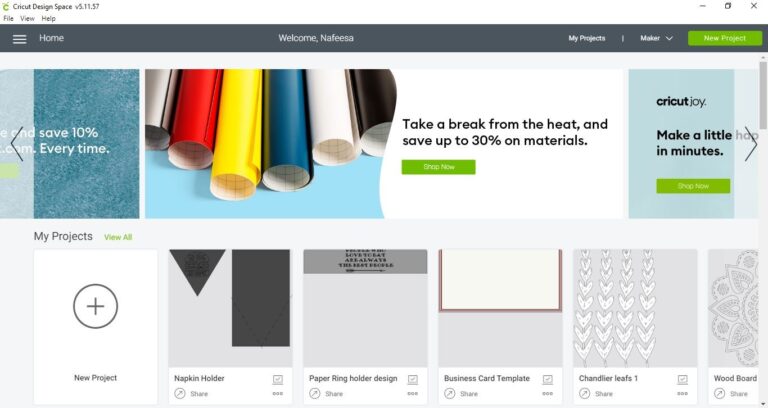
- After creating an account, sign in & open a New Project on Design Space.
- Now, tick the Shapes tool matching your item shape and open the lock near the Size box.
- After unlocking the shape, resize it to match it with the box.
- Next, go to the Images tool and choose an image from the library or upload it from your system.
- Apart from shapes & image tools, you can also add text to your design by choosing the Text tool.
- However, you can also choose the font, size, and color while noting down the text on the canvas.
- Following this, press the Add to Canvas and drag it to the shape.
- After reaching back to the canvas, press the Make It option visible on the top-right side of the screen.
Step 2: After that, Cut & Print Labels
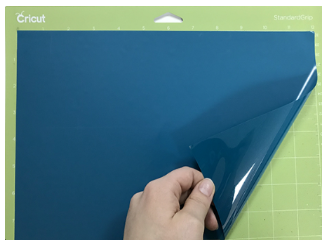
- Further, carefully unpack your selected cutting mat along with the material out of their packet.
- Next, stick the material on the cutting mat, covering all the areas equally, and then load it onto the machine.
- Now, press the flashing Cricut/Load button to begin the cutting /printing process.
- Following this, you’ve to wait till the cutting process is going on.
- After the cutting process is complete, use the Cricut Weeding tool kit to weed out the extra material from the mat.
Step 3: Now, Apply Labels
- Further adding to the process, cut a piece of transfer tape larger than the label and place it on the label.
- Take the scraper tool and start rubbing it to attach it properly to the label.
- Now, carefully place the label on the box and peel away the transfer tape.
- Following this, use a scraper tool and start sticking the labels down firmly in their place.
- And that’s it! You have finally made a custom label for your office.
Conclusion
The DIYers who have the hunger to learn something new must have found this blog pretty useful. They learned about how to make labels for office with Cricut Maker with the help of simple steps. After learning about designing custom labels, the crafters will get the chance to create more projects similar to this one for their professional or personal use. Besides, if you decide to create labels without any hassles, then you must choose Cricut Maker. This machine has the ability to cut 100+ materials with accuracy & precision.
FAQs
Question: How Can I Design Labels From Cricut Maker?
Answer: Read the following steps to learn about the crafting process:
- First, download & install Cricut Design Space and create your Cricut ID.
- After that, open Canvas and upload Shape/Text or Images using the toolbar.
- Next, you need to resize them and select material on the mat preview page.
- After cutting & printing finishes, trim away the extra material from the mat.
- Finally, use the transfer tape and stick the custom labels on the box.
Question: What Materials Should I Buy to Create Cricut Labels?
Answer: In order to create Cricut labels out of scratch, it’s essential for all DIYers to buy a bunch of materials. The materials will help them create the labels as per their command. Below, we’ve penned down the names of those materials:
- Cricut Maker cutting machine
- Design Space account
- Cricut cutting mat
- Cricut material
- Weeding kit
- Scraper tool
- Transfer tape
Question: What Projects Can I Design With Cricut Maker?
Answer: With its sharp blades & other tools, Cricut Maker can design a variety of custom projects. There are various projects that the crafter can create out of their Cricut Maker cutting machine. The list of crafts includes:
- Wooden Monogram & Felt Flowers
- Crepe Paper Flower Wreath
- Chipboard Birdhouse Box
- Felt Stocking
- Gift Cards
- Harry Potter Blanket
- Custom Water Bottle
- Personal Labels
- Picture Frames