

I have been working on my Cricut projects for a long time. One day, I decided to take my crafting to the next level, so I bought a Cricut EasyPress. I was curious to see how it would perform with my upcoming projects.I was delighted to use it as soon as it arrived—its sleek design and lightweight build impressed me.
As an experienced crafter, I found the EasyPress to be remarkably user-friendly. For my first project, a simple T-shirt design, the process was a breeze. I preheated the surface, placed the vinyl design, set the timer and temperature, and pressed down. The results were flawless—no peeling edges or bubbles.
Let me guide you through the setup and usage of the Cricut EasyPress, making it easy for you to achieve professional results. Before we dive into the steps, let’s look at some potential issues you may face while using the Cricut EasyPress.
Common Issues When Using Cricut EasyPress
When using the Cricut EasyPress, you might face certain issues that can hinder the process. These issues can be:
- Edges of the design peeling up
- Heat marks on the material
- Design cracks after washing
Steps to Get Started With Cricut EasyPress
The Cricut EasyPress is available in three sizes, each designed for a specific usage. For print-sized projects such as baby clothes or accessories, the 6” x 7” is the best choice. The 9″ x 9″ is ideal for creating everyday essentials, such as t-shirts and tote bags. The 10″ x 12″ is ideal for large-sized projects, such as large t-shirts and blankets. All of them have similar functionalities and features.
Here is how to use any Cricut EasyPress:
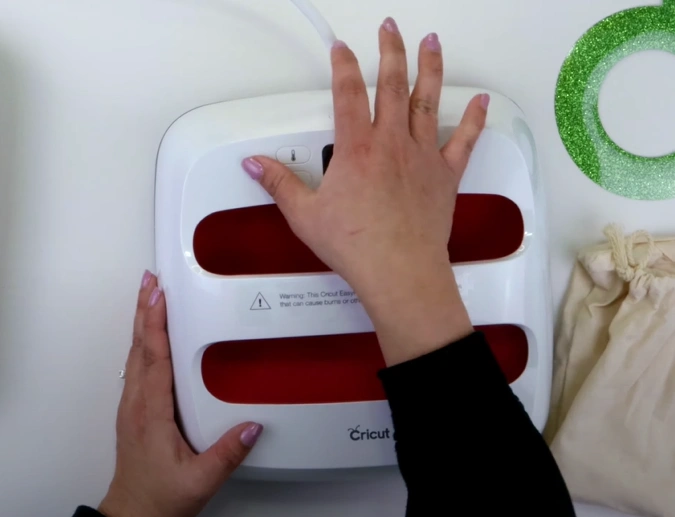
Setup Process
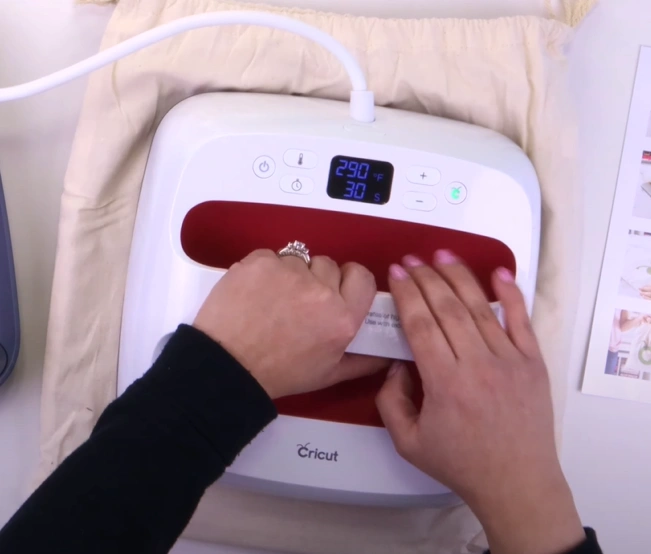
Step 1: First, plug the heat press machine into a power outlet.
Step 2: Next, turn on the machine by pressing the power button.
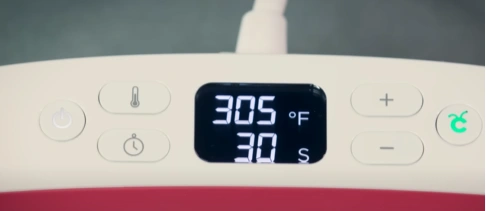
Step 3: It will take approximately one to two minutes to reach your desired temperature, so please be prepared. The temperature and time settings are displayed on its main screen.
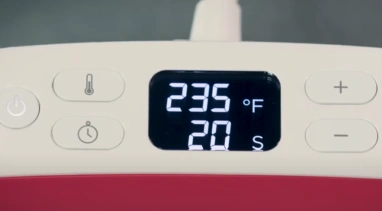
Step 4: To switch between Celsius and Fahrenheit, press and hold the thermometer button.
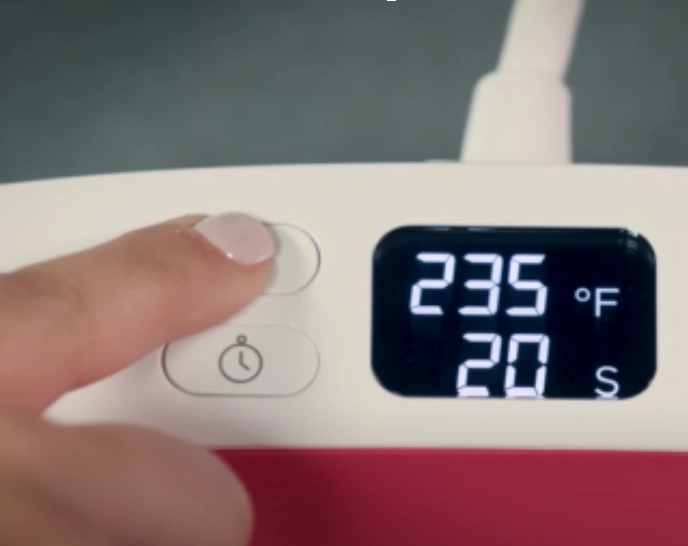
Step 5: To set the temperature, press the thermometer button until the numbers start flashing.
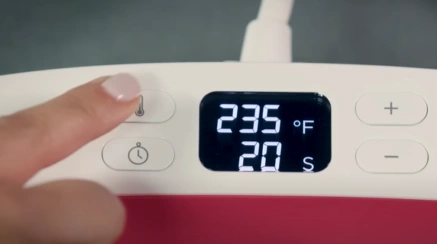
Step 6: Speed up the process by holding down the plus (+) or minus (-) button (s) to jump in increments of 10 degrees.
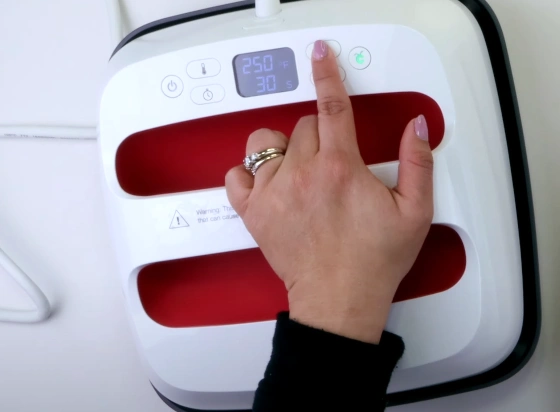
Step 7: The timer button functions similarly. Once it flashes, set the time by pressing the plus button. You can reach your desired number faster by pressing and holding the button.
Step 8: The Cricut button stays orange until it reaches the temperature you set.
Step 9: When the beep sounds, and the button changes to green, it indicates that you are ready to proceed.
Step 10: If the machine remains idle for 10 minutes, it will beep three times. This indicates the machine is about to turn off automatically as a safety precaution.
Step 11: To keep it awake, press any button on the panel.

Preheat the Material
Step 1: Set the temperature and time recommended from the Cricut Heat Guide. If you are using a material like cotton, set it as follows: 340°F at 30 seconds.
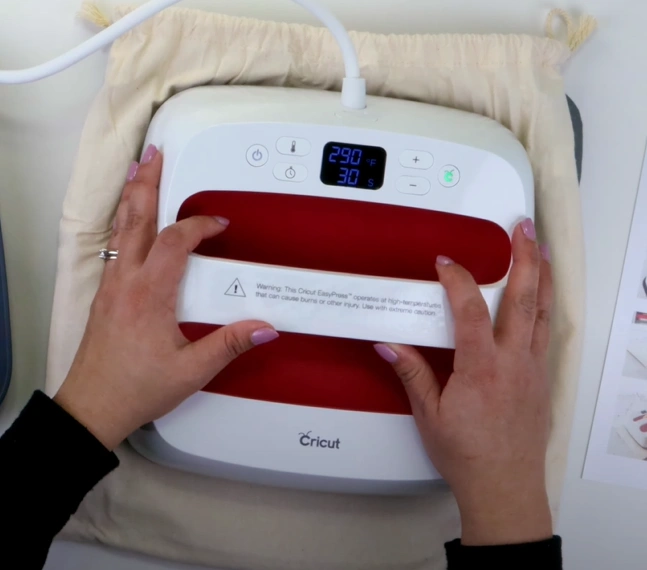
Step 2: Place the garment on a flat, heat-safe surface or Cricut EasyPress mat.
Step 3: Run the heat press over the area to preheat it before applying heat transfer vinyl (HTV). This helps remove moisture and achieve better adhesion.
Press and Move
Step 1: Position the design correctly on the chosen material. The design should be aligned correctly and ensure it covers every area, including the edges.
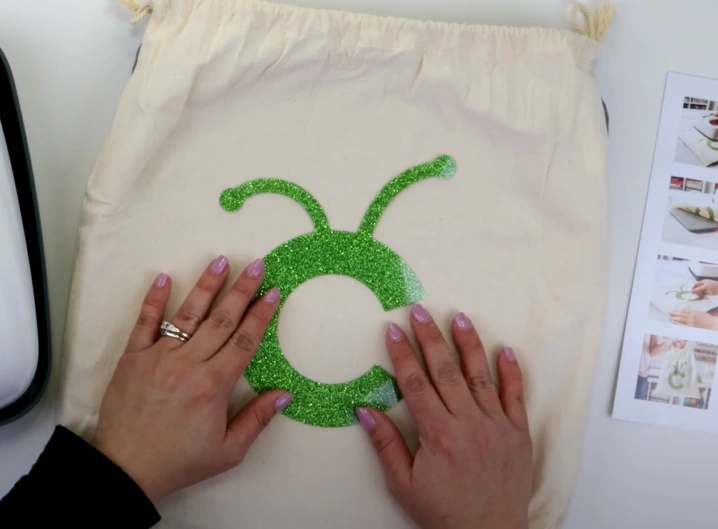
Step 2: Apply light pressure and move the press in a circular motion. For larger designs, divide the area into two sections and press each half separately.
Step 3: Let the design cool down before you start peeling off the backing. The peeling temperature (warm or cool) depends on the type of transfer material you use.
Also Read:- How to Fix Cricut EasyPress Mini Red Light Flashing
Final Thoughts
Here, we wrap up everything you need to know about how to use a Cricut EasyPress, from setting up the machine to using it on your crafts. Set the right temperature, time, and pressure, and see the results. Make your cool, personalized t-shirts, totes, or home decor pieces look more professional with the heat press machine.
Important Tip: Wait at least 24 hours before washing the garment. Turn it inside out, tumble dry, and avoid bleach. If ironing is needed, press only on the reverse side.


