
You must learn the basics before you can start with your first iron-on project. From heat settings to how much pressure to apply, everything should be clear beforehand. We have briefly explained how to set up and use the Cricut EasyPress Mini here. Before getting started, review some important points.
What You Need for Your First Cricut Project
If you are a beginner and are going to use the EasyPress Mini for your first iron-on project, here is the list of things you will need:
- EasyPress Mini machine
- Compatible materials like fabric, vinyl, or Infusible Ink blanks
- Heat transfer vinyl (HTV) or Infusible Ink
- Heat-resistant pressing mat or surface
- Protective sheet (parchment paper or Teflon sheet)
- Design cut using a Cricut machine (if required)
- Lint roller for fabric projects
- Heat-resistant tape
Steps to Use Cricut EasyPress Mini
Using the Cricut EasyPress Mini is quite easy. You just need to follow these instructions:
Preparation and Settings
Step 1: Plug the press into a power source.
Step 2: Press the power button once to turn it on.
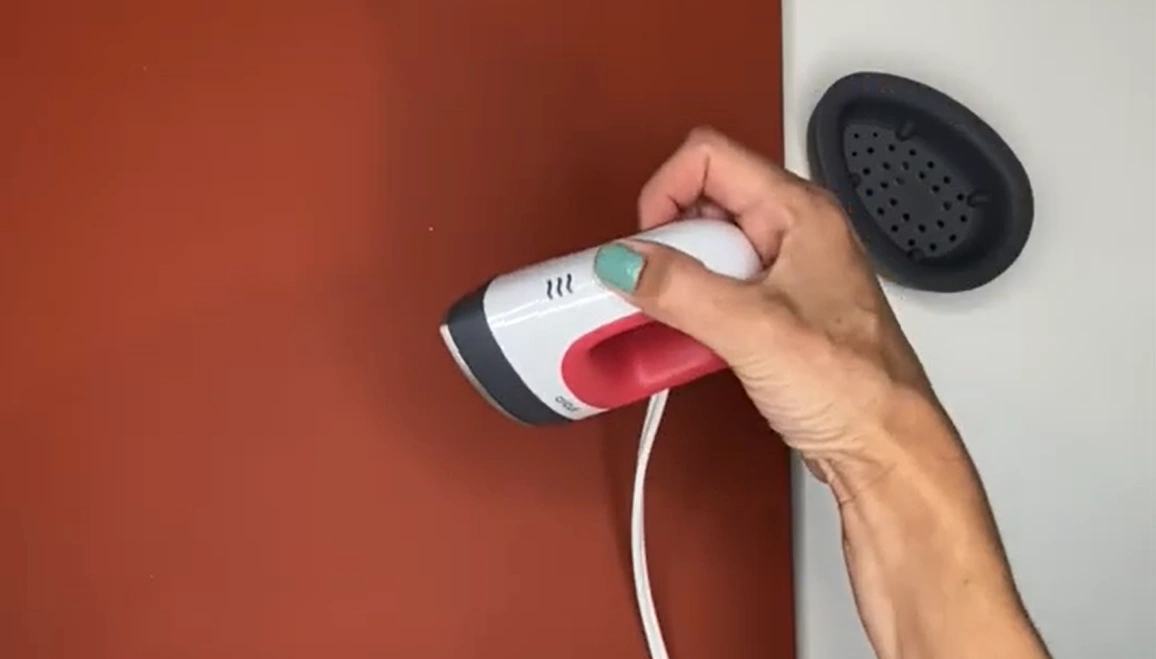
Step 3: Set the temperature to Low. Since Low is the default setting, no change is needed if you plan to use it.
Step 4: Press the button again if you want to increase the next level (Medium or High).
Step 5: Check the indicator lights. If you see the light turning orange, it means the machine is heating up. If it turns green, the selected temperature is ready for use.
Step 6: Once you see the green light, you can begin your project.
First Project
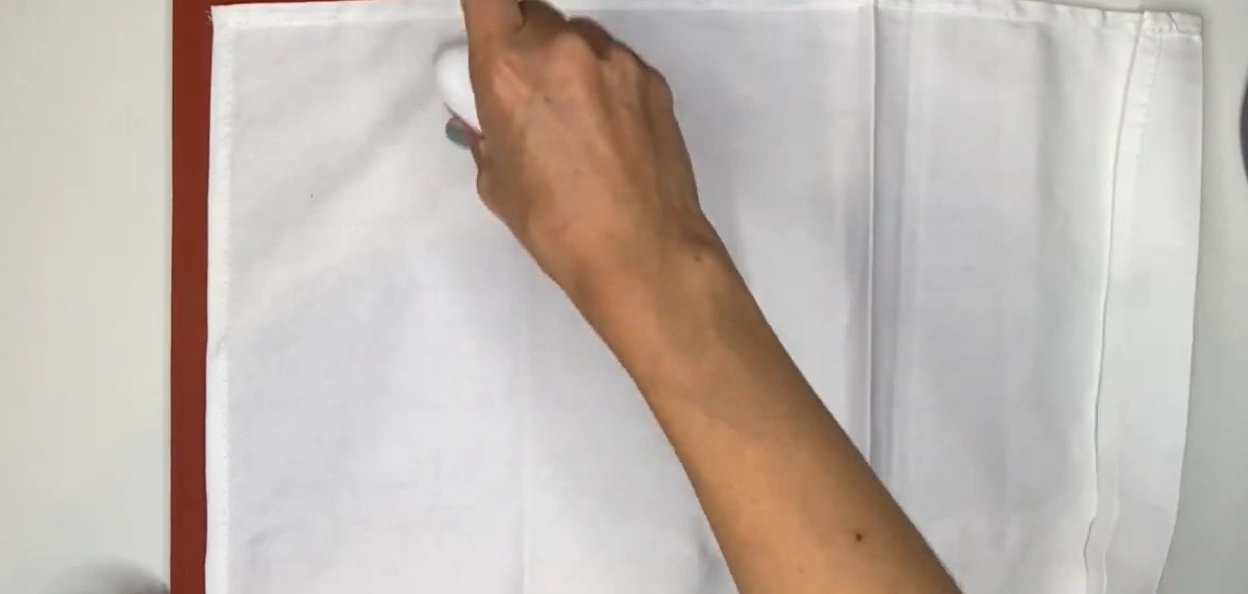
Step 1: Preheat your base material for 5 seconds to remove moisture.
Step 2: Place an EasyPress mat, a form, or a folded towel underneath if working with curved items like a hat or shoes.
Step 3: Place your design exactly where you want it and then apply a Teflon sheet or parchment paper to prevent scorching and sticking.

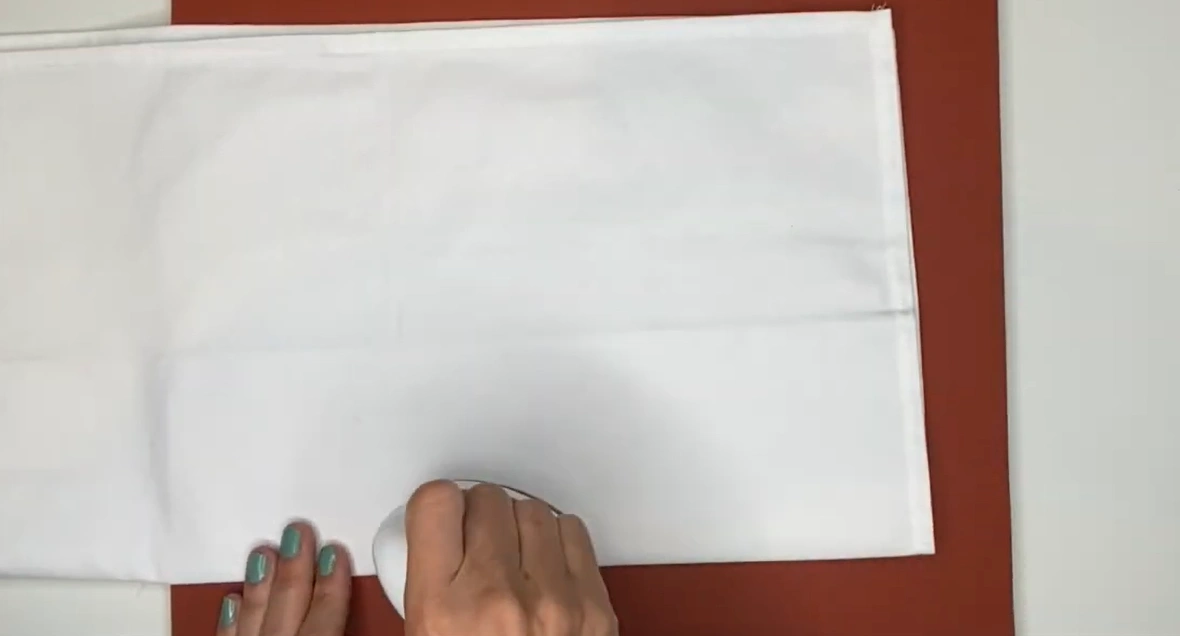
Step 4: Apply light pressure and move the press slowly over your design in circular motions.
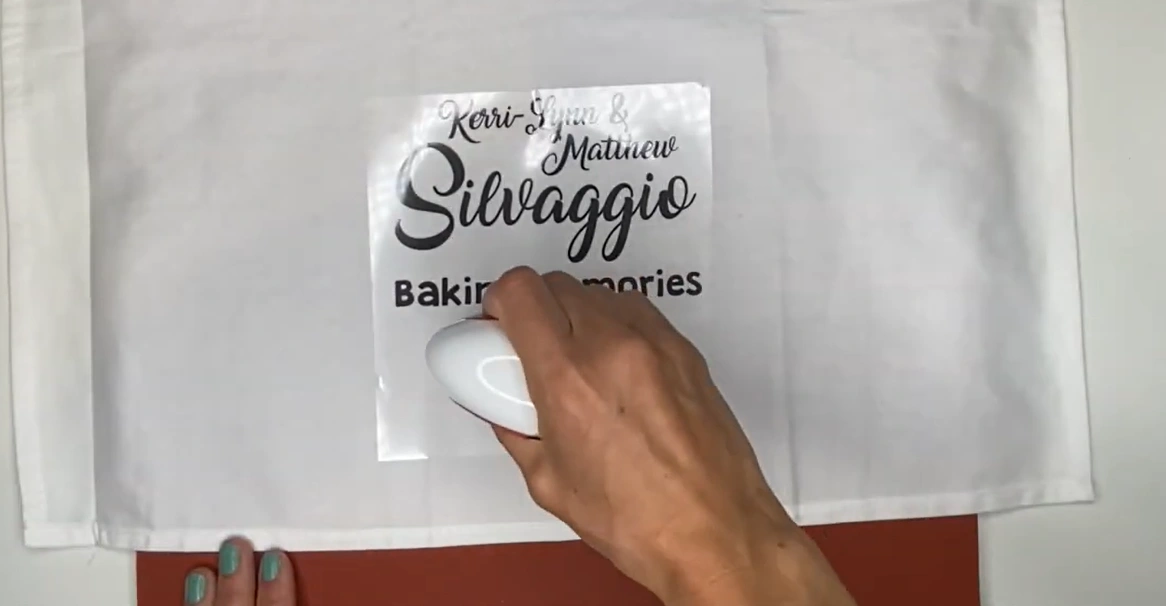
Step 5: Move the press according to the recommended time period based on the material and transfer paper type.

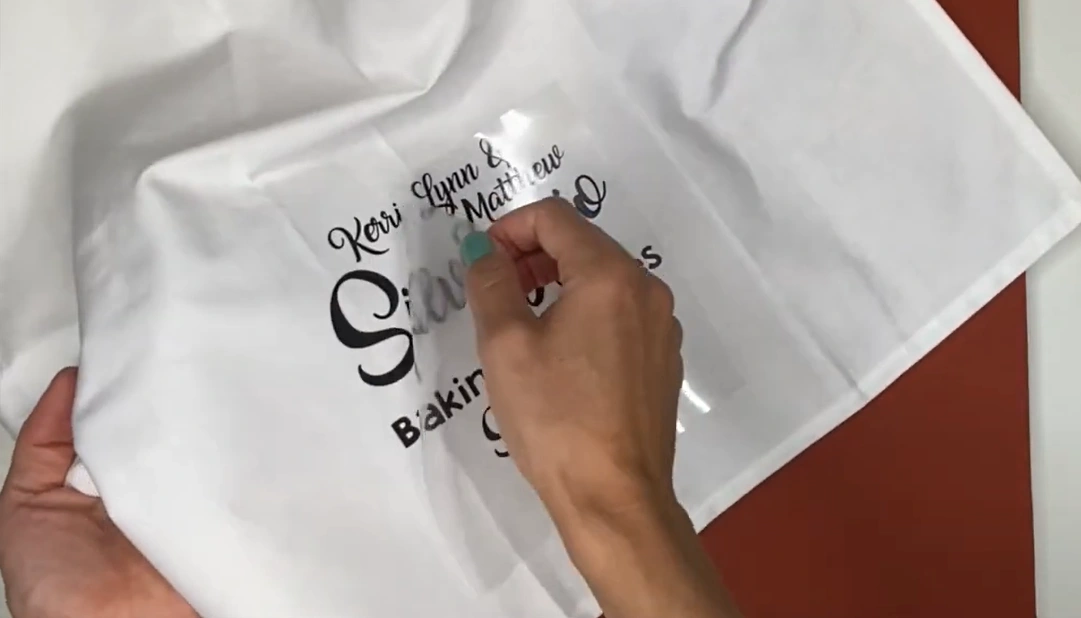
Step 6: Leave the design in place and allow it to cool completely.
Step 7: Peel off the carrier sheet as instructed.
Wrap Up
Once you are done with your heat-transfer project, press and hold the power button to turn off the Cricut EasyPress Mini. Remember to use the press at room temperature and ensure the fabrics and base materials are fully dry. When the press is not in use, keep it in its safety base.


