
Before you start designing custom mugs with the Cricut Mug Press, there are a few important things to consider. This includes the type of mug you have, the materials you will use, and the protective items you need.
To help you get started, we have created a beginner-friendly guide with clear instructions on using this machine properly. By the end, you will have a perfectly designed mug. Let’s start with the items you will need.
Things You Need Before Using Cricut Mug Press
Here is a list of items you must have before you start using your machine:
- Cricut cutting machine (Explore or Maker)
- Cricut Mug Press
- A computer or tablet with the Design Space app installed
- Heat-resistant tape
- Scissors
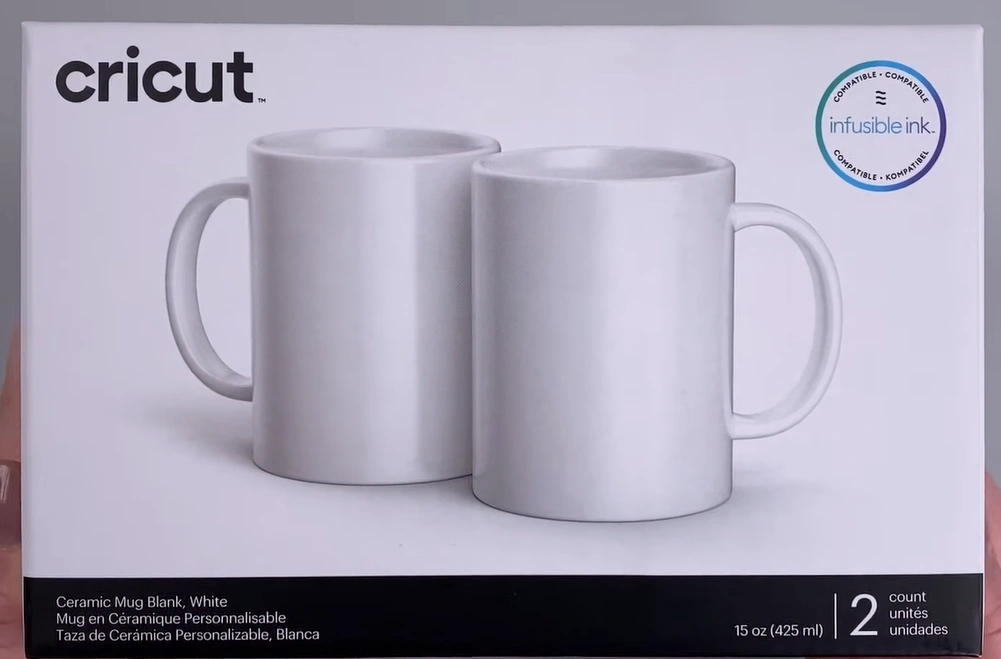
- Compatible mugs
- Butcher paper
- Heat-resistant mat
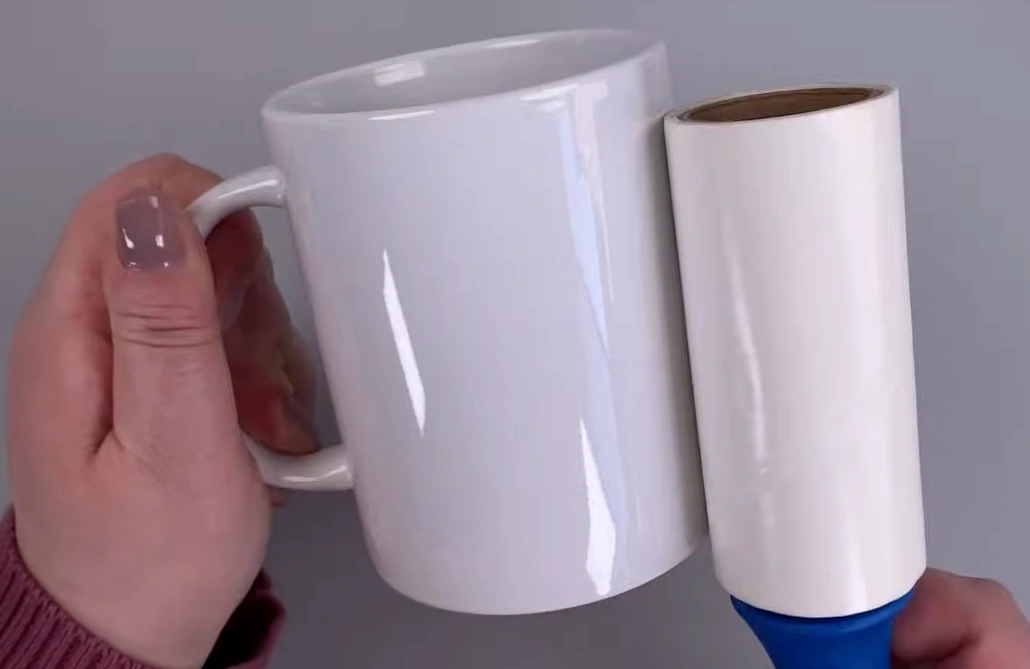
- Lint roller
Steps to Use the Cricut Mug Press
Once you have unboxed your machine, the first thing you need to do is set it up. Here are the steps to follow for setting up the machine:
Set up the Machine
Step 1: Remove all the packaging from the machine.
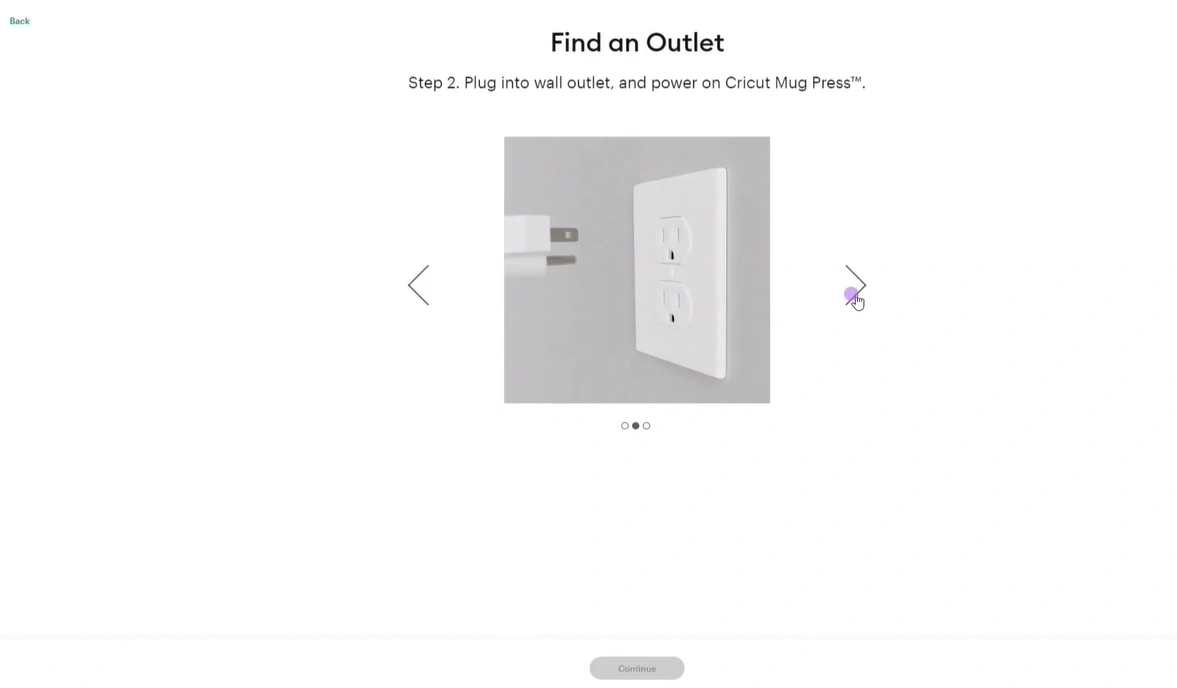
Step 2: Insert the power cable into the back of the Cricut Mug Press.
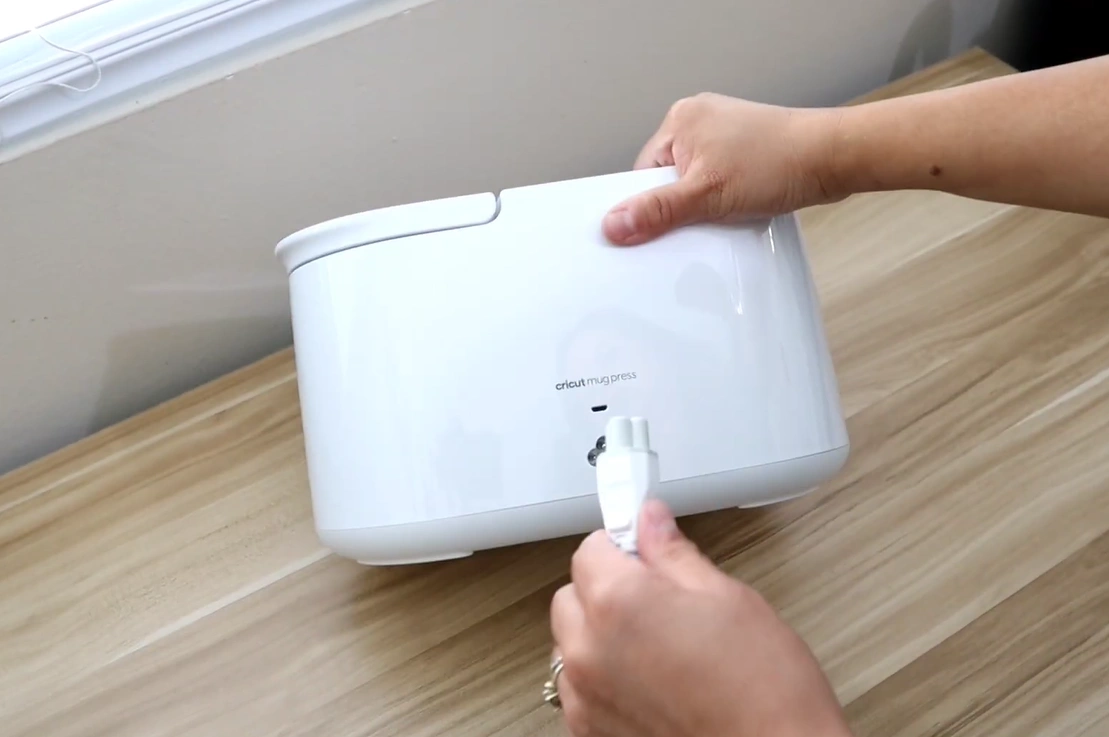
Step 3: Connect the other end of the cable to your computer.
Step 4: If you have already installed Design Space software, open it on your computer.
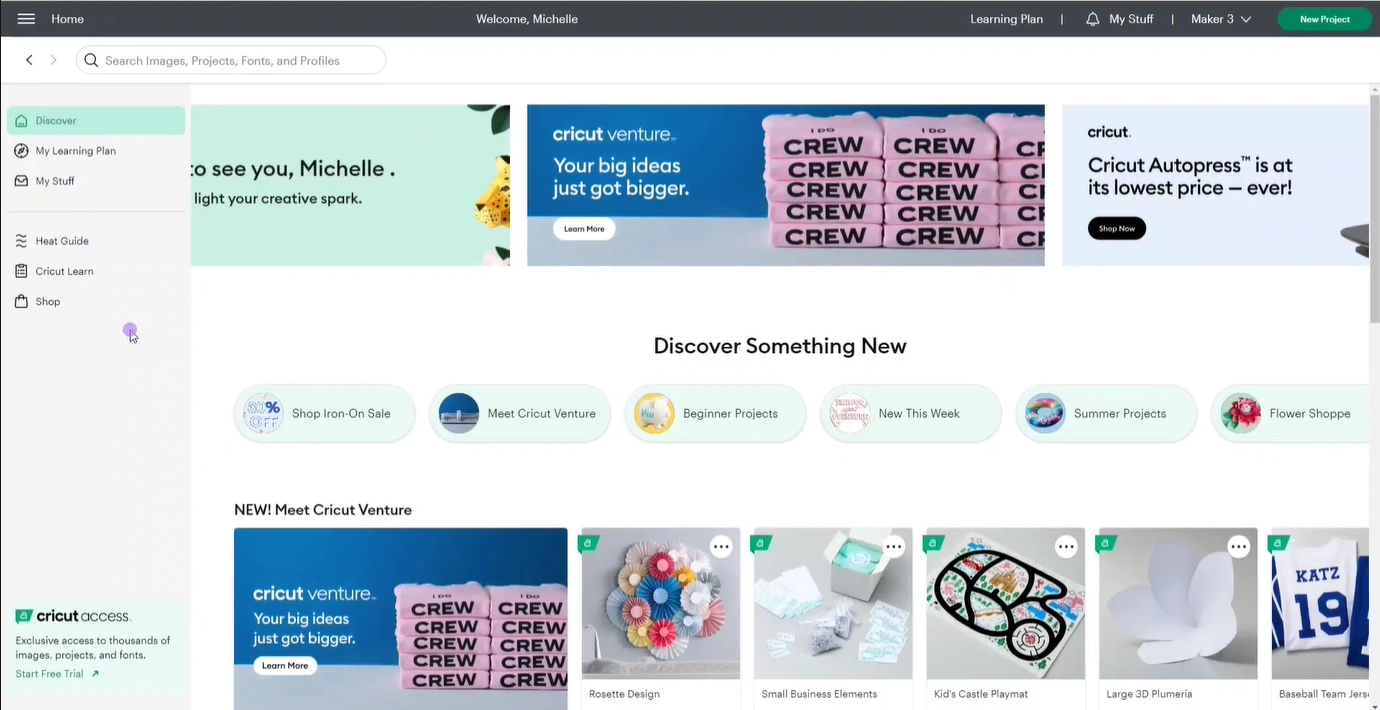
Step 5: Click on the three horizontal lines at the top left of the screen.
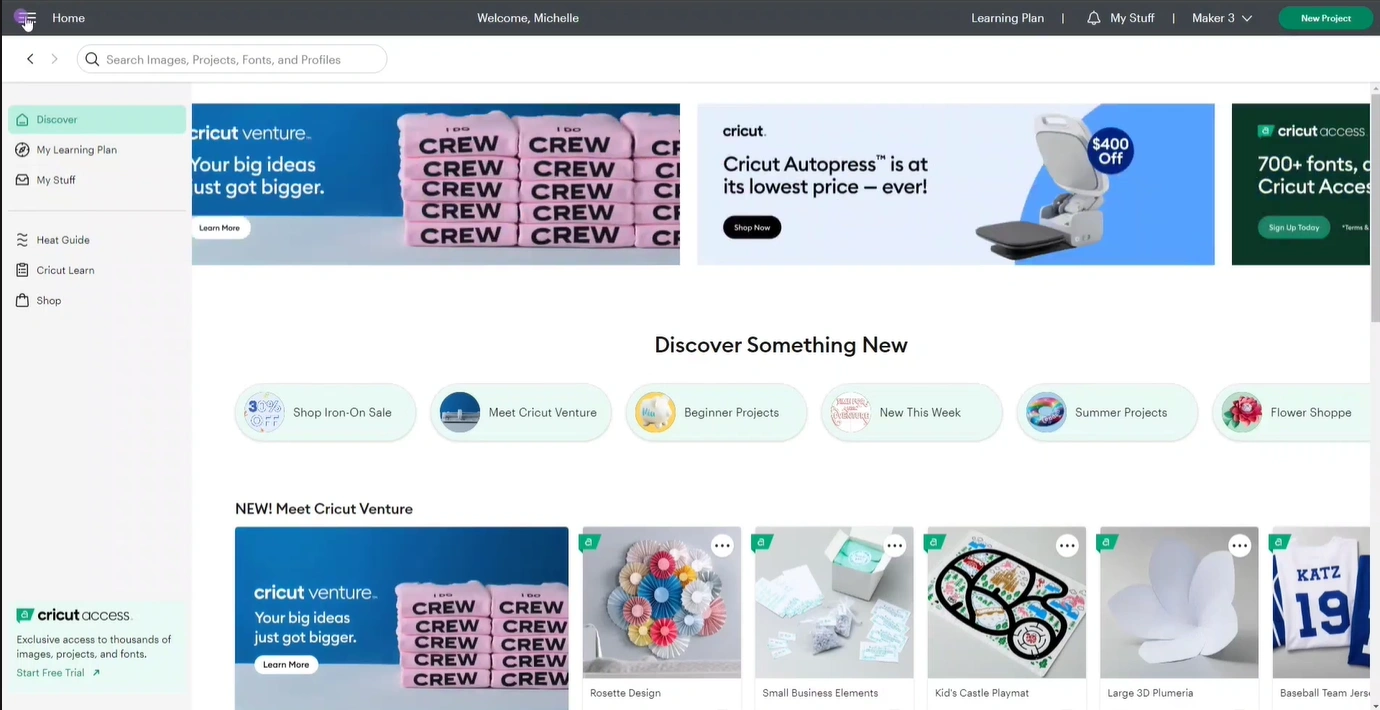
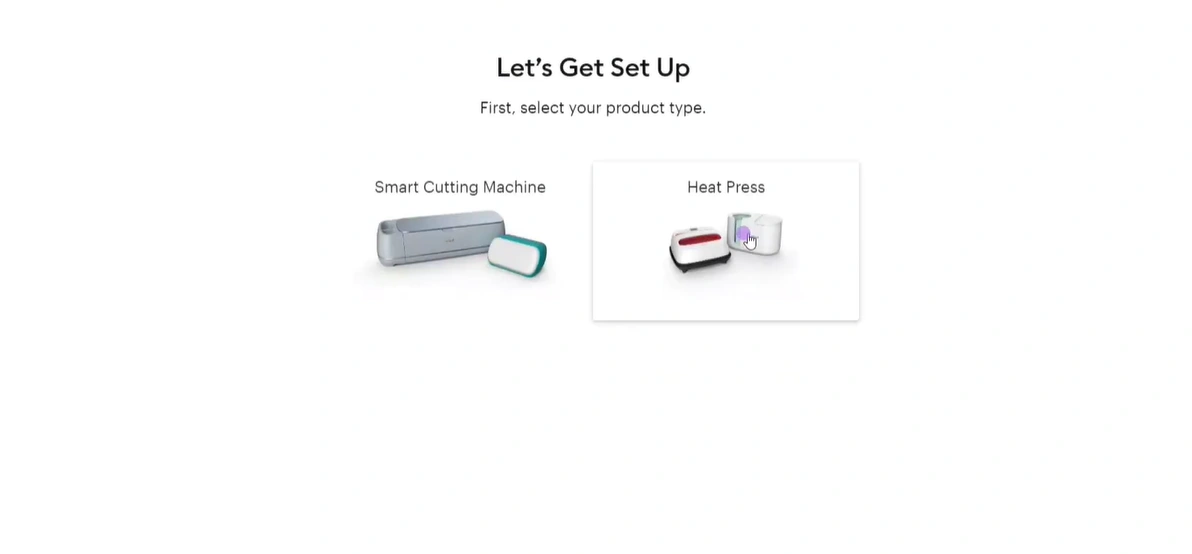
Step 6: Select “New Product Setup” from the list.
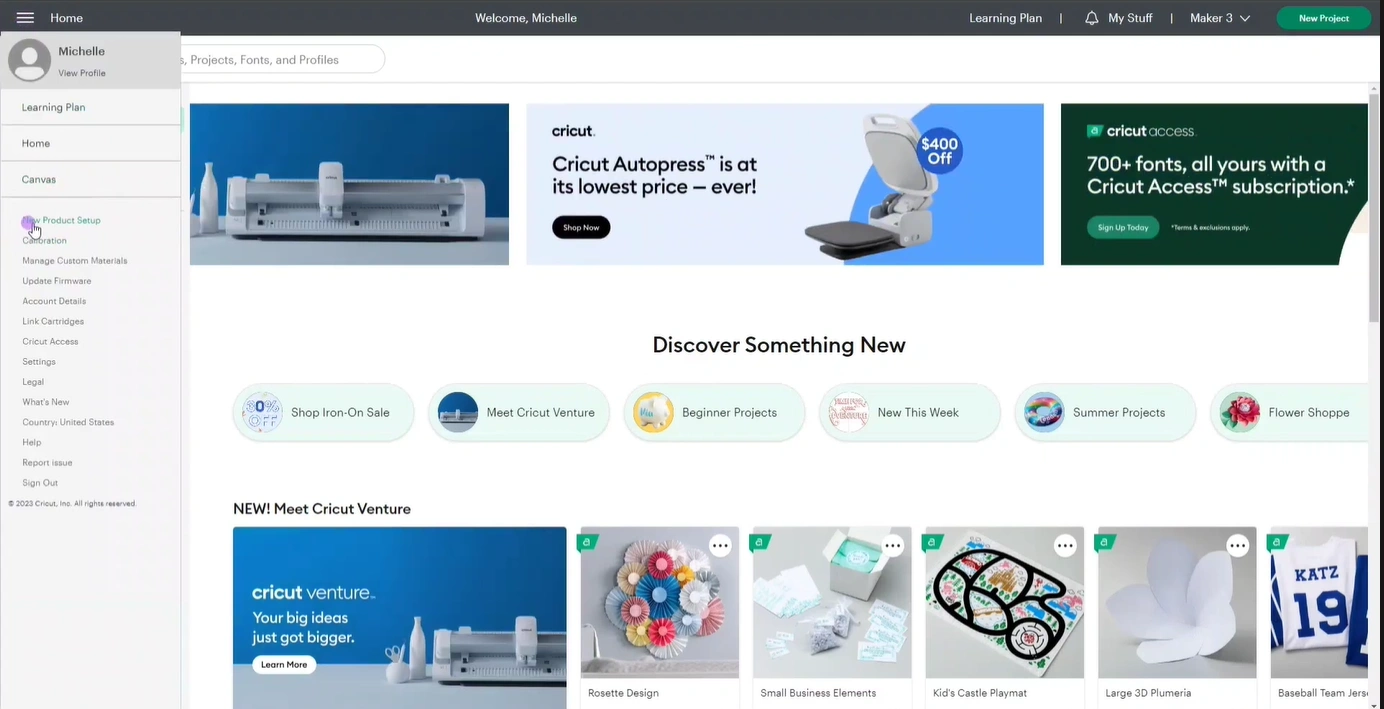
Step 7: Next, click Heat Press, then Cricut Mug Press.
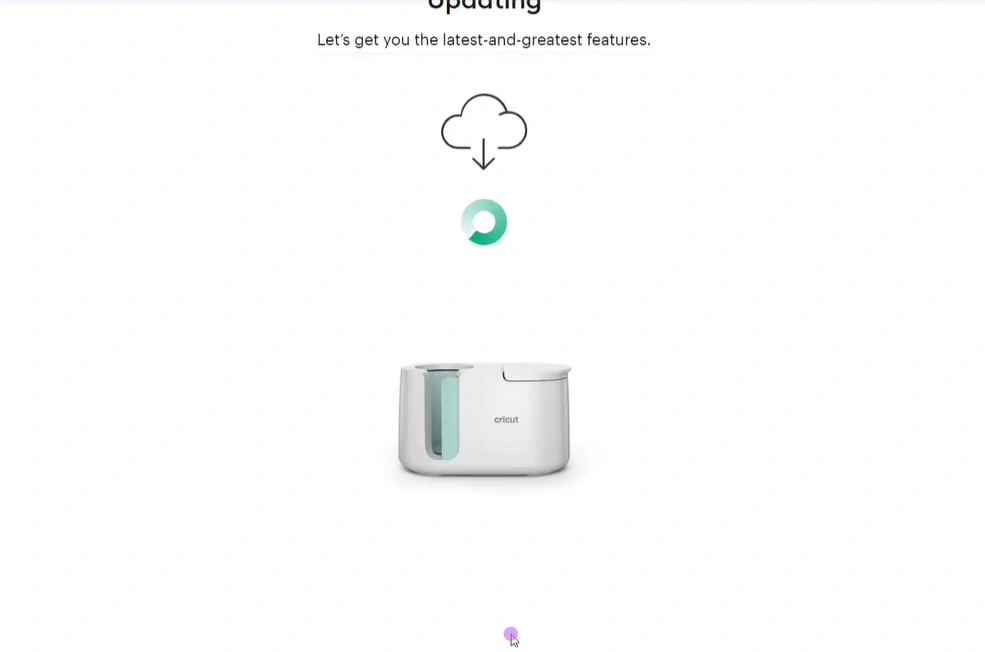
Step 8: Follow the on-screen instructions to download any updates required.
Step 9: Wait for the update to complete.
Step 10: Once it is done, take out the USB cable from both the computer and the machine.
Step 11: Now, you are ready to use the machine for your first DIY project.
Create Your First Project
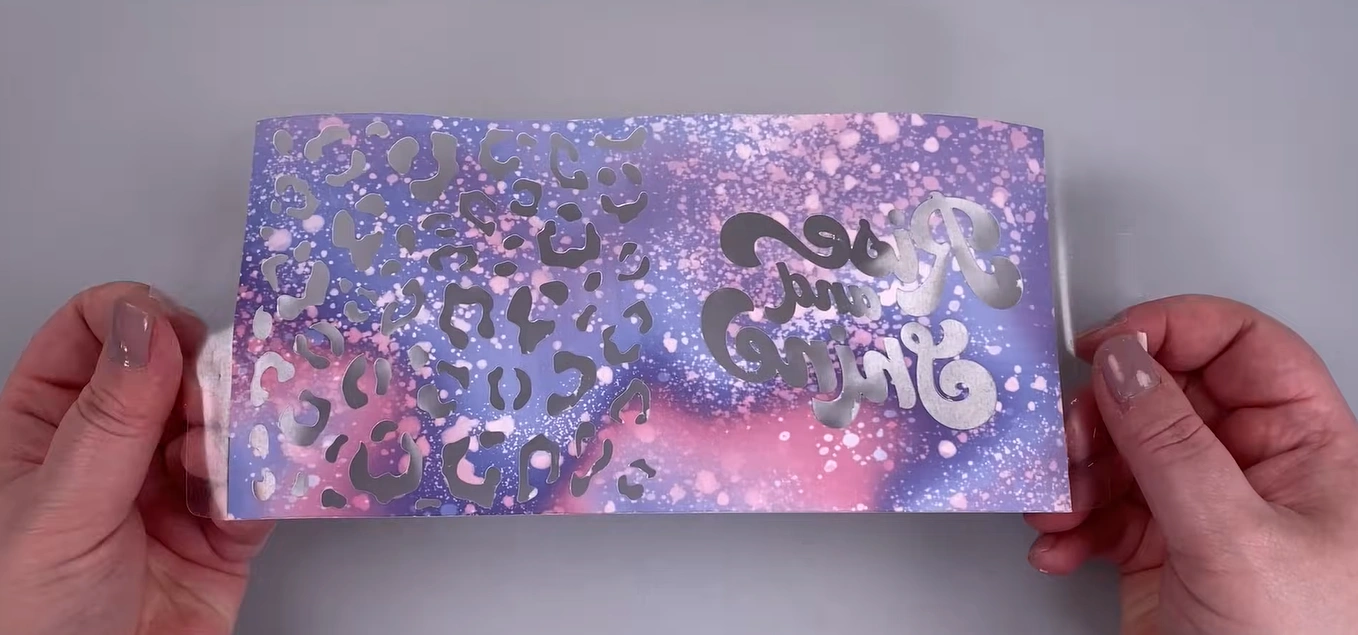
Step 1: Create an infusible ink design in Design Space. If you have already made a design, cut it, and weeded it, carry on to the next step.
Step 2: Get a compatible mug.
Step 3: Run a lint roller on the mug to clean it.
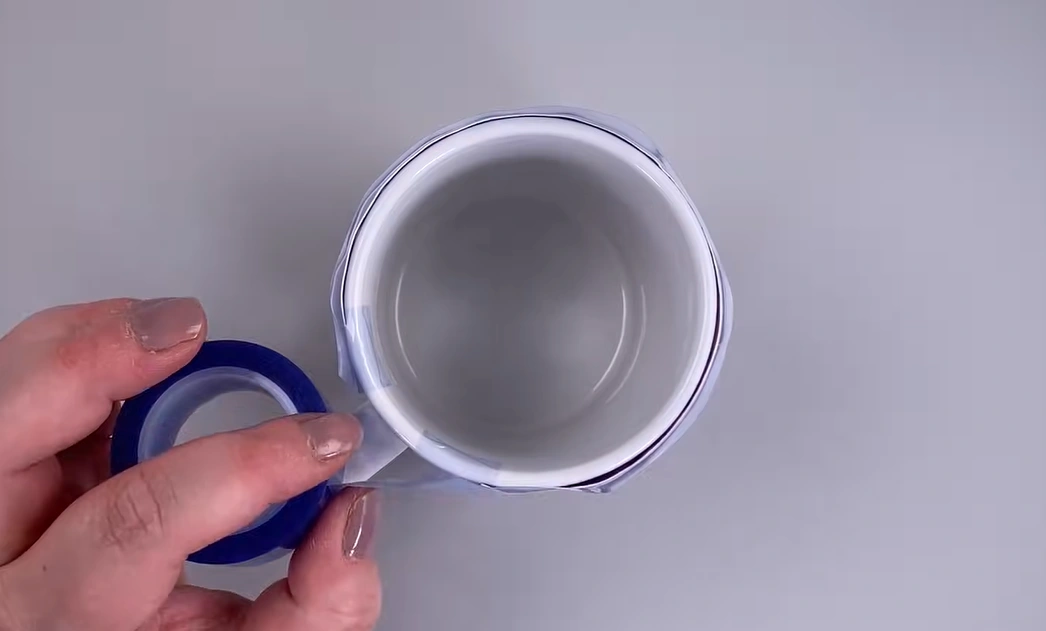
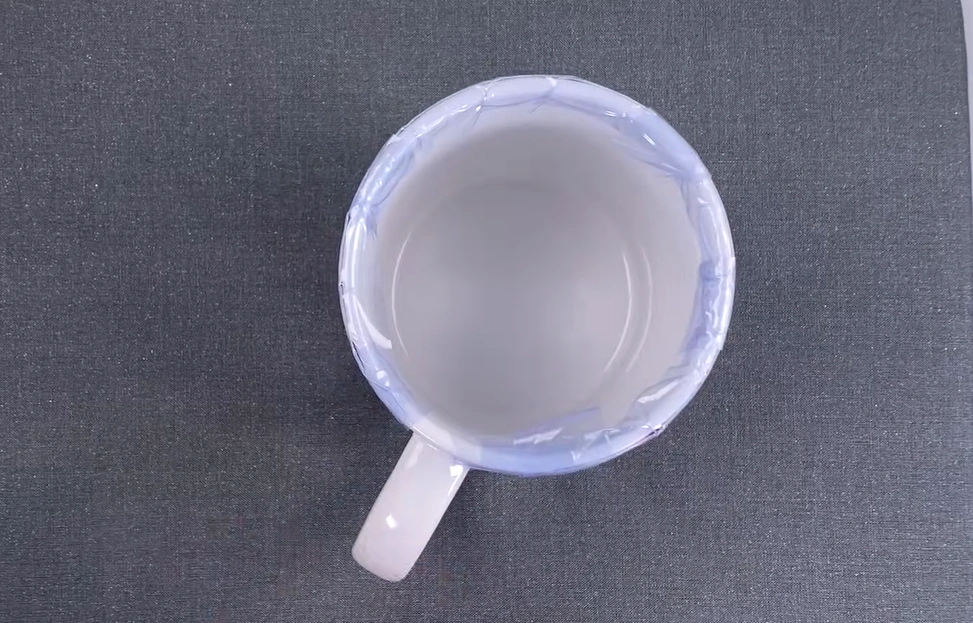
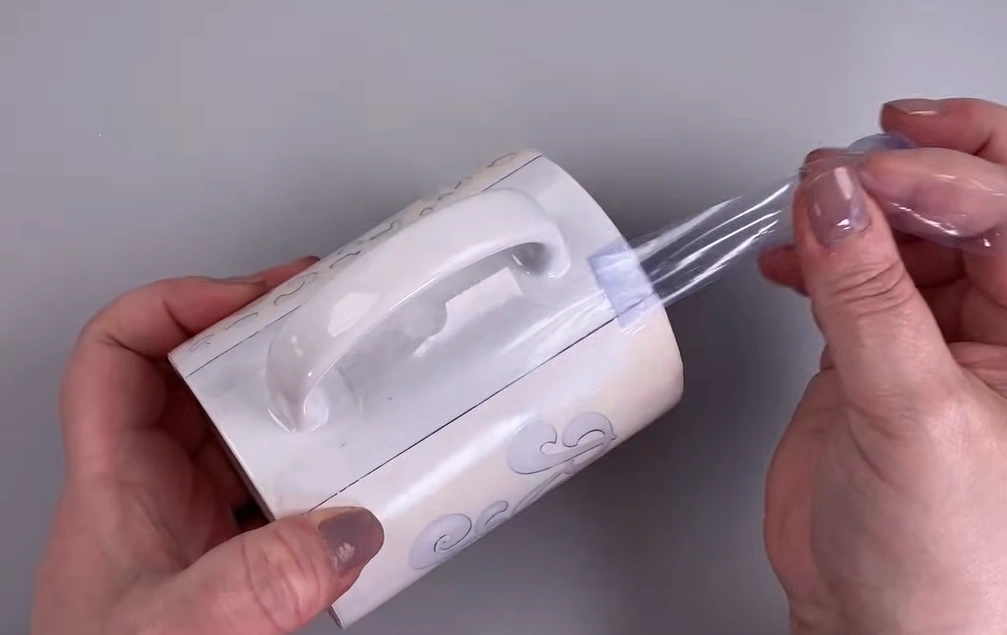
Step 4: Wrap your design tightly around the mug. Make sure the mug is standing. The colored side of the design should be against the mug.
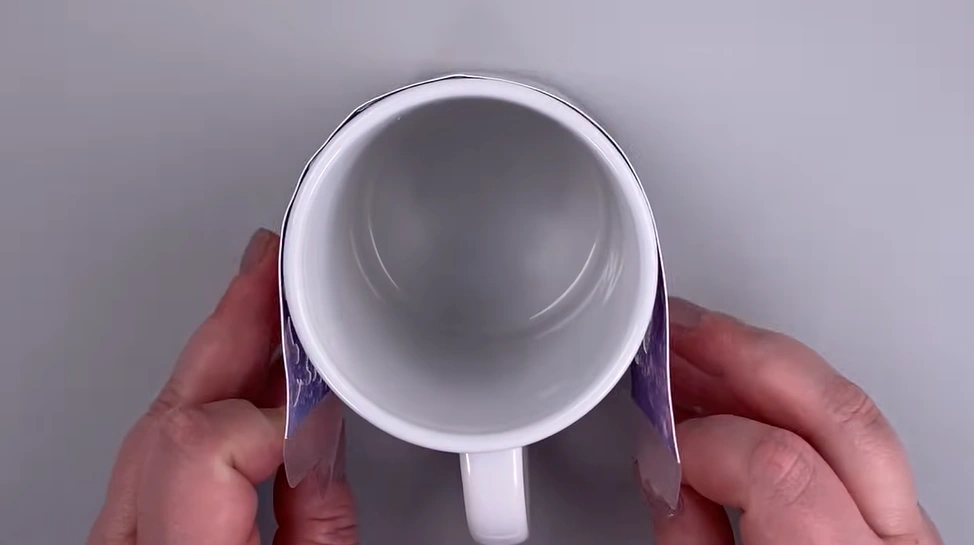
Step 5: Apply some heat-resistant tape to secure the wrap.
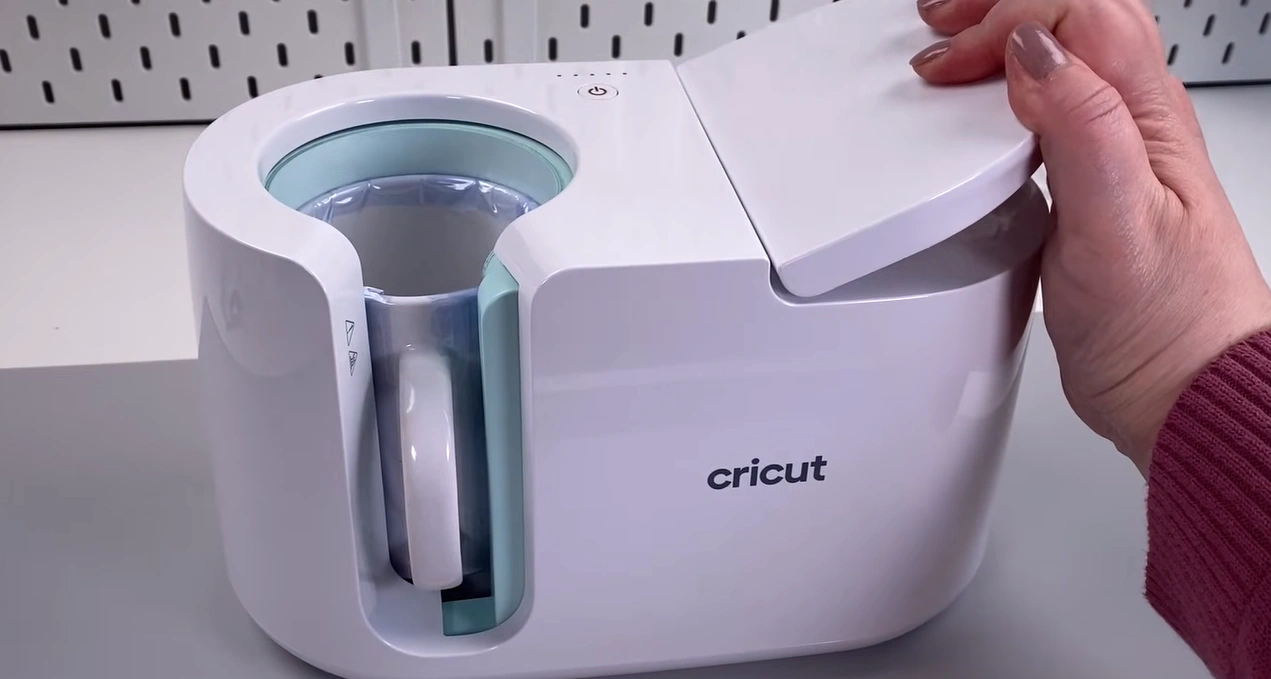
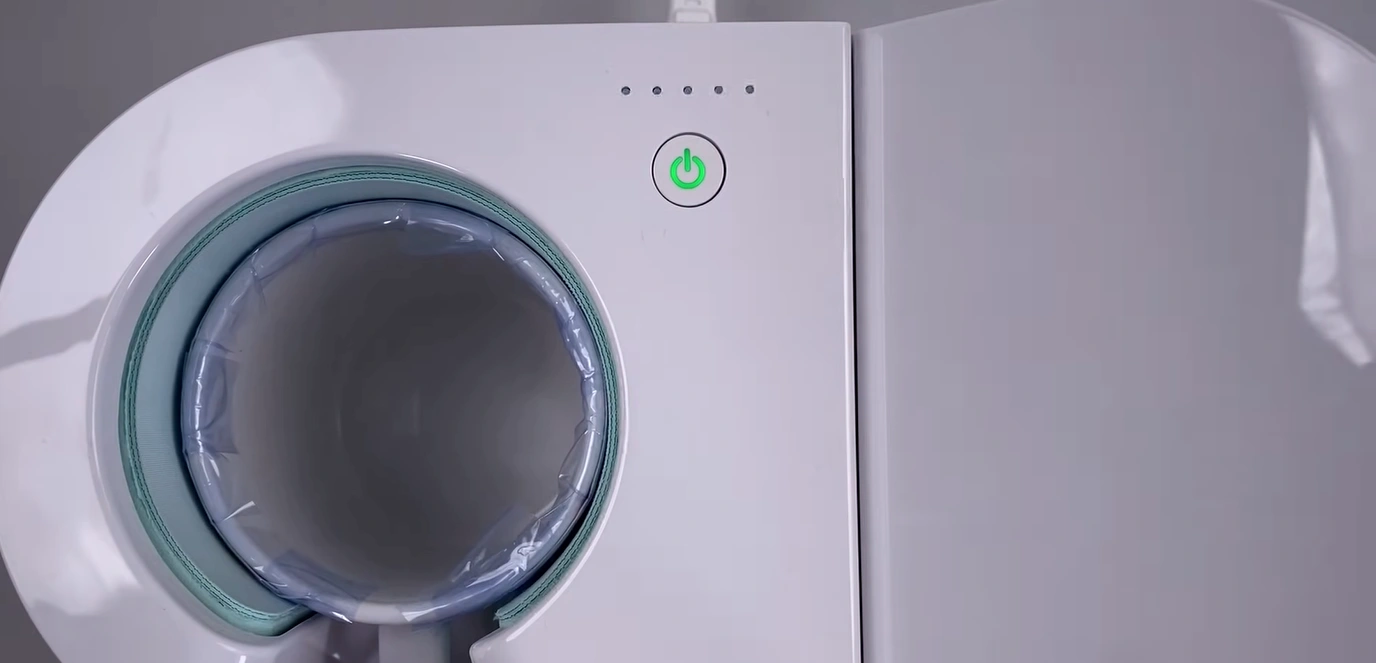
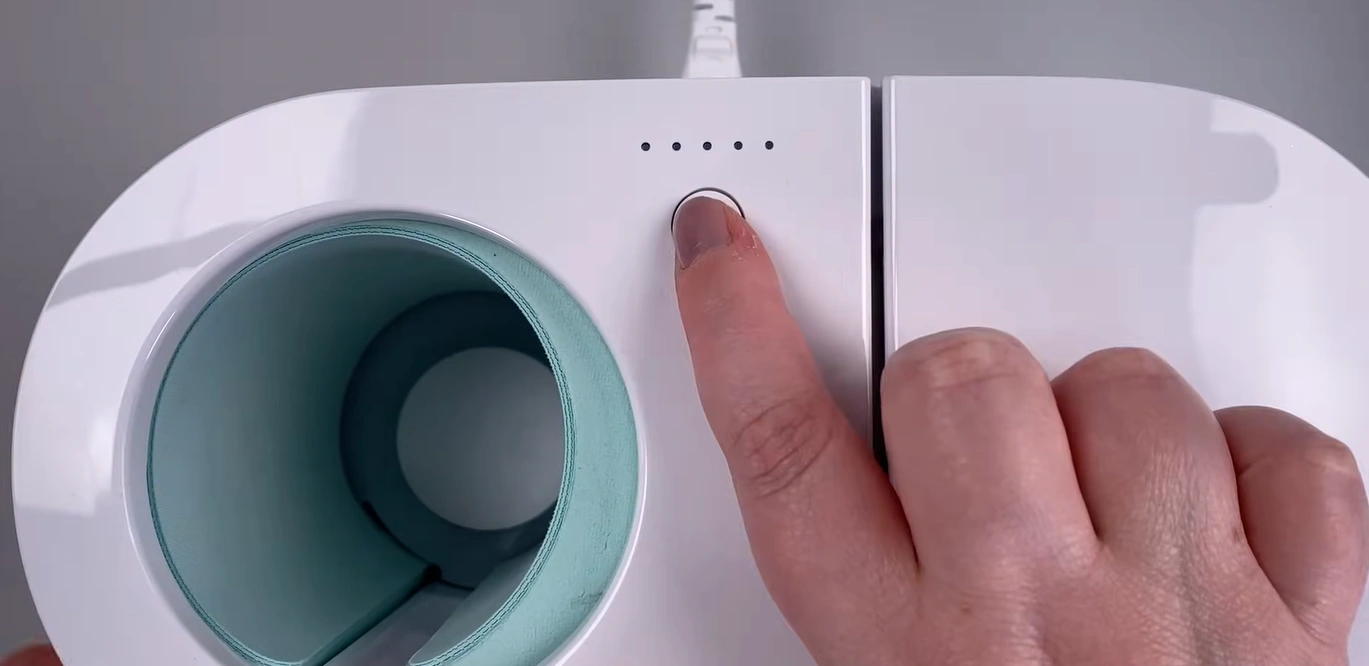
Step 6: Place the mug into the preheated machine with the handle towards you. Make sure the lever is up.
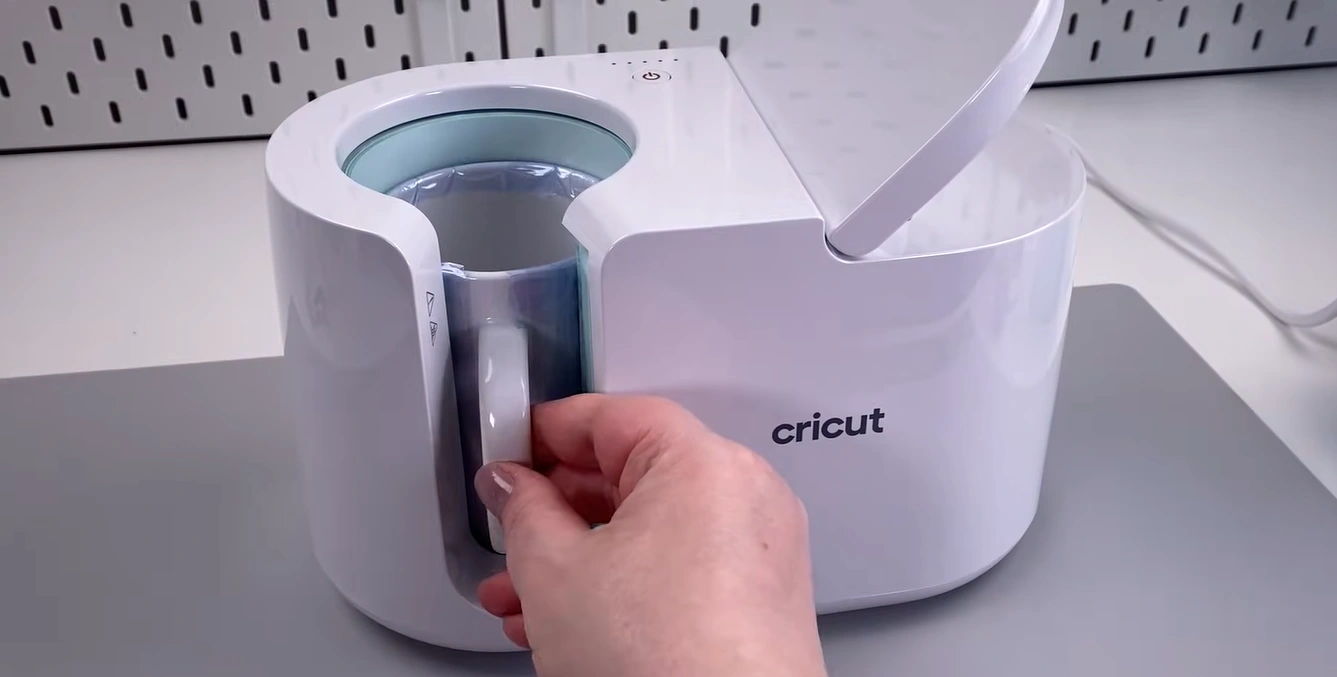
Step 7: When you are satisfied with the placement, pull down the lever.
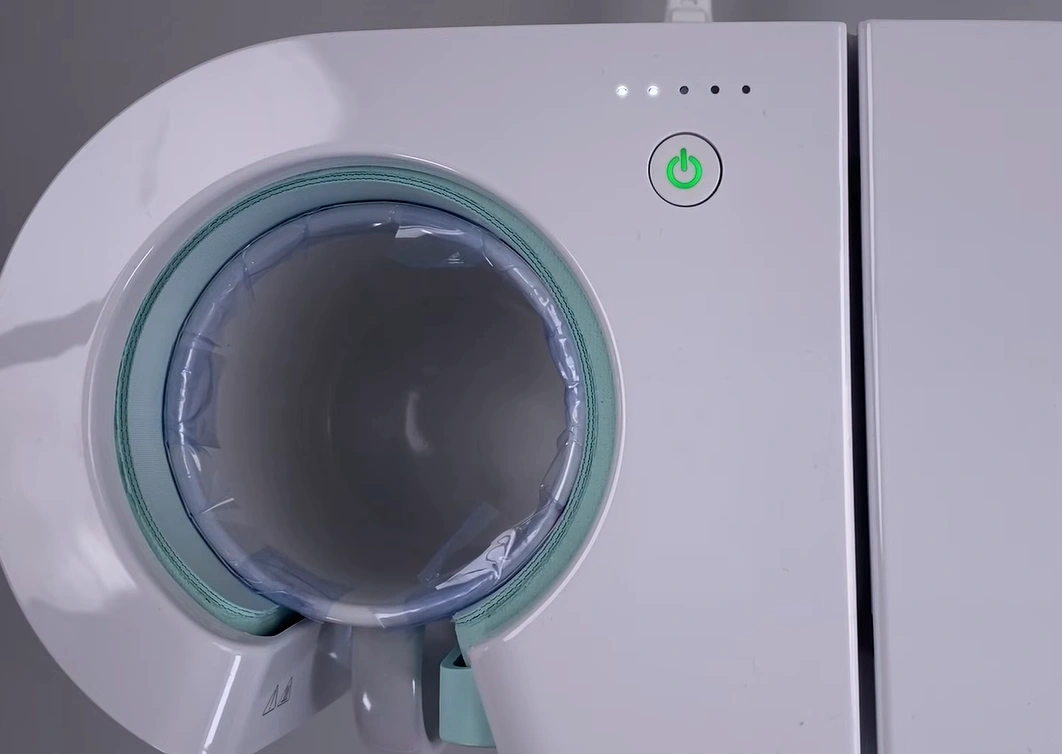
Step 8: You can see the five little dots above the green power button, which indicate the progress of the heating cycle. Once all the dots are lit up, the mug press process is done. This process usually takes about 3 to 6 minutes to complete.
Step 9: Once it is complete, lift the lever and pull out the mug using only the handle. Don’t touch the mug itself as it is very hot.
Step 10: After that, turn off the machine and let it cool down.
Step 11: Place the mug on a heat mat to let it cool for about 10-15 minutes. Do not remove the transfer sheet until it is completely cooled down.
Step 12: Once it has cooled, remove the tape and the transfer sheet.
Final Thoughts
That’s everything you need to know to use the Cricut Mug Press correctly. Don’t forget to clean your mug with a lint roller for better transfer. Preheat the machine before you start. Add some heat-resistant tape to your design for a secure fit and no movement during the heating process. While pulling out the mug, touch only the handle and not the mug itself, as it will be hot enough to cause burns. Place the mug on a heat mat after taking it out. Let it cool for a few minutes before you peel off the transfer.


