
Many Cricut users find it overwhelming to cut certain materials, such as cardstock, on the Cricut machines. There can be many reasons for this struggle, and the most common ones are a dull blade, poor quality material, or mat adhesion.
If you are a Cricut user seeking precise cardstock cutting from your Cricut machine, you must prioritize the blade’s condition and the material’s quality. Smooth cardstocks are better than textured ones; they cut better. Opting for high-quality cardstocks with a solid core can be a good choice as these can do a better job.
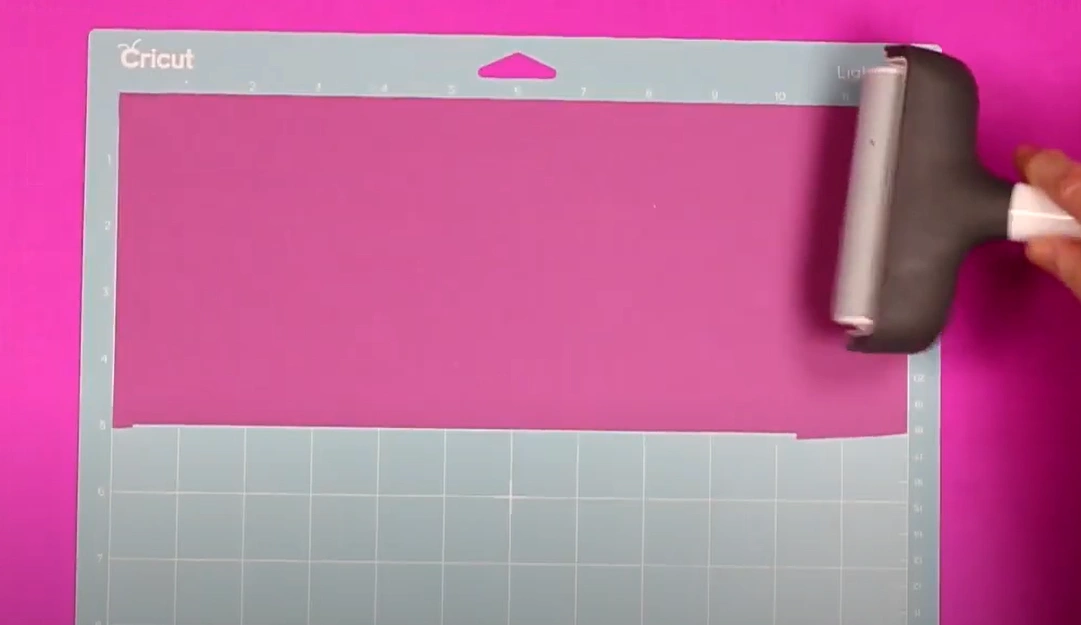
Moreover, it is important to focus on the way you handle material. When adhering the cardstock to the mat, you must use a brayer. A brayer will allow the cardstock to stay in position when cutting. You should also check that the Cricut machine is properly calibrated and the mat is flat to avoid paper tearing or lifting.
Do you want to learn how to cut cardstock on Cricut? Then this detailed guide has got you covered! Read further to know more!
Issues to Occur When to Cut Cardstock on Cricut
When you try cutting cardstock on Cricut, you may face certain issues that may affect the quality of the cut. Some of the most common ones are:
- A dull blade
- Improper material selection
- Pressure setting too low
- Lower quality cardstock
- Incorrect mat type
The Essential Steps to Cut Cardstock on Cricut
Cutting cardstock on any cricut machine can be a stress-free process. Just adhere to the following steps:
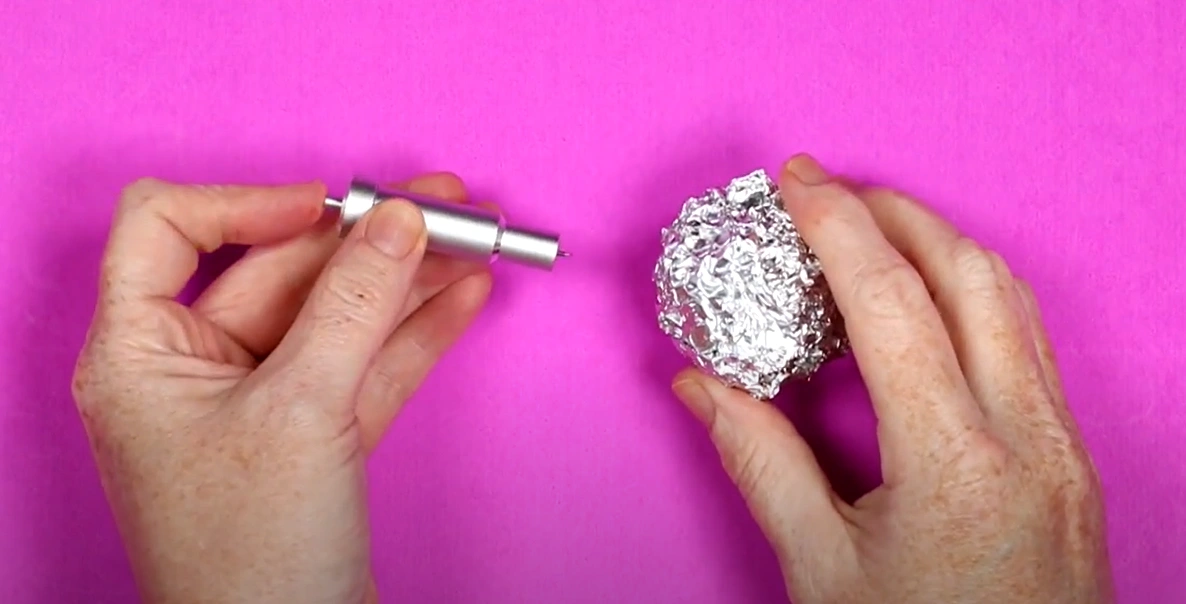
Step 1: Ensure that you have a clean blade. You can poke it into a ball of aluminum foil to clean the blade. You may have to replace the blade if it is extremely dull.
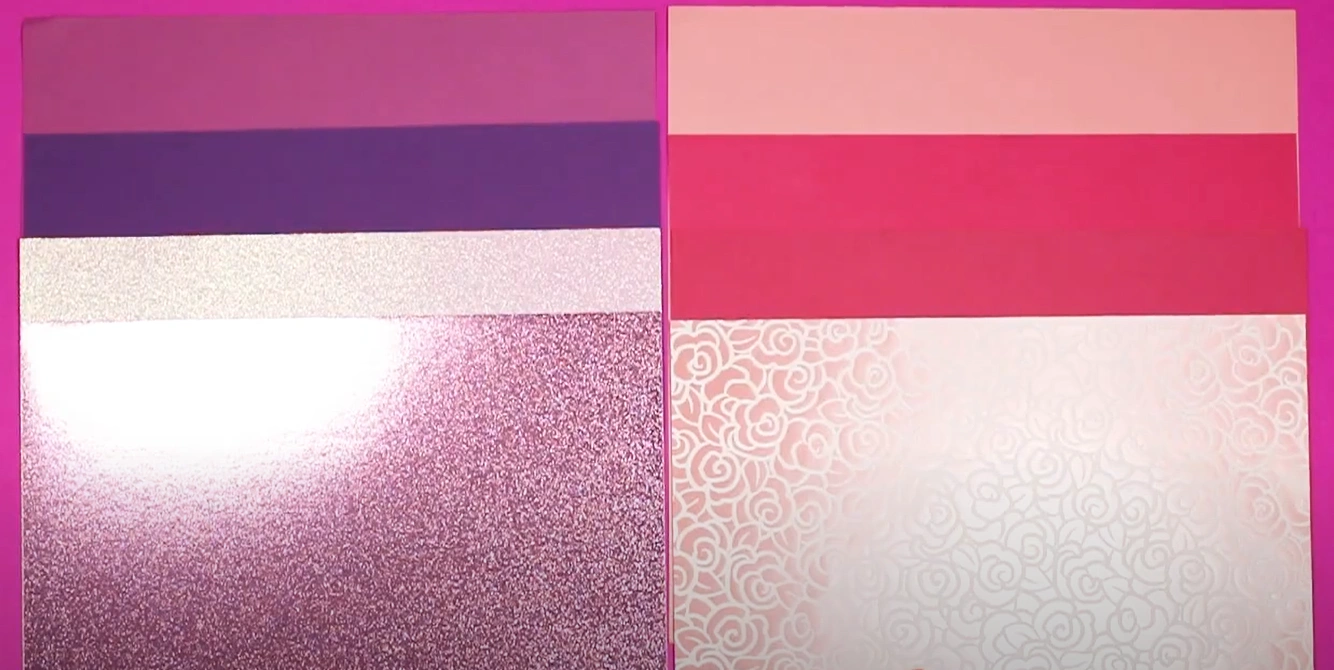
Step 2: Experiment with different types of cardstocks, from textured to smooth to glitter.
Step 3: After that, you must get a good mat, which should be sticky. Ensure that the mat you use is clean.

Step 4: If the mat is dirty or has lost its stick, you can clean it and get that stick back.
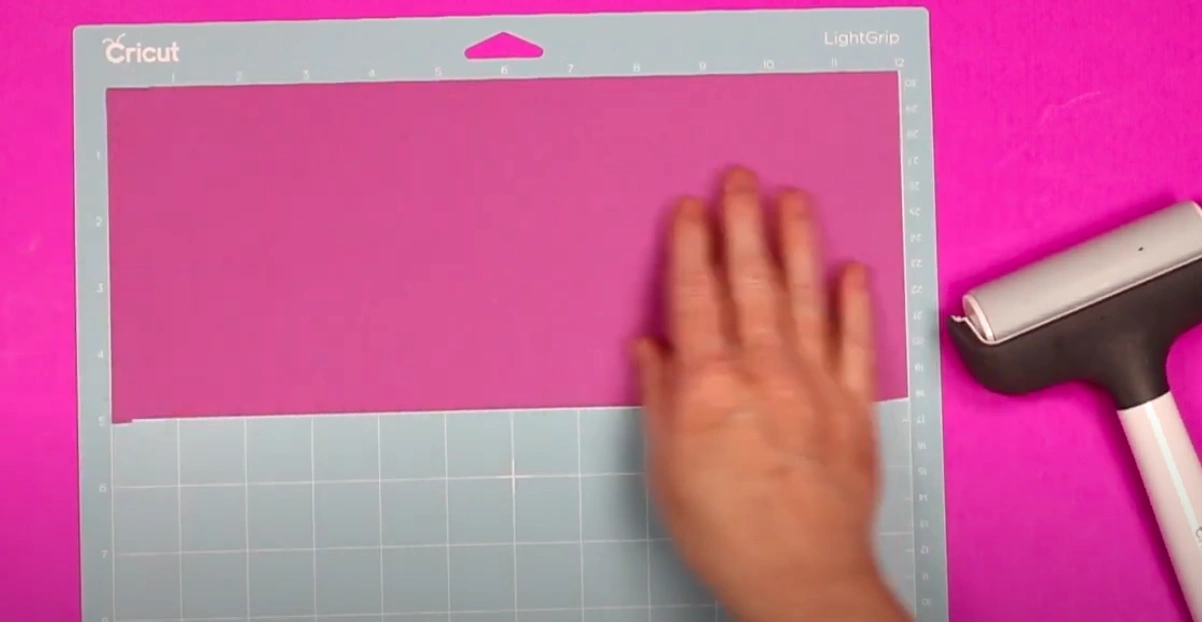
Step 5: Get a brayer to press the material down on the mat. Just run the brayer over the material and get it stuck down to the mat.
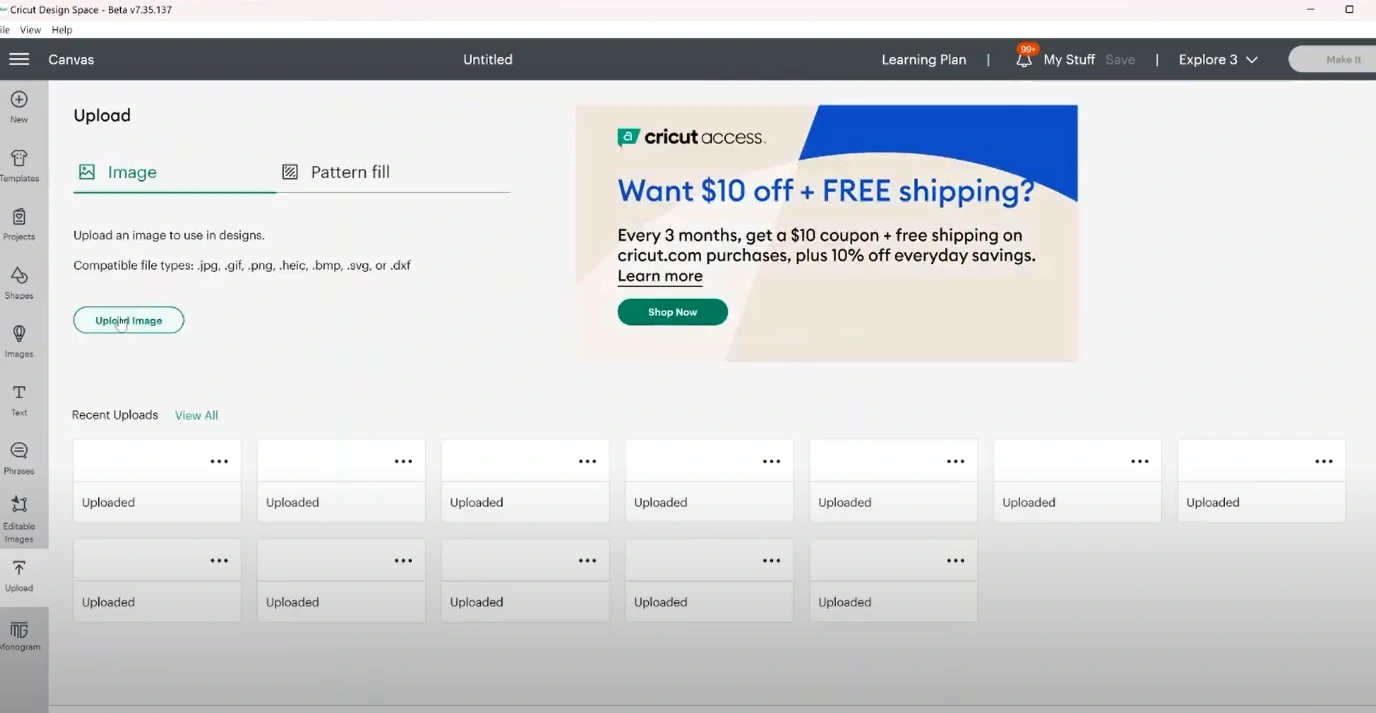
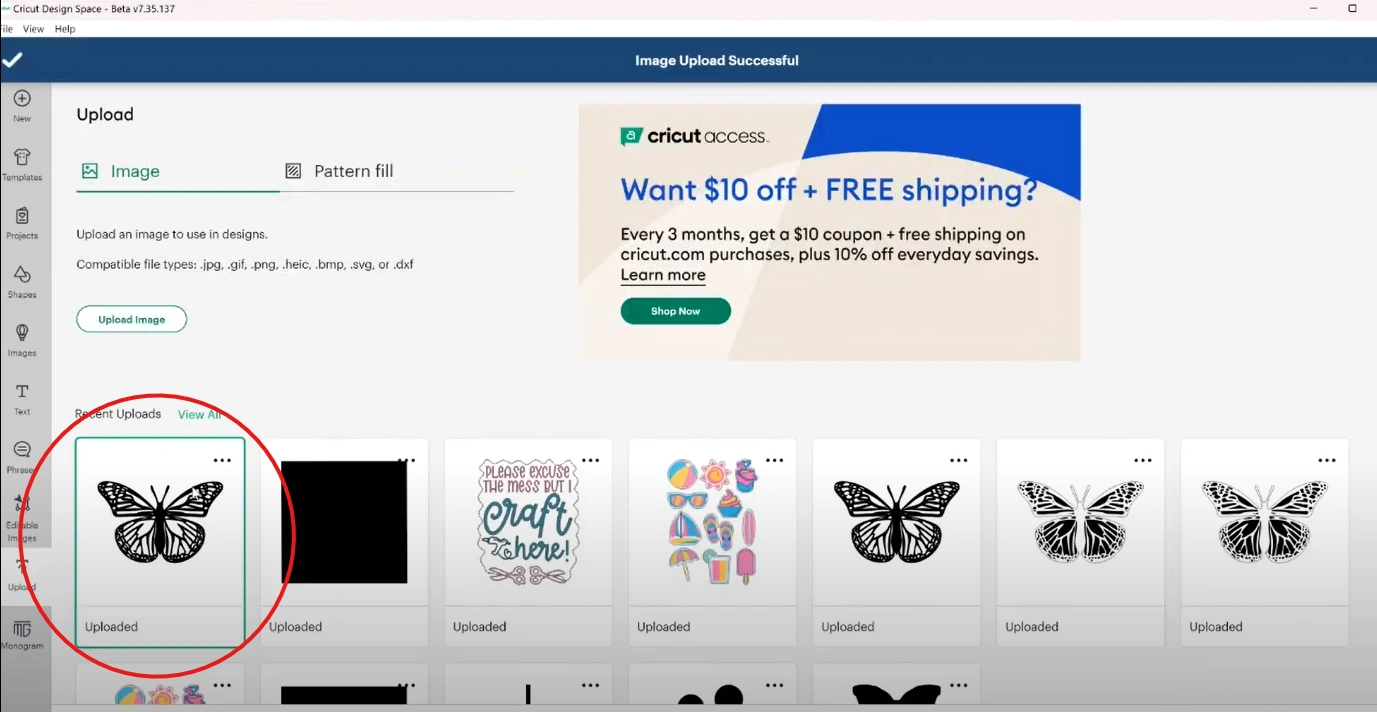
Step 6: Next, you want to find an image to cut. Open Design Space, go to Upload, and select Upload Image.
Also Read:- How to Crop an Image in Cricut Design Space
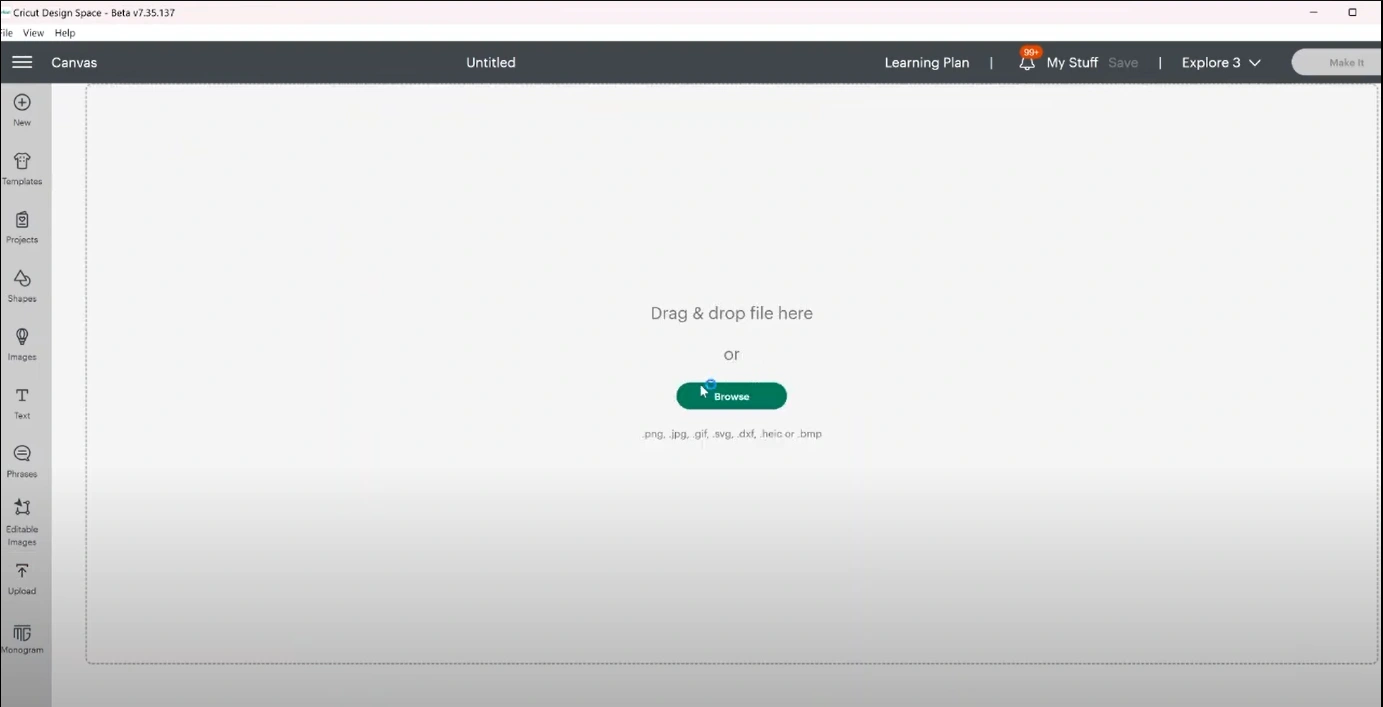
Step 7: Go ahead, click on Browse.
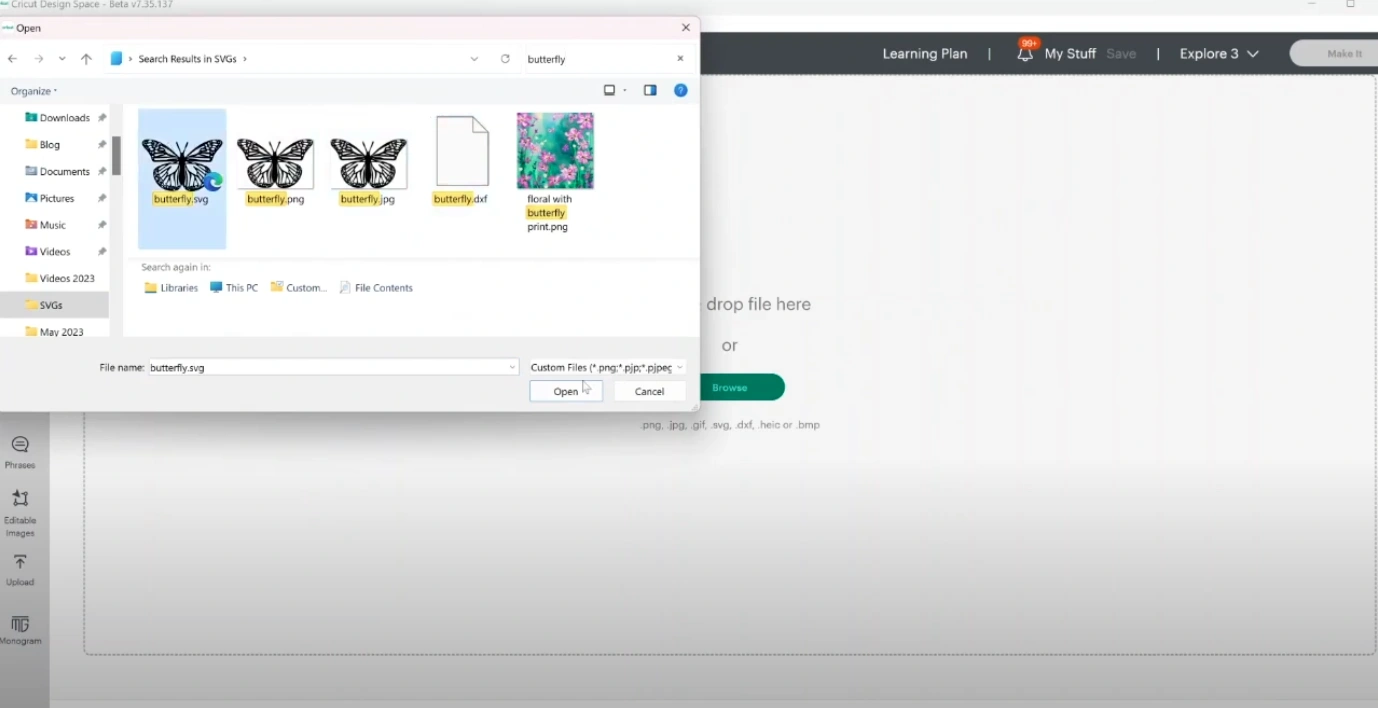
Step 8: Upload the SVG file to Design Space. The SVG file will be uploaded as a cut file.
Step 9: Select the file from Recent Uploads and resize it according to your project.
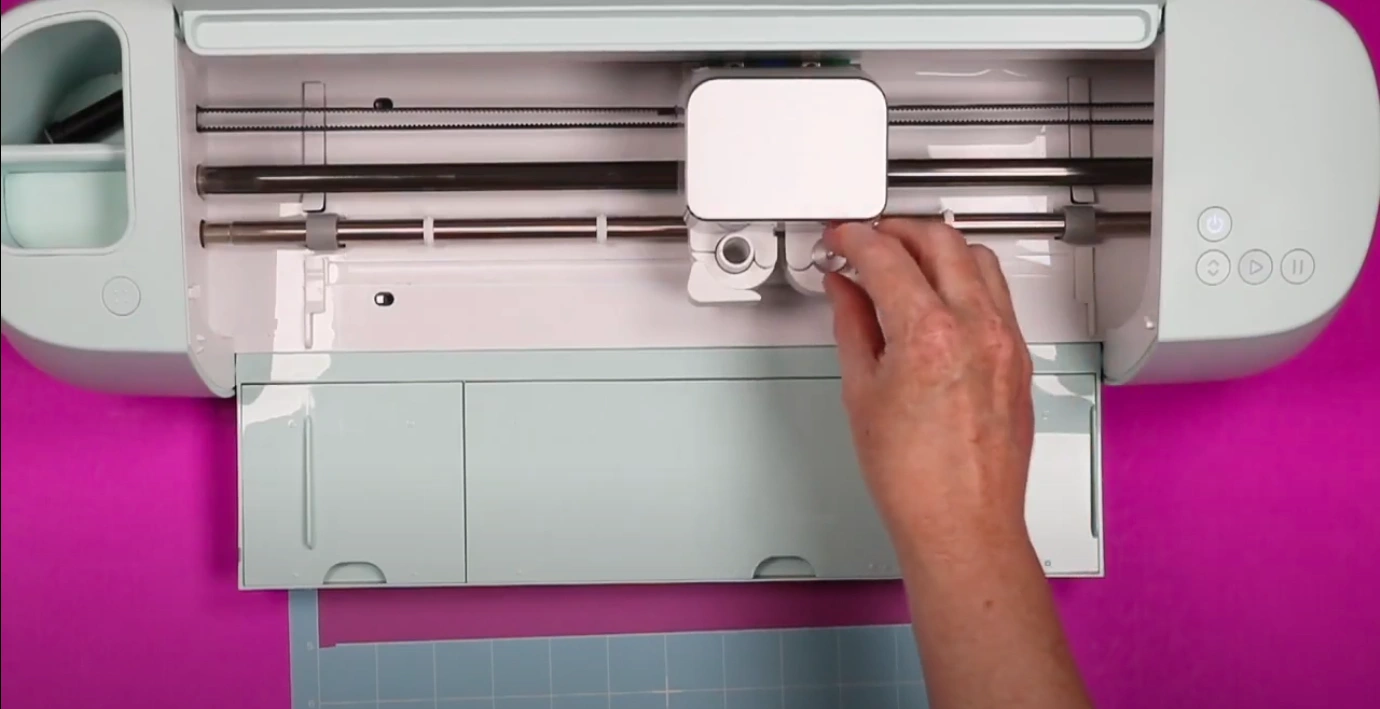
Step 10: Take the blade and integrate it into the Cricut machine.
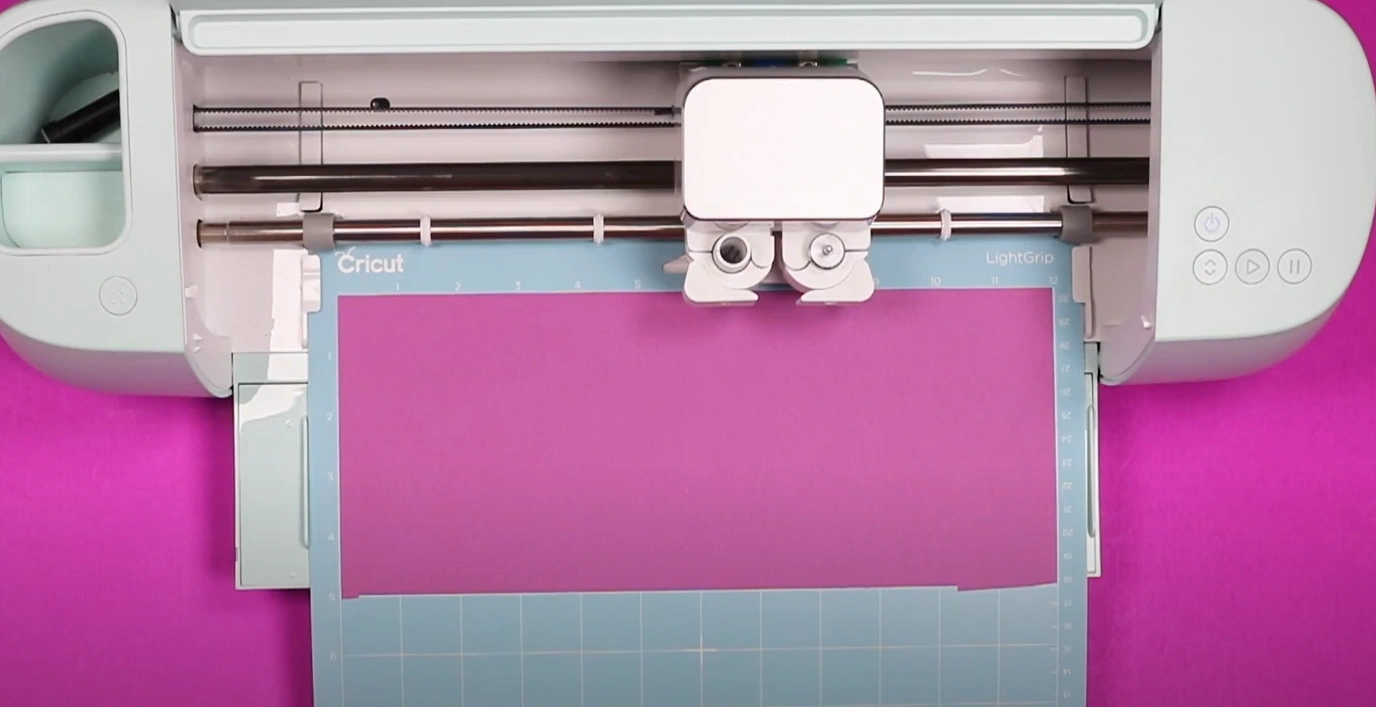
Step 11: Load the mat with the cardstock into the Cricut and run the machine by pressing the Load/Unload mat button.
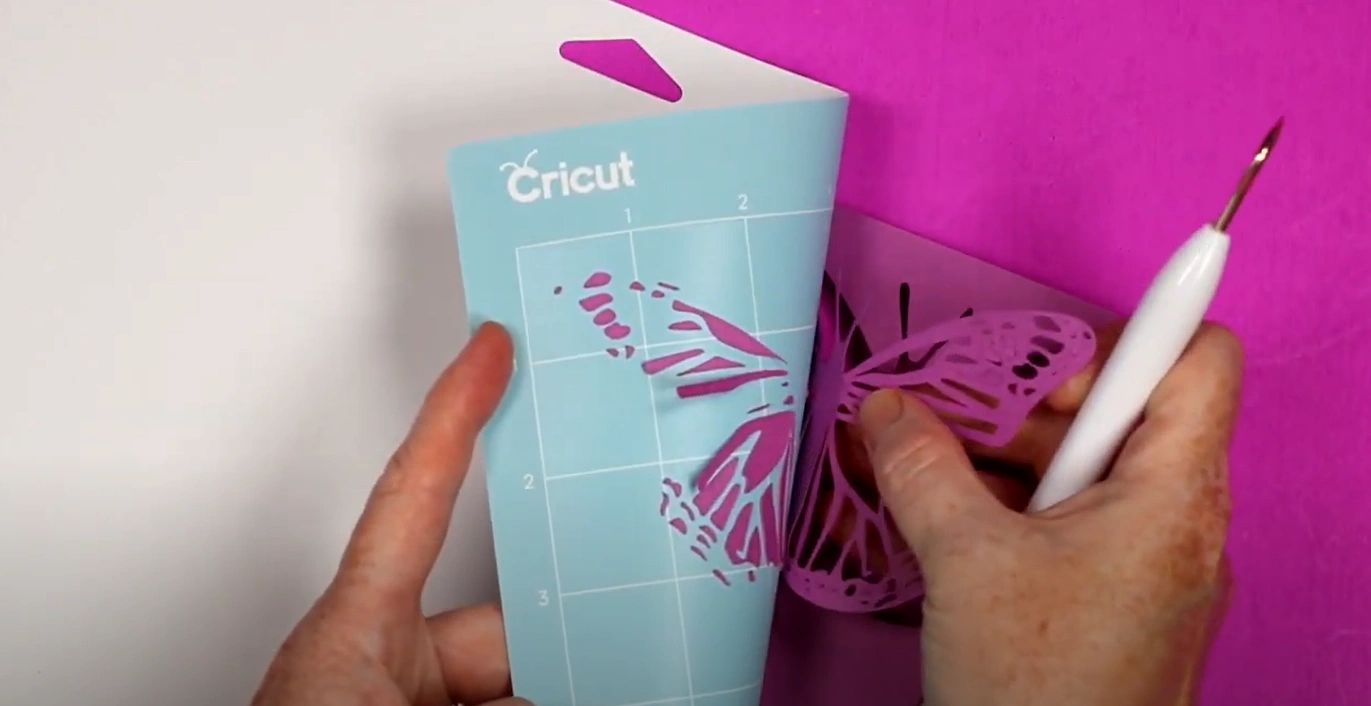
Step 12: Now, remove the cut image from the mat. Turn the mat over and peel it back from the paper.
Wrap Up
With the right approach, cutting cardstock on a Cricut machine is no longer daunting. By following the above steps and addressing potential issues smartly, you can achieve precise outcomes.
Be wary while peeling the cut image from the mat if the cuts are intricate. Some small pieces may stay on the mat. Use a weeding tool to push and discard smaller pieces from the cut image.


