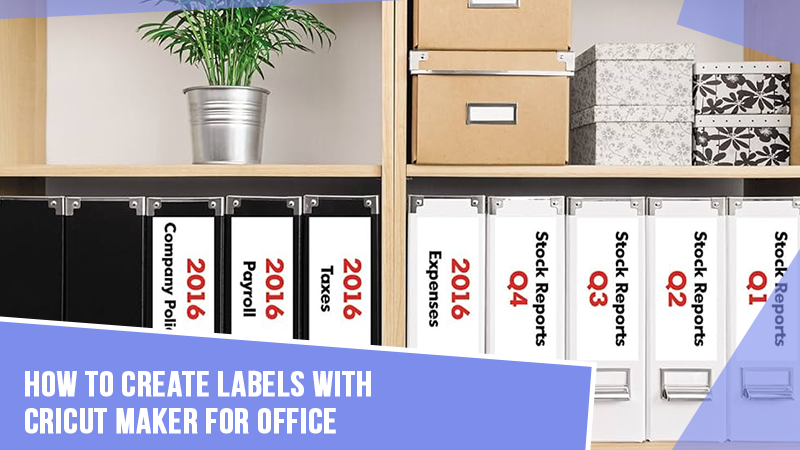
How to Create Labels With Cricut Maker for Office?
Hello! Fellow crafters, this is Manny, your regular instructor teaching crafting with the Cricut machine. If you are also looking forward to learning how to make labels with Cricut, then you have come to the right place. In this blog, I will share a beginner’s guide to creating basic label designs for offices.
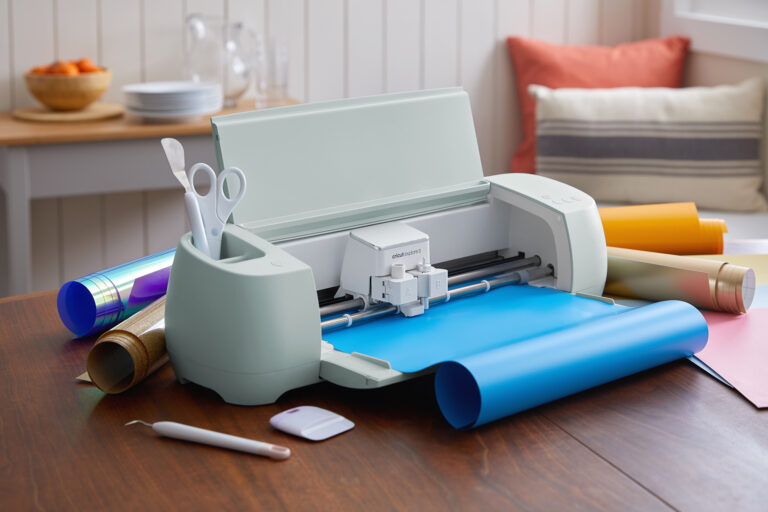
Making vinyl projects with Cricut machines is easy and fun. Plus, the Cricut app offers a variety of label designs and templates. These DIY projects are simple to create and do not require a lot of supplies. Keep reading this blog till the end for detailed information about the supplies needed and the complete procedure for making custom labels.
Essential Supplies for Creating Custom Labels on Cricut Maker
Before you learn how to make labels with Cricut Maker, it is necessary to collect the below-mentioned supplies.
- Cricut Explore 3
- Pantry Jars
- Smart Vinyl, White
- Transfer Tape
- Material Trimmer
- XL Scraper
- Weeding Tool, and others.
Note: Before starting to create labels on the Cricut machine, you have to complete the machine setup on a desktop or phone. You can take the help of follow-up tutorials to set up your Cricut Maker machine on your respective device.
For Mac:
For Windows:
The Procedure of Calibrating Your Cricut Maker Machine
Calibration of your Cricut Maker machine is necessary if you want to create vinyl projects. Here is the guide you need to follow for the calibration before you start the process of how to make labels with Cricut.
- First, open and sign in to your Cricut Design Space app.
- From your Profile menu, choose the Settings option.
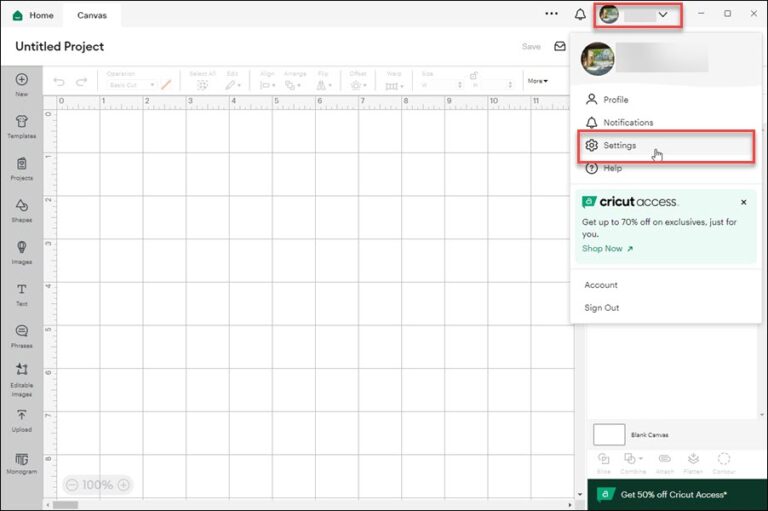
- After that, move to the Machine option and click on Machine Calibration.
- Next, choose the Cricut Maker machine option from the option.
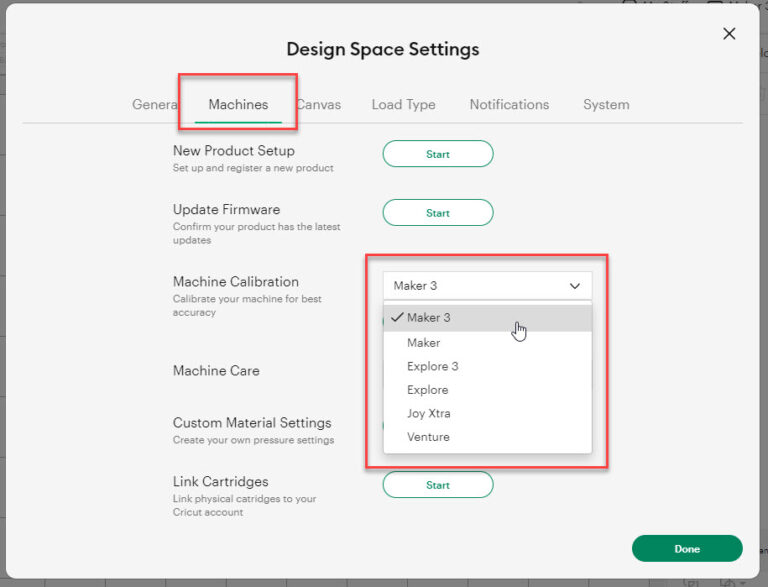
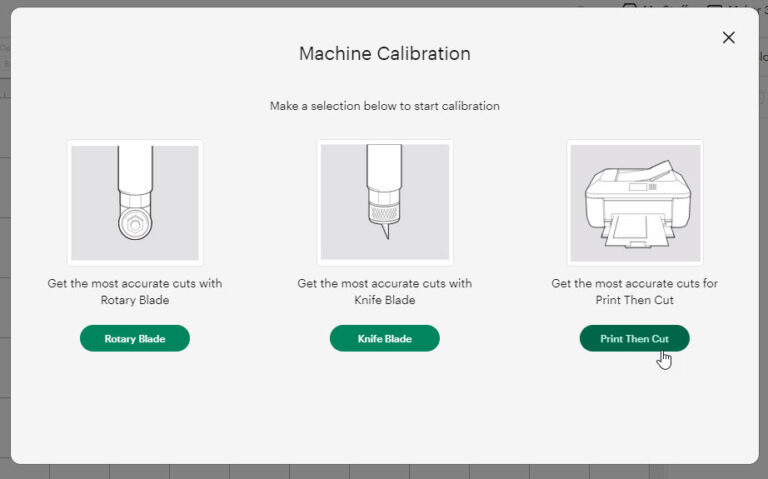
- After choosing your Cricut machine, click on the Start option. When the follow-up screen appears on the screen then choose the appropriate option. Also, choose the Print Then Cut option.
- Also, specify the printer you are using to print the design.
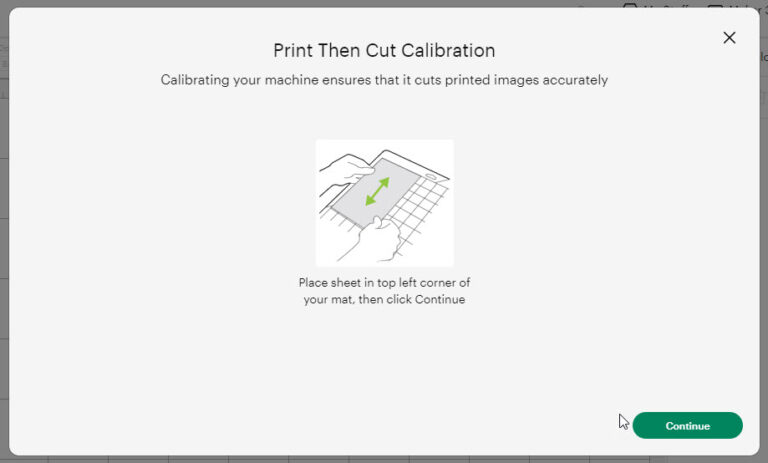
- Now, keep the design sheet on the mat and load your Cricut Maker machine. Choose the Continue option on the app.
- Make sure the Cricut machine is ON and connected to the device on which you are using the Cricut app.
- Then, select the Go option on the machine to start the cut.
- When the cut is complete, check the marks on the sheet to verify the cut is perfect. If the cuts are perfect, then choose the Yes option on the app; otherwise – choose No.
- After that, follow the further cuts to complete the calibration projects.
- If you are satisfied with the machine cuts, then select the “Yes, cut is close enough to the center” radio button and select Continue.
- The machine calibration will be complete.
How to Make Labels With Cricut Maker for the First Time?
Once all the preparations to create the labels with Cricut Maker are complete, these are the steps you can follow to create your project. In this method, I am going to tell you the steps to create labels for pantry jars.
- For the first step, launch the Cricut Design Space app on your PC or smartphone.
- On the app, click on the “New Project” from the right pane.
- When a new canvas appears on the screen, the “Images” option will be on the left-hand navigation.
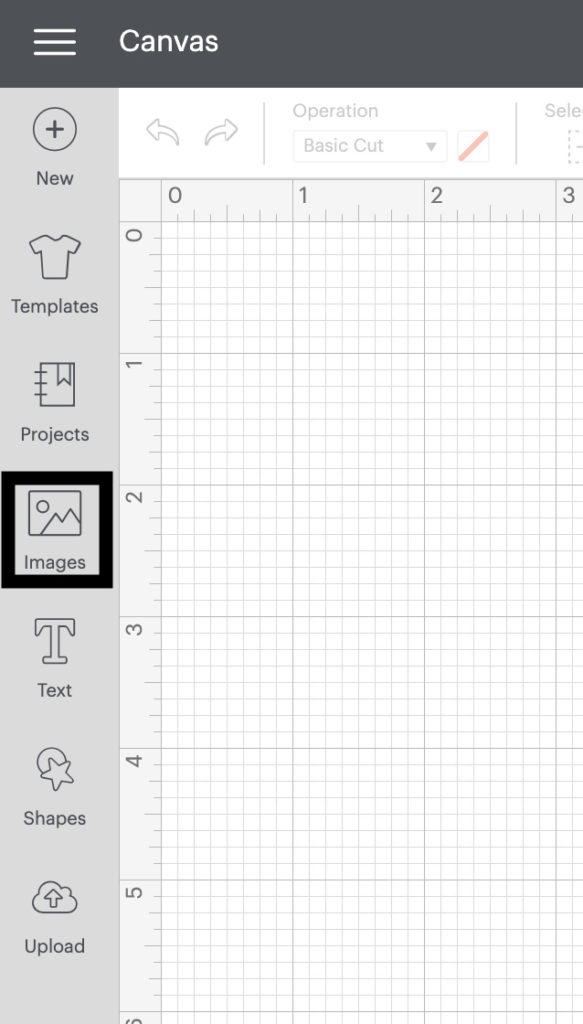
- Click on the Images button and in the image library to get the design according to your project.

- After selecting all the designs in the canvas, make adjustments in the size using the tool on the app.
- Once satisfied with the design, then select the Make It option from the bottom right corner of the screen.
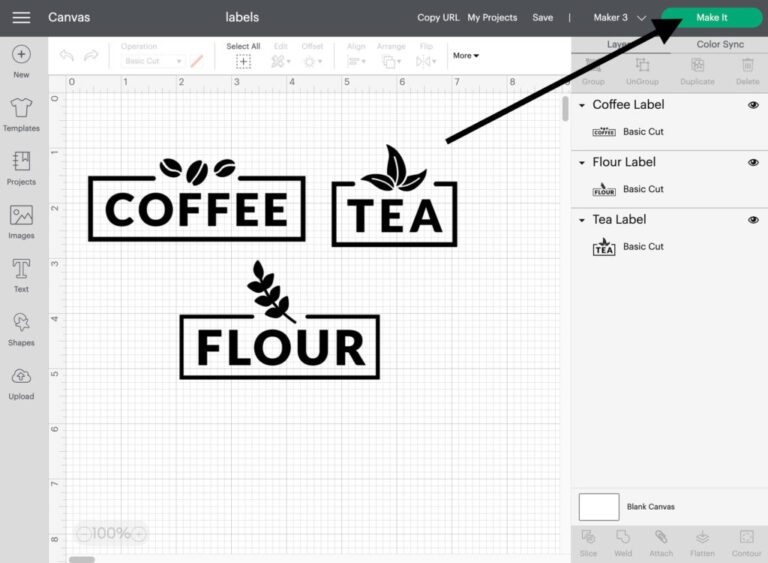
- The Cricut app will send the prompts to your Maker machine to cut the designs; follow the prompts on your screen in order to begin the cut.
- Also, load the smart vinyl to the machine before you start the cutting process.
- When the cut is complete, unload the material and weed out the extra part with the help of the weeding tool.
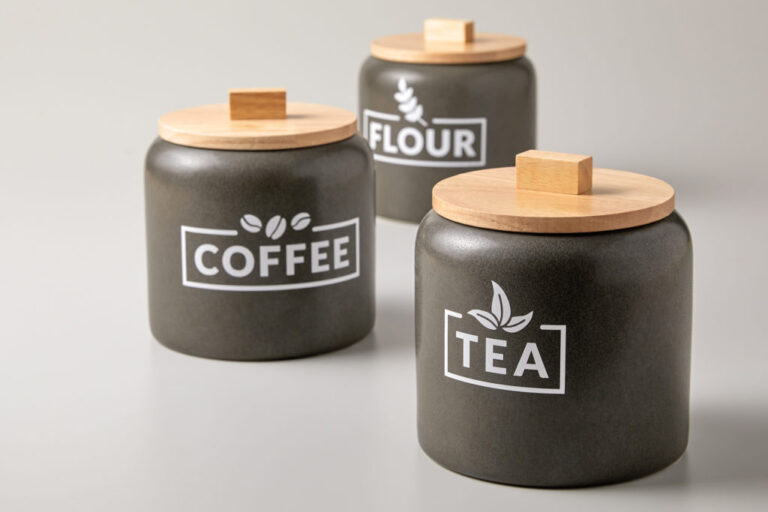
- Now, take the jars or any other product and apply the transfer tape to it.
- Then, apply the design to the product and make it stick properly with a scraper.
- Whoa! Your first vinyl project with the Cricut Maker is complete.
FAQs
How to Make Sticker Labels With Cricut?
If you want a complete guide on how to make labels with Cricut, then follow the below steps.
- Firstly, you have to get your hands on all the supplies according to your projects.
- After that, open the Cricut Design Space app on the device to which your machine is connected.
- On the app, open a new canvas and create a design from scratch.
- You can also customize templates or your design as per your choice.
- Once the design is complete, click on the Make It option on the app.
- After loading your chosen material on the machine, press the Go button on it.
- Take out the materials from your machine, and your Cricut labels will be complete.
Which Cricut Machine is Best to Make Labels for the Office?
Well, crafters can use any Cricut cutting machine to create amazing labels. I myself have used small to big cutting machines of the brand. However, the most flawless I have created was with the Cricut Maker machine. This machine is the most versatile or innovative crafting machine. So, anyone, no matter whether you are a pro-crafter or a beginner, this machine is the best option available for you.
What Supplies are Necessary to Create Labels With Cricut?
The tools and supplies can vary depending on the type of labels you are making. However, there are some supplies that help in every Cricut label project. Let’s take a look at the Cricut labels supplies.
- Any Cricut cutting machine
- Weeding Tool
- Smart Vinyl, White, or any other color
- Transfer Tape
- XL Scraper
- Material Trimmer
- Product (On which you want to use the labels), and others.