How to Etch Glass With Silhouette Cameo for Home?
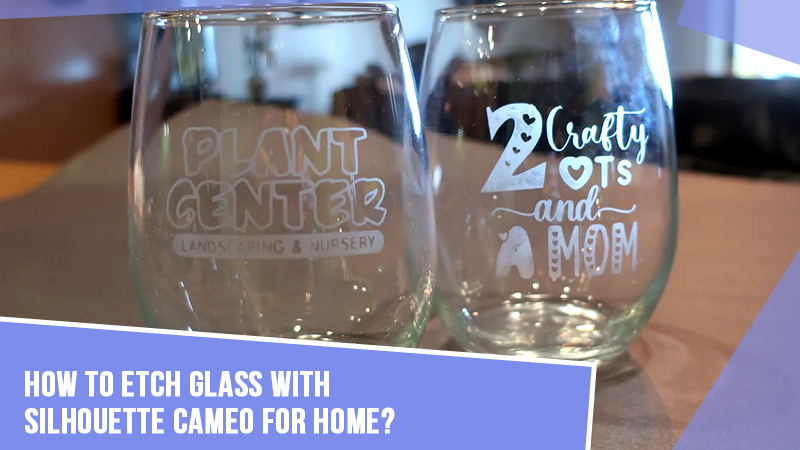
Do you want to etch glass with Silhouette Cameo for home? I can tell you how you should make them. The etching glass project is perfect for creating personalized gifts. And it doesn’t matter which machine brand you have to make a project like this. But, in this blog, you will be getting a complete process related to the Silhouette Cameo machine. So, let’s get started and learn how to etch glass with Silhouette Cameo.
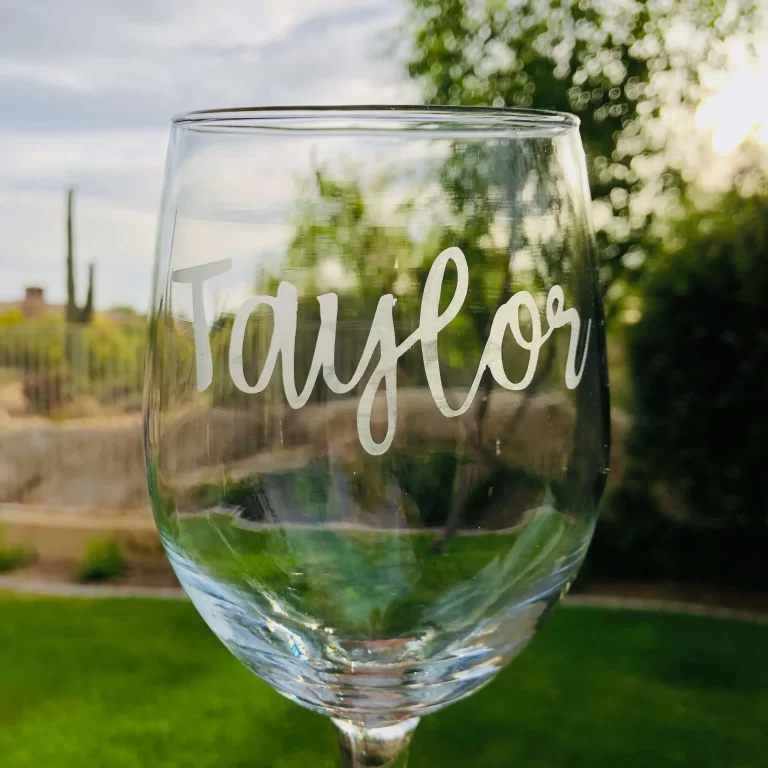
I personally love etching glasses to create simple yet unique designs. I have sent dozens of etched glasses as gifts to my family and friends. In addition, I have a store where I sell my customized items. To help you learn the procedure to make etch glass with a Cameo machine for your home decor, to surprise your friends, or to make money, let’s move on to the final process without wasting any time.
Essential Supplies & Accessories for Etching Glass
While making a project with Silhouette Cameo, you will need a set of supplies to start creating your project. Here is the list of all of them.
- Vinyl
- Glass blank
- Transfer tape
- Etching cream
- Safety glasses
- Rubber gloves
- Foam brush
With all of these items, you are all set to move forward to the next step and learn how to etch glass with Silhouette Cameo.
Step 1: Prepare a Vinyl Stencil
In the journey of etching a glass with Silhouette Cameo, you first need to make a vinyl stencil. So, to make a vinyl stencil, you will need to pick a design that is simple to put on a glass. Avoid complex designs as they may struggle to adhere to the glass in a proper way.
You can use vinyl scraps, temporary or permanent vinyl, or stencil vinyl to prepare a stencil by cutting and weeding it.
Step 2: Use Stencil on the Glass Blank
To apply the stencil to your glass, you will need to clean your glass to ensure that the stencil sticks to the glass. Then, take off the backing paper from the stencil. After that, slowly stick it to your glass blank. Next, burn your stencil using a squeegee. Now, take off your transfer tape.
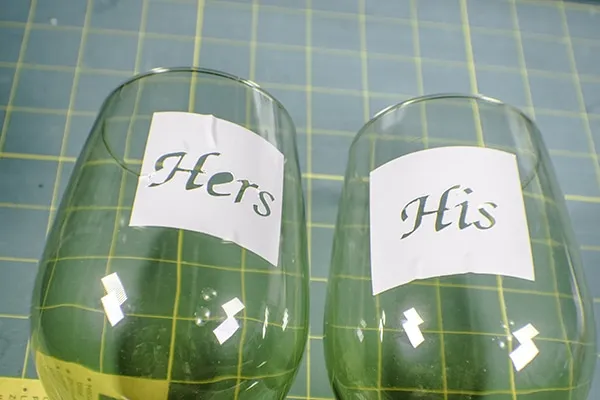
Note: Ensure that the stencil sticks well to your glass blank. If any edge or side is not attached completely, then the glass will not be etched properly. Read more to learn how to etch glass with Silhouette Cameo. If you are a Mac user and want to connect your Silhouette Cameo machine to it, watch this video and get started with your machine: https://www.youtube.com/watch?v=KxOGOctgYbM
Step 3: Apply Etching Cream
Well, applying etching cream is a sensitive process, and you may need certain safety measures, such as putting on hand gloves and covering your eyes with glasses. Maybe the etching cream is not that harmful, but taking care of your skin and eyes shouldn’t be compromised. So, I recommend you to use safety equipment.
To cover your stencil with the etching cream, you can use a foam brush or a squeegee. But, let me tell you, the cream will look damn greasy. However, the results are impressive. You should be careful about where you put the etching cream, as it etches instantly.
When you are done, set a timer for about fifteen minutes and take the excess cream back into its container. Luckily, you can reuse the cream that you remove. Once your timer is off, wipe off the cream gently using a paper towel.
Step 4: Take off the Stencil
Once you remove the excess cream, remove the stencil too. Then, rinse off your glass blank under the sink and remove everything from it. Then, dry it out to get the amazing etched glass.
The good news is that the etched designs are permanent and can’t be removed. So, you don’t have to think twice about its stability. Here, the topic ends, but wait, one thing is still missing- colors. So, you also have an option to color your etched glass with the color of your choice. Let’s see how.
Step 5: Color Your Etched Glass
When you are ready with your etched glasses, it’s time to cover them up with some brightening colors. So, what about a golden color? I like this color on my etched glass projects. However, the color will be washed off by rinsing it with the dishwasher.
To add the color, take a small amount of color on a cloth and rub it over the etched glass. After that, wipe off the excess color. However, not every glass project has to be washed such as a glass vase.

Conclusion
Finally, you know how to etch glass with Silhouette Cameo. This process is fun, and people love this kind of art as a gift. It’s a great way to decorate your home or office and make the space look great. Also, if you want to give it as a gift, you can do it easily.
Make sure you follow all the basic steps carefully to avoid mistakes. Also, take safety measures before putting on the etching cream on the stencil. I loved teaching you the procedure to make etch glass with Cameo, and hopefully, you will soon make a project with my help.
FAQs
How to Etch Acrylic With Silhouette Cameo?
To etch acrylic with Silhouette Cameo, you need to prepare a stencil first. Here, you can use the Silhouette Studio to either use an image or upload one. Then, you can adjust your image in a perfect manner and create a stencil out of it. Put your stencil on your acrylic, and then scoop the etch cream. Then, after 15 minutes, wipe off the excess cream and remove the stencil. And now your etched acrylic is prepared.
Can Silhouette Cameo 3 Engrave?
Yes, your Silhouette Cameo 3 can etch and engrave a number of materials, such as acrylic, copper, aluminum, and many more things. With a Cameo 3, you can prepare a beautiful DIY engraved bracelet and acrylic cake toppers. Users can design their projects using the Silhouette Studio and make a perfect engraved project.
How Should You Use Silhouette Glass Etching Cream?
If you know how to etch glass with Silhouette Cameo, you know that the etching creams can be harmful to your skin and eyes. Hence, you need to apply it with proper care. Use a cotton swab or a scraper tool to apply a thick layer of the etching cream to the glass material, and wear hand gloves. Then, allow the cream to set for at least 30-60 seconds. During this process, you should cover your eyes with glasses.

