
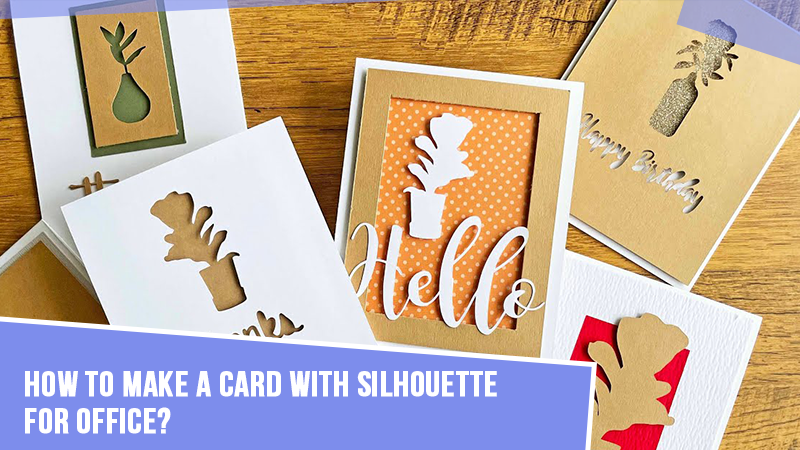
I love handmade cards for special occasions. If someone gives me a handmade card as a gift, it will be more valuable to me than an expensive gift. Being a wife and a mother, I have seen different emotions, and I like putting them into my beautiful crafts. Well, without getting emotional, let’s talk about this guide. I work as a full-time crafter, and I enjoy doing it. And today’s guide is for anyone who wants to learn how to make a card with Silhouette Cameo.
If you have a Silhouette Cameo machine and want to make a custom card from it, I can tell you how you can do that. I will be explaining how to create a perfect design using different functions in the Silhouette Studio app. The good thing is that you can download the app without an internet connection. Check out this full guide to learn the process of creating a card with your Silhouette machine.
Step 1: Write Your Word and Select a Font
To make a special card from the Silhouette machine, I am using a basic word like “Happy Anniversary.” Plus, you can customize your card with all the necessary details. Once you have typed your phrase in the Silhouette Studio, then click on it and select the top Type tool.
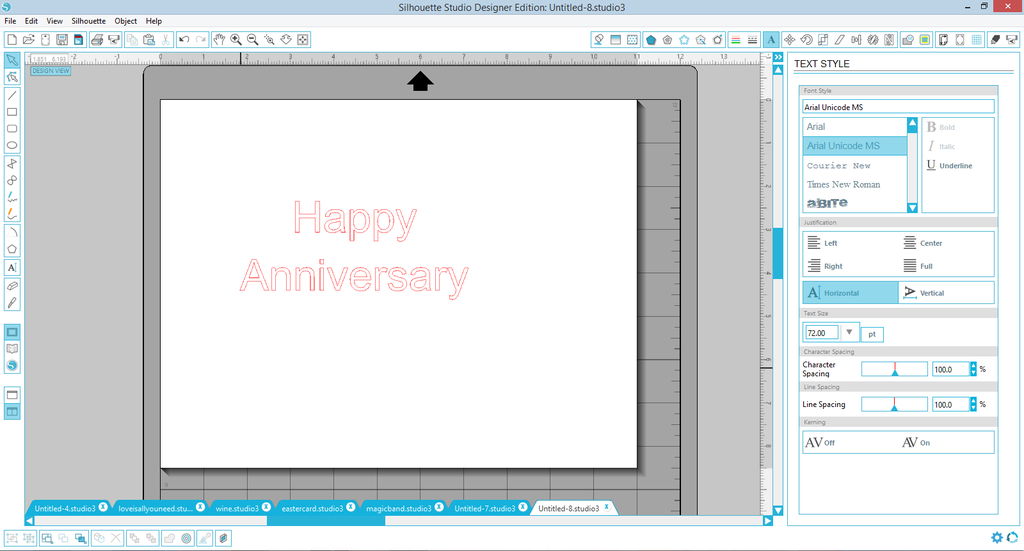
When the typing menu is open, select your world and add a suitable font to it. However, beginners must use thick print fonts, which are easiest to work with. I am using my word in the center to make the process easier.
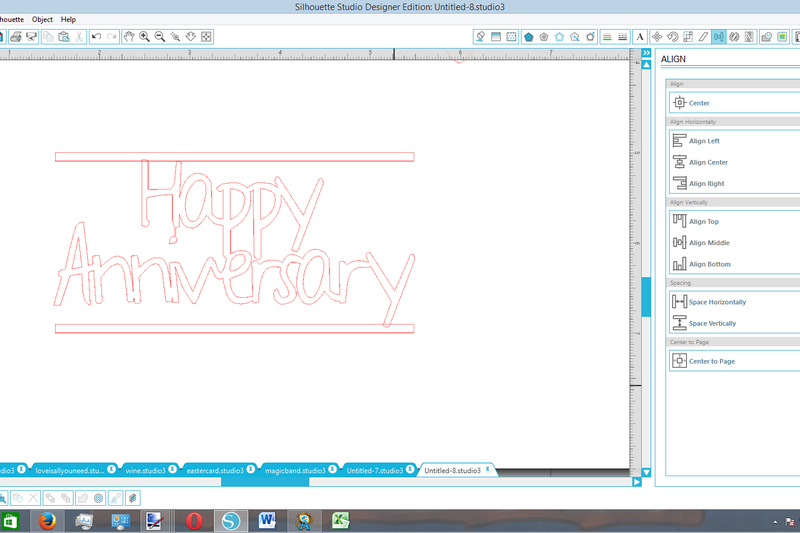
Step 2: Add Your Fonts Together
Let’s move ahead to our guide on how to make a card with Silhouette Cameo. You can adjust the spacing of your selection with the help of a text tool and allow the letters to overlap. Then, ungroup your letters so that you can select each letter individually.
Now, you can launch the Modify tool. After that, start with the letters overlapping each other and click and drag until you select both. Once you select both the letters, click on “Weld.”
When you take care of the easy letters, you can choose the outside pieces and let them go inward. The word will move in the direction that you have chosen. If you have used the right alignment, your word pieces will move to the right.
When your separated parts start overlapping, weld these parts too. Next, repeat the process until all your letters are arranged in a group.
One more option is to add the stability line. Here, a line will overlap your letters from top and bottom. Now, select everything and weld them together. Doing this will help you to keep the design stable. Keep reading the blog to learn how to make a card with Silhouette Cameo.
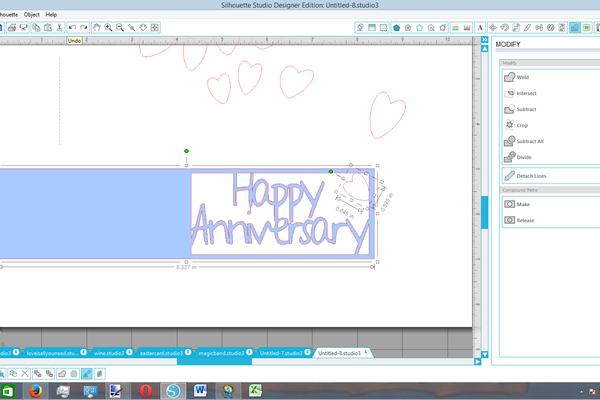
Step 3: Attach Your Font on a Card Shape
Now, you have selected your font, and you are ready to weld it on a rectangular card. So, first, you need to make a rectangle that can overlap your word. Then, click on that rectangle shape and then copy and paste it. After that, take your copied rectangle to the bottom of your word selection.
Next, click on your phrase and both the rectangles and weld them together. You can check if they are welded together or not by using the Fill Color tool. Afterward, select your phrase and select a color. As you can see in this picture, the light blue color shows the part that will be cut into pieces.
Step 4: Attach the Back Portion
In this step, you need to draw another rectangle. Measure your wording and, then, launch the Scale tool and choose the blank rectangle. Then, type the dimensions in the entry field and apply them. Now, you will get a similar blank rectangle.
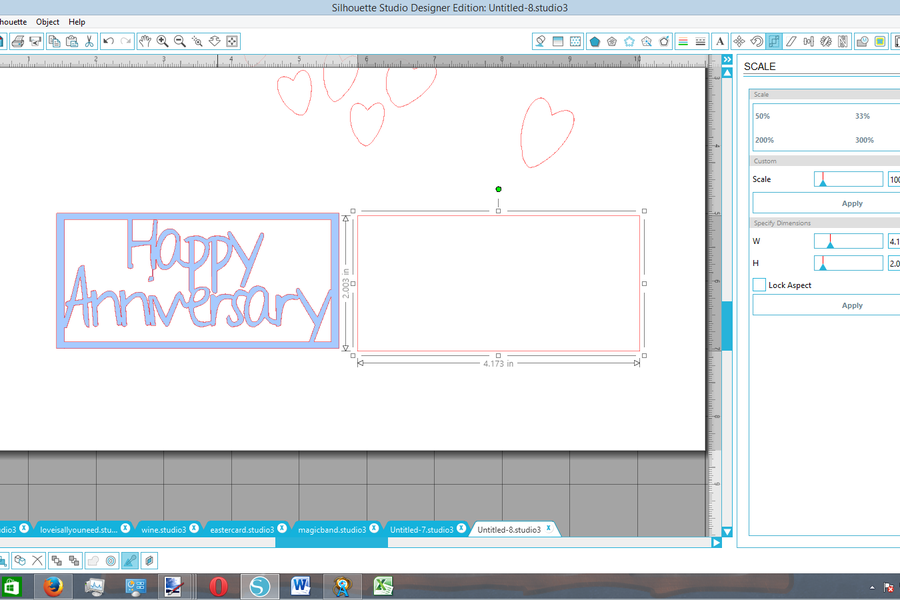
After that, you need to drag that rectangle to make it align with the card font and then weld the two pieces together. Finally, you get a rectangular card now. Well, let’s go through some steps further to make the process easier. Next, draw a straight line equivalent to the height of a rectangle. Then, open a line tool and choose a dotted line style.
Your line will look like a thread of dots rather than a full piece. Now, you have to open the Align tool and choose your card as well as the line. Then, hit the Center option. Doing this, your line will move to the middle of your card. In the next step, you need to group your shapes.
Step 5: Add More Details
If you want to add some more details to your card, you can weld different shapes, such as heart shapes or any shape that goes with the card, like celebrating stickers, balloons, and anything you like to attach. Once you are done, resize the project.
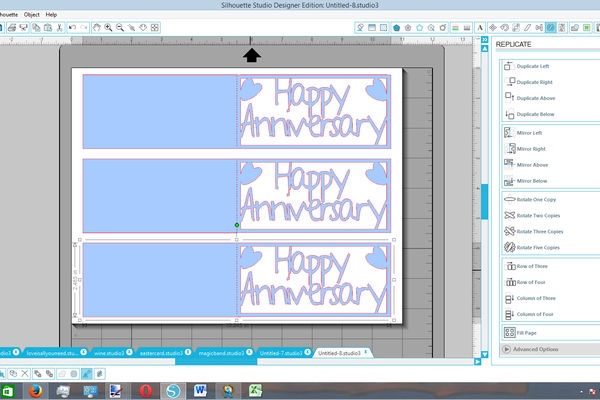
Step 6: Cut Out Your Design
You will create many cards with your machine, so you can use the replicate tool. So, go to that tool and select the Fill Page option. After that, you will get copies of your paper. Now, move on to the next step to complete the process of how to make a card with Silhouette Cameo.
Step 7: Prepare Your Card
Once you have cut your card completely, remove the leftover pieces sticking to the card. However, if you find a paper piece that is not cut completely, you can do it with the help of a pair of scissors. In the end, it’s the time to assemble your card. Locate the dotted line and fold the card slowly.
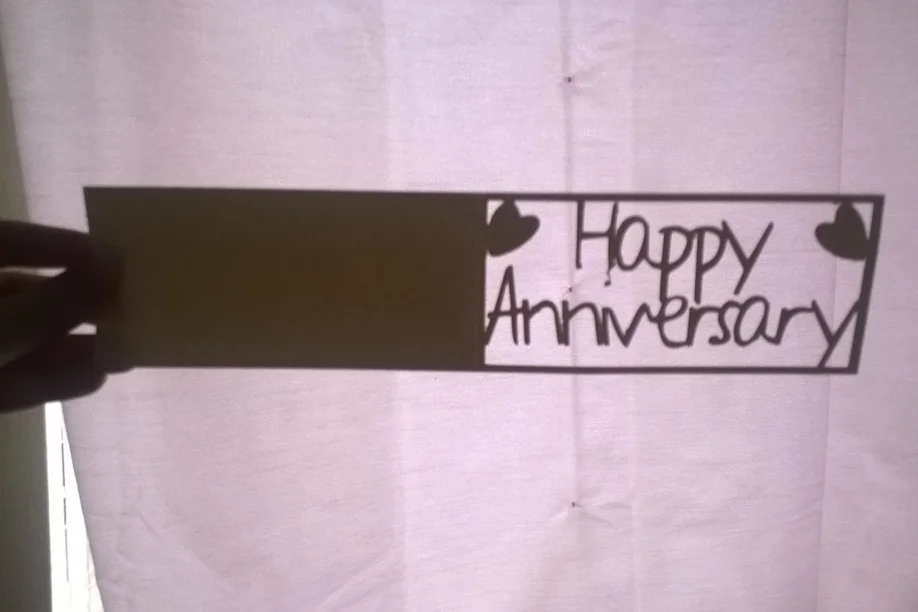
Let the paper fold naturally with the slightest pressure. Align the edges of your card to fold it completely. To make something unique, you should cut your card by altering the settings to cut only the edge of your card. Also, you can use a different paper color too. Then, you can also place that card inside your first card
Are you still wondering what creative thing you can do in your workspace using Christmas designs? Yes! Then, you try monogrammed tumblers, gift tags, sweaters, wine bags, and coasters. However, the process of making each of these items is different, but it will surely gain your employee’s love.
Conclusion
Finally, you have learned how to make a card with Silhouette Cameo. Your Cameo machine is brilliant at cutting different materials. Making a card with this machine is a good idea to start your crafting journey. If you are a Silhouette user, you should definitely try this project. Use the Silhouette Studio to create a design, whether a phrase or image. And finally, your card will be prepared.
FAQs
How to Make Business Cards With Silhouette Cameo?
If you want to make business cards with a Cameo machine, you can make them easily with the help of your Silhouette Studio software. To make cards, you can select suitable designs from the app or upload your own design from the file. Then, you can load the material and start cutting your card in the shape and size you want.
Can I Cut Cardstock With Silhouette Cameo?
Yes, a Silhouette Cameo machine is capable of cutting various materials such as vinyl, iron-on heat transfer material, vellum, fabric, and even sticker paper. Therefore, you can try different materials with your machine and make a perfect-looking craft of your choice. You can select the designs, texts, and shapes from the Silhouette Studio software.
Which Blades to Use in Silhouette Cameo to Cut Cardstock?
To cut cardstock from your Cameo machine, use the 2mm blades that are capable of cutting thicker materials. Autoblades can’t cut thicker materials, but these blades can. So, you may need to make a little extra effort to adjust these blades and then cut your cardstock material through it. But it will be worth it if you want to create a beautiful craft.


