How to Make Stickers With Cricut Machine: Stepwise Guide
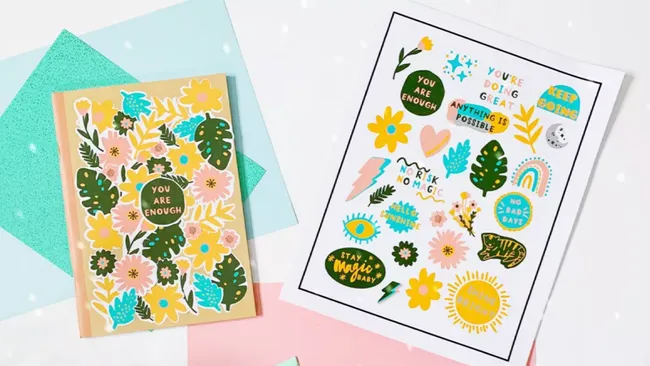
Making stickers with Cricut is really fun. As you know, stickers are very creative decorative products that you can prepare in any shape and size according to your choice. Whether it’s a special occasion like a birthday, festival, or just regular home decor, stickers can brighten up your space. This blog is going to be my all-time favorite, as I love creating custom stickers with my Cricut machine. So, if you want to learn how to make stickers with Cricut machines, stay with me till the end of this blog.
With this full guide, I’ll show you an easy way to create custom stickers with your Cricut machine. To make a sticker, you will need sticker paper, a Cricut mat, an inkjet printer, and a Cricut Design Space. So, without any further delay, let’s get started.
Step 1: Open Cricut Design Space on Your Device
To get started, you need to launch the Design Space software program and move to a new canvas. On your canvas, you can either create your own design or create an image with the Cricut Access.

If you are using a Print Then Cut feature, it can cut a size of 6.75 x 9.25 inches. One of the easiest ways of making stickers is to use a square shape from the library and then resize it to the required size.
Step 2: Prepare Your Printer
Once you have selected your image and print size, you are all set to start the process of how to make stickers with Cricut. Now, you select your Cricut machine from the menu and then click on the Make It button.

Once you do that, a black line will be drawn around your design, and then your image box will be printed. Your Cricut machine’s sensors will scan your image and will cut them exactly in the size you want.
Tip: To get detailed information on creating custom stickers with Cricut, you can watch this video:
After that, hit the Continue button to send the image to your printer. After hitting the Print option, you’ll be able to choose the Add Bleed option. Once you select this option, the ink will extend a little beyond your image’s border and will remove the white margin when the image is cut. Plus, you can switch on the System Dialog option that will allow you to use your printer settings and adjust them to get the best quality prints.
Step 3: Print and Add an Image to the Cricut Mat
I hope you are learning how to make stickers with Cricut mat and in its next step, you are required to print your image with a printer. Note that this process can be done only with an inkjet printer. When you are ready, add the material to be printed into the printer feed and hit the Print option.
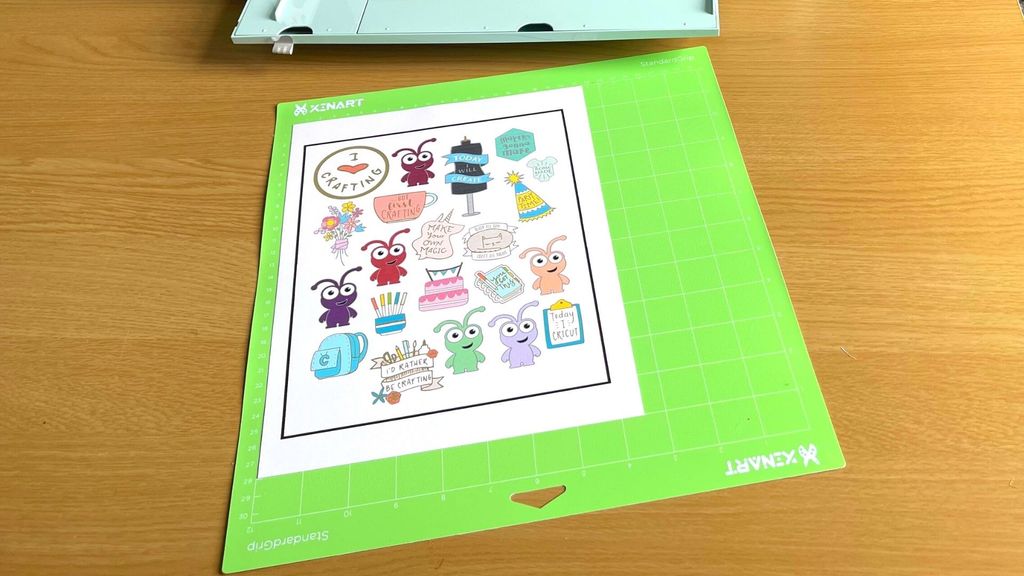
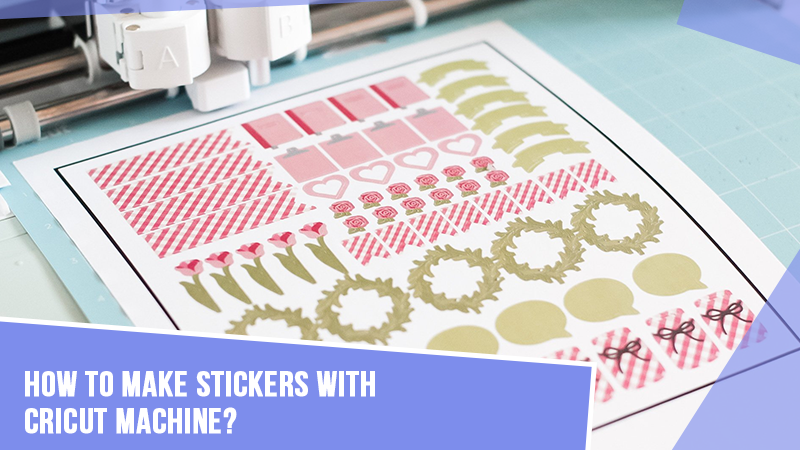
When your sheet is printed, you need to add that sheet to your Cricut mat. During this process, ensure that the sheet is aligned at the top of the mat, just below the Cricut logo.
Note: You will have to use a Cricut mat even if your Cricut machine uses smart materials. You can use a LightGrip mat for your sticker projects.
Step 4: Choose Your Material and Start Scanning
Now, when you have completed all three steps, you should tell your Cricut machine what material you are using. I made my sticker by using Cricut printable sticker paper. Moreover, if you start making Cricut stickers regularly, you should hit the Start button just near the material. This option will add that material to your favorites.
When you do this, you don’t have to select the material each time you make a project. Therefore, you will save a lot of your time. After that, you need to put the Cricut mat up into your machine and hit the Go option.
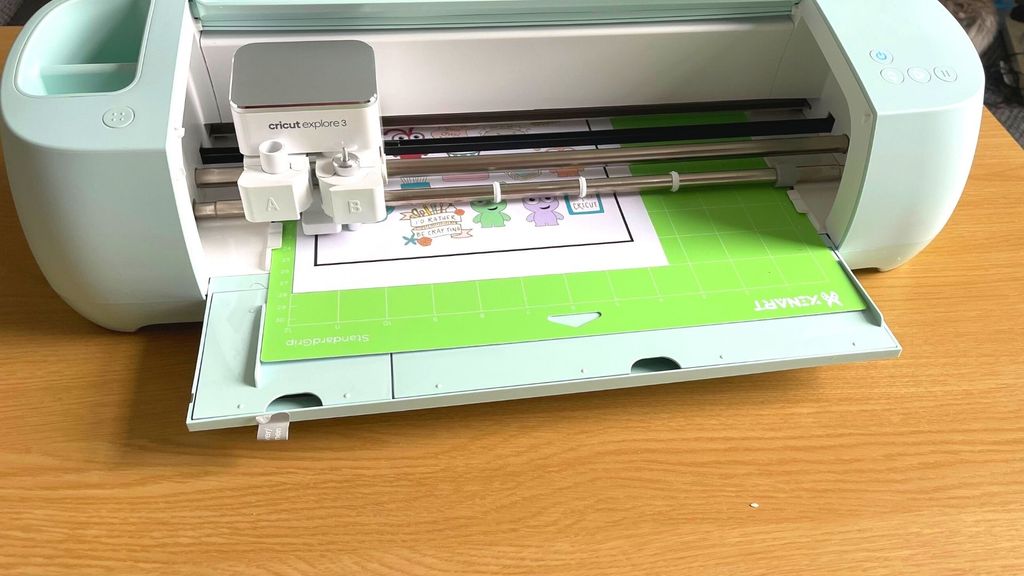
Now, your Cricut machine will check the mat’s length and use the sensors to scan the black lines before cutting the images. After this, your stickers are all set, and you can peel them off and use them anywhere you want.
Conclusion
Finally, you know how to make stickers with Cricut, and you are all ready to make stickers for yourself. You can use different types of vinyl to make stickers. If you use all the steps correctly, as I mentioned in this blog, you will create a beautiful sticker with any kind of material. Ensure that you use a Cricut mat while loading your material.
There are a few things you must check to get the right cut. For instance, you should check your Cricut’s calibration and learn where to place the material. Otherwise, you may get errors while working with your Cricut machine.
FAQs
How to Make Vinyl Stickers With Cricut?
If you want to make a vinyl sticker with Cricut, you need to gather up all the necessary items, including vinyl, a weeding tool, transfer tape, a material trimmer, scissors, an XL scraper, and a notebook. Then, you need to come to your Cricut Design Space area and create an image of how you want your stickers to look. Then, put the vinyl into the machine with a Cricut mat and start the cutting. After that, weed out the excess of vinyl.
How to Make Stickers With Cricut Without Printer?
If anyone thinks that they can’t make stickers without a Cricut machine, they are not right here. Even if you don’t have a printer, you can prepare good-looking stickers with your only Cricut machine. So, to make a perfect-looking sticker, you will need to use vinyl. You can make vinyl stickers easily just by putting the vinyl on your mat and then into the Cricut machine.
How Do I Create a Cricut Sticker With a Picture?
If you are looking for a guide on how to make stickers with Cricut, then follow these steps in the section below:
- First of all, upload the image and remove its background before uploading it.
- Then, upload it on the New Project page of Design Space.
- Now, utilize the Offset feature on that image to form a new layer behind the image.
- After that, you should change the Offset layer color with your color of choice.
- Next, weld and flatten your design.
- Adjust your sticker size and then tap on the Make It button.