How to Make Tumblers With Cricut? [Step-Wise Guide]
Are you tired of searching for how to make tumblers with Cricut? But can’t find the right content? If yes, then I am at your service. If you are the proud owner of a craft machine, then you should know that the possibilities for creating crafts out of this machine are endless. With Christmas and New Year around the corner, I know you must be very confused about what to gift your loved ones.
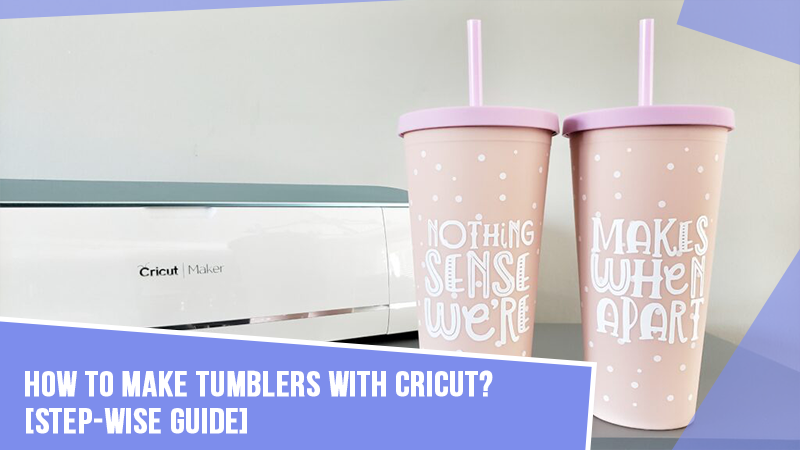
Don’t worry about what you are going to give this festive season. Today, I am going to teach you how to make personalized tumblers with Cricut. Yes, you heard it right, you can use this item not only while traveling but even while going to your workplace. If you’ve recently taken a step into the world of this craft, then I am going to share with you the complete process in easy-to-learn details.
Step 1: Make Your Design on Cricut Software
As a DIYer, take this section on how to make tumblers with Cricut blog very seriously because it is the first and most crucial step during the whole process. To do so, go through the following paragraph of the blog:
First, I am going to initiate the process by logging into the Cricut software using my Cricut ID/ email address or password. After that, press the New Project icon and then you will instantly land on the Design Space canvas. Now, at the canvas, press the Text toolbar present on the left-hand side of your screen.
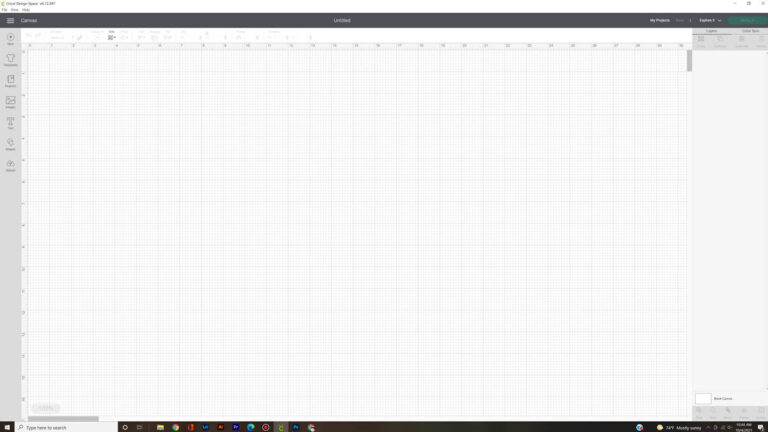
Next, enter your text inside the Add Text Here box and change the text format using the font, color, and size. After doing that, go to Letter Space to remove the extra space between the letters of your words. Apart from choosing the Letter Space option, you can also select the Ungroup option and do it manually as per your choice.

After ungrouping your word, please select all your text and change it using the arrows given inside the Size section. Now, tick the Weld option present at the bottom of the Layers section and change the text color from the Color Dropbox.

Moreover, you can also hide those designs that you aren’t going to use this time by choosing the eye icon mentioned under the Layers panel. Next, select your craft machine model and then tap the Make It option.
Step 2: Select Materials & Load Into Your Machine
After concluding the first step of how to make tumblers with Cricut, tap the Continue option and select the material that you are going to use to make this project. Under the Set Base Material section, tick the Vinyl option. Following this, cut a percentage of your material and stick it on your Cricut cutting mat either with your hands or a scraper tool.
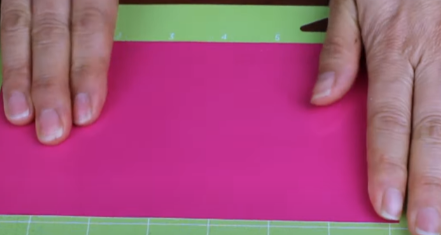
Equally important, insert your cutting mat into your craft machine and press the blinking arrow, followed by pressing the C button. After the cutting process is complete, take out your Cricut mat, weed out your vinyl, and remove the excess material with the weeding tool.
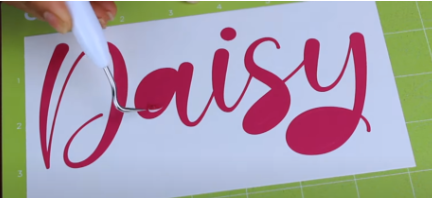
Step 3: Apply Transfer Tape and Clean Tumbler Blank
In this how to make tumblers with Cricut step, I am going to cover my design with transfer tape. I am going to use a Cricut scissor to cut the extra tape and cover the design using the scraper tool.
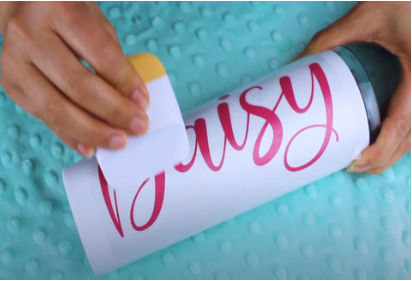
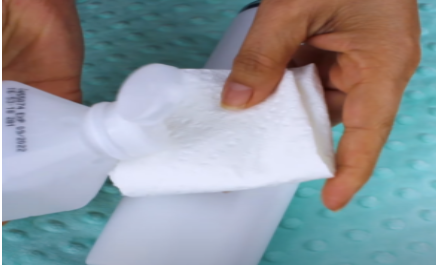
Before applying the vinyl, I am going to place the tumbler blank on the pillow so that it doesn’t move while sticking to the vinyl design. Now, I am going to clean the tumbler with the alcohol-based solution so that all the debris or dirt gets removed from the blank.
Step 4: Place the Vinyl and Show Your Final Design
After properly cleaning your tumbler blank, remove the transfer tape from your final tape very slowly, starting from the side. Now, take the vinyl and place it on your clean tumbler blank with your hands or using the scraper tool. Now, gently press the vinyl to avoid any bubbles entering your design and ruining its look.
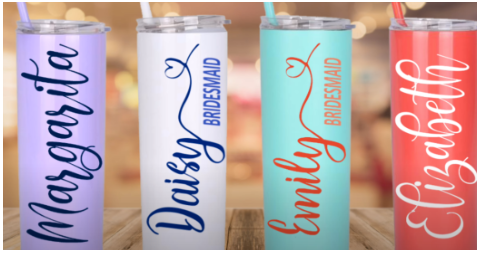
That’s it, guys! Give yourself a massive round of applause as you have learned how to make tumblers with Cricut. By following the same steps, you can also create different kinds of tumblers using various fonts, designs, shapes, and blanks. You can now use these projects not only to gift them to your friends or family but also to sell them to make your own business.

