Many aspiring crafters are unaware of how to use Cricut Maker 3. Fortunately, using this cutting machine is easy, even for first-time users. There are many steps to follow when starting your first project with a brand-new Cricut machine.
How to use a Cricut Maker 3? Here is a complete solution. Let’s Start to learn the steps.
Problems That May Occur When Using Cricut Maker 3
While using a crafting machine, you may face certain issues that can obstruct your work. These can be:
- The roller bar is not moving
- Bluetooth connection problems
- Error messages
- Device not recognized by computer
Essential Steps to Use Cricut Maker 3
Before learning how to use the Cricut Maker 3, you first need to unbox. You will get some basic tools, an envelope containing smart vinyl sheets, and a user manual.
Once you finish unboxing, you need to set up the machine.
Setup Your Cricut Machine
Here are the steps for setting up your crafting machine:
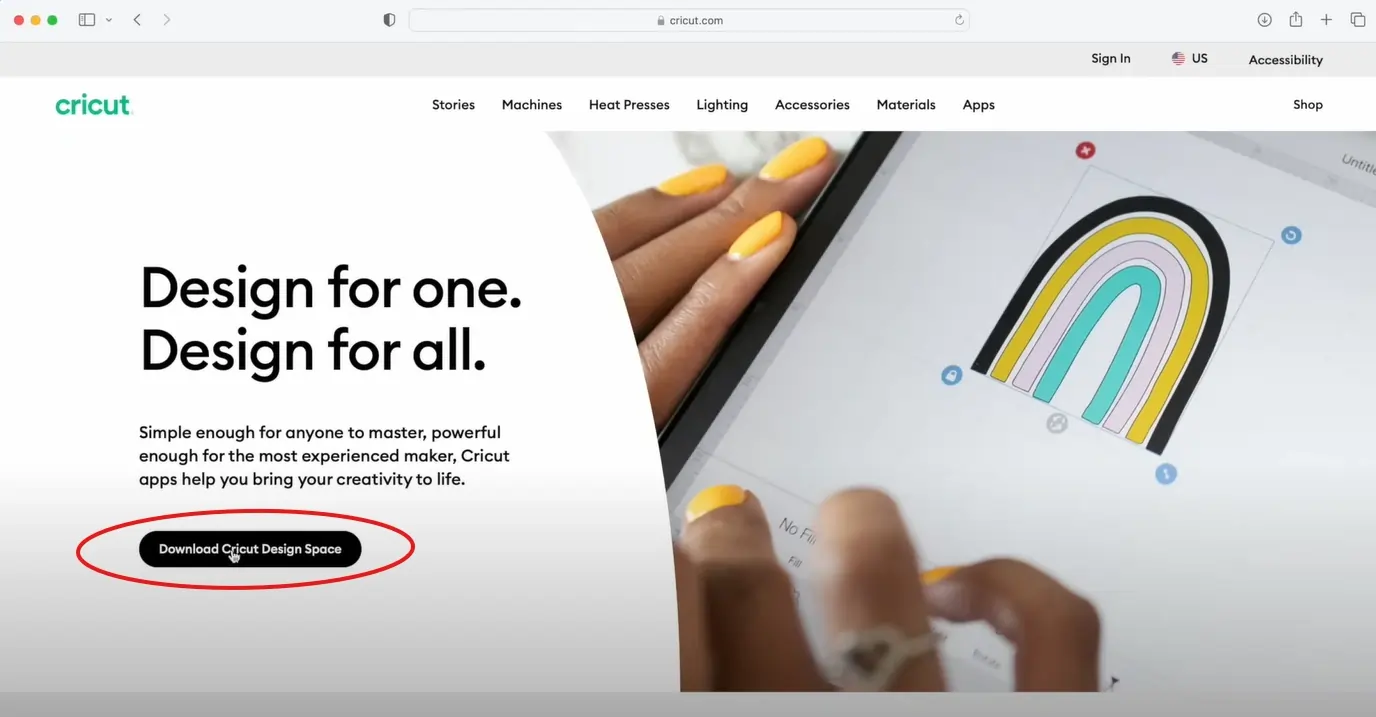
Step 1: Make sure you download the Design Space app if you haven’t already. Visit the official Cricut website.
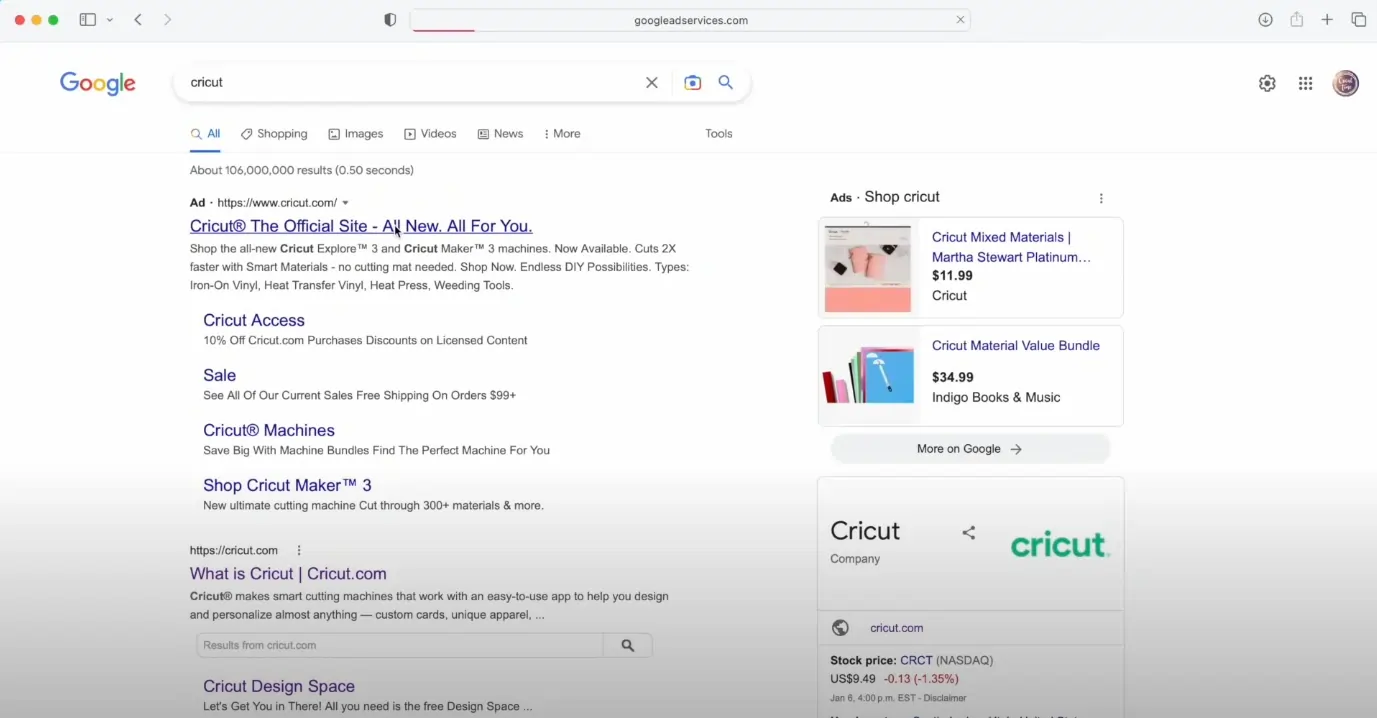
Step 2: Click on “Apps.”
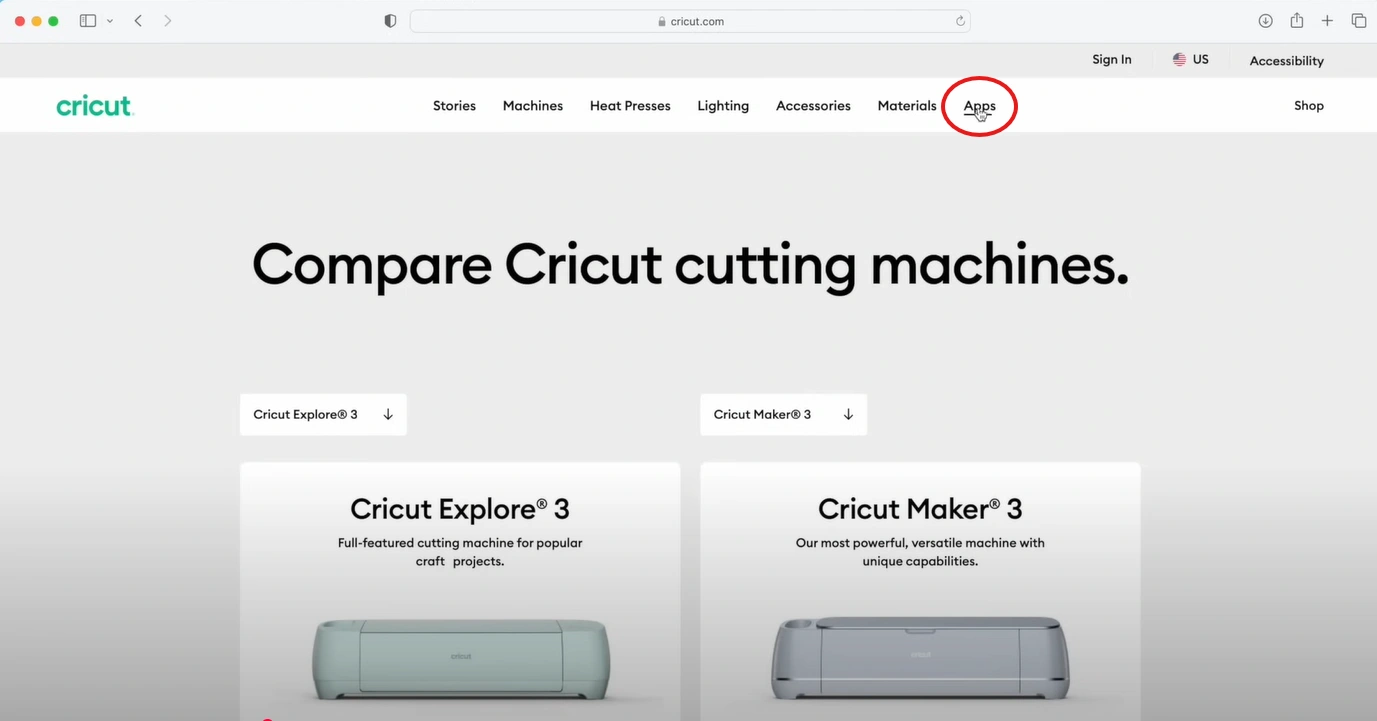
Step 3: After that, click on Download Cricut Design Space.
Step 4: Check the “I agree to Cricut Terms of Use and Privacy Policy” box.

Step 5: On the same page, click on the Download button. From here, the download will start.

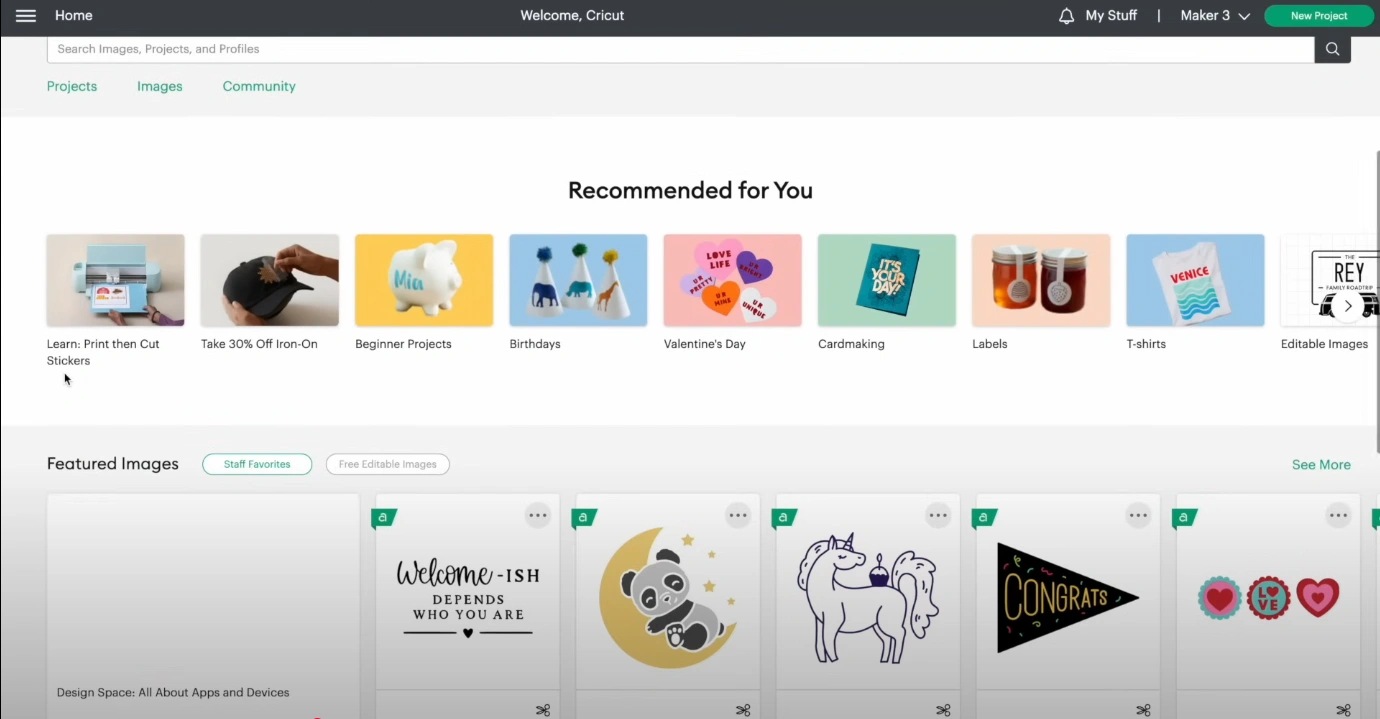
Step 6: Go to the Downloads section and click on the application. Once it is opened, you’ll find projects or images that are ready to use.
Create Your First Project
Now, let us understand how to use it and get started with your first project on a crafting machine. Here are all the steps you must know:
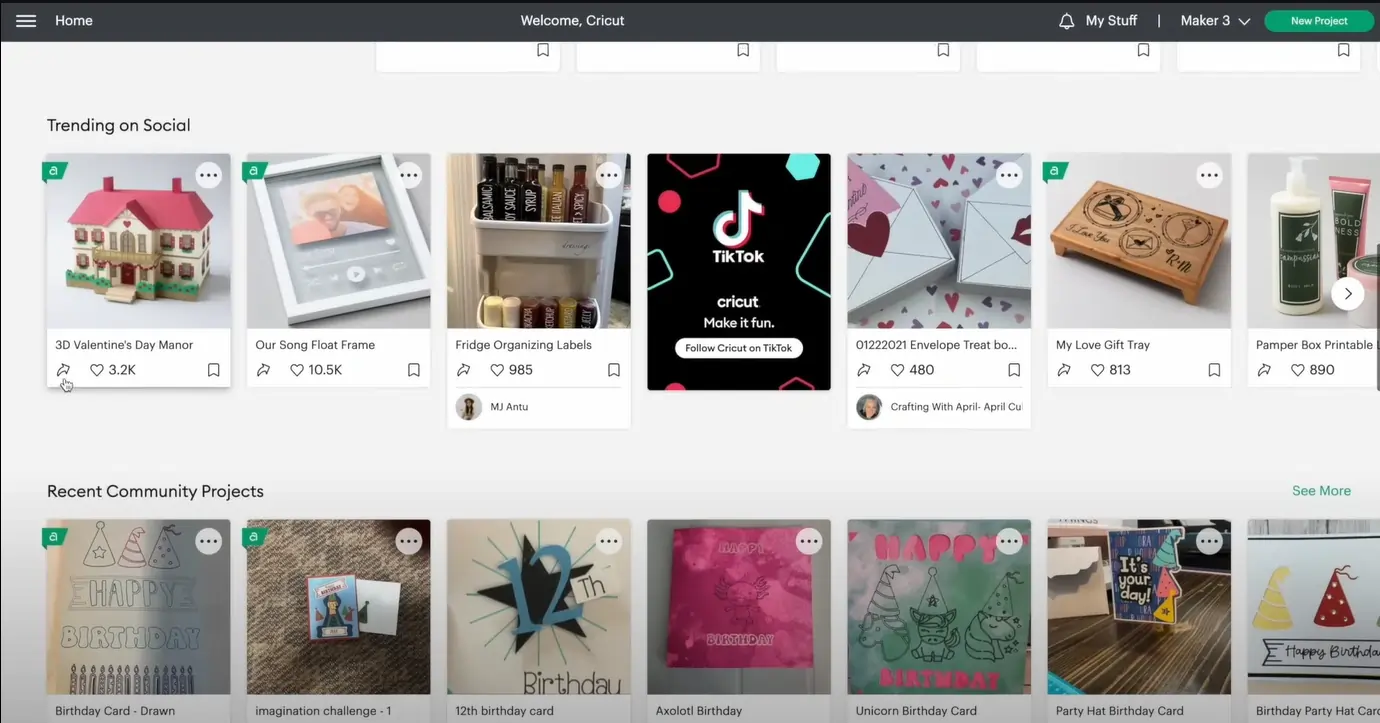
Step 1: Open Design Space on your computer. The home page offers various project ideas. Here, you can find projects or images that are ready to use.
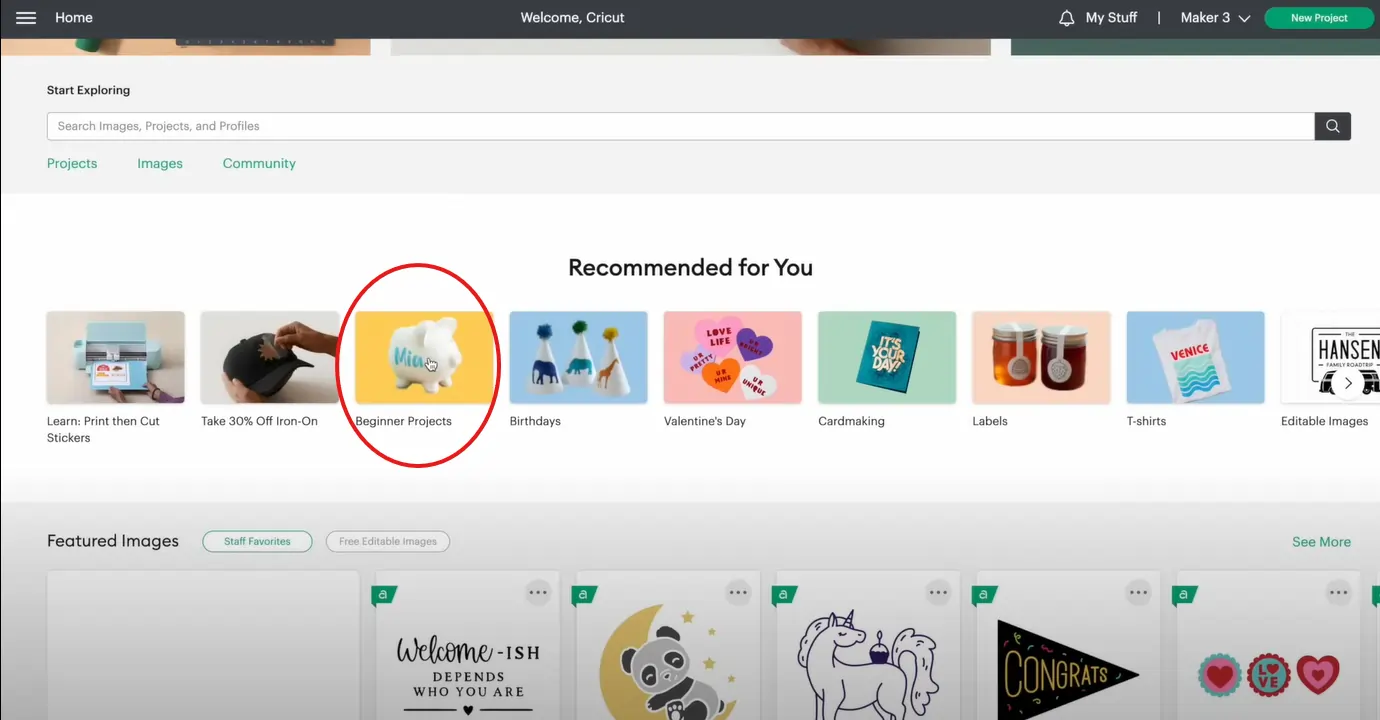
Step 2: Check out the beginner project if you are just starting. You can find a good selection of beginner fonts that are thicker and easier to use.
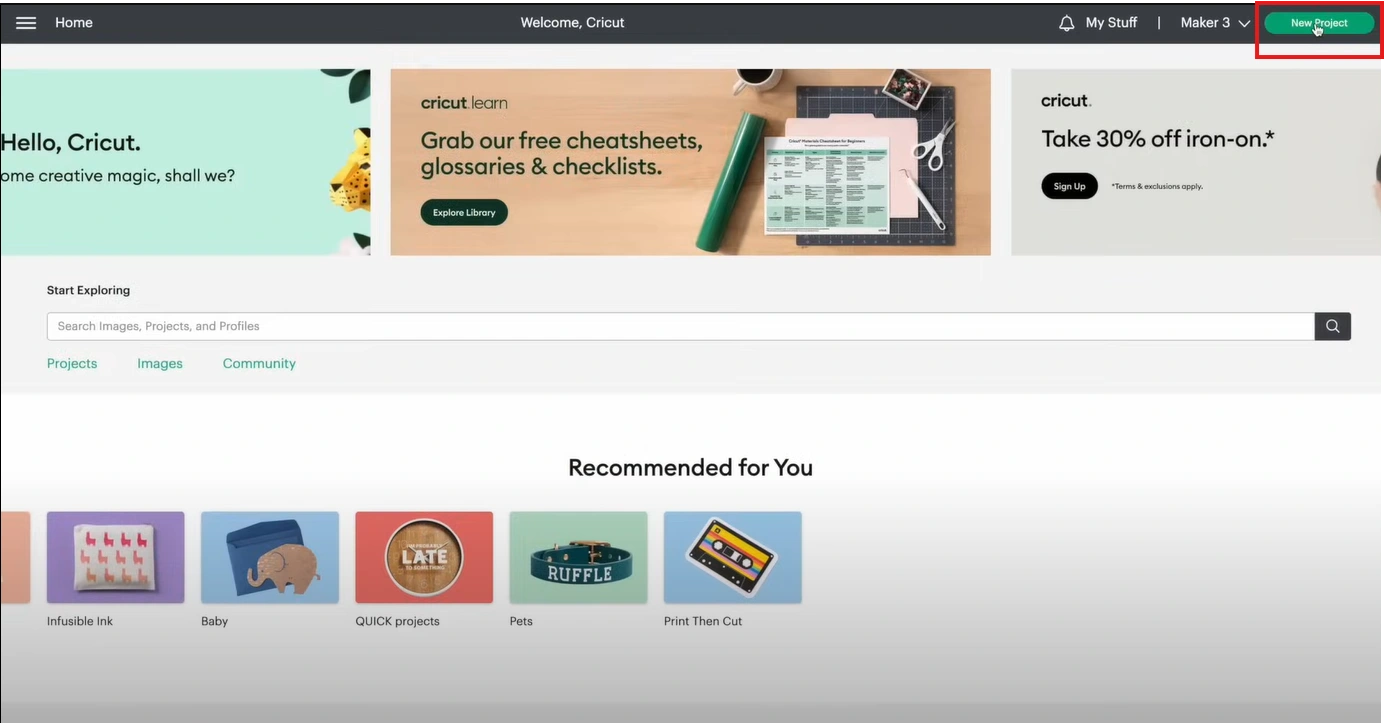
Step 3: Click on New Project at the top right corner of the screen.
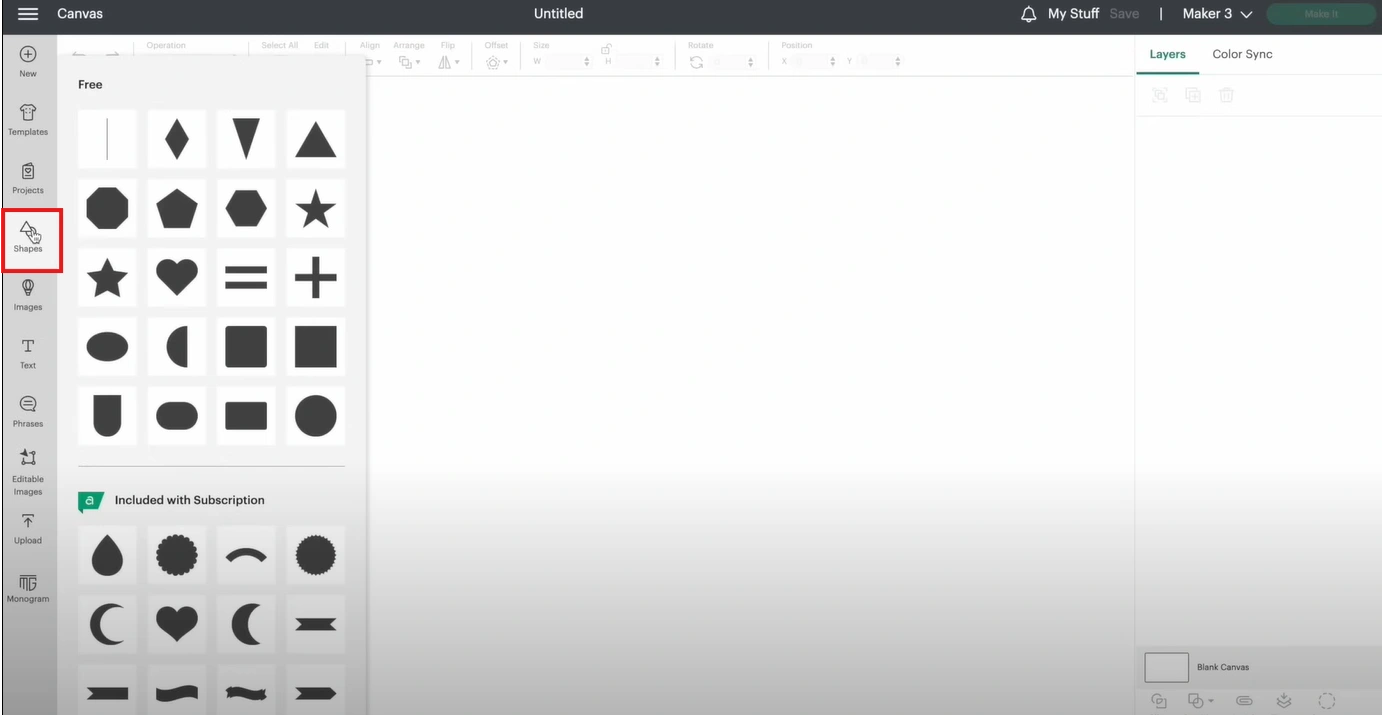
Step 4: Select Shapes on the left side of the screen. You can see free shapes at the top section, and at the bottom, you can find shapes included with the subscription.
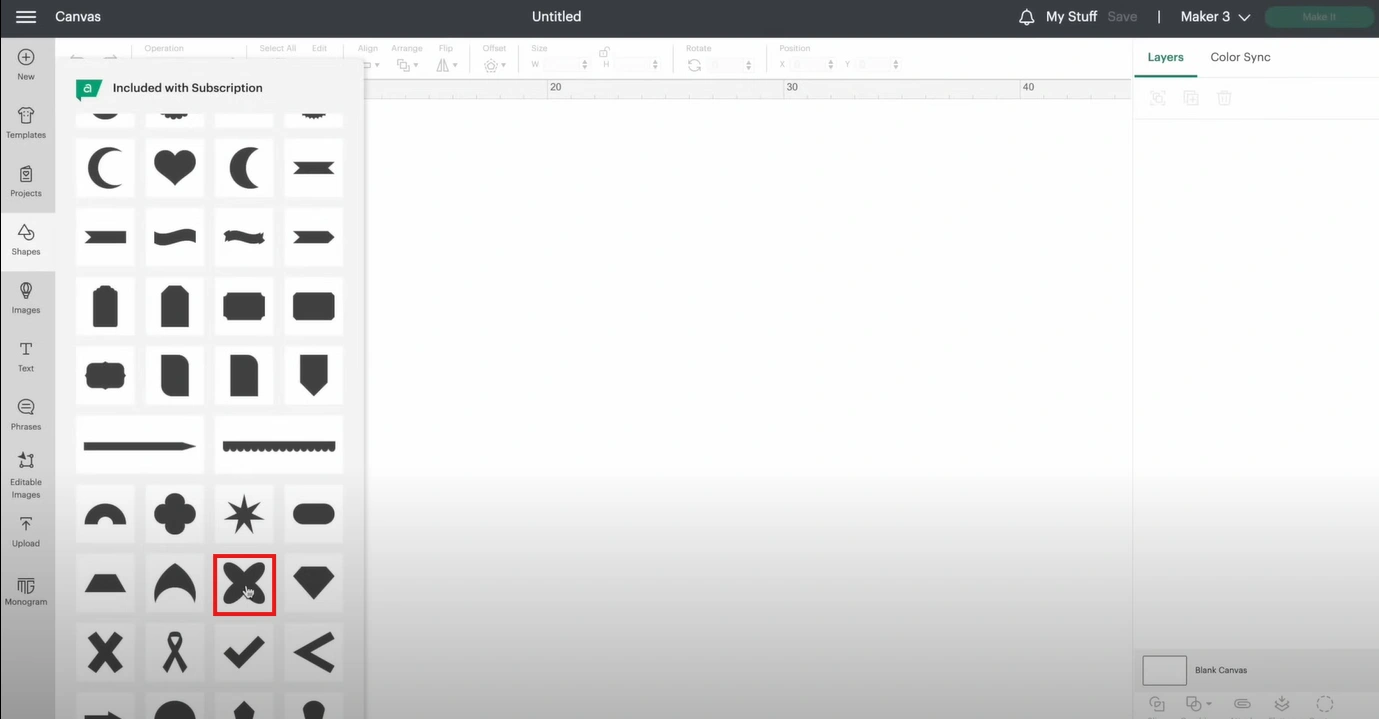
Step 5: Choose any shape and bring it onto the canvas.
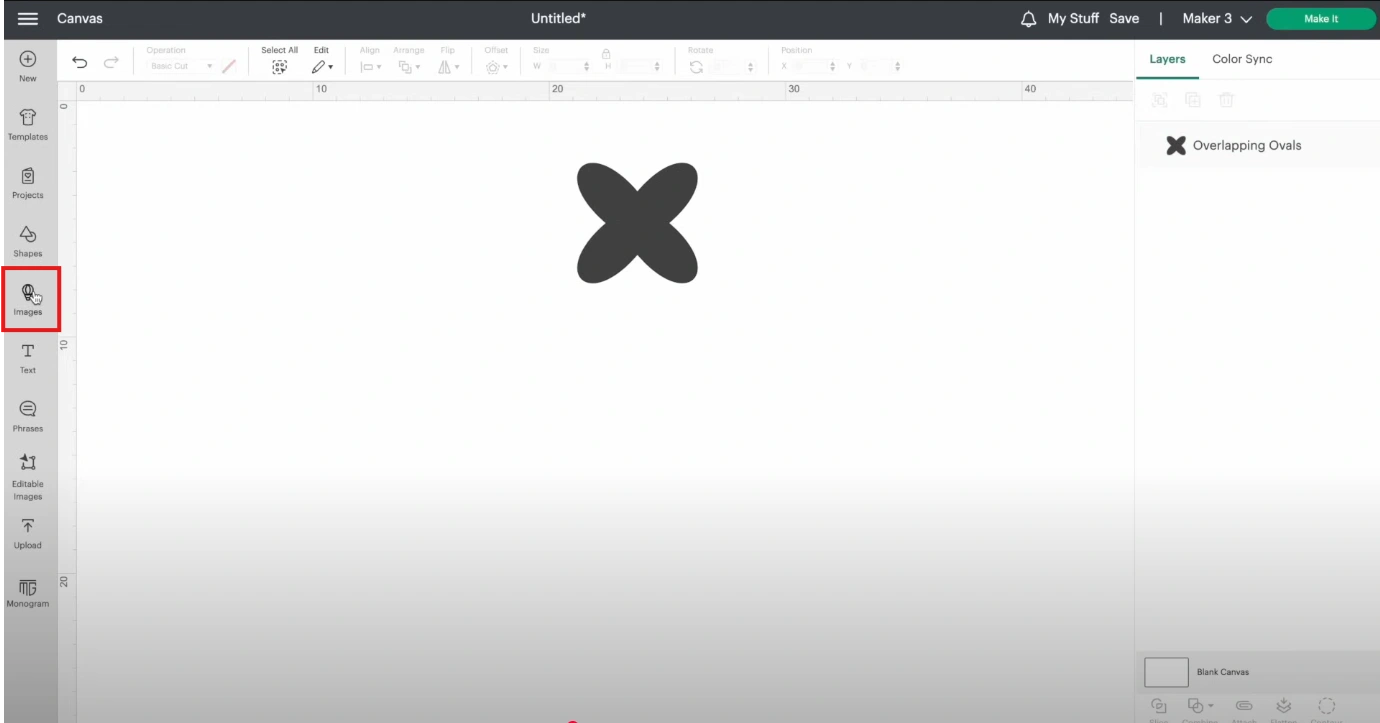
Step 6: Next, click on the Images section. You can choose images from the Subject list or search from the search bar.
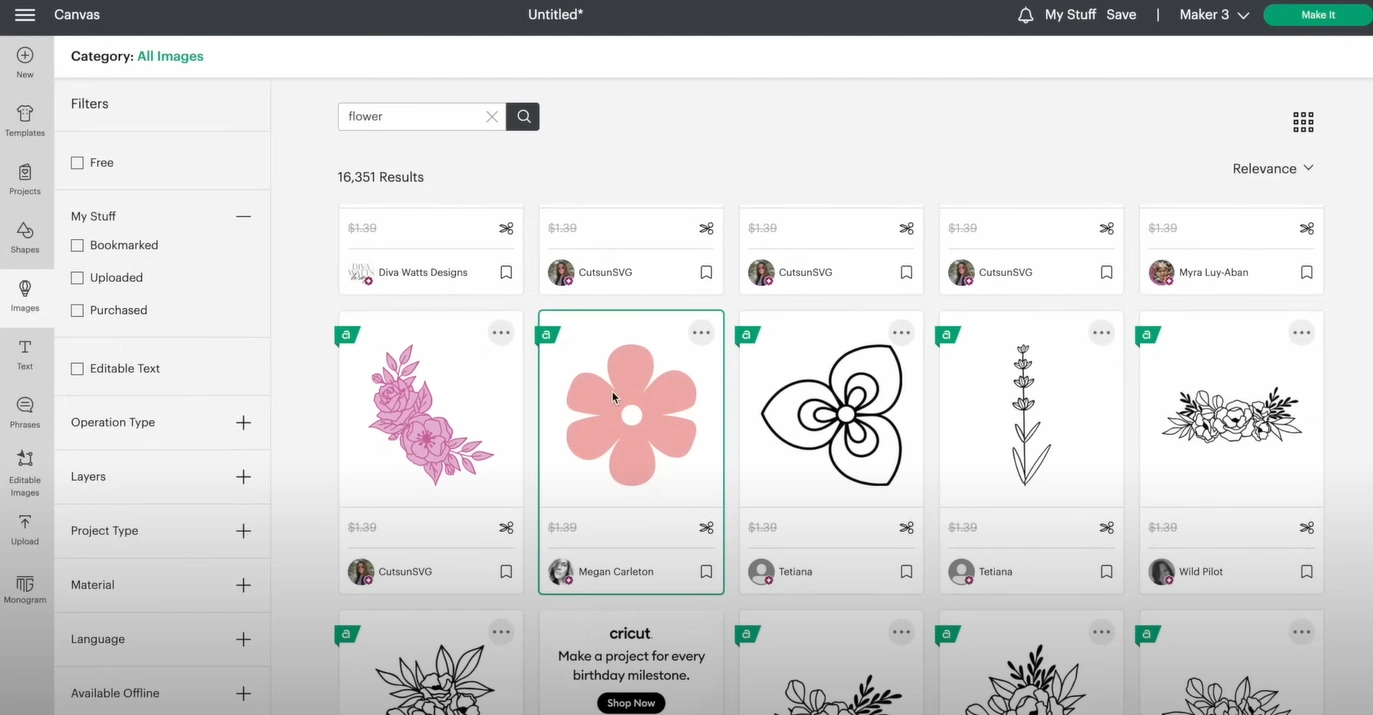
Step 7: For example, search “flower,” and you will see many options.
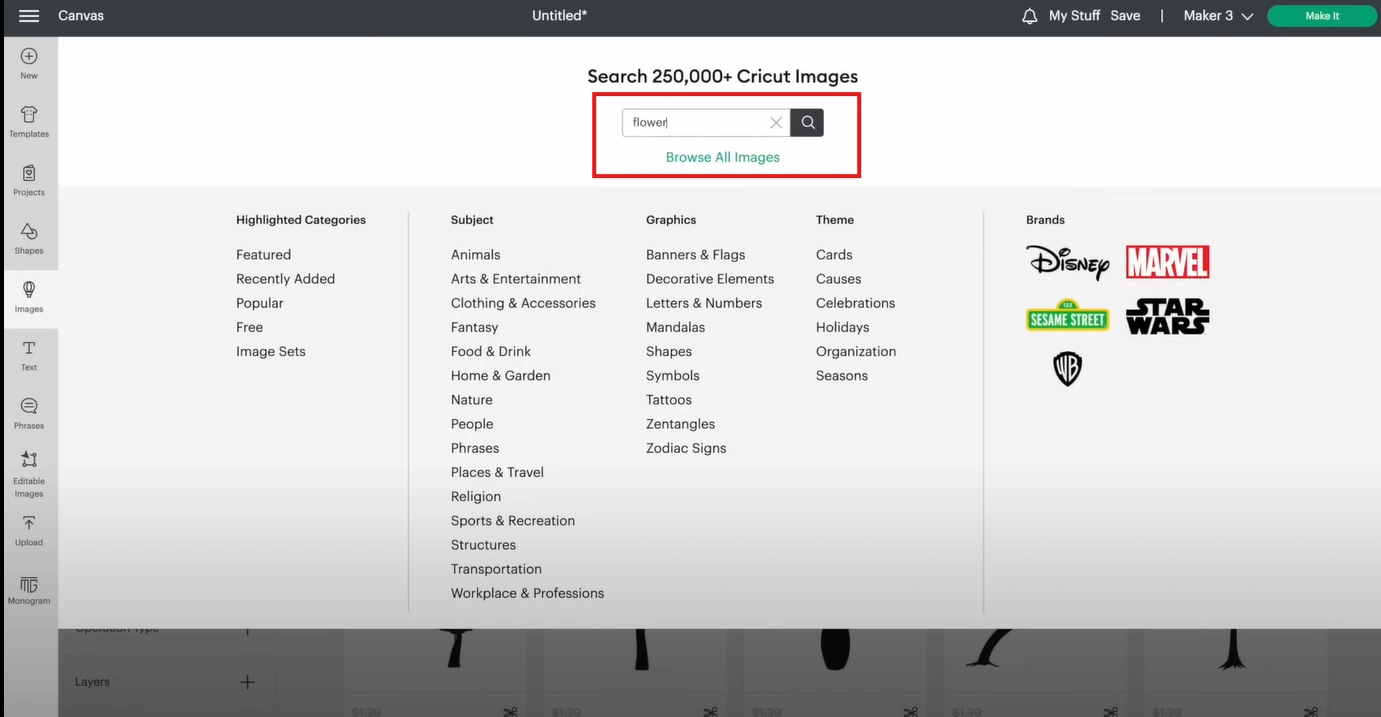
Step 8: Click on any of your preferred images and click Add to Canvas.
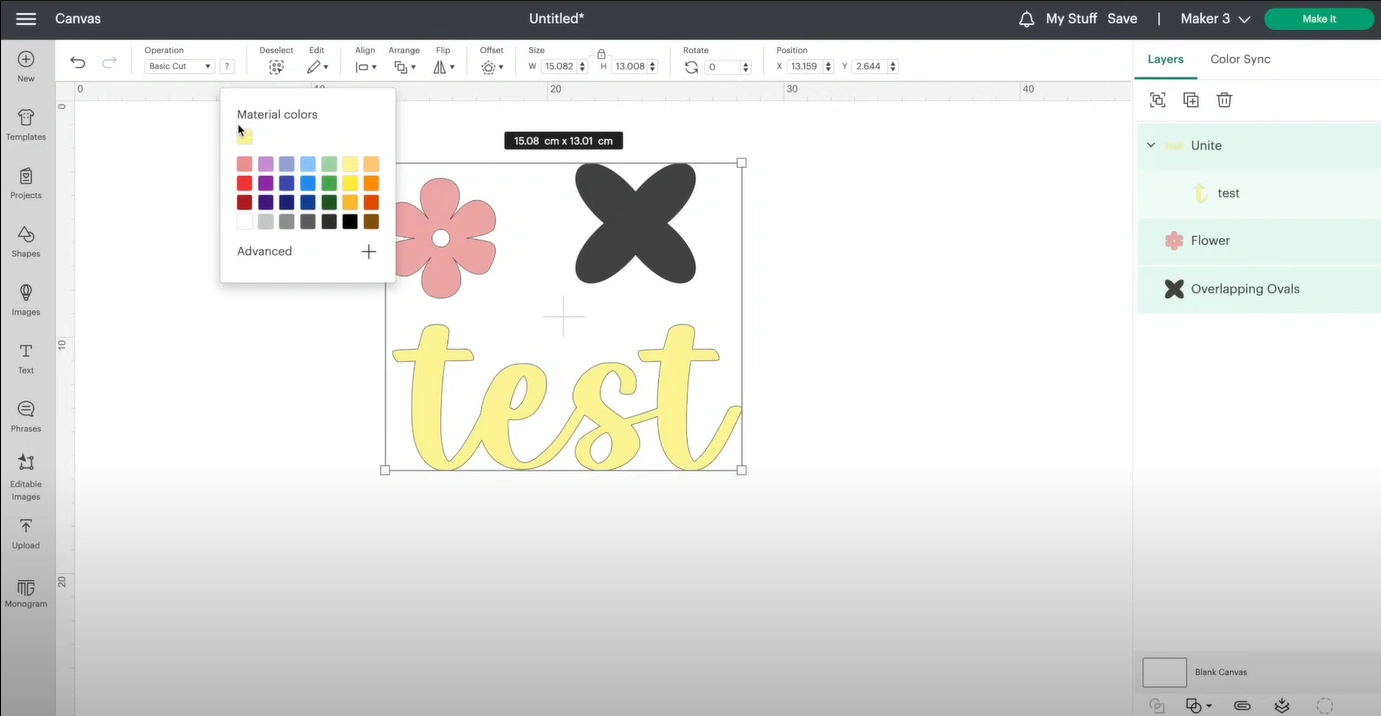
Step 9: Choose the color for the shapes on the canvas. Highlight both the shapes and change the color.
Step 10: Click Make It at the top right corner after that. Now you are ready to cut.
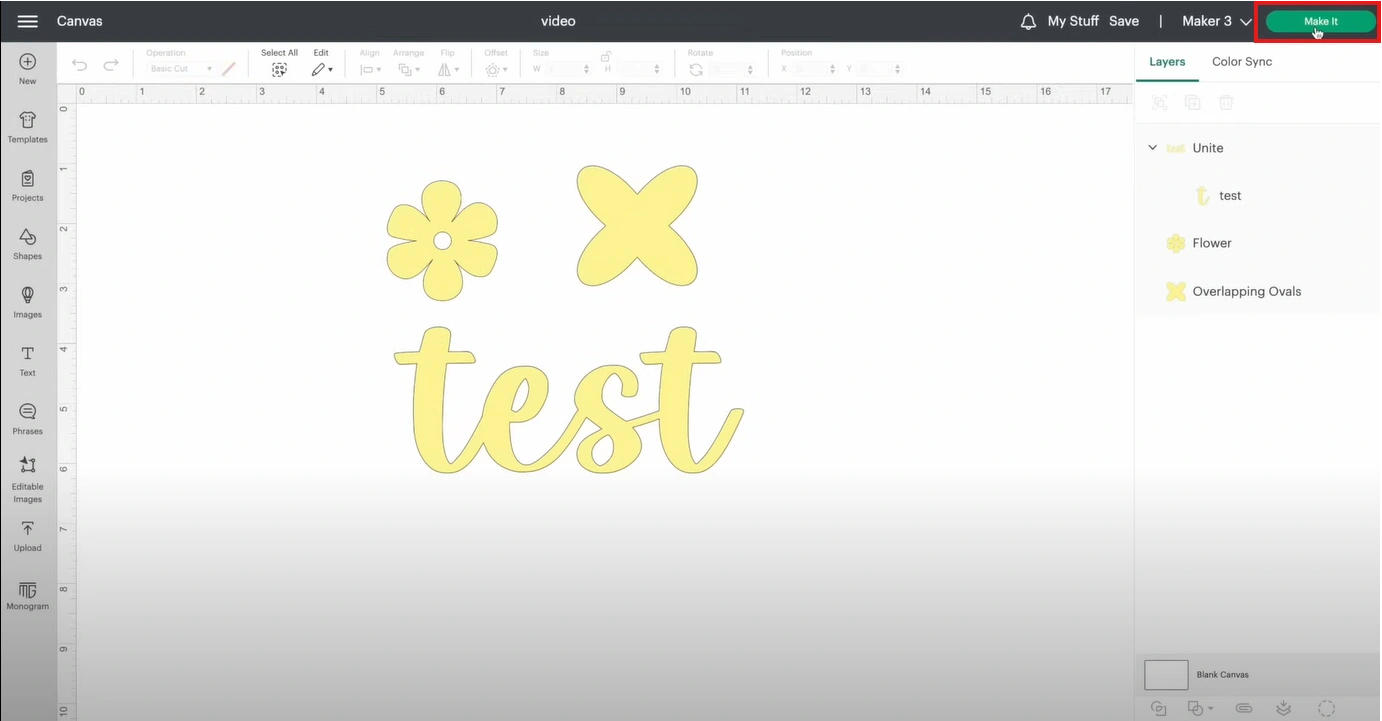
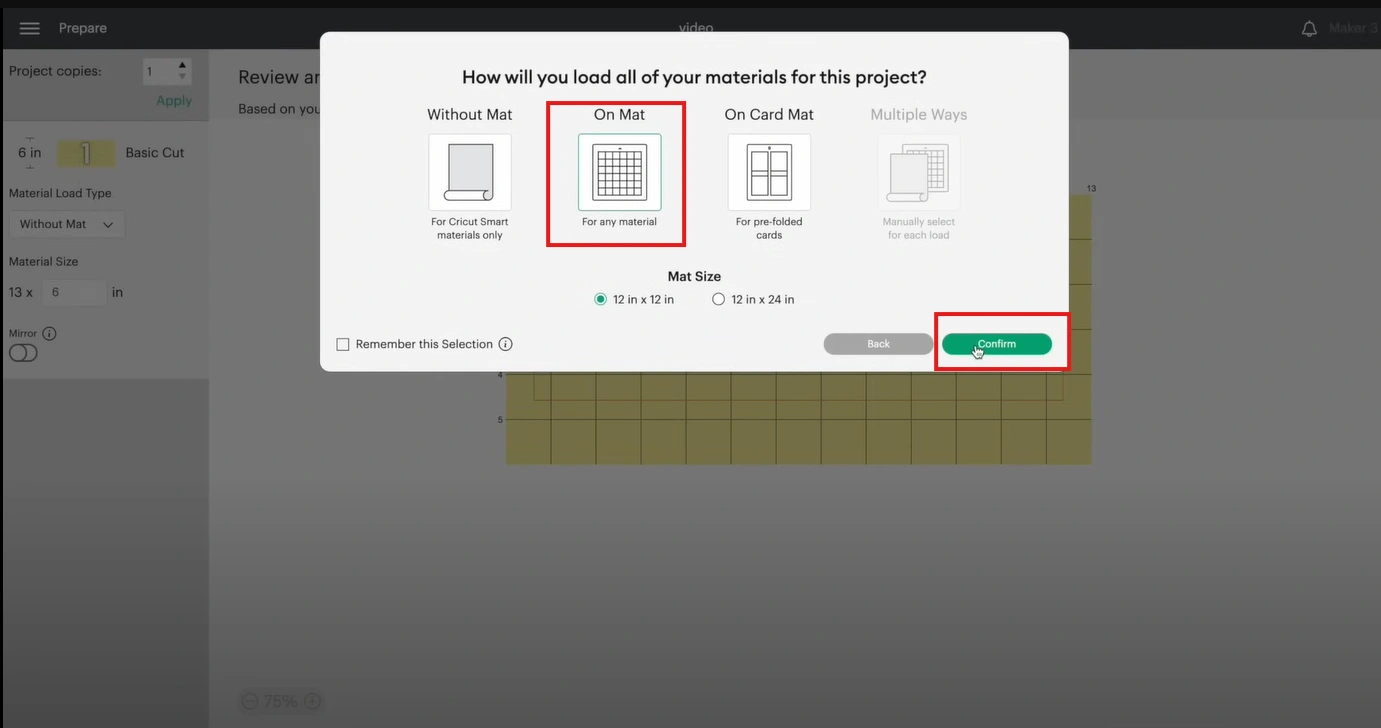
Step 11: Select On Mat and click Confirm.
Also Read:- How to Calibrate Cricut Maker 3
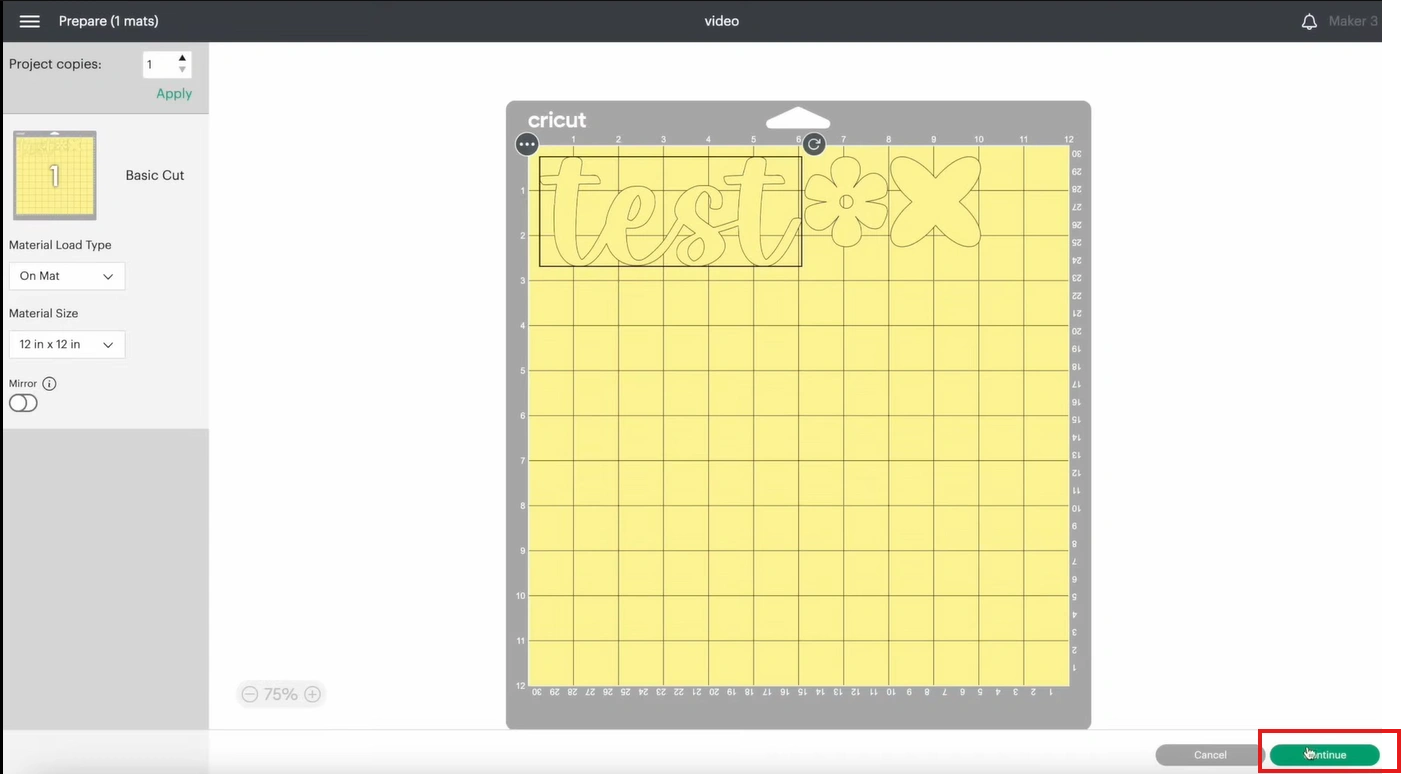
Step 12: Next, click Continue.
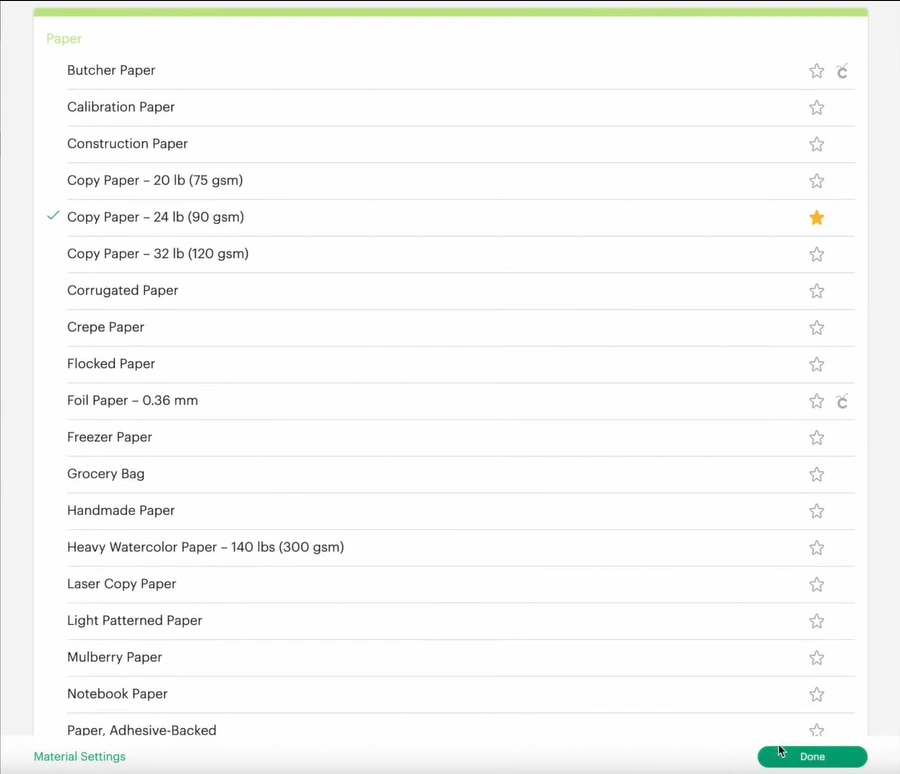
Step 13: Now, you will get a list from where you can select your material.
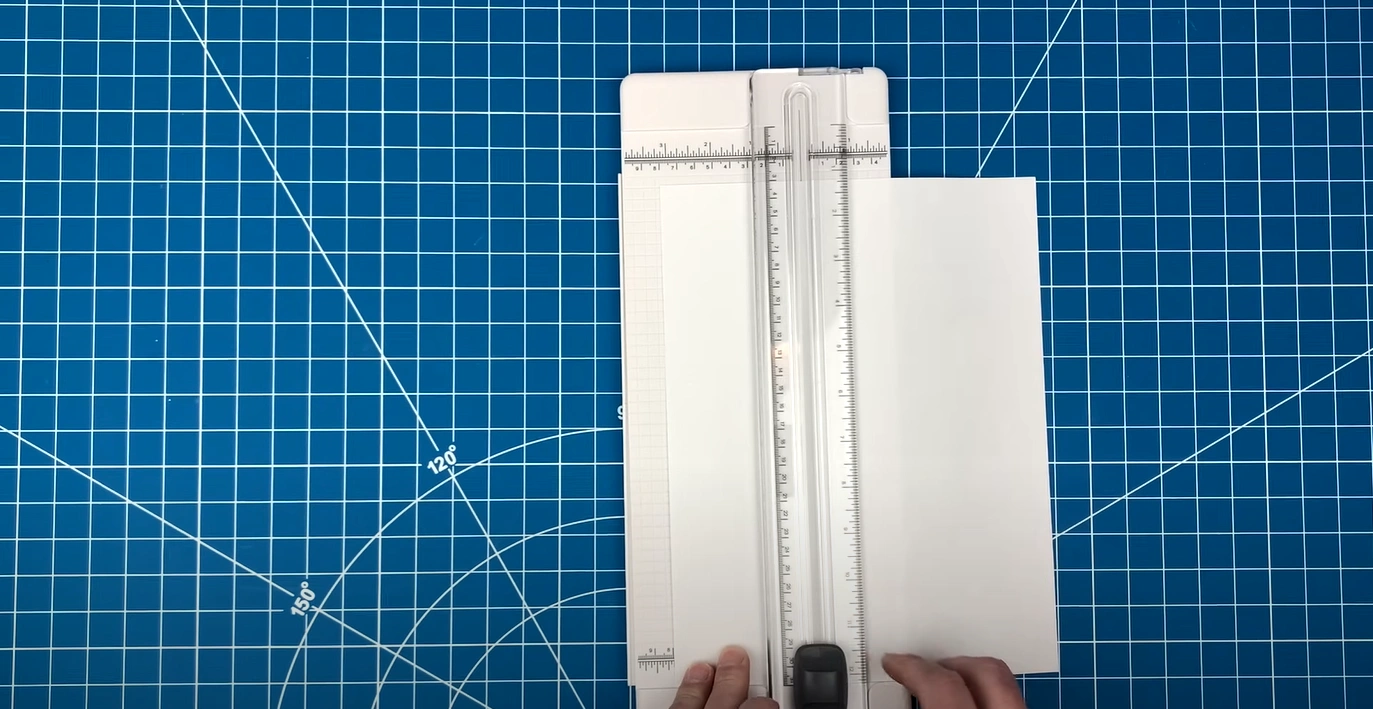
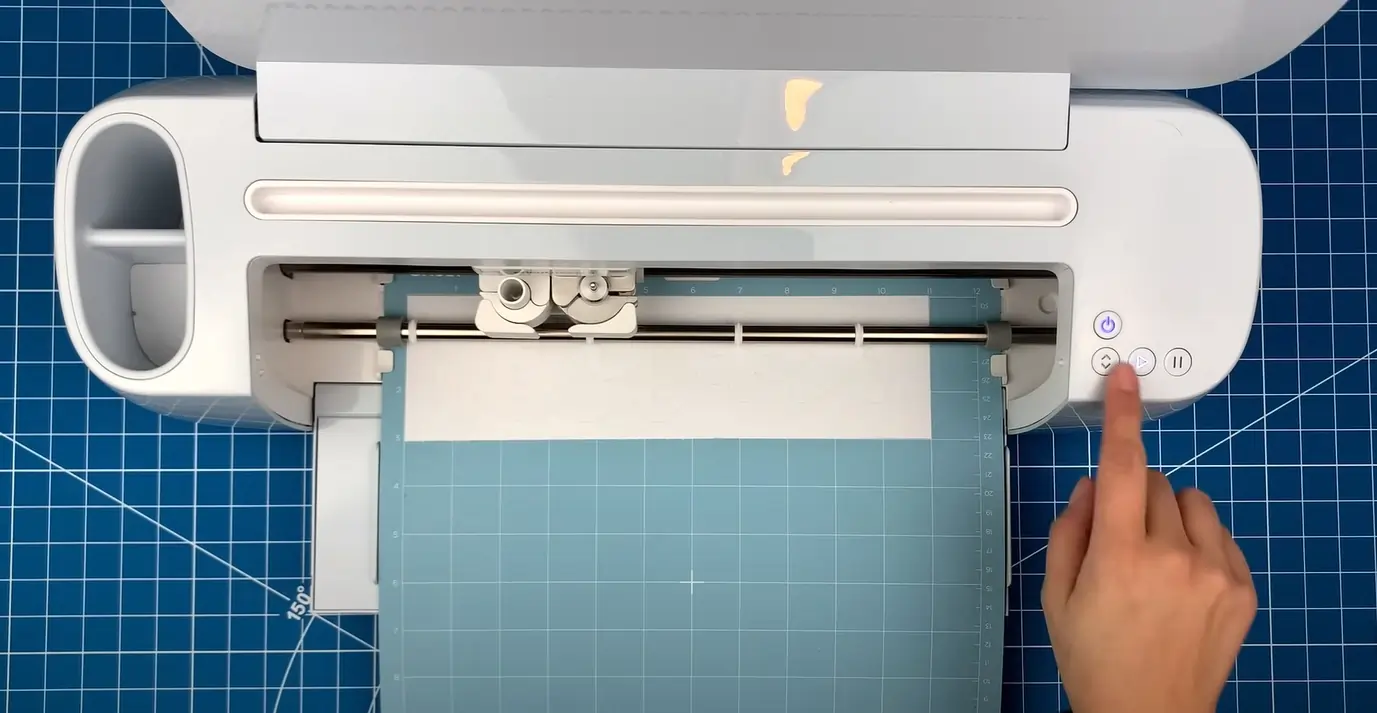
Step 14: Get the blue mat that came with your machine. Line up the paper (cut into 3 inches) to the mat’s top.
Step 15: Insert the mat into the machine. Make sure the edges align under the side guides.
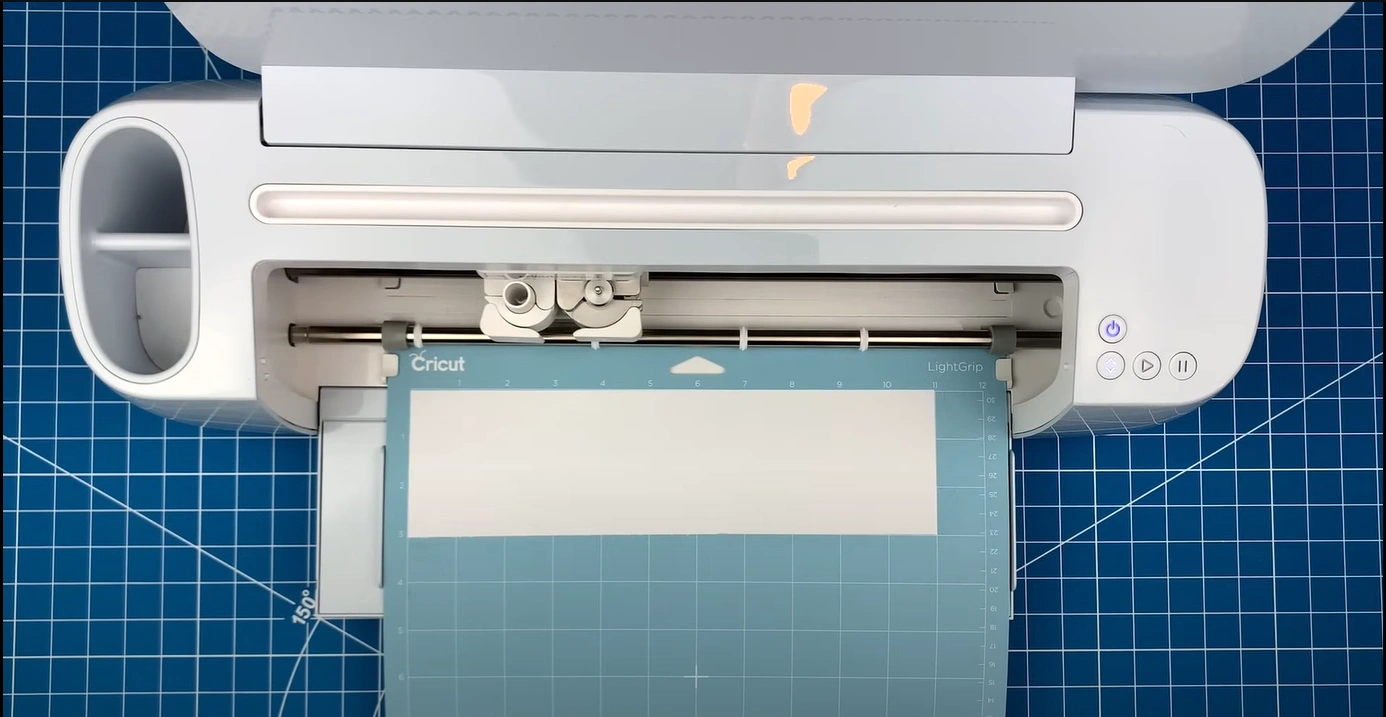
Step 16: Press the blinking “Load” button, and the machine will pull in the mat.
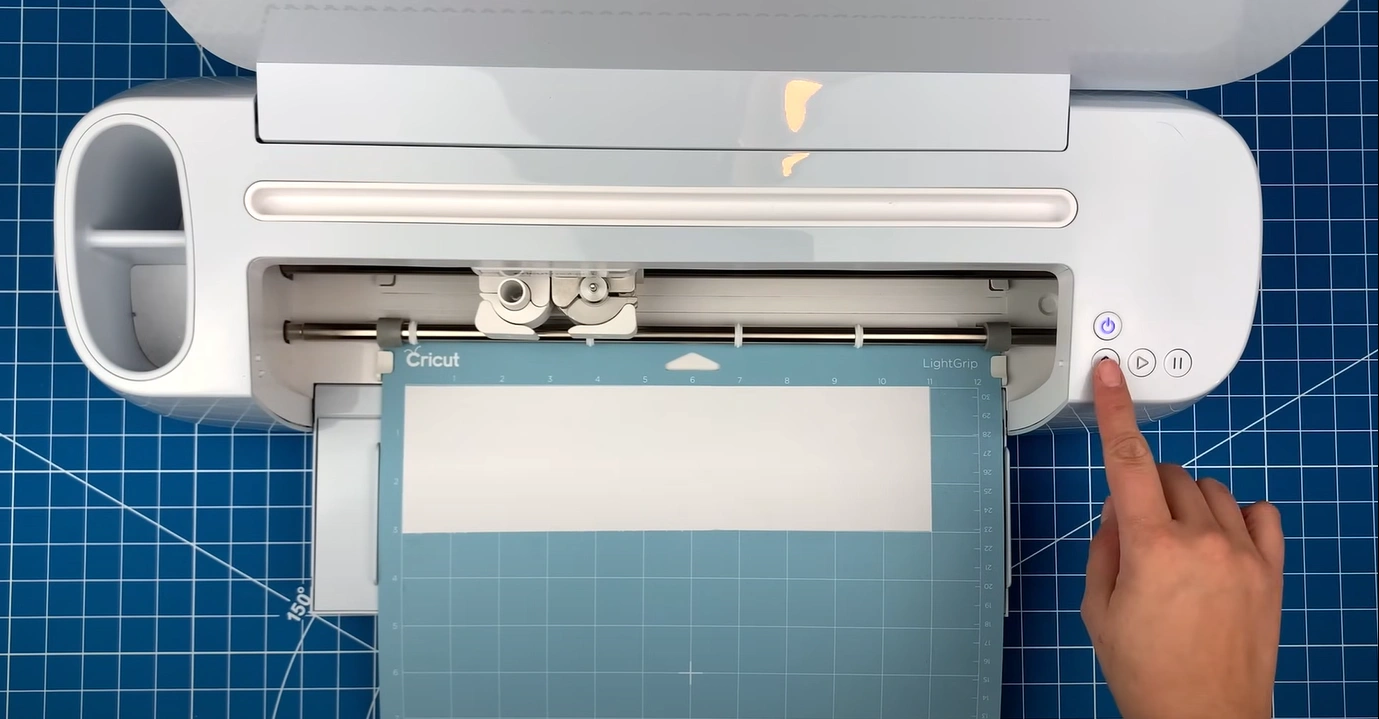
Step 17: It’ll measure the mat length, and the “Cut” button will light up next.
Step 18: As the “Cut” button lights up, press that, and the machine will make the cut.
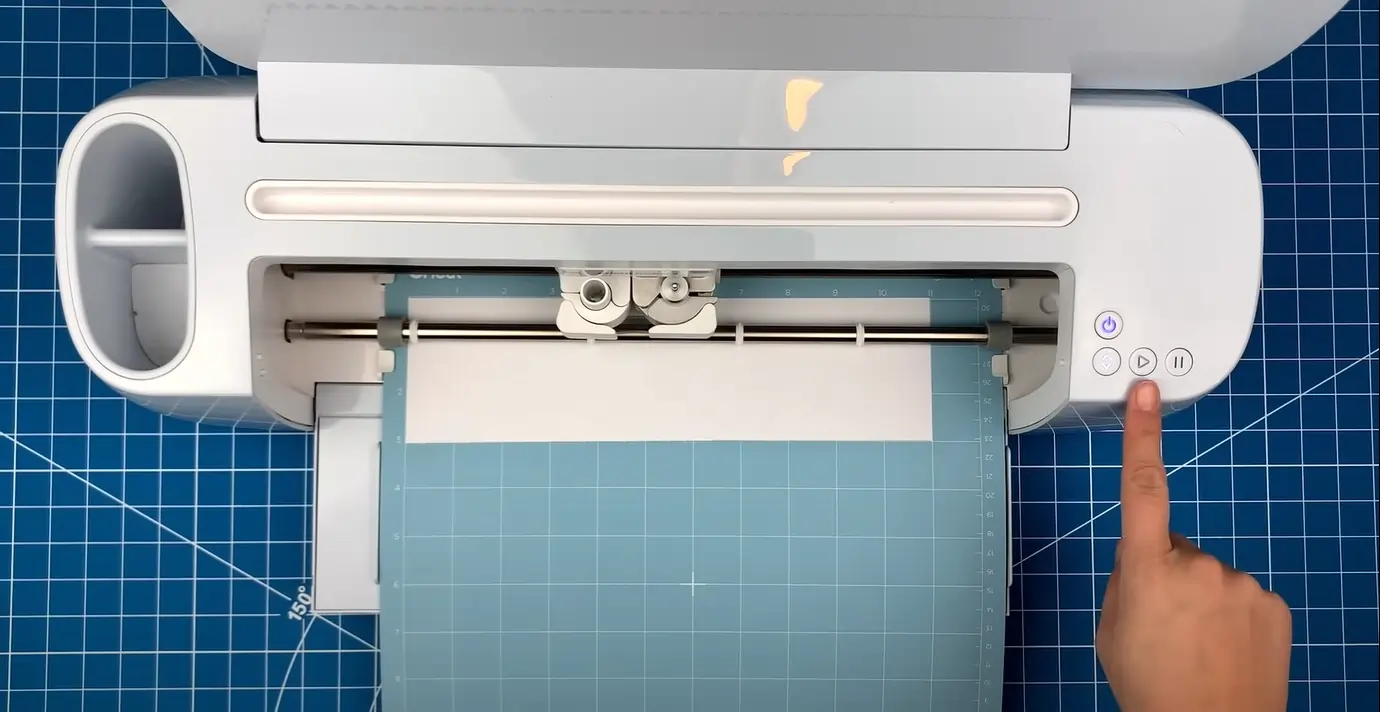
Step 19: Once done, press the Unload button and remove the mat from the machine.
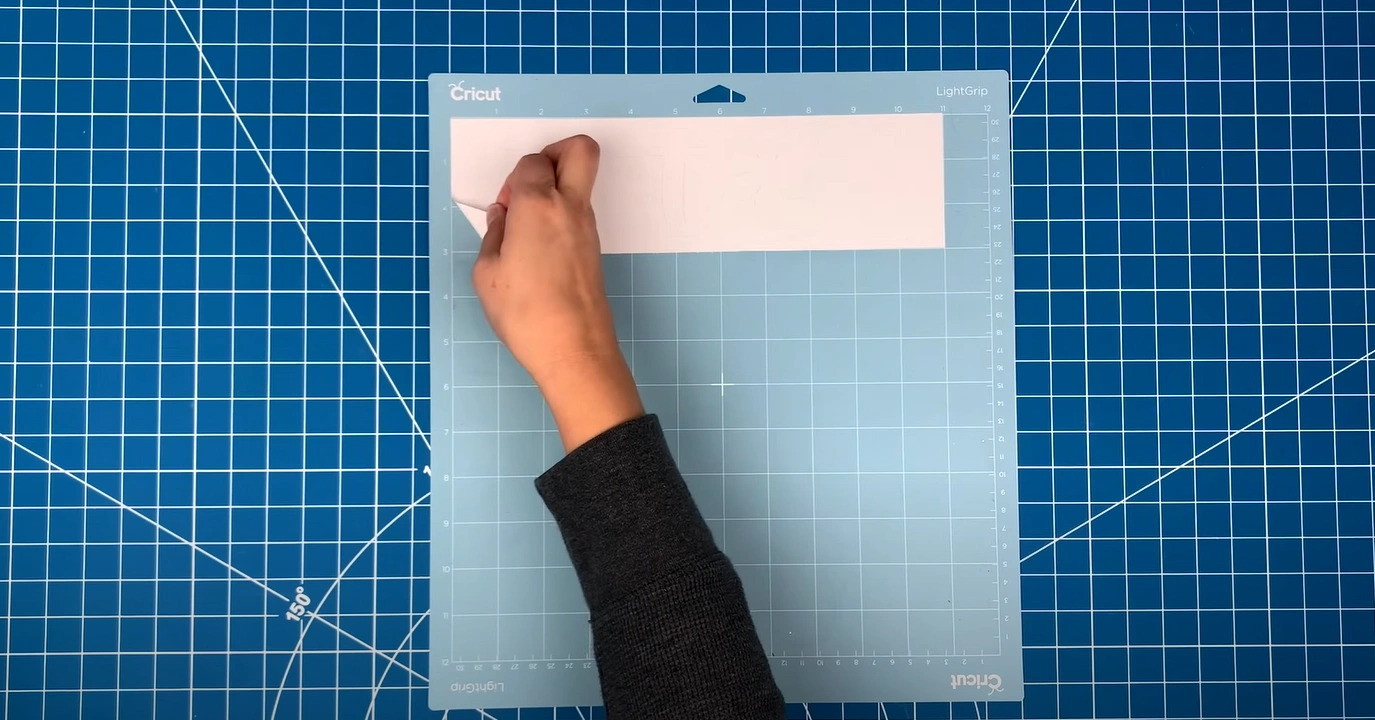
Step 20: Take the paper off the mat. Grab one of the corners and start pulling it up. Ensure you keep the paper flat against the table.
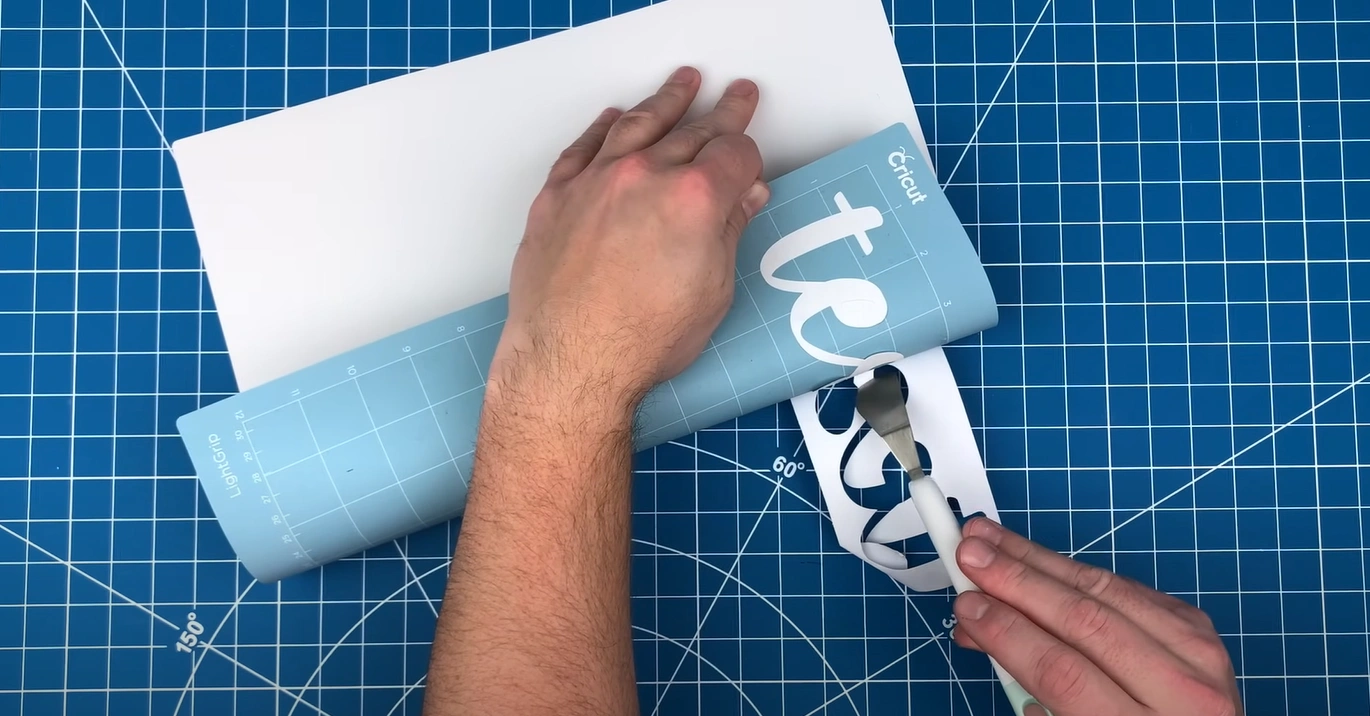
Step 21: If some areas do not come off, you can use the lifter tool you got with the toolkit.
Bottom Line
This concludes our detailed guide on how to use Cricut Maker 3. Set up your machine and start your crafting without any hassle. Follow all the essential steps and tackle the problems that may arise.

