How can you resolve this problem? Here is a guide on troubleshooting the Cricut Explore Air 2 improperly cutting issue. Let us learn more.
Explore Air 2 Not Cutting Properly Issue: Potential Issues
Potential issues may crop up when resolving the problem of Explore Air 2 not cutting properly. A few of them are as follows:
- Material Setting
- Device Compatibility
- Software Update
- Browser Compatibility
Methods to Resolve Explore Air 2 Improper Cutting Issue
Check out the ideal methods for fixing the Cricut Explore Air 2 not cutting properly issue:
Method 1: Check Material Settings
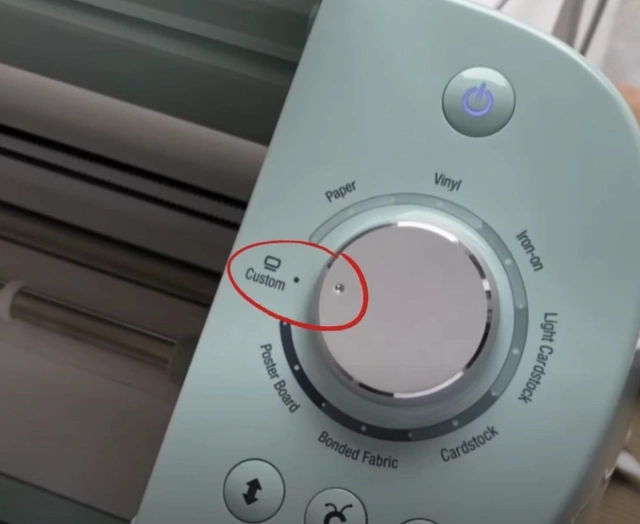
Step 1: First, ensure that the material settings you have selected in Smart Set Dial match the settings in Design Space.
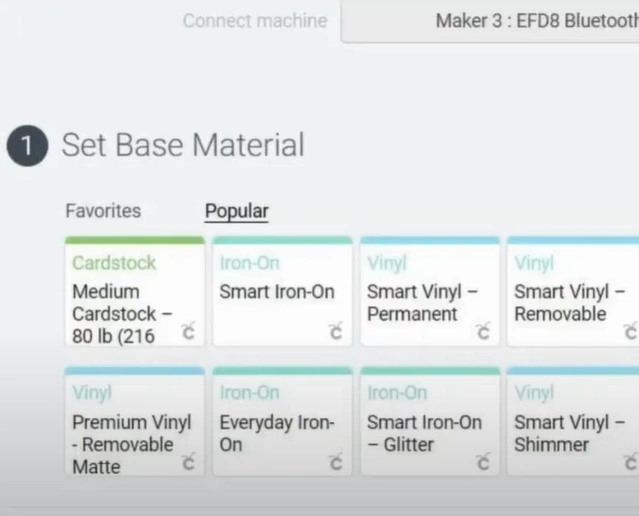
Step 2: If the dial is set to Custom, ensure you have selected the right material on Design Space.
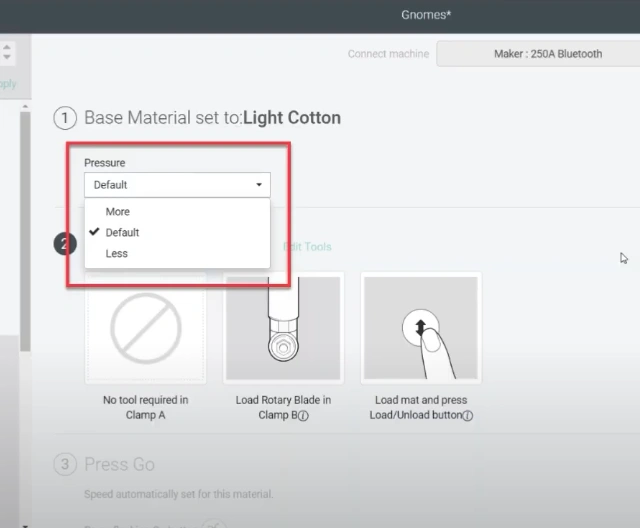
Step 3: Next, check the Pressure settings.
Method 2: Check the Blade
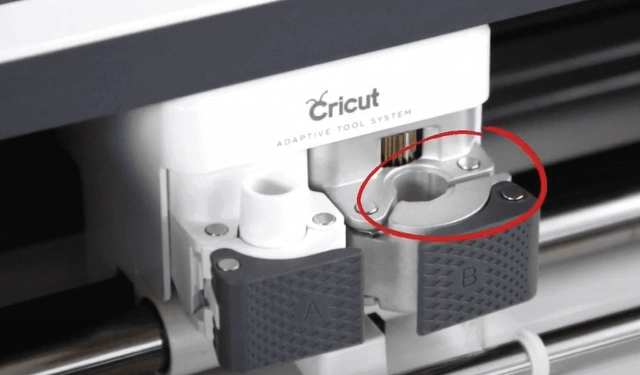
Step 1: Open the blade clamp and remove it from the housing.
Step 2: Ensure that you are using a Cricut brand blade.
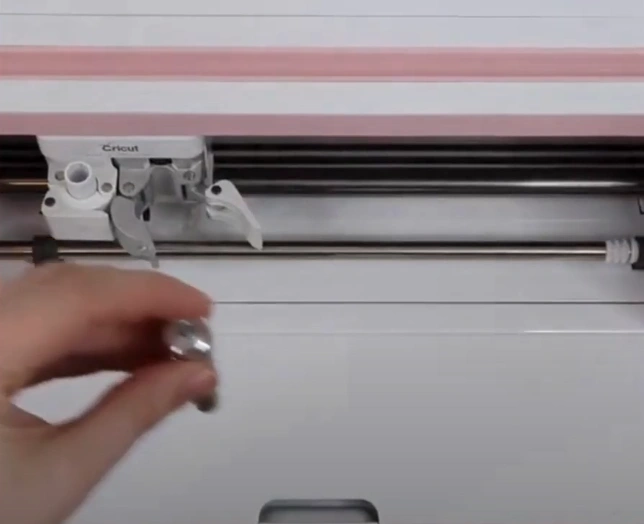
Step 3: Push the plunger on the top and check if the blade requires cleaning.
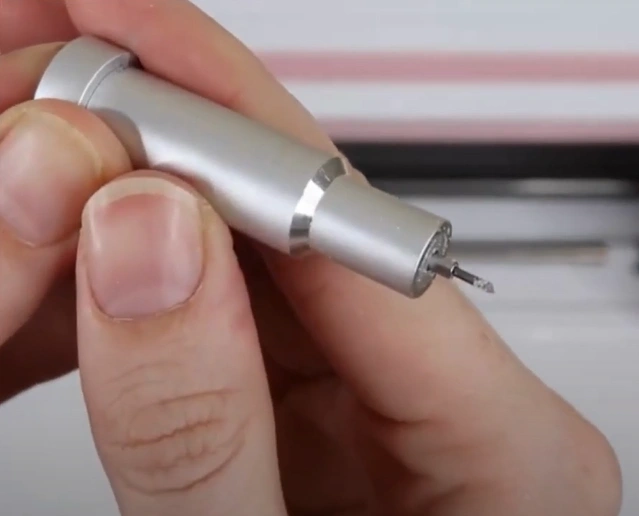
Step 4: Roll up a ball of aluminum foil, push the plunger, and stick the blade in a few times.
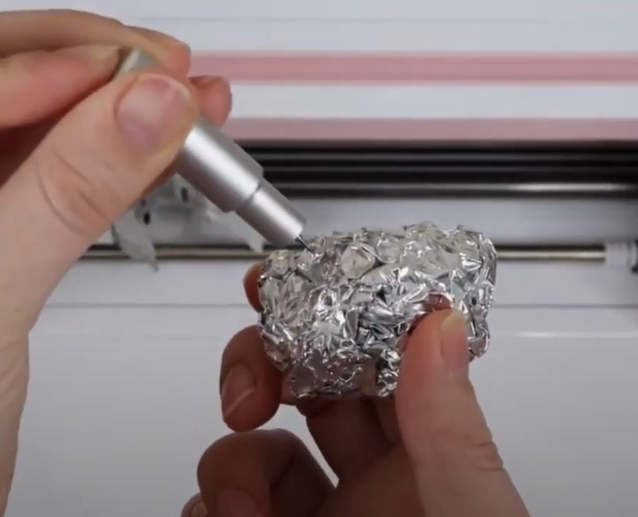
Step 5: This will not only clean the blade but also sharpen it.
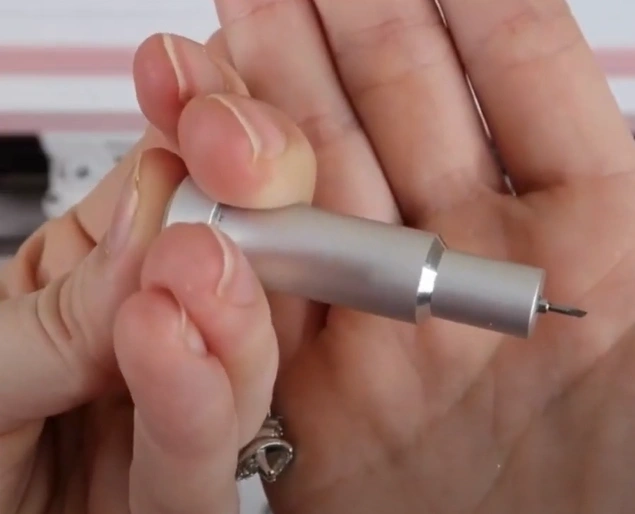
Step 6: Once done, insert the blade back into the housing.
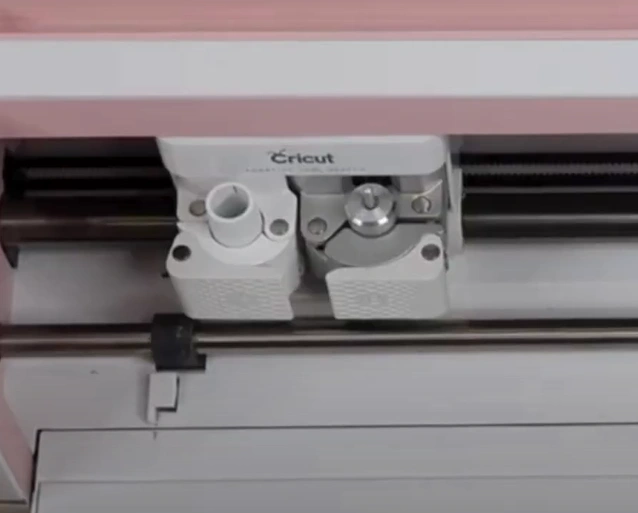
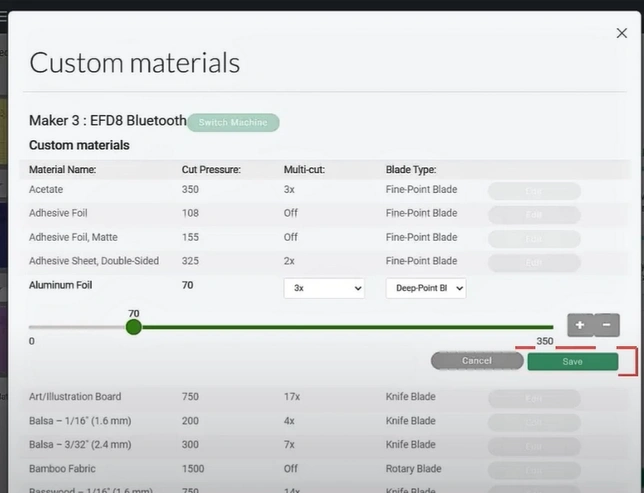
Method 3: Check Custom Material Settings Pressure
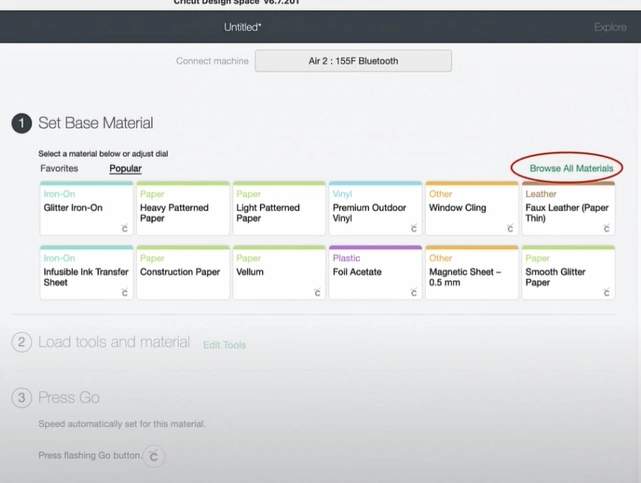
Step 1: Go to the Base Material Settings page and click Browse All Materials.
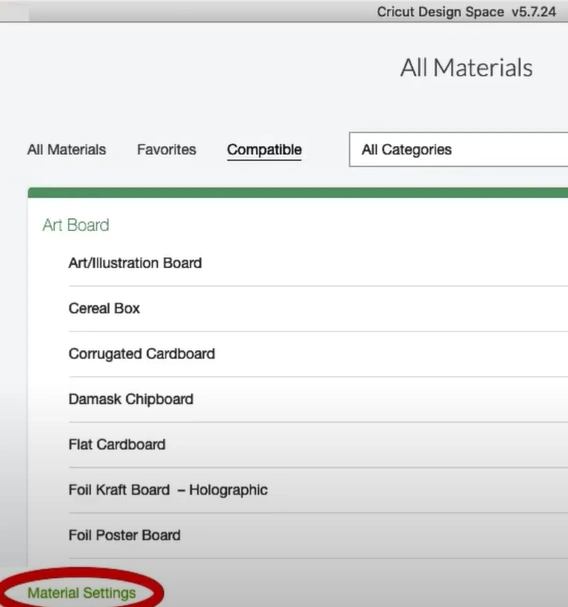
Step 2: Click Material Settings.
Step 3: Scroll and click Edit next to your cutting material.
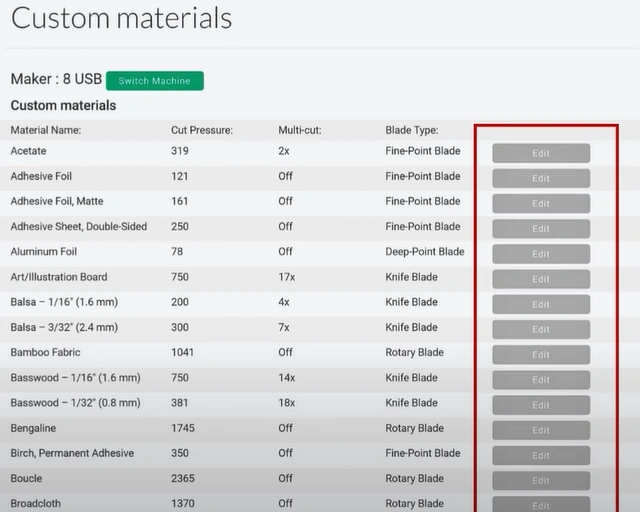
Step 4: Increase the pressure and click Save.
In Closure
Improper cutting in Explore Air 2 may obstruct the overall cutting process. Don’t fret; follow the above steps to ensure hassle-free crafting. Potential issues, such as browser compatibility, or software updates, may also occur when troubleshooting.
Contact a professional if you still cannot resolve the “Cricut Explore Air 2 not cutting properly issue.”


