
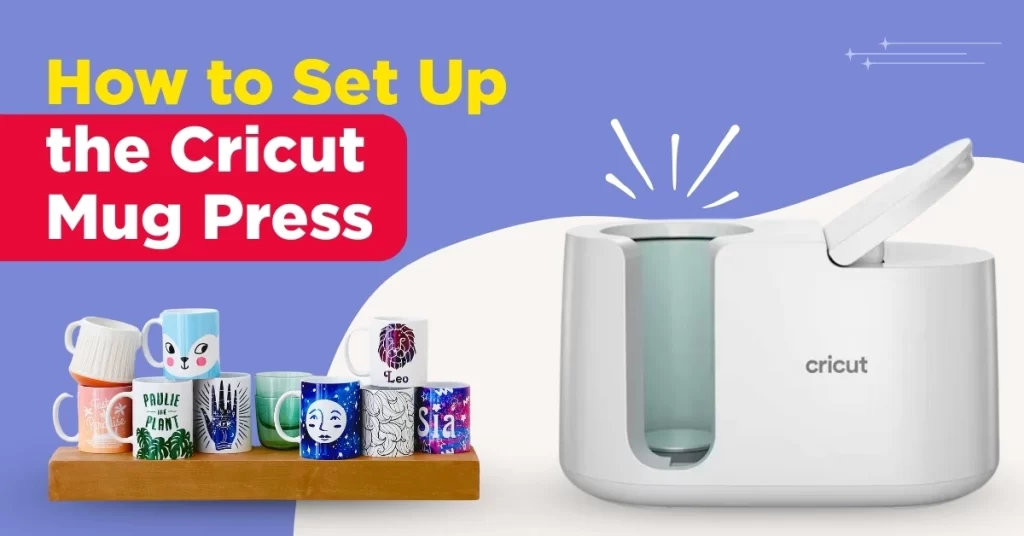
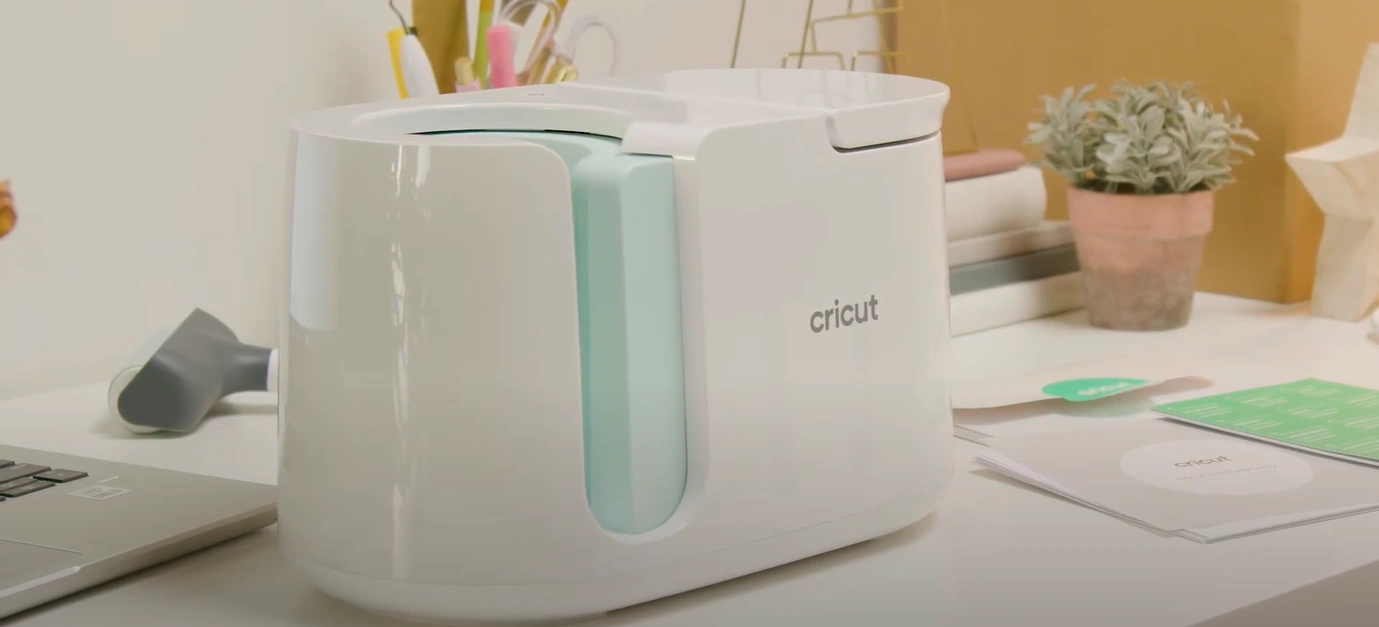
Whether you are just starting out or are an experienced crafter, the Cricut Mug Press makes personalizing mugs simple and enjoyable. You do not need to be an expert to create stunning designs with this Cricut machine.
Before using the Cricut Mug Press for your project, it’s important to set up the machine. The setup process is straightforward and uncomplicated. It’s just a matter of a few easy steps, which we will mention below. Continue reading to learn more in detail.
Common Issues When Setting Up the Cricut Mug Press
As you try to set up your all-new Cricut Mug Press, you may encounter several complications. Here are a few of them:
- The machine doesn’t power on
- Firmware update stopped or failed
- Device not recognized by Design Space
- The machine doesn’t heat properly
The Process to Set Up the Cricut Mug Press
Setting up the Cricut machine is not a demanding process. You just need to remember the following steps:
Step 1: The first step is to unbox the machine.
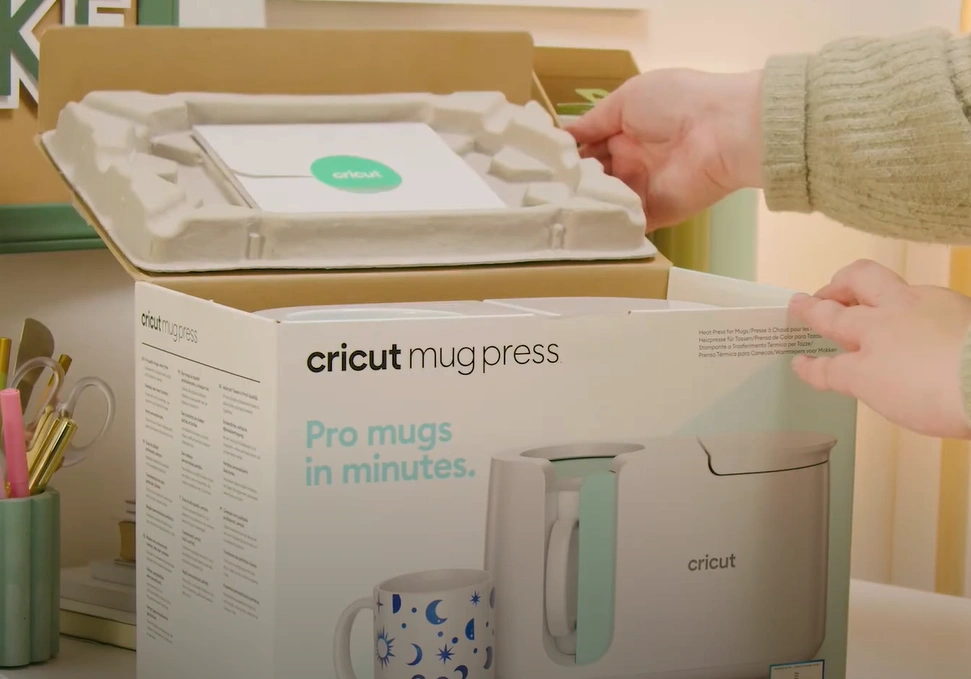
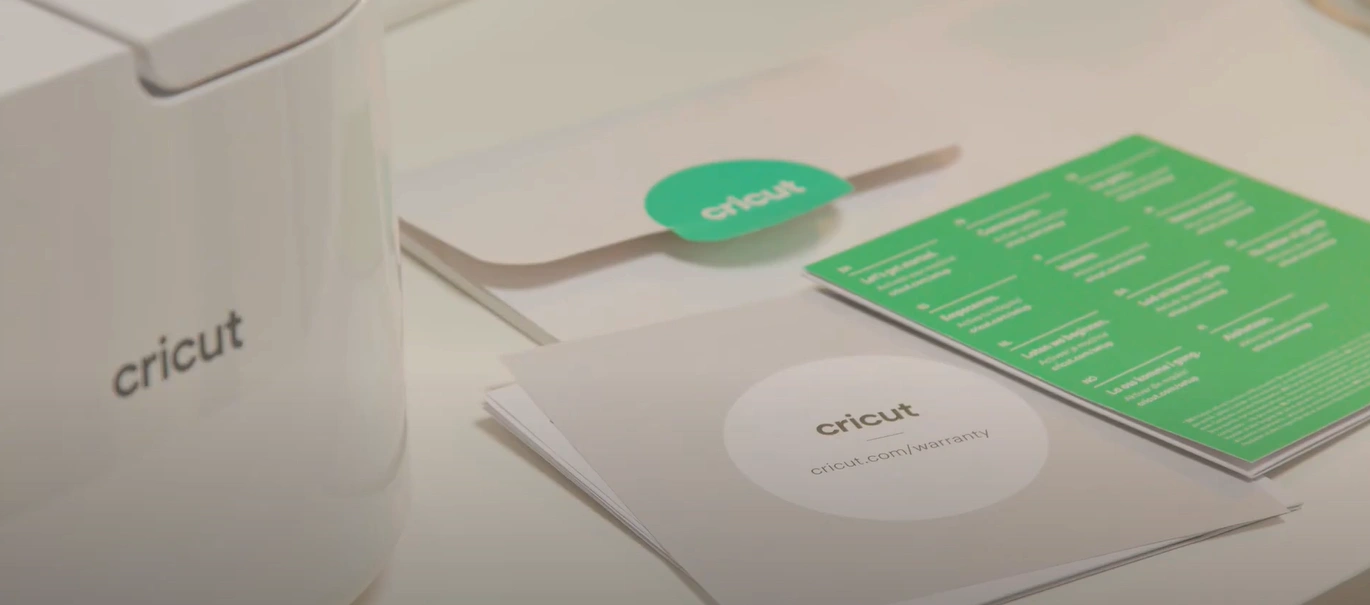
Step 2: Inside the box, you’ll find a setup guide, warranty information, a power cable, a USB cable, and the machine itself.
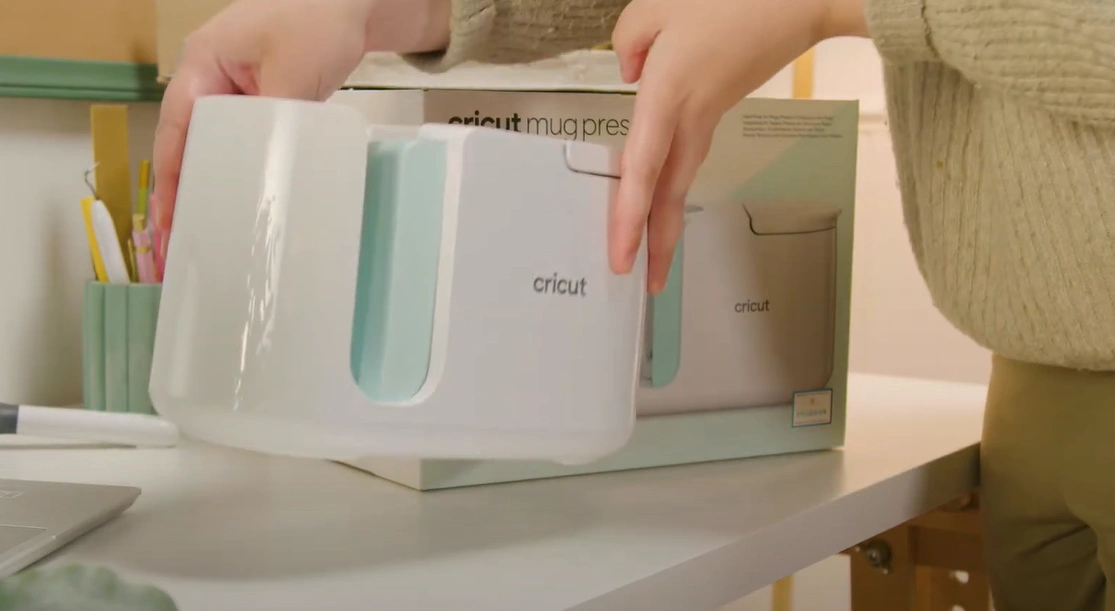
Step 3: Carefully take out the Mug Press from the box.
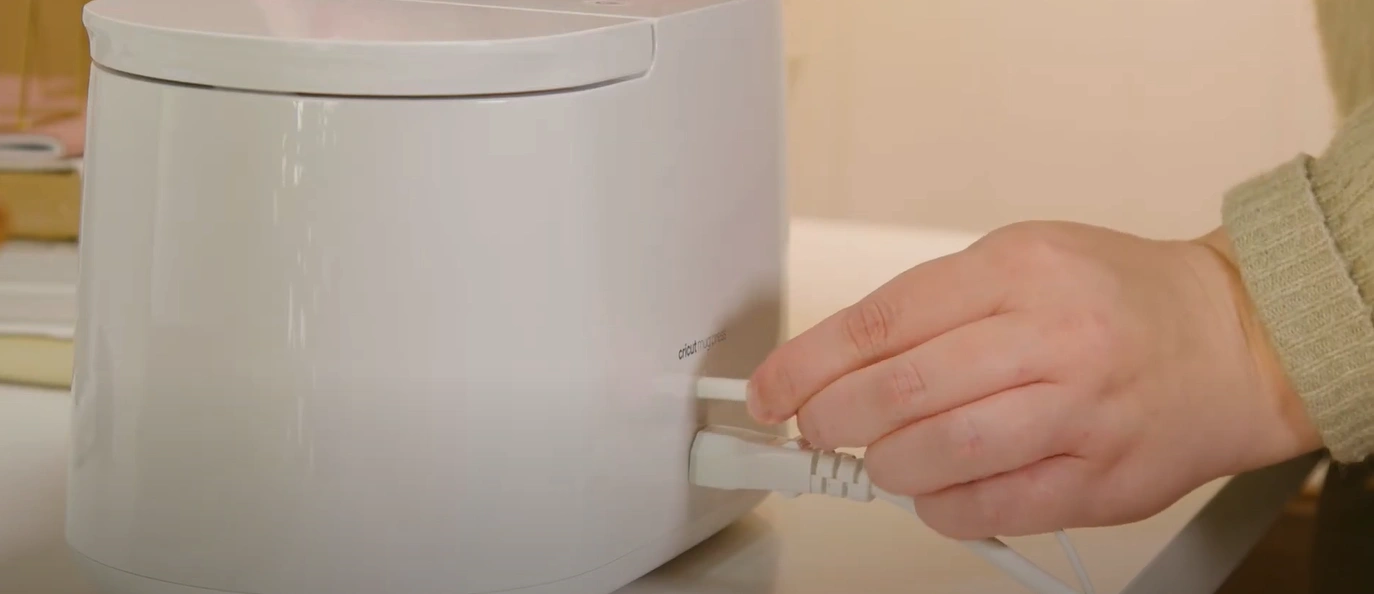
Step 4: Insert the power cable into the back of the machine.

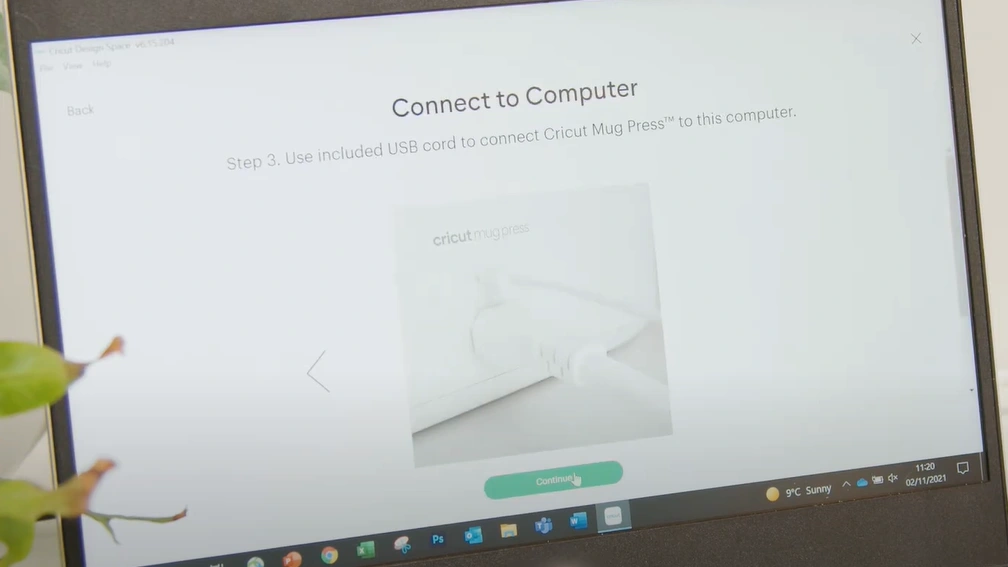
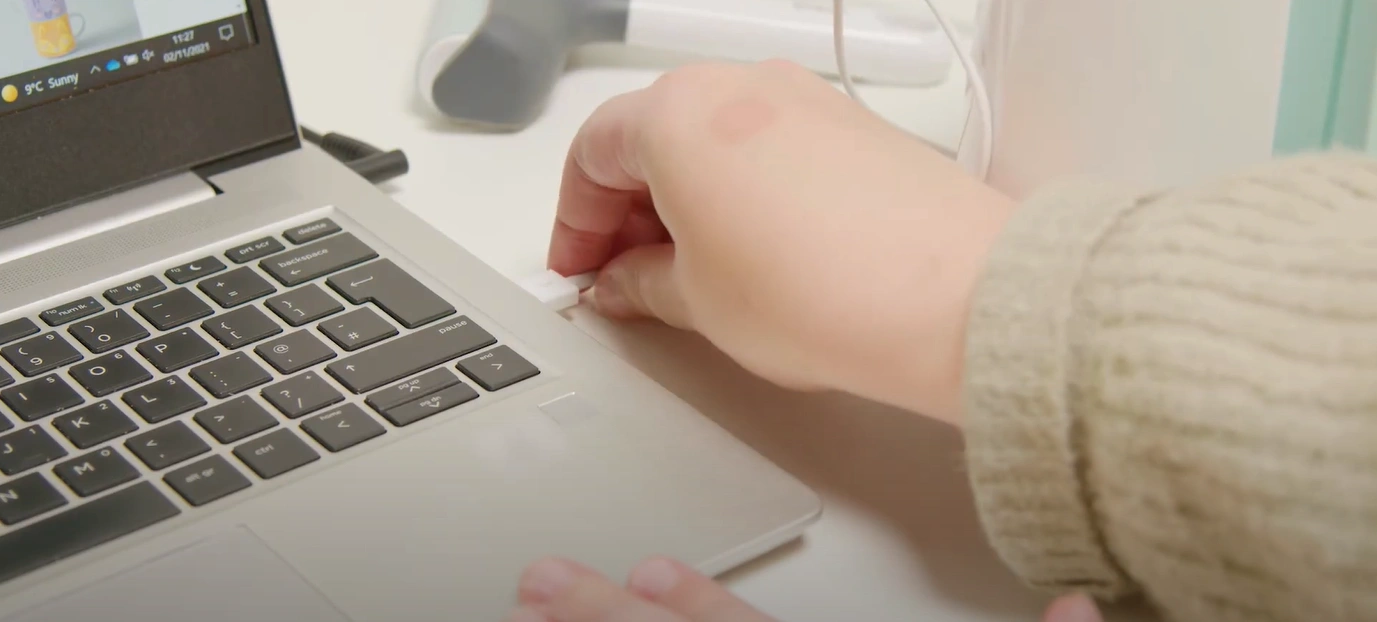
Step 5: After that, plug in the USB cable, securing one end at the back of the machine and the other end into your device (laptop or desktop).
Also Read:- How to Make Stickers With Cricut Explore Air 2?
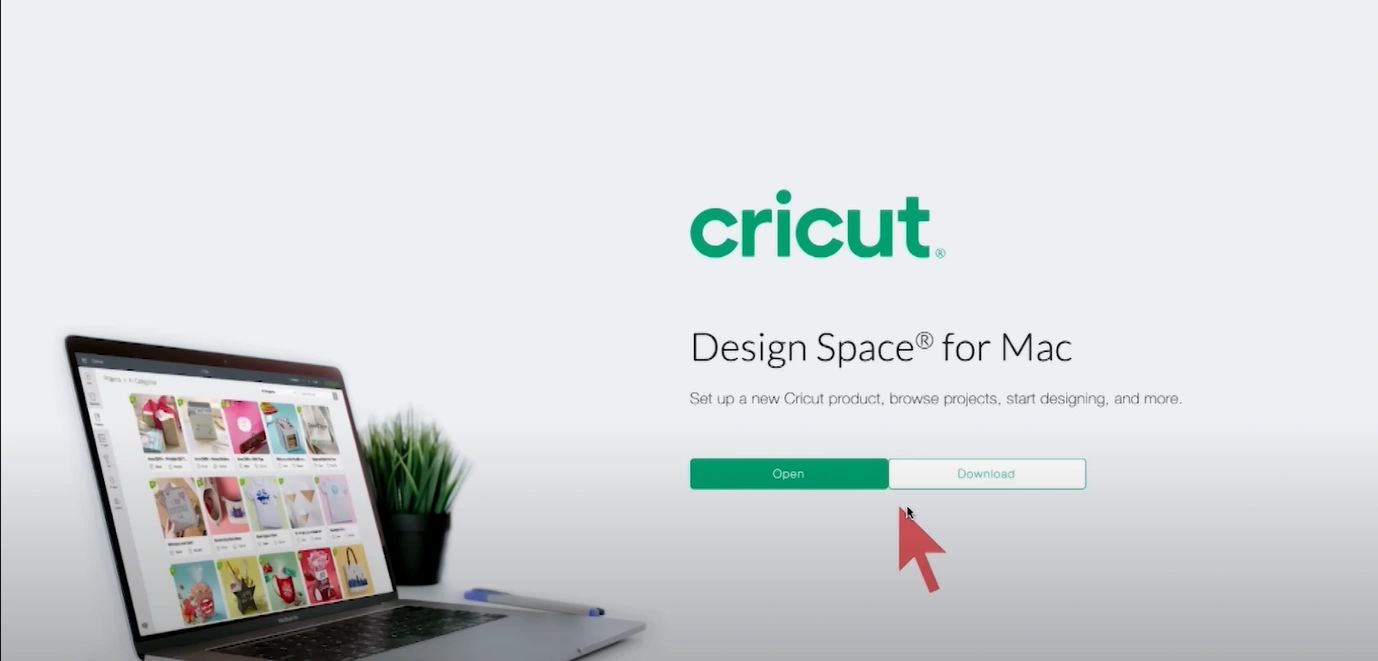
Step 6: Open Design Space on your device.
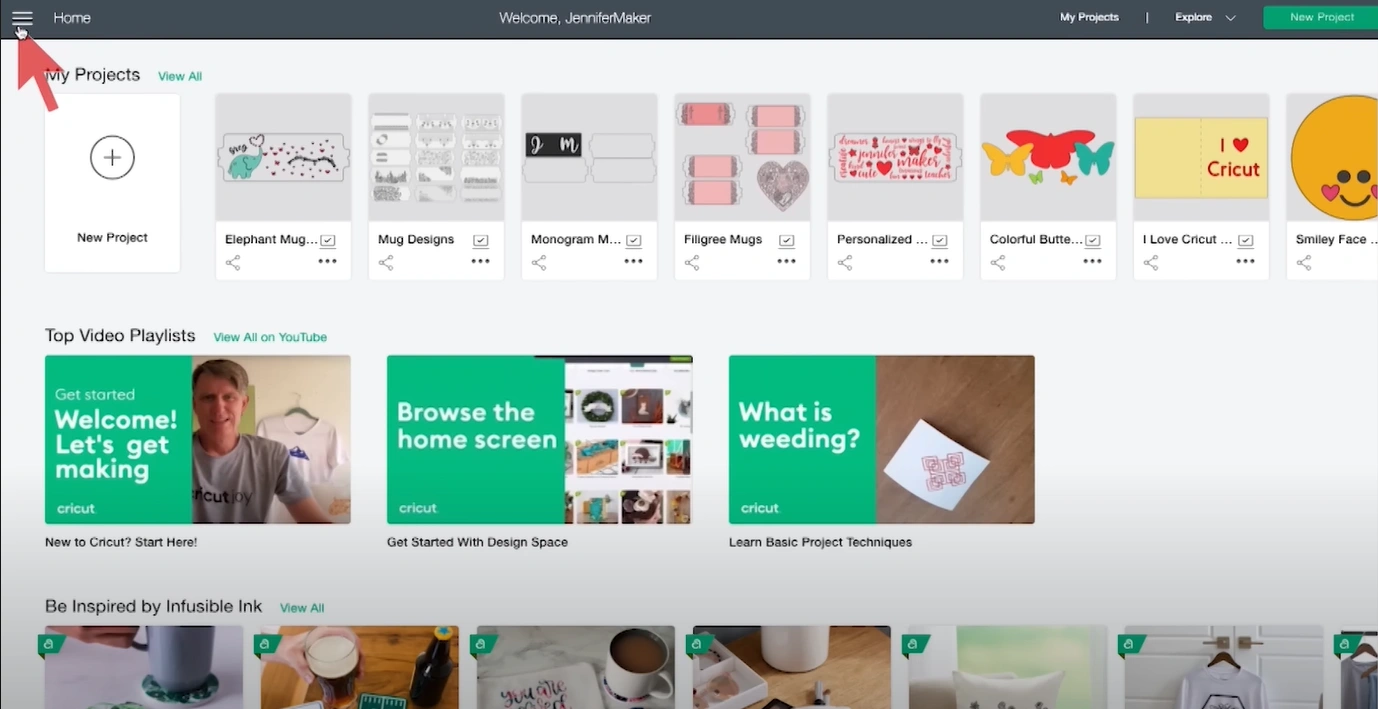
Step 7: Navigate to the side menu.
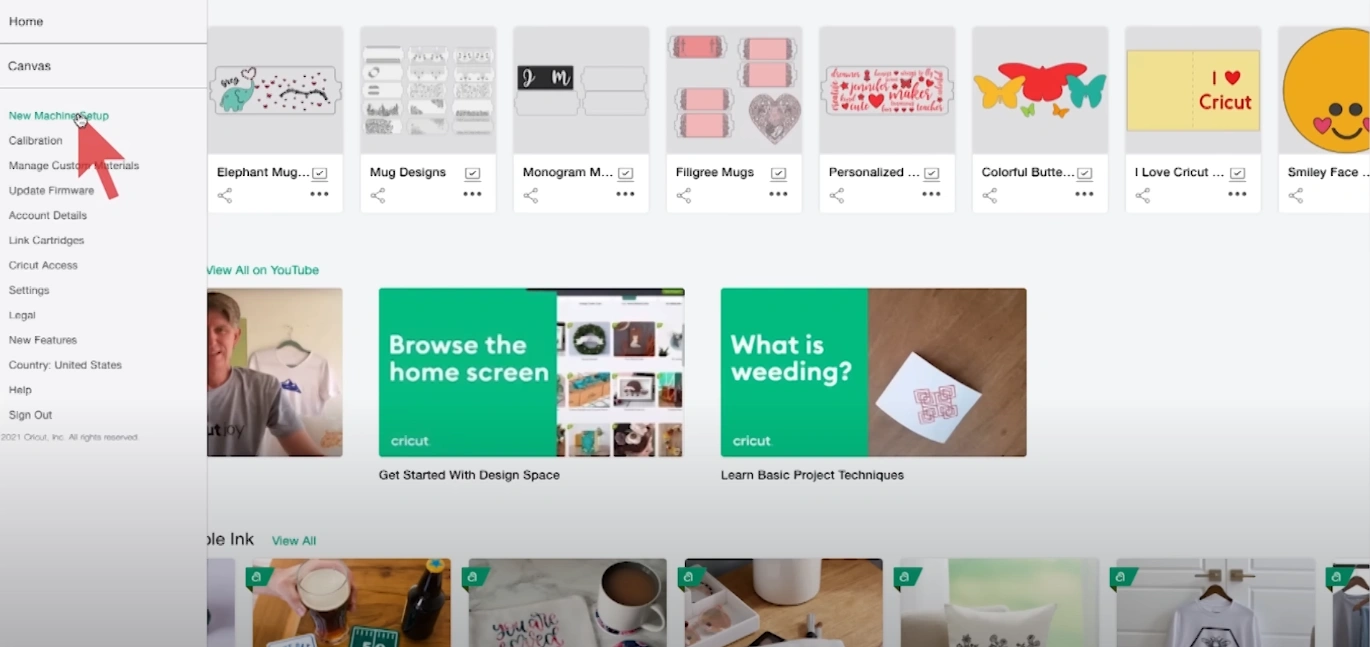
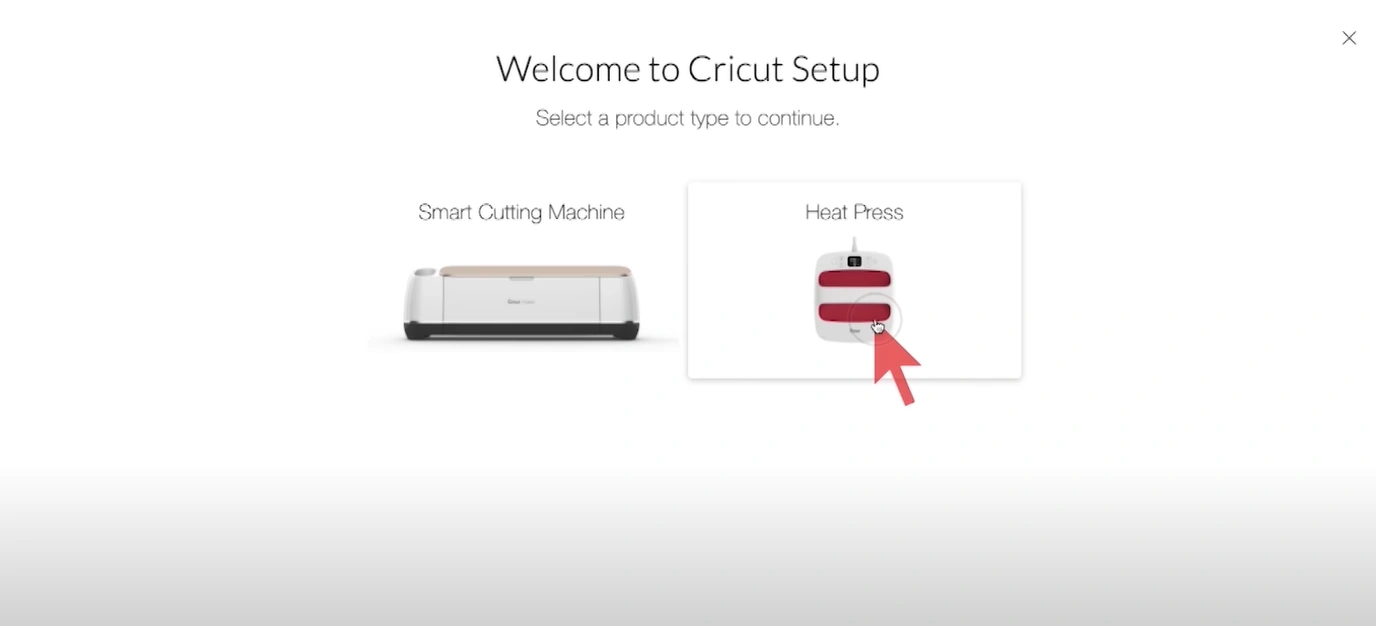
Step 8: Click “New Product Setup.”
Step 9: Select Heat Press.
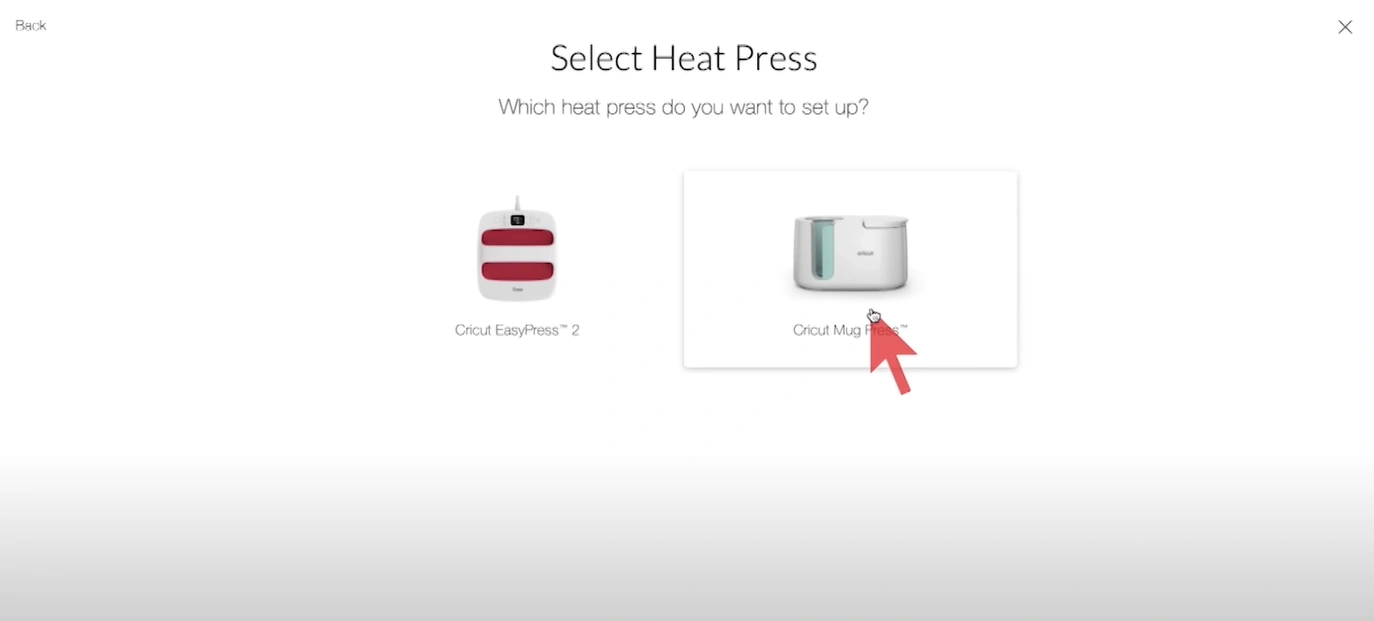
Step 10: Now, select Cricut Mug Press.
Step 11: Follow the on-screen instructions to download and install any firmware updates for your Cricut Mug Press.
Step 12: Once updated, disconnect the USB cable from your device and the Cricut Mug Press.
Step 13: Your Cricut Mug Press is now ready to use.
Bottom Line
Once you’ve successfully set up your Cricut Mug Press, you’ll be all set to create personalized mugs in no time. Turn blank mugs into vibrant, dishwasher-safe designs with Cricut’s Infusible Ink technology.
Remember, for promising outcomes; you must use Cricut-compatible mugs and Infusible Ink. The Cricut Mug Press is made to work with various materials, creating vibrant, long-lasting designs.


