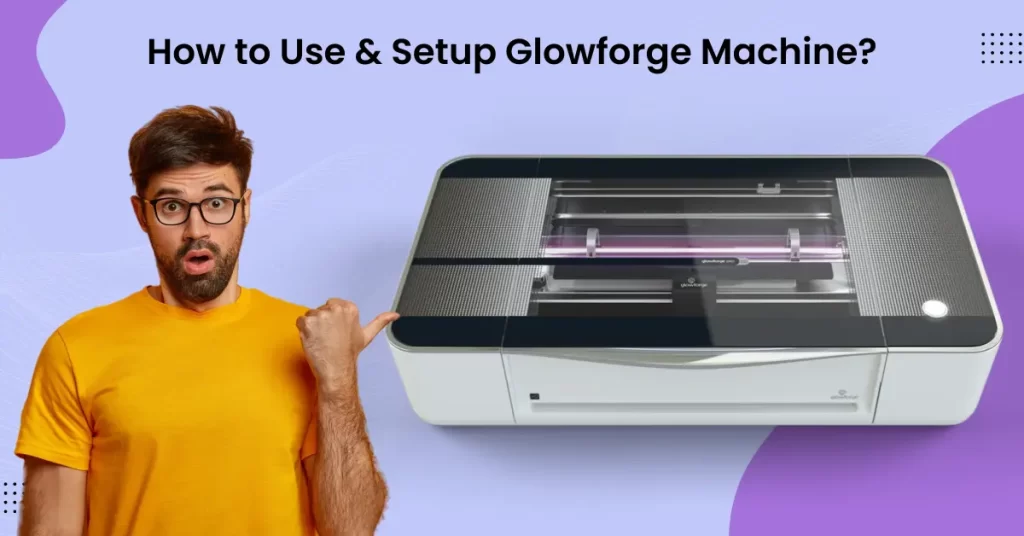
Do you want to get started with Glowforge? Then, you should know some essential tactics for using and setting up this innovative machine. By the end, you will have the knowledge to confidently create, customize, and craft with one of the most advanced laser cutters available.
This step-by-step guide covers everything you need to know about using and setting up a Glowforge machine. Let’s first examine potential problems that may occur during the setup process.
Problems When Setting Up Glowforge Machine
Certain potential problems may arise when using and setting up Glowforge machine. Here are a few of them:
- Power and connectivity issues
- Calibration problems
- Material compatibility problems
- Software glitches
- Print speed settings
Steps For Using and Setting Up Glowforge Machine
Setting up and using a Glowforge laser cutter entails several steps. Adhere to each one carefully to ensure zero hassle throughout the process. The steps go like this:
Step 1: First, remove the packaging and take the machine out of the plastic cover and protective foam nest.
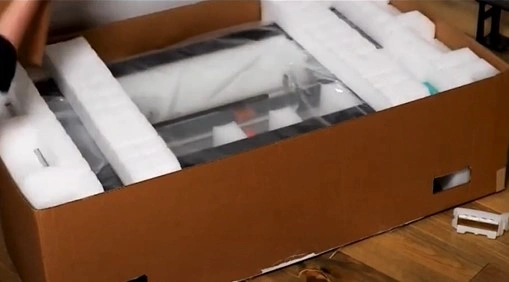
Step 2: Place the Glowforge machine onto a flat surface.
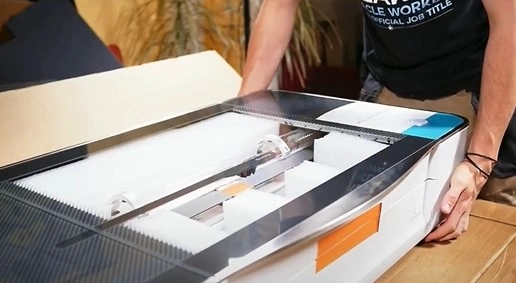
Step 3: Open the lid and lower the front door.
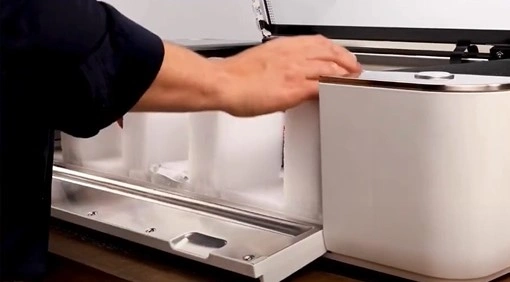
Step 4: Remove the foam block from the front and near the lid.
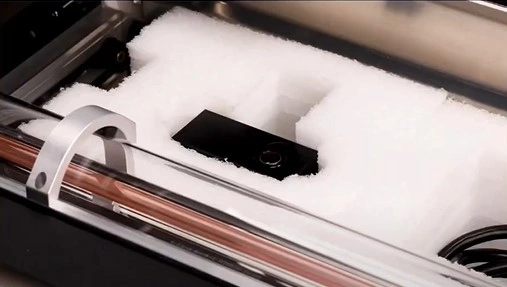
Step 5: Unscrew and remove the brightly colored orange knobs under the laser arm from the sides.
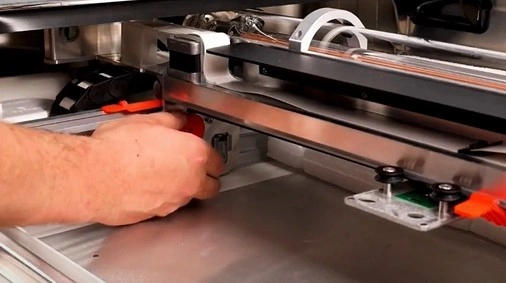
Step 6: Lift out the rear foam from the machine with the printhead inside and set it aside for now.
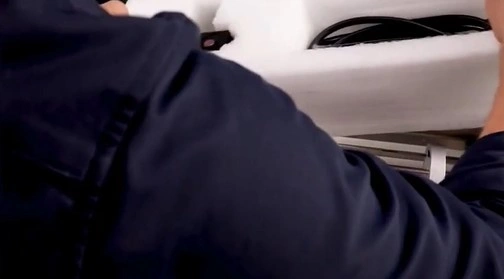
Step 7: Push down the orange plastic clip holding the headrail in place gently.
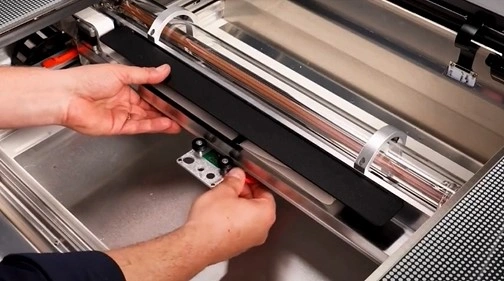
Step 8: Gently push the laser/ gantry onto the back.
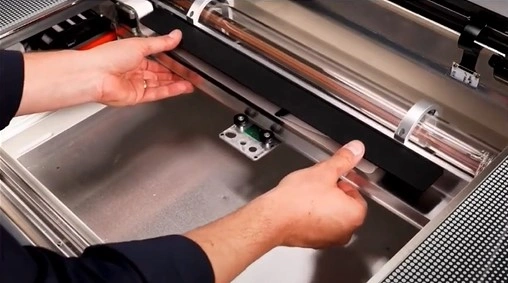
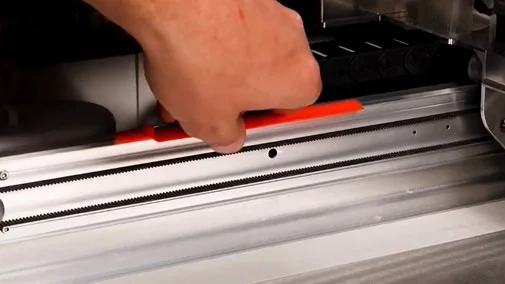
Step 9: Remove the two orange silicon strips from the sides.
Step 10: Now, slide the crumb tray onto the Glowforge and ensure it sits flat at the bottom.
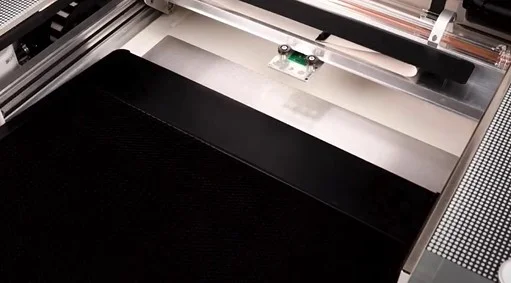
Step 11: Carefully remove the printhead from the packaging, avoiding getting your fingerprints on the windows and laser lenses.
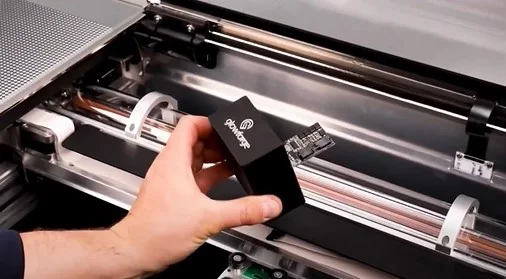
Step 12: Remove the orange foam cylinder from the printhead.
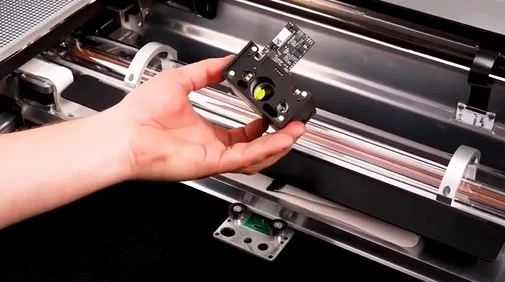
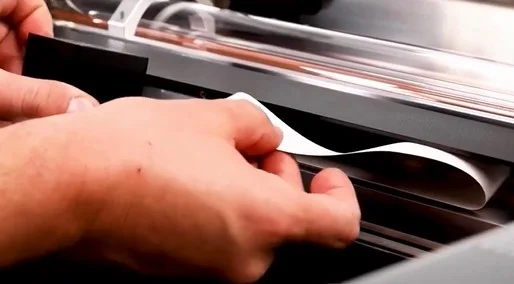
Step 13: Find the ribbon cable tucked inside the laser arm, carefully align it to the connector, and push it in gently until you hear a click.
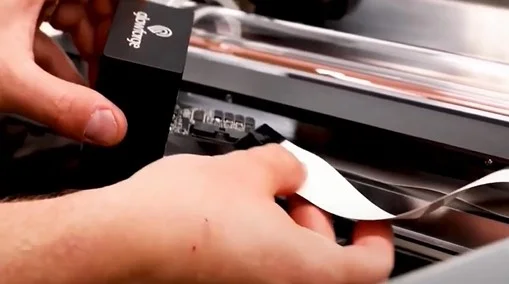
Step 14: Check and make sure that the ribbon cable is not twisting, then slowly place the printhead on the plate on the rail.
Step 15: There is an in-built magnet that’ll pull the printhead into place and keep a firm grip.
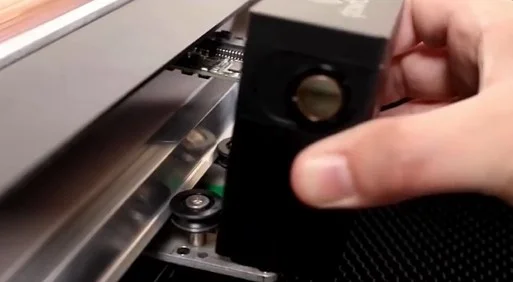
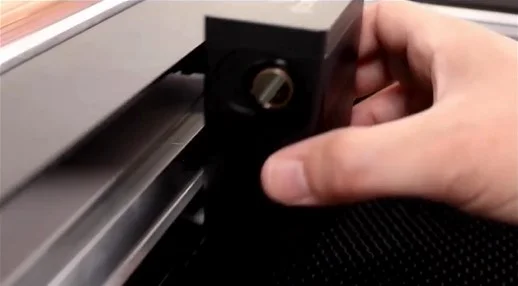
Step 16: You should be able to slide the printhead back and forth smoothly.
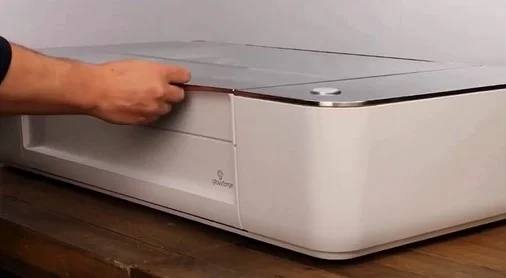
Step 17: Close the front cover and the lid.
Step 18: Go to the back of the machine and grab the exhaust hose and the ring clamps.
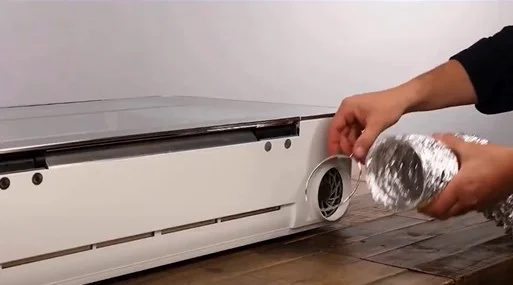
Step 19: Pinch the ends of one of the ring clamps and slide it over one end of the hose.
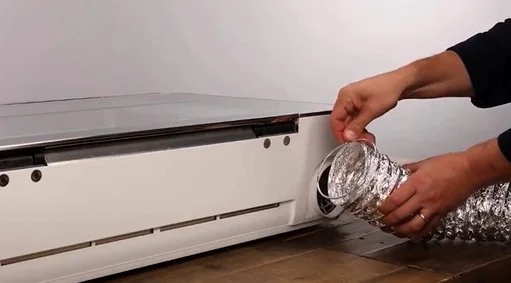
Step 20: Securely connect the hose to the exhaust fan, making sure that the ring clamp is sitting over the white plastic ring around the exhaust fan.
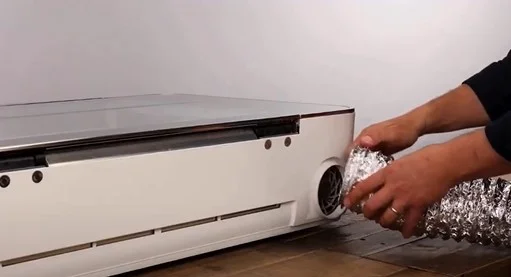
Step 21: Give the hose a gentle tuck to ensure it’s secure.
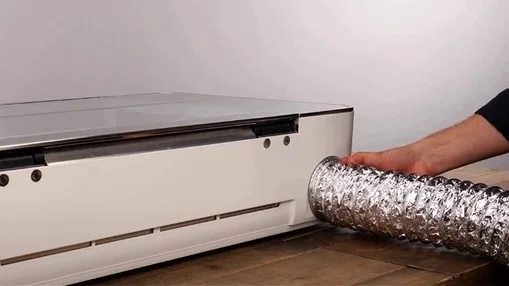
Step 22: Connect the other end of the hose to an air filter or vent outdoors while keeping it as straight as possible with no more than two 90-degree bends.
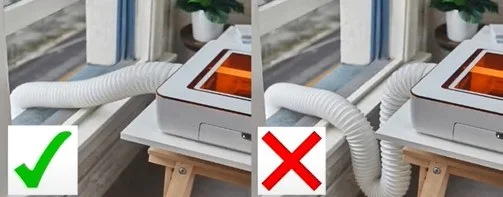
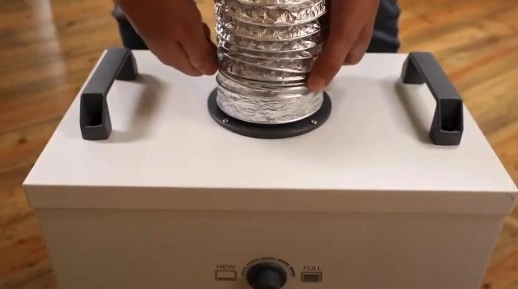
Step 23: If you are using an air filter, slide the other ring clamps over the other end of the hose and connect them to the top of the air filter.
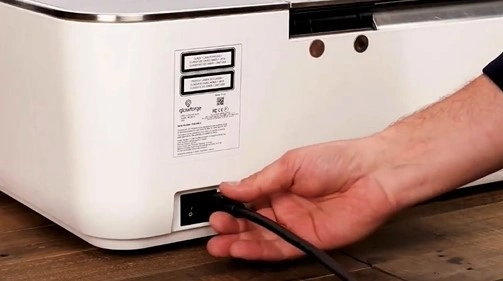
Step 24: Plug the power cord into the back of the machine and switch it on.
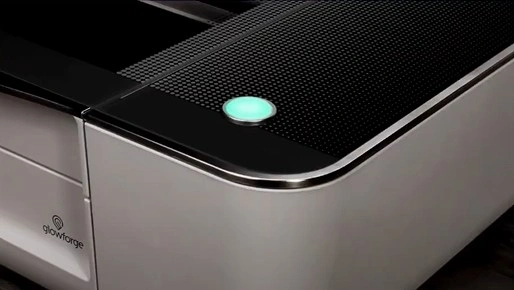
Step 25: The light inside will turn on, you’ll hear a bubbling sound, and your Glowforge button will glow.
Step 26: Open the web browser and navigate to setup.glowforge.com.
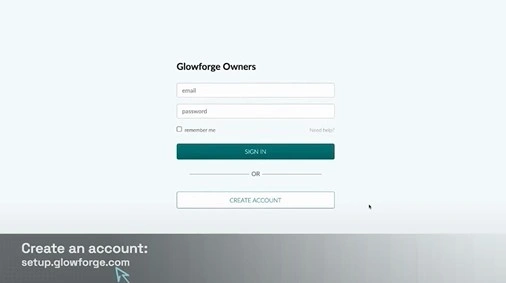
Step 27: Click Create Account, fill in your information details, and click Create Account.
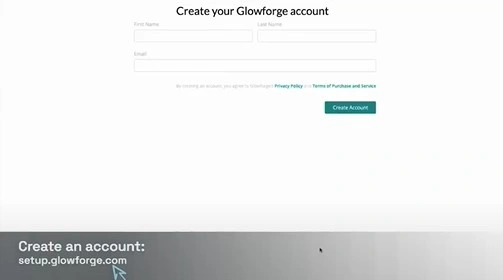
Step 28: Read the instructions and click Continue.
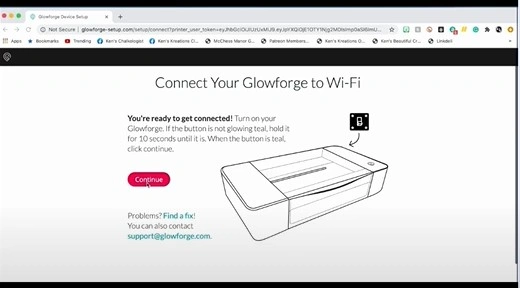
Step 29: When you get the Connect Your Glowforge to Wi-Fi screen, open your device’s Wi-Fi settings and select your Glowforge Wi-Fi.
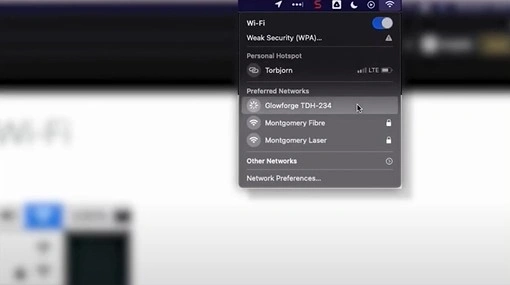
Step 30: Once it’s connected, click the Refresh List and select the Wi-Fi to which you want to connect the machine.
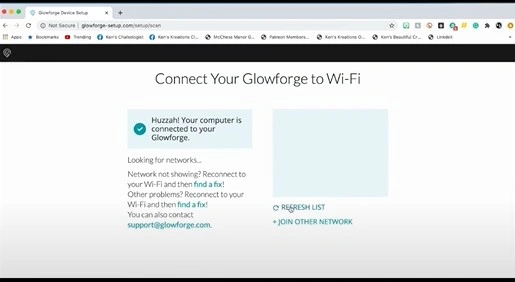
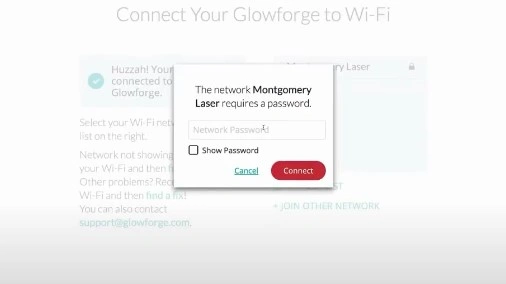
Step 31: Fill in the network password and click Connect.
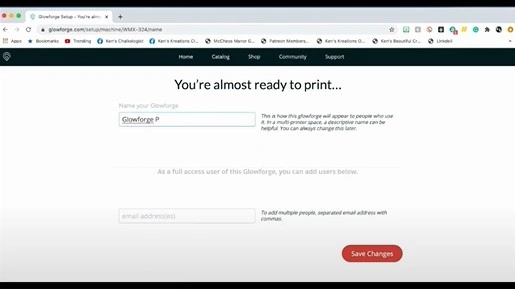
Step 32: Once your Glowforge is connected to Wi-Fi, name the machine and click Save Changes.
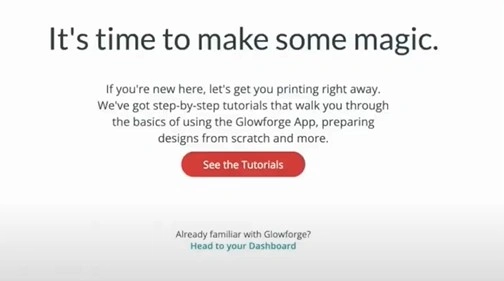
Step 33: Now, click Head to your Dashboard in the It’s Time to Make Some Magic Screen.
Step 34: Once you’re on the Dashboard, hover over to the project you want to make, and click Open.
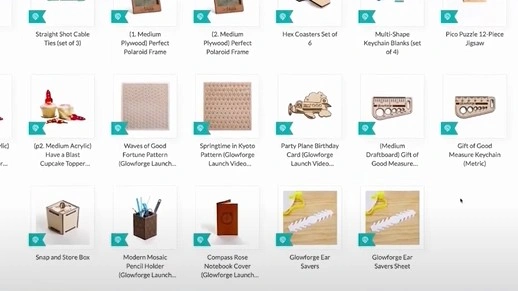
Step 35: Grab a material that came with your machine and place it in the printer bed with the QR code facing up.
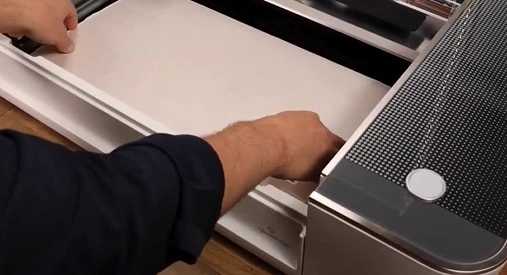
Step 36: Close the lid, and Glowforge will take a photo of what’s inside and scan the QR code.
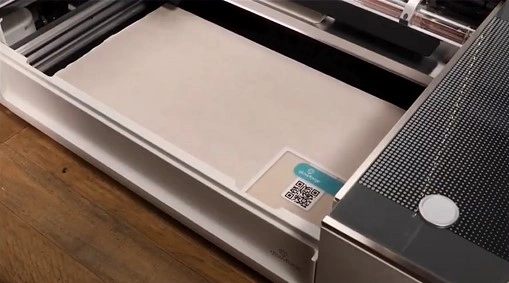
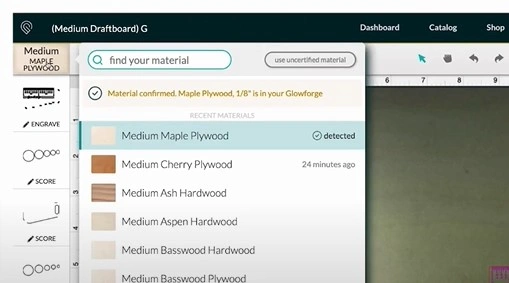
Step 37: Check the app screen; the material will appear after a few seconds.
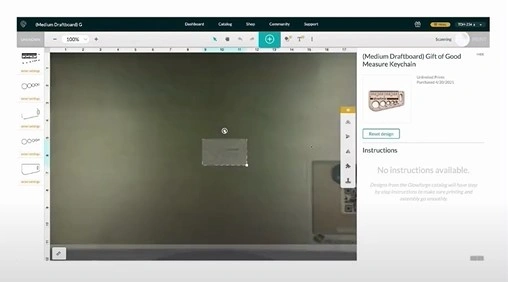
Step 38: The material menu in the top left corner of the screen will also show the material name.
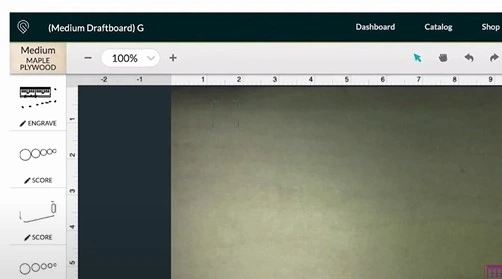
Step 39: If your material isn’t recognized or it’s missing the QR code, click Unknown in the top left, type in the material, and click Selected.
Step 40: Select the design by clicking it, and a bounding box will appear.
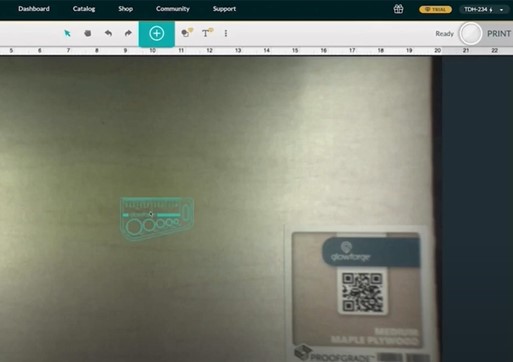
Step 41: Hover over the middle, hold down the mouse button, and drag the design to different places on the screen.
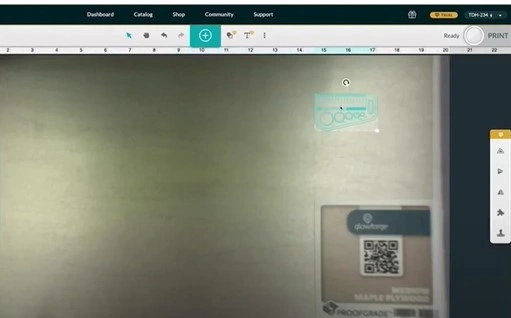
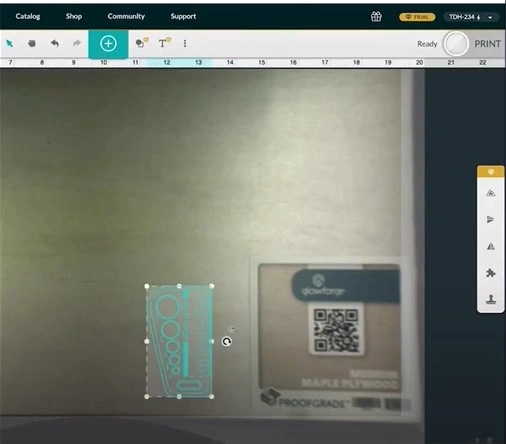
Step 42: If you want to make the design bigger or smaller, select the design and click one of the circles on the bounding box and drag in or out.
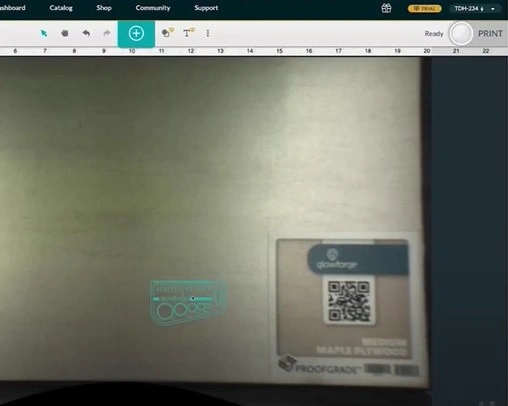
Step 43: You can rotate the design by clicking on the larger circle above the bounding box.
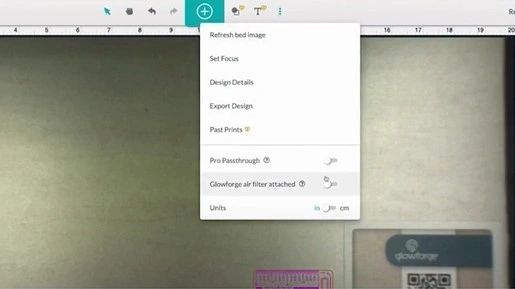
Step 44: If using an air filter, click the three dots in the menu bar and toggle on Glowforge Air Filter Attached.
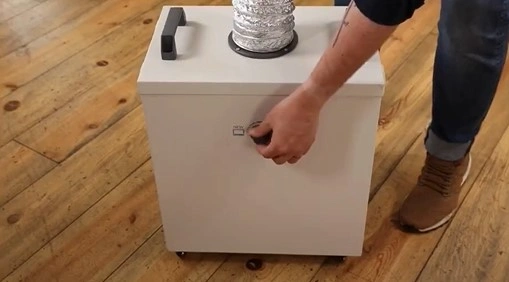
Step 45: Turn up the dial on the air filter until the fans begin to spin.
Step 46: When you are happy with the size and placement of the design, click Print in the upper right side of the screen.
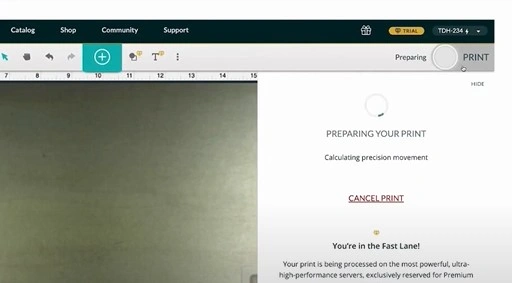
Step 47: The printer head will scan the material, and the app will display how long your print will take.
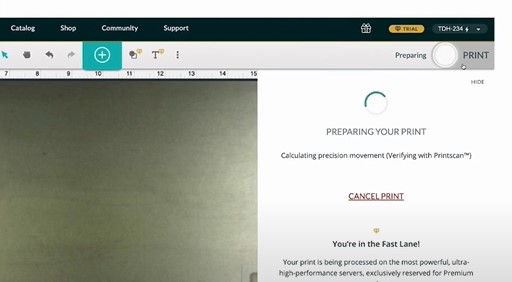
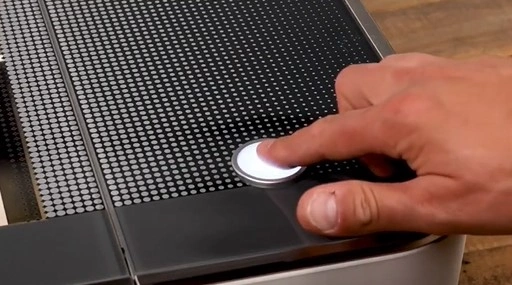
Step 48: The button on your Glowforge will start blinking white; press the button to begin printing.
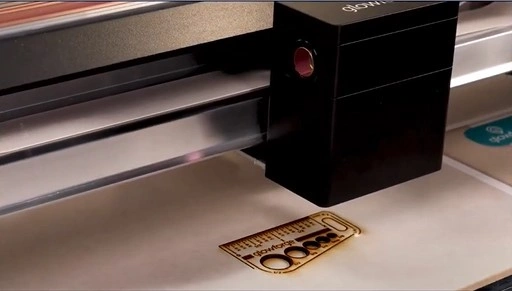
Step 49: If you need to step away during the process, press the button to pause and start where you left off.
Step 50: If you want to cancel the print, open the lid. Note: Don’t leave your Glowforge unattended while it’s printing.
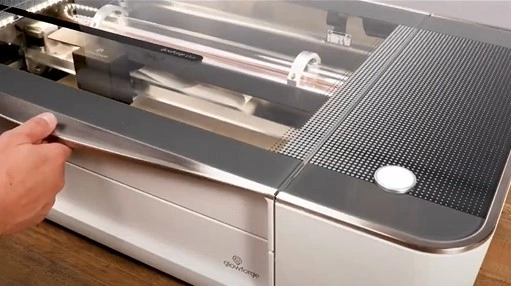
Step 51: When it’s done printing, open the lid and take out your finished print.
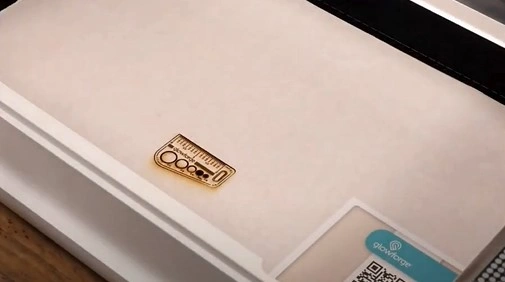
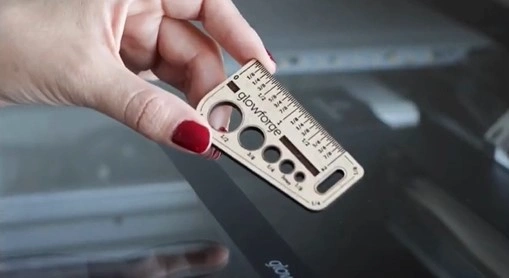
Step 52: Peel off the protective tape and check the result.
Wrapping Up
You may now be all set to get started with your Glowforge machine. It is time to enjoy a seamless experience with your all-new laser cutter. Keep in mind the steps we’ve outlined, and stay alert for any potential problem. With the ideal setup, optimize your workflow and make the most of your Glowforge for intricate crafting projects.
If you are still having trouble using or setting up your Glowforge machine, contact an expert for assistance.

