

Tips for Using Silhouette Cameo 4
Before you learn how to use Silhouette Cameo 4, follow-up is vital. You need to keep this in mind when you are working on any project with the machine.
- Download the latest Silhouette Studio software.
- Make sure the machine is properly connected to your PC.
- For printing the design, make sure the settings in the Silhouette app and for your printer are the same.
- Perform the machine calibration if you are facing any cut problems.
- Use a compatible and advanced printer to print the design.
Steps to Use Silhouette Cameo 4 to Create a Project
The given steps will impart an in-depth understanding of how to utilize the Silhouette Cameo 4 machine to make a DIY project.
1. First, unbox the Silhouette Cameo 4 machine from the packaging.
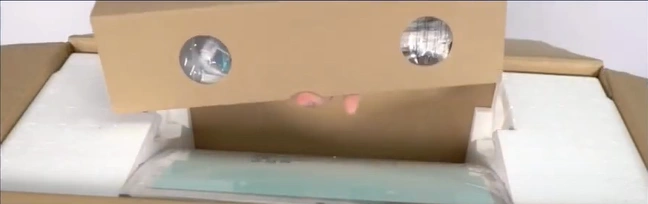
2. Next, remove all the tapes and shipping materials from the machine.
3. Load the AutoBlade on tool 1 carriage.

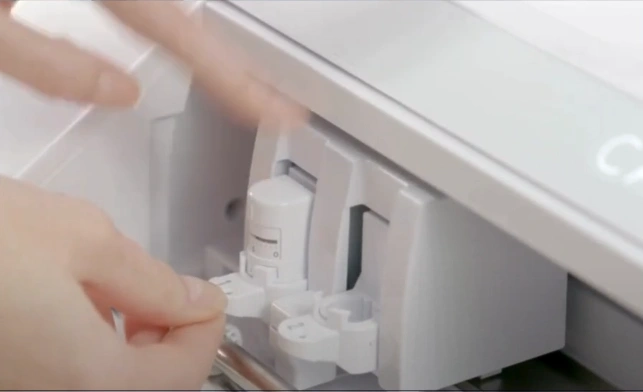
4. While inserting the AutoBlade, lift up the tab with one hand and use the other hand to press down the AutoBlade.
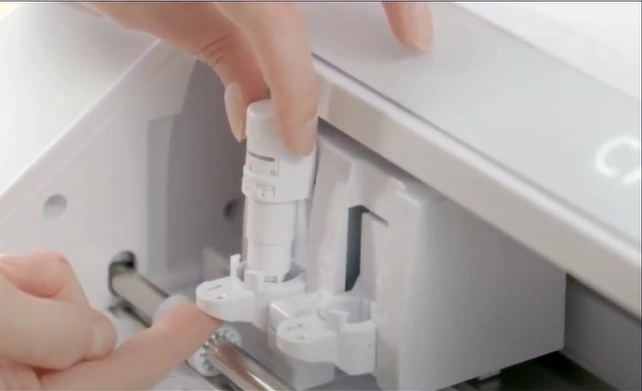
5. Then, push the tab to lock it in place.
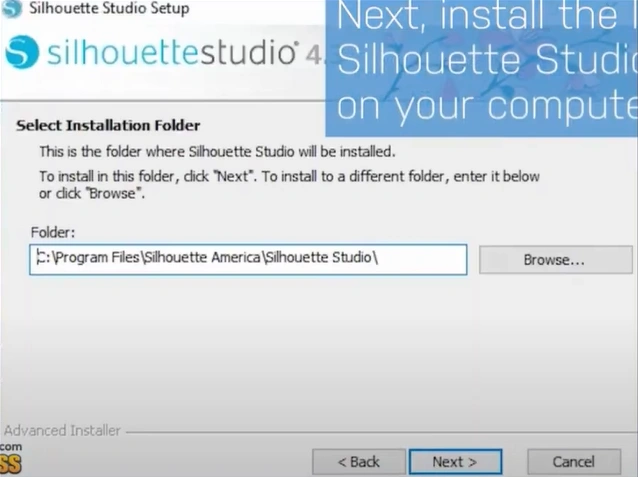
6. Next, download and install the Silhouette Studio on your system.
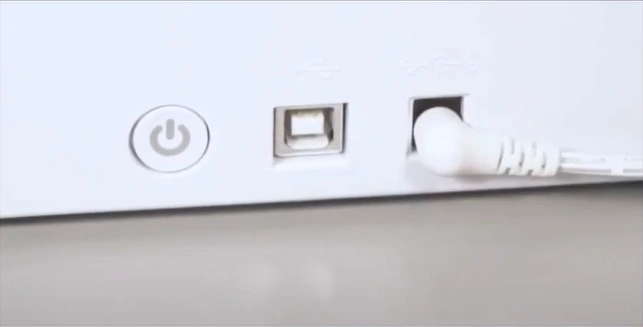
7. Go ahead and plug the power cord into the machine and connect it to the computer via a USB cable.
Also Read:- How to Connect Silhouette Machine to Mac
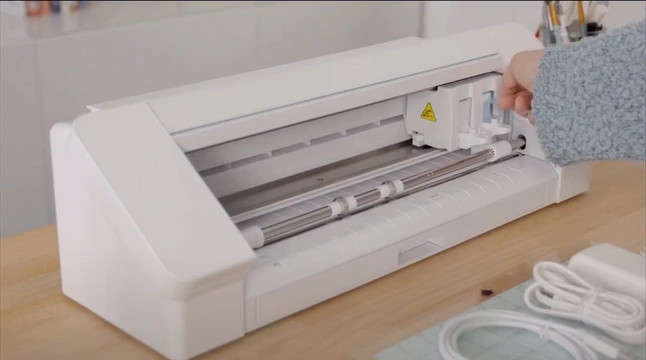
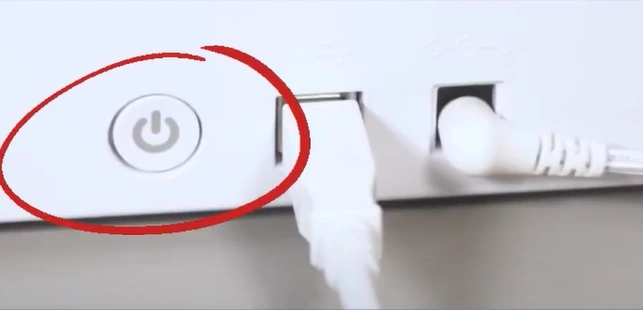
8. Next, press the power button to turn it on.
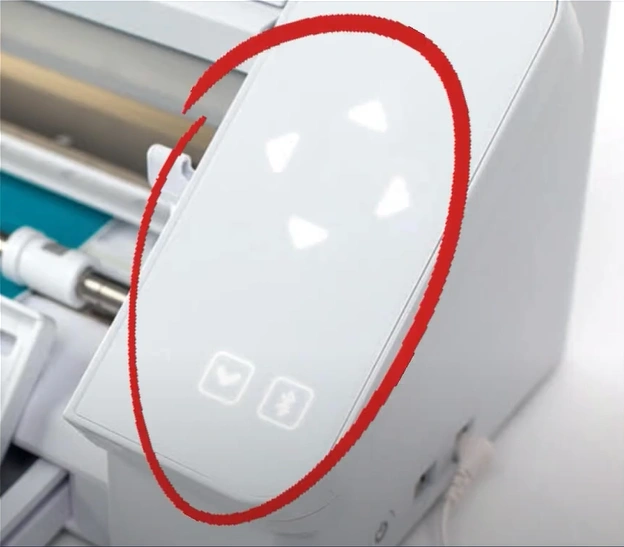
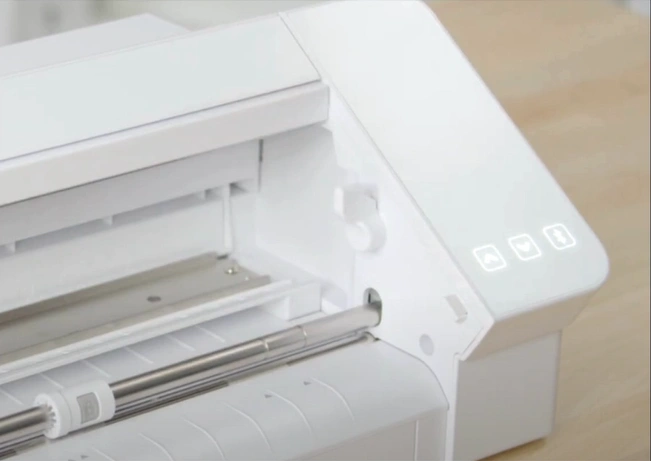
9. It has a backlit touch panel on the right to load and unload material, move the cutting machine, position the tool, and connect with Bluetooth.
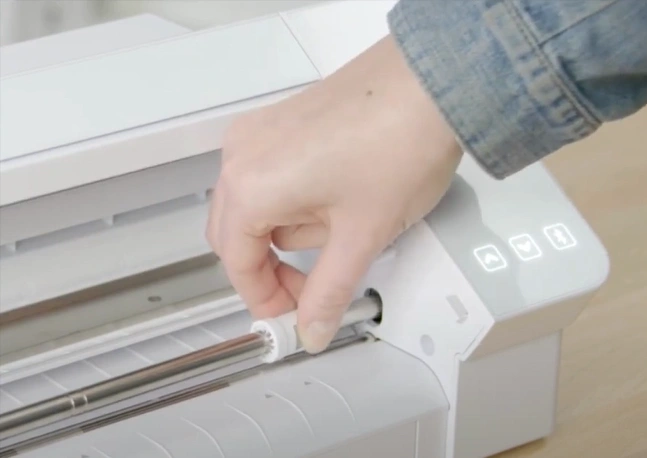
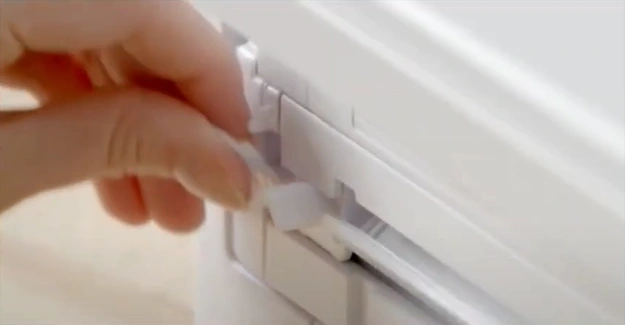
10. To adjust the roller, pull down the lock lever, adjust the center roller, then press the lock icon on the pinch feeder and slide it over.
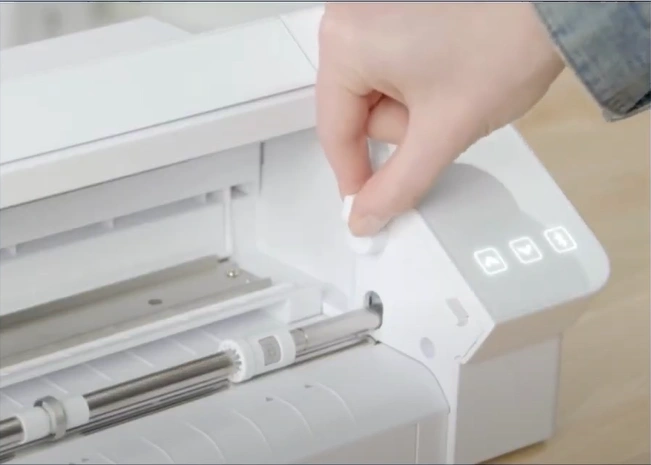
11. Return the lever to its locked position.
12. To return the roller to its original position, pull down and lock the lever and repeat the same steps.
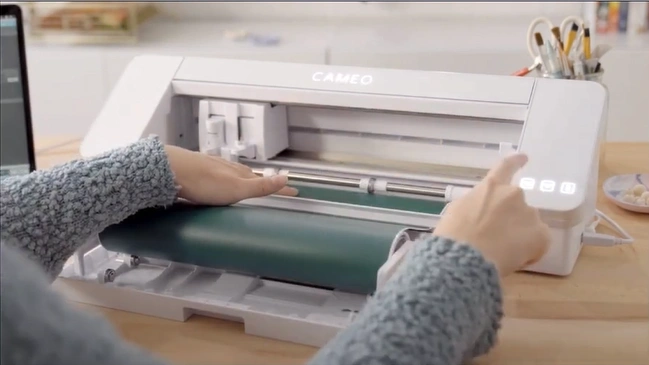
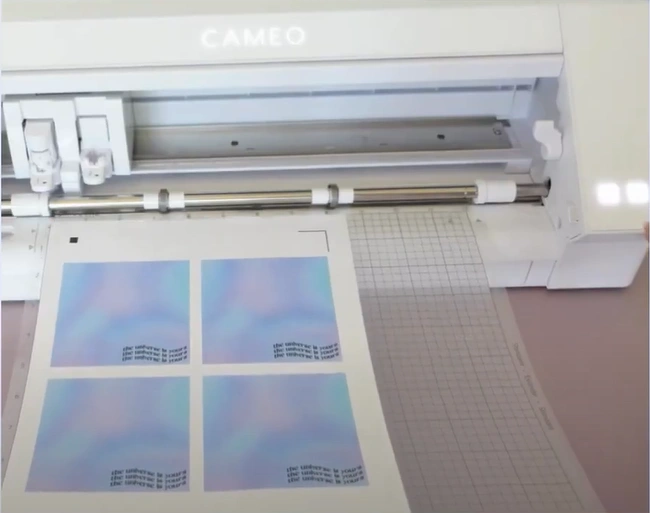
13. To load material, adjust the roller, pull out the built-in roll feeder, insert the materials, and press the load button.
14. Once you have cut the design and cut the material feeds out in the back, lower the cross cutter and slide it across the material.
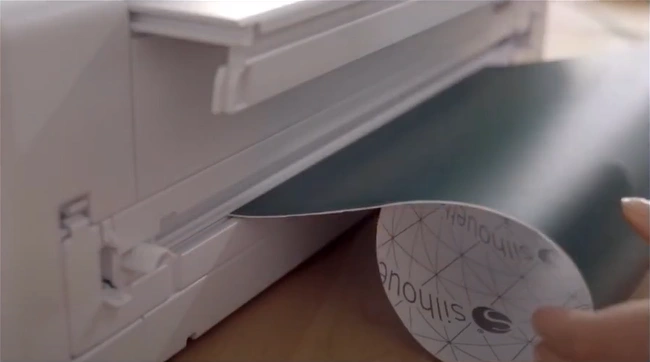
15. Make sure to raise your cross cutter after the use.
16. If you are cutting on a mat, you can simply feed it in without using the roll feeder.
Final Words
We hope you have all the essential information to use your Silhouette Cameo 4 machine and create stunning DIY projects. If you have successfully followed all the steps, then you can create a plethora of amazing DIY crafts using the same methods. Apart from that, you must try to gather more information and guides if you still have any doubts or if any steps are unclear. So, what are you waiting for? Grab your Silhouette machine and crafting essentials, and get started with your first project right away!


