
But how do you turn off the Auto Mirror when you are using other kinds of materials? Let’s understand the complete process for turning off the Auto Mirror in Cricut.
Common Issues When Turning Off Auto Mirror in Cricut
When turning on or off the Auto Mirror in Cricut, certain problems can arise. The following issues may occur:
- Software glitches or lag
- User confusion with manual override
- Print-and-cut misalignment
- Changes are not saving properly
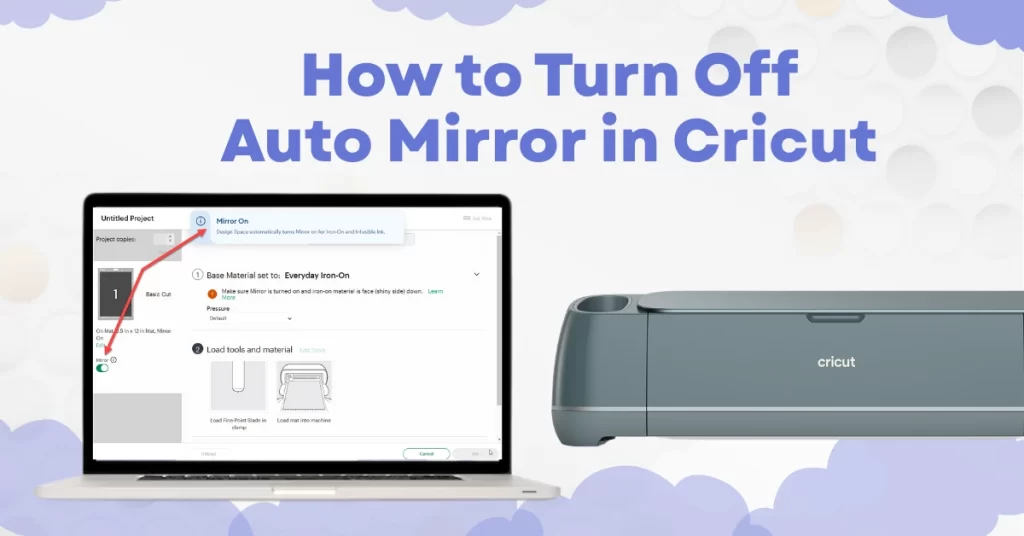
Steps to Turn Off Auto Mirror in Cricut
The Auto Mirror feature is a useful tool that automatically mirrors your design when working with specific materials. Here are the steps you need to keep in mind when turning off Auto Mirror in Cricut:
Step 1: Open the Design Space app on your computer or mobile device.
Step 2: In Design Space, open your project and go to the preview screen.
Step 2: Toggle the Mirror switch off under the Set Material section.
Step 3: You’ll see the switch turn gray when the Auto Mirror is disabled.
If you are working on a multi-mat project and want to override the Auto Mirror setting for a single mat, select the mat thumbnail on the left panel and adjust the Mirror setting accordingly. This change will only apply to the specific mat you selected.
For Print Then Cut materials, the Auto Mirror setting will not be applied because these designs are printed as-is before cutting.
Wrap Up
The Auto Mirror feature automatically adjusts to your material but also allows manual changes when necessary. Follow the steps above to enable or disable Auto Mirror in Design Space.
Remember to always be aware of the material you use and double-check the mirror setting before you start cutting. This can save time, effort, and materials.


