

The Explore Air 2 is not just a cutting machine but a boundless source of creativity. This machine features a simple design with no unnecessary accessories, making it ideal for beginners. Its versatility allows you to create custom vinyl decals, personalized home décor, and more. With Bluetooth and USB connectivity, you can work wirelessly from your computer or mobile device, offering endless creative possibilities.
In the following write-up, we have discussed how to set up and operate your all-new Cricut Explore Air 2. Let us walk you through the guide on using Cricut Explore Air 2 and making the most of it. So, read further.
Cricut Explore Air 2: The Setup Process
Cricut Explore Air 2 can transform your crafting projects with its versatility and precision. Below are all the steps that can help you learn using Cricut Explore Air 2:
Step 1: First, unbox the machine from the packaging.
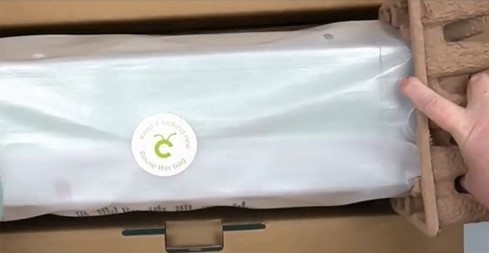
Step 2: Unwrap the machine.
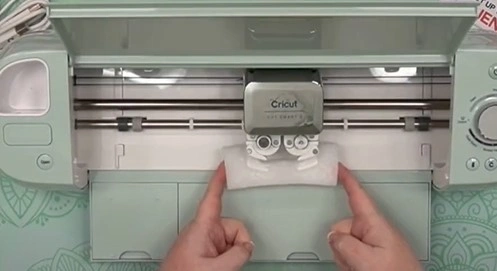
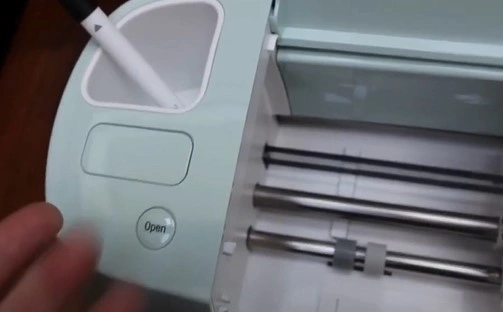
Step 3: Press the Open button to open the machine and remove the Styrofoam from the Adaptive Tool System.
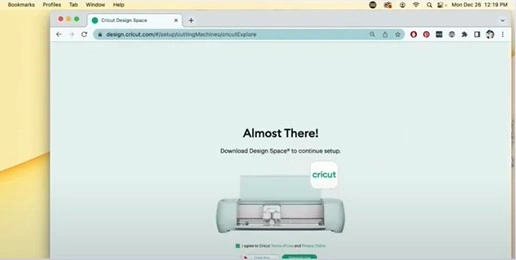
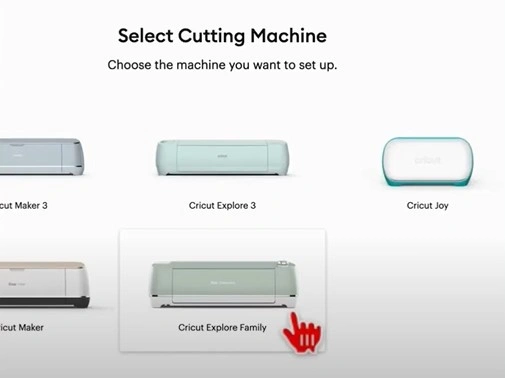
Step 4: Open the web browser and download Cricut Design Space following the on-screen instructions.
Step 5: Next, set up the machine if you have not done it yet.
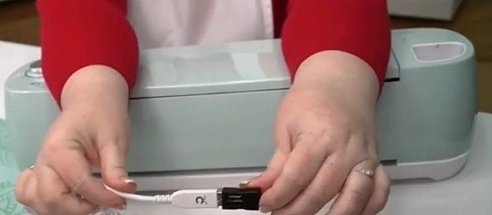
Step 6: Connect the machine to the power outlet and to the computer.
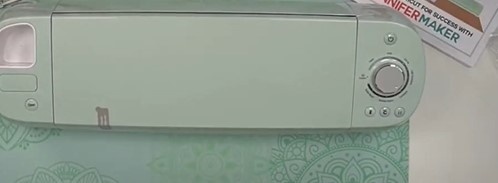
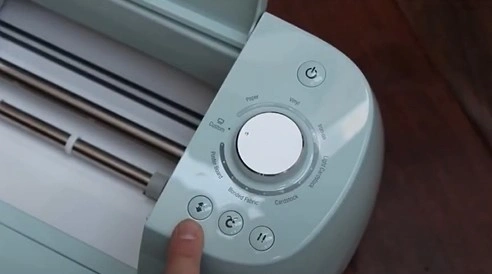
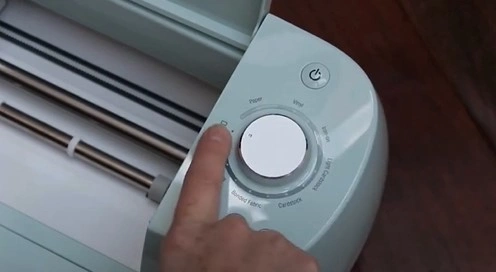
Step 7: On the top left side of the machine, you have the power button, smart set dial, load, cut, and pause buttons.
Also Read:- How to Setup Cricut Joy Machine?
Step 8: You can turn the smart set dial to select materials.
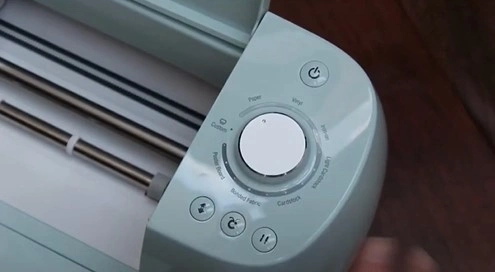
Step 9: You can set the smart set dial on custom to select a custom material.
Step 10: On the left side of the machine, you have a storage compartment, an open button, and a cartridge port.
In a Nutshell
Cricut Explore Air 2 is a worthwhile tool for those who want to take their crafting projects to a greater level. So, why not invest in this cutting machine and enjoy myriad creative options?
It is straightforward to use with the above-discussed process. Adhere to every step carefully, and you are good to go. Remember, expert assistance is always available if you need help setting up the Cricut Explore Air 2.


