
For a successful Print Then Cut project, it’s crucial to ensure your printer is correctly set up and connected to your computer or device. Also, ensure it is compatible with the media you will use.
Here is a detailed guide on the basic steps for connecting a printer to your Cricut Design Space. It can be beneficial to all Cricut users. Let’s first discuss the potential problems that may occur during the process.
Connecting Printer to Design Space: Potential Problems
Many problems may arise when you connect a printer to Cricut Design Space. These can be:
- Incorrect printer settings
- Printer compatibility
- Outdated Design Space version
- Driver issues
- Paper size and type mismatch
Steps to Connect Printer to Cricut Design Space
Connecting a printer to Cricut Design Space can be a straightforward process using the right method. Let us walk you through all the essential steps, making the process manageable.
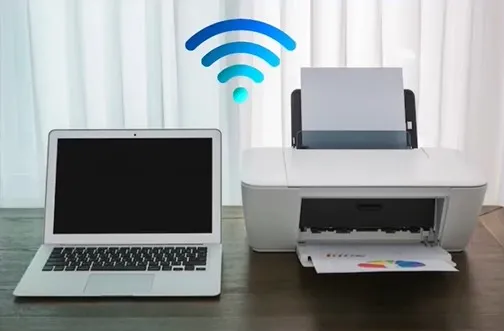
Step 1: First, ensure your printer and computer are connected to the same wireless network.
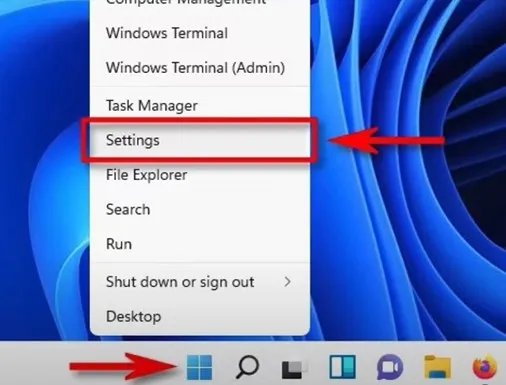
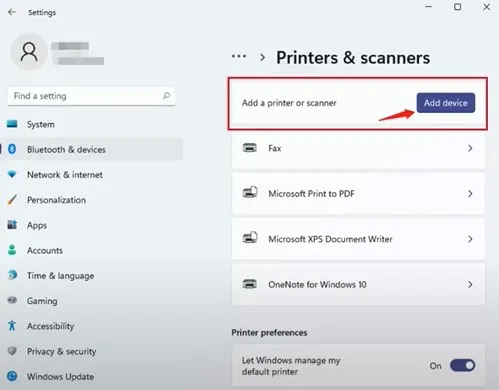
Step 2: Next, go to the computer with the Design Space software, click the Windows start button, and select Settings.
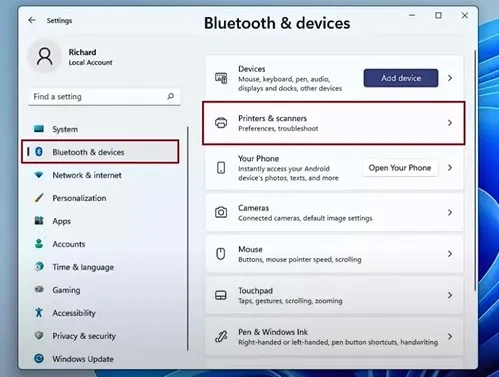
Step 3: Select Bluetooth & Devices, then click Printers & Scanners.
Also Read:- How to Connect Cricut Maker 3 to Windows?
Step 4: Click Add Device, and it’ll start searching for printers in the same network area.
Step 5: If it can detect your printer, click Add device next to your printer.
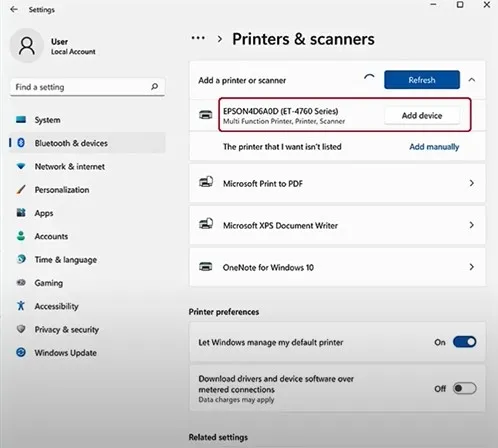
Step 6: If it cannot detect the printer, click Add Manually.

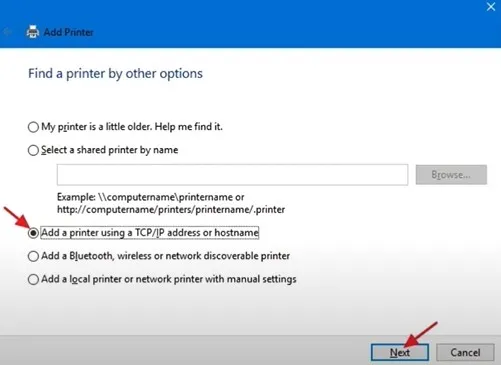
Step 7: Next, select Add a Printer Using an IP Address or Hostname and click Next.
Step 8: Set the Device Type to Autodetect, fill in the printer’s hostname or IP address, and click Next.
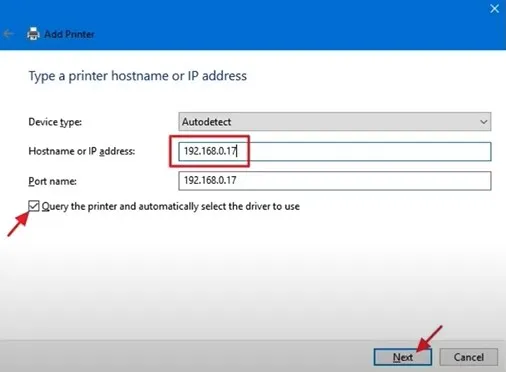
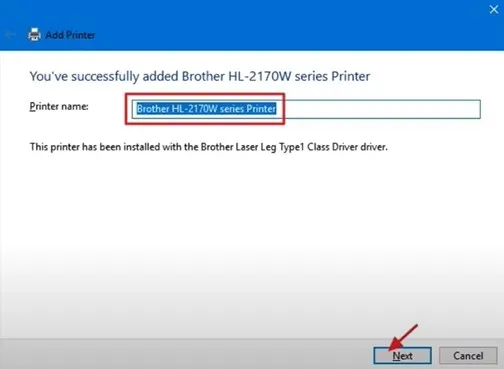
Step 9: Once you’ve successfully added the printer, click Next and follow the remaining on-screen prompts.
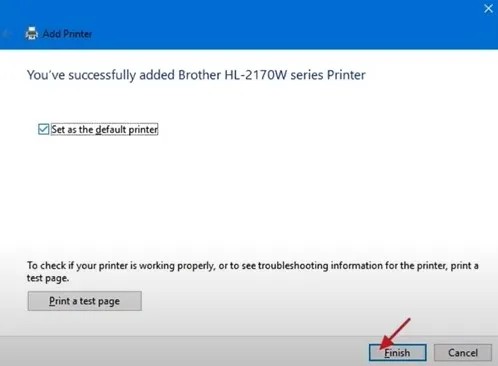
Step 10: Click Finish once done.
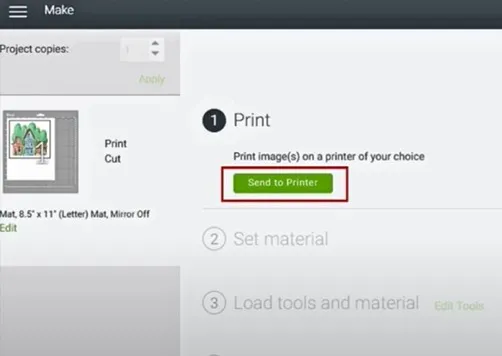
Step 11: Now, open Cricut Design Space and get your Print Then Cut design ready.
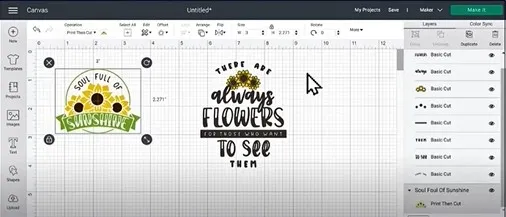
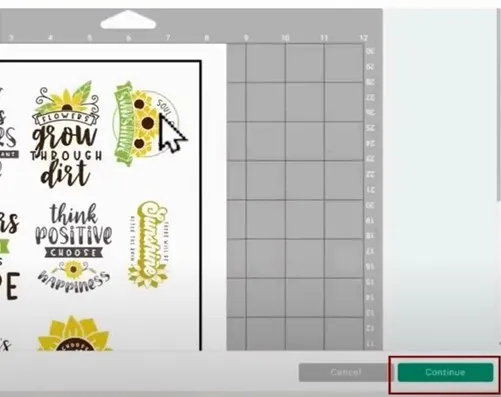
Step 12: Once you have the design ready, click Make It and then click Continue on the prepare screen.
Step 13: Click Send to Printer; it should be able to detect your printer, then click Print.
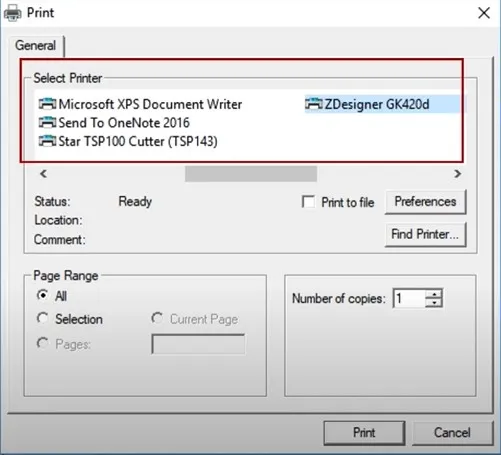
Step 14: If you want to change the printer, select the printer from the new pop-up window.
Wrapping Up
Ensure that your printer is properly connected to Cricut Design Space. Check that all the necessary drivers are installed. Follow all the steps, and you are ready to cut your designs to attain professional-looking results. Be wary of potential problems such as incorrect printer settings, driver issues, or an outdated Design Space version. These problems are likely to occur during the setup process.
Contact a professional if you need help connecting your printer to Cricut Design Space.


