
Cricut machines come pre-calibrated, but you should recalibrate them if you experience cutting inaccuracies. If you are working on Print Then Cut projects with your Cricut Explore Air 2, calibration is essential. Calibrating your machine ensures that it cuts precisely along the edges of printed images.
Whether you are working with fabric, vinyl, or cardstock, calibration helps you achieve precise and professional-quality results. If not calibrated, the Cricut Explore Air 2 may misread the registration marks, leading to misaligned cuts. Regular calibration enhances accuracy and eliminates this problem. Wondering how to calibrate Cricut Explore Air 2? Let’s start to learn the full process.
Common Issues When Calibrating Cricut Explore Air 2
You may face a few problems during the calibration process that can affect accuracy. Here are some common issues:
- Unresponsive buttons or display
- Error messages during calibration
- Poor print and cut alignment
Steps to Calibrate Cricut Explore Air 2
Calibration helps you get the best performance from your machine, delivering clean and accurate cuts for all your DIY projects. Adhere to the following steps to calibrate your machine:
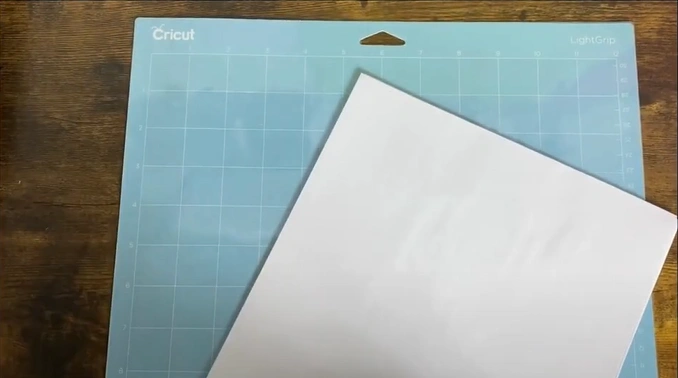
Step 1: Take a Cricut mat and plain copy paper.
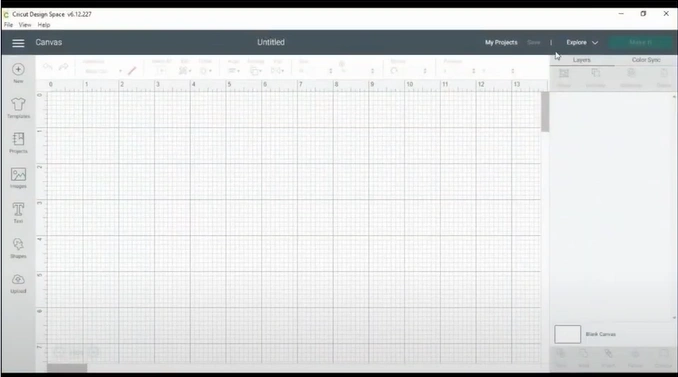
Step 2: Launch your Design Space app.
Also Read:- How to Setup the Cricut Maker
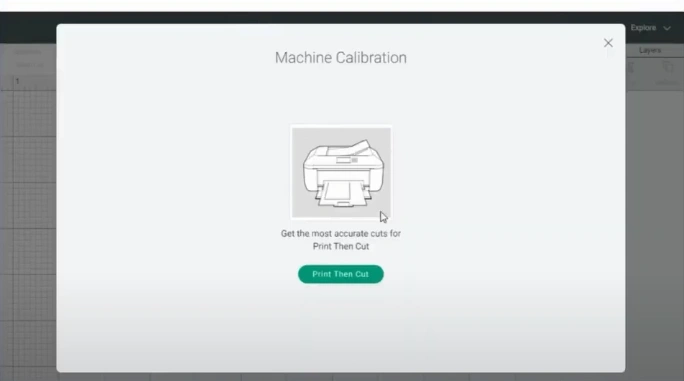
Step 3: Click the three-line menu (hamburger icon) on the left and select Calibration.
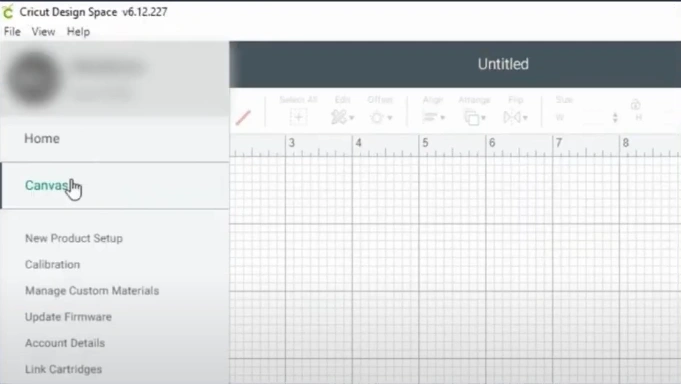
Step 4: Click on the Print Then Cut button.
Step 5: Select your printer and click on Print.
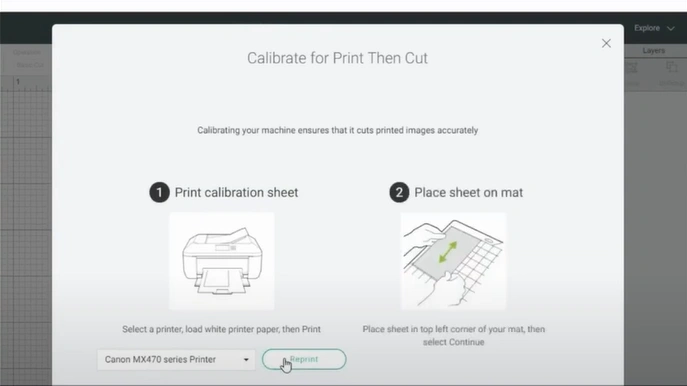
Step 6: Click the Continue button.
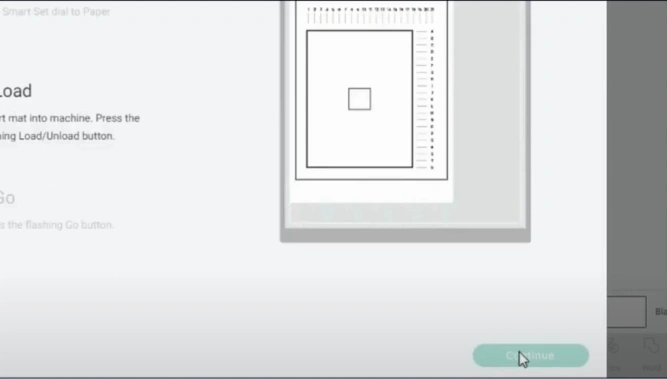
Step 7: Load the mat and paper into the machine, then press the flashing Go button.
To Sum Up
Cricut Explore Air 2 calibration is important, especially if you are working on Print Then Cut projects. It helps the machine scan the registration marks precisely. This ensures your Cricut cuts designs accurately after printing.
Without calibration, your Cricut Explore Air 2 might misread the registration marks, leading to misaligned or off-center cuts.


