

Calibrating Cricut Explore 3 is important for boosting performance and precision in your crafting projects. No matter what you are working on, calibration improves cutting accuracy, alignment, and overall outcomes.
It can also help prevent certain issues, such as uneven cuts, which can arise if the machine is not properly aligned. While using the Print Then Cut feature, calibration is necessary as it ensures that the machine reads the registration marks properly on the printed material.
So, take your time and calibrate your Cricut machine. Expect professional-grade cutting whenever you are working on your crafting projects. However, the question is how to calibrate Cricut Explore 3. Here is a comprehensive guide explaining the process. Let us go through it to learn more details.
Common Issues During Cricut Explore 3 Calibration
Here are a few common problems that may occur when attempting to calibrate a crafting machine:
- Material placement issues
- Incorrect calibration sheet
- Sensor interference
- Needle blockage
Steps to Calibrate Cricut Explore 3
Follow these simple steps to calibrate the crafting machine and perform your “Print Then Cut” operations:
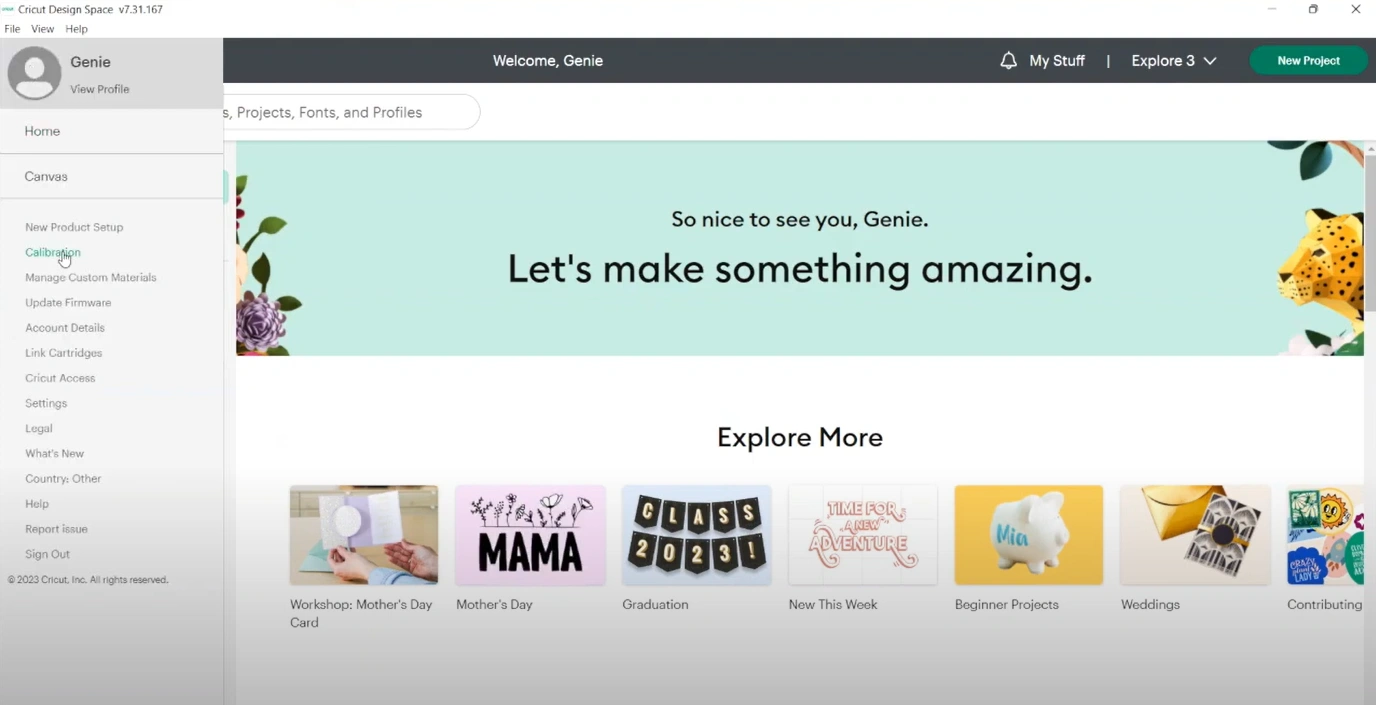
Step 1: Open the Design Space application on your device.

Step 2: Select Calibration on the left-hand menu once the application is opened.
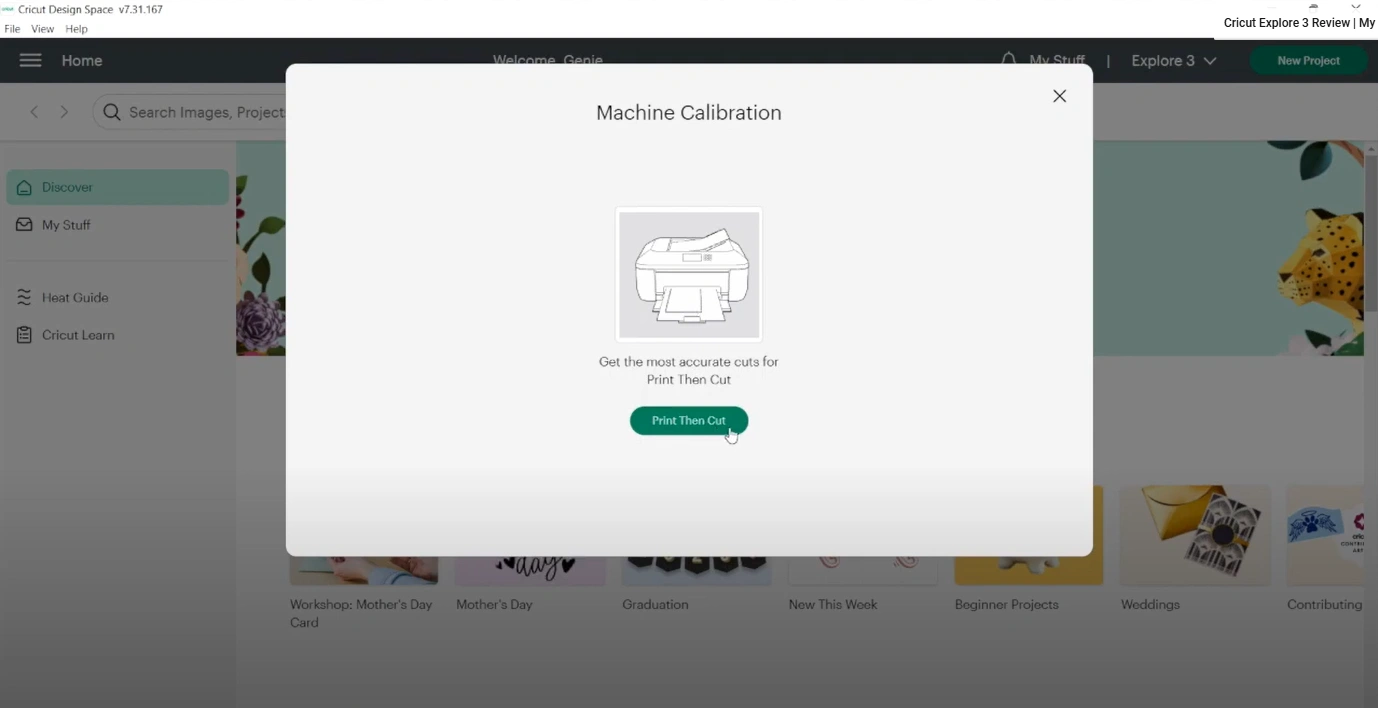
Step 3: Select the “Print Then Cut” button on the next screen. It will start the calibration process.
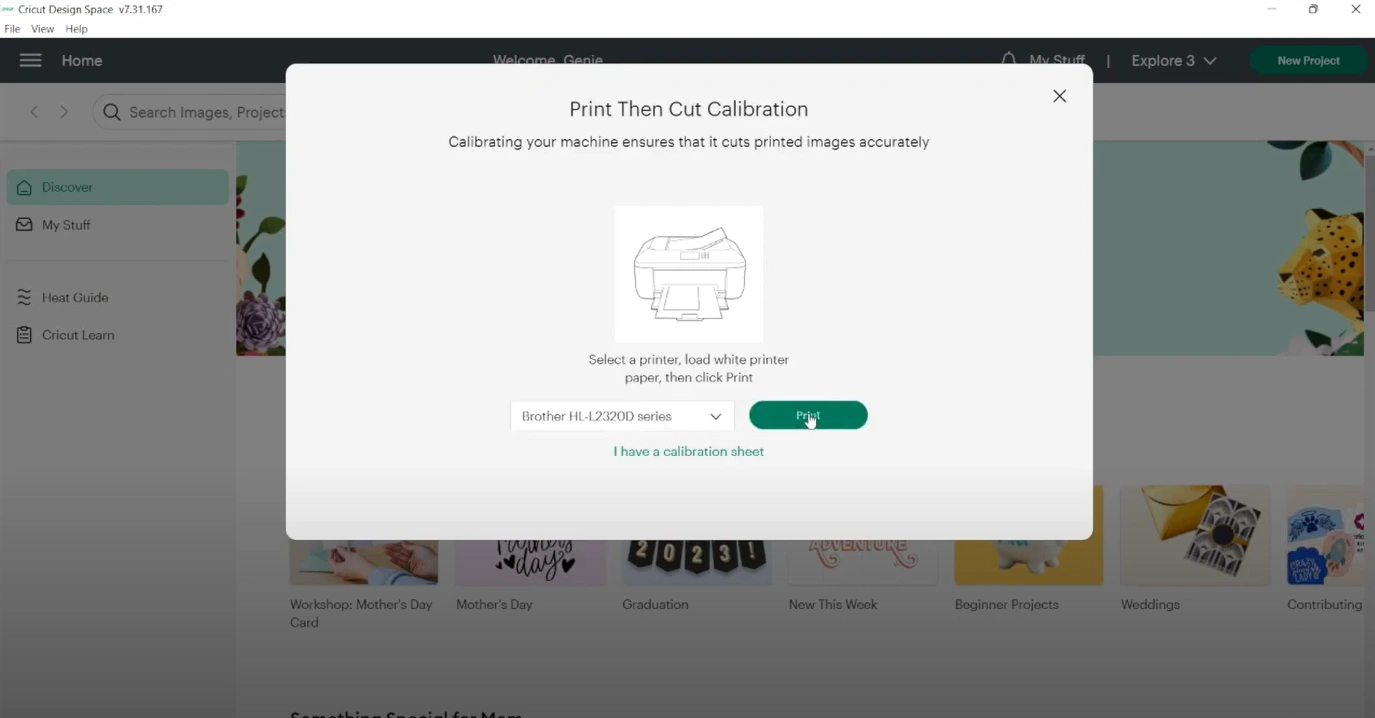
Step 4: The software will detect the printer on your machine and prompt you to print. Now, click on the “Print” button.
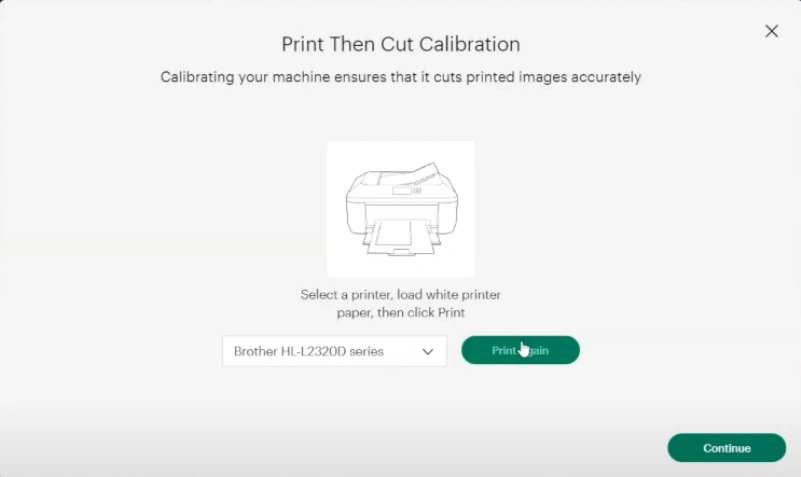
Step 5: If the print does not come out properly or you need to take print again, then you must click on Print Again or press the Continue button to proceed to the next step.
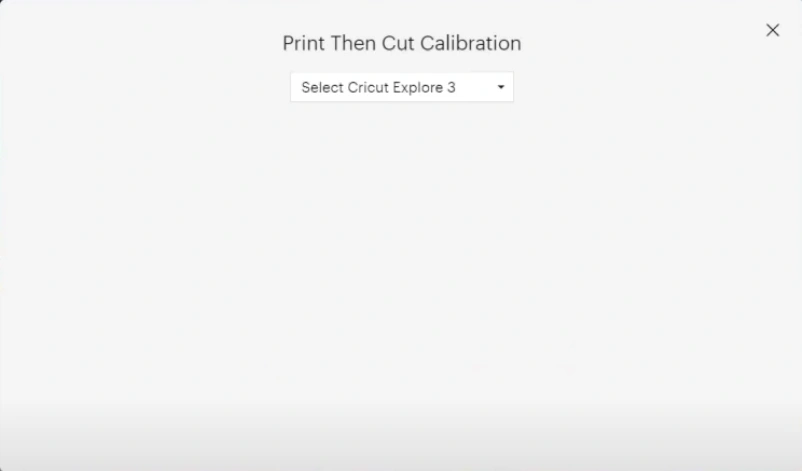
Step 6: Next, you need to select the machine for which you want to do the calibration. From the drop-down, select your machine model.
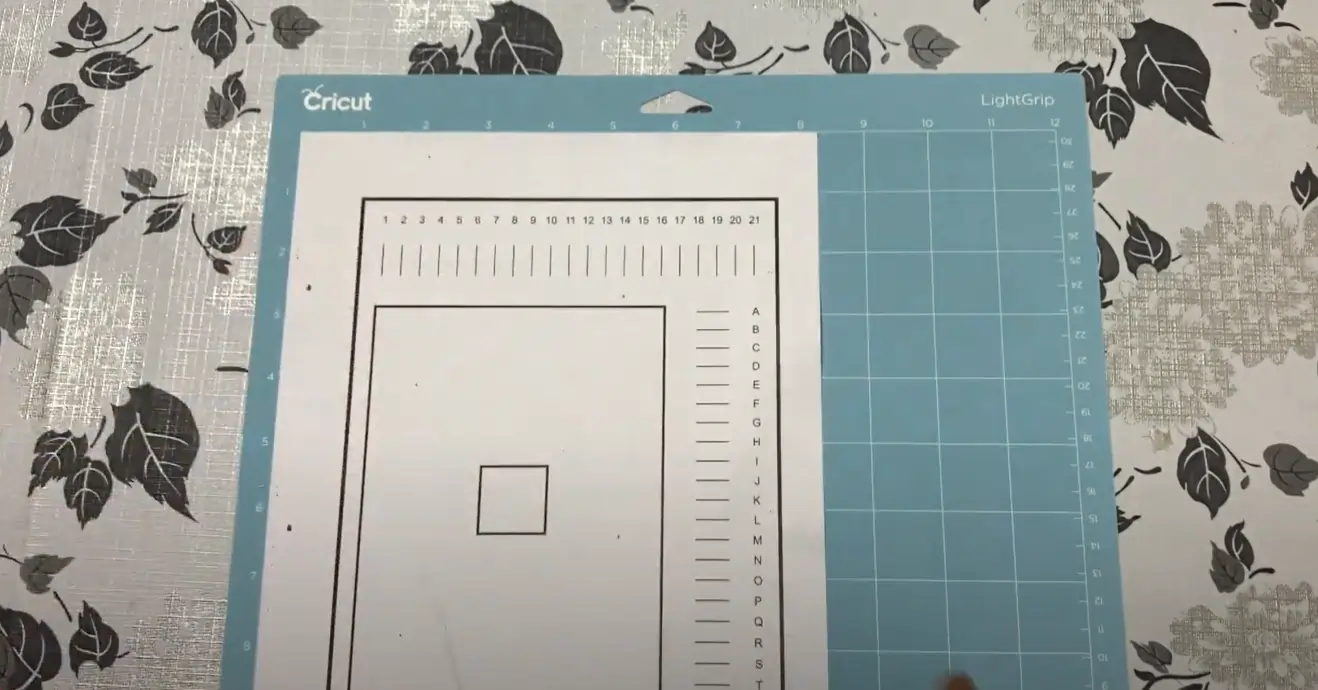
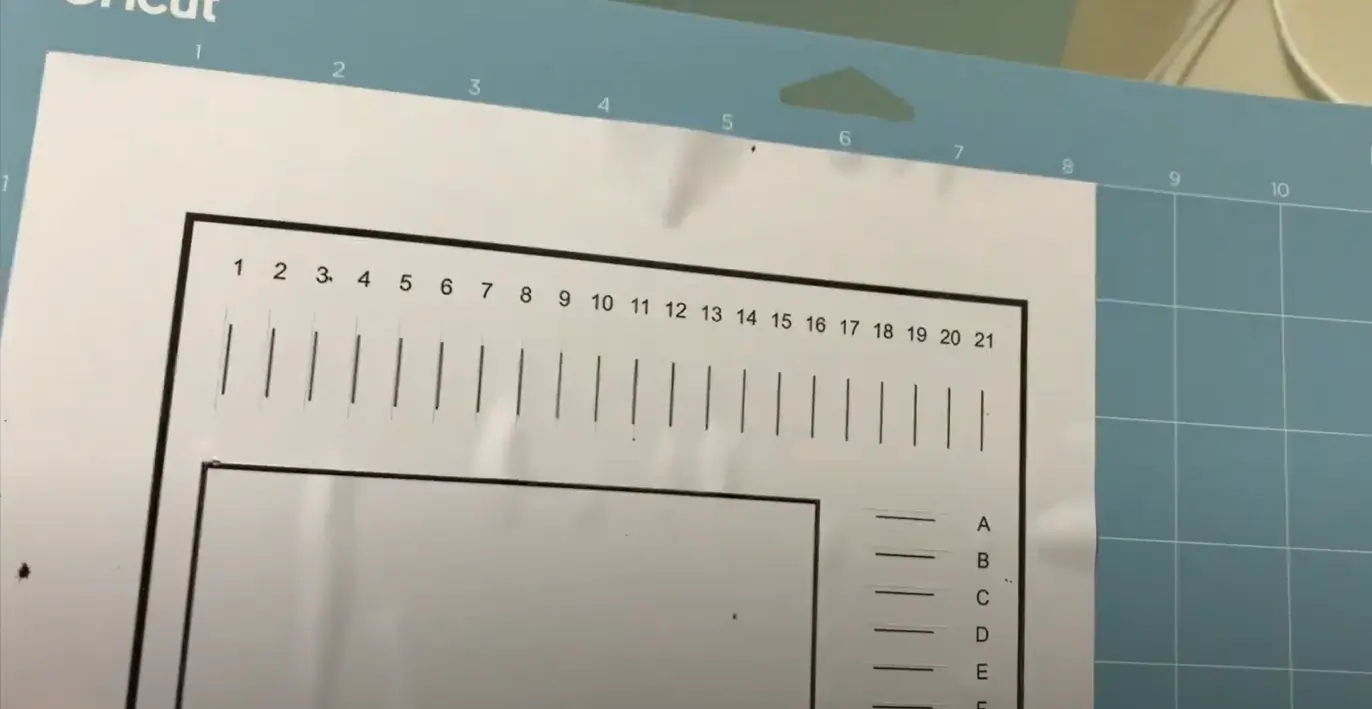
Step 7: Place the calibration printout on the blue mat.
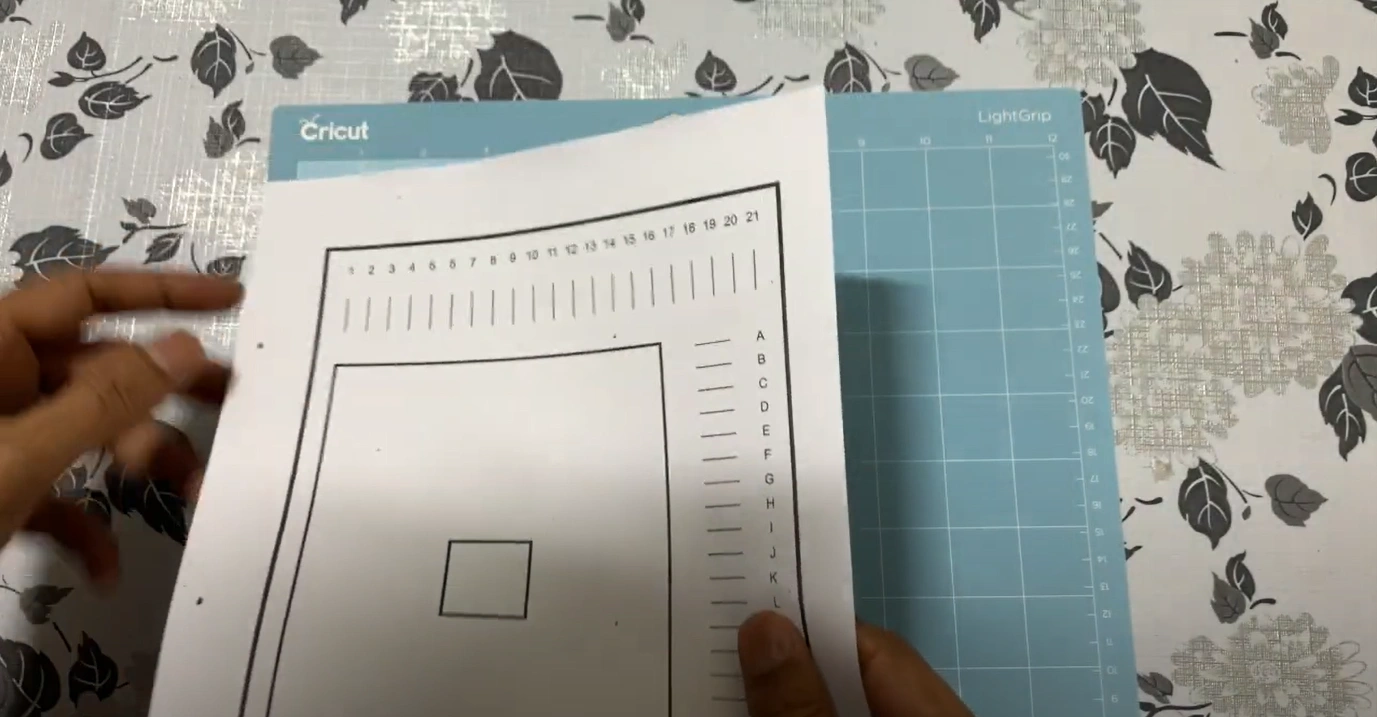
Step 8: When placing the printout, ensure it aligns perfectly with the left and top borders.
Also Read:- How to Reset Cricut Maker 3
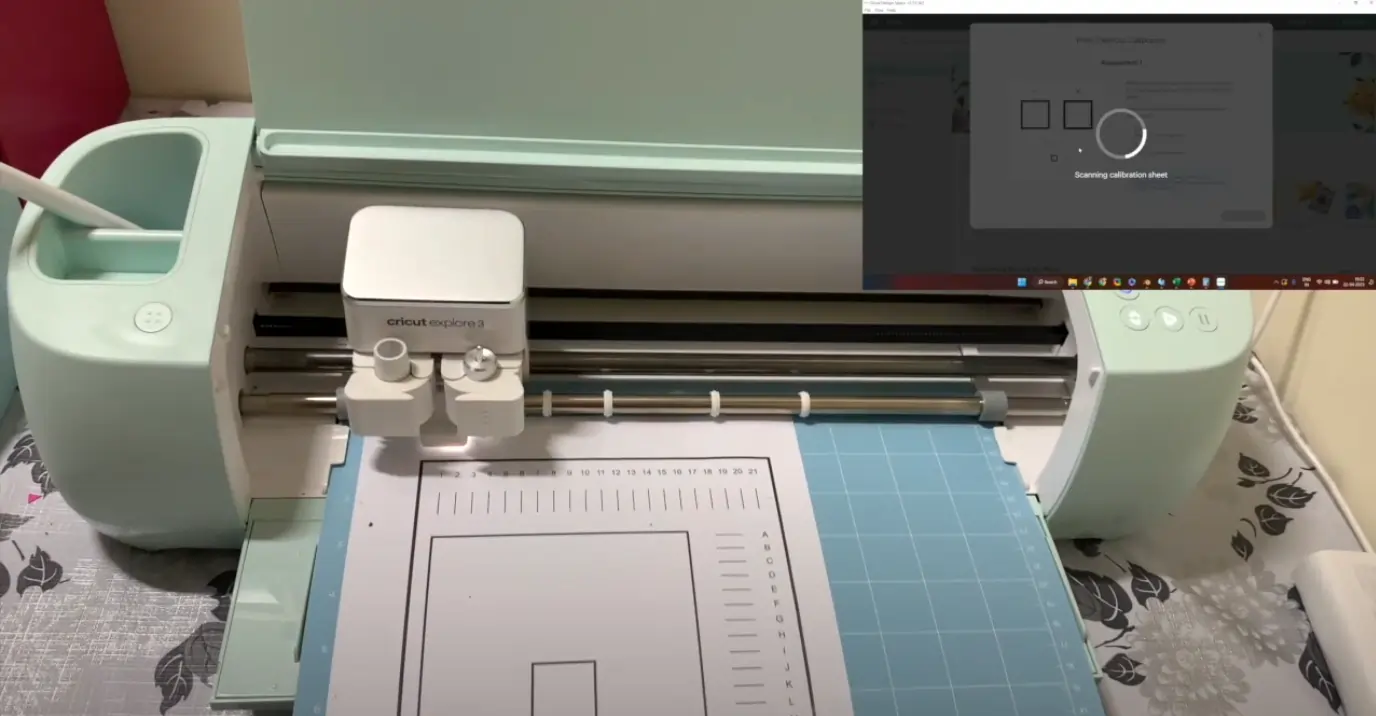
Step 9: Feed the mat into the machine and click the blinking button to begin calibration.
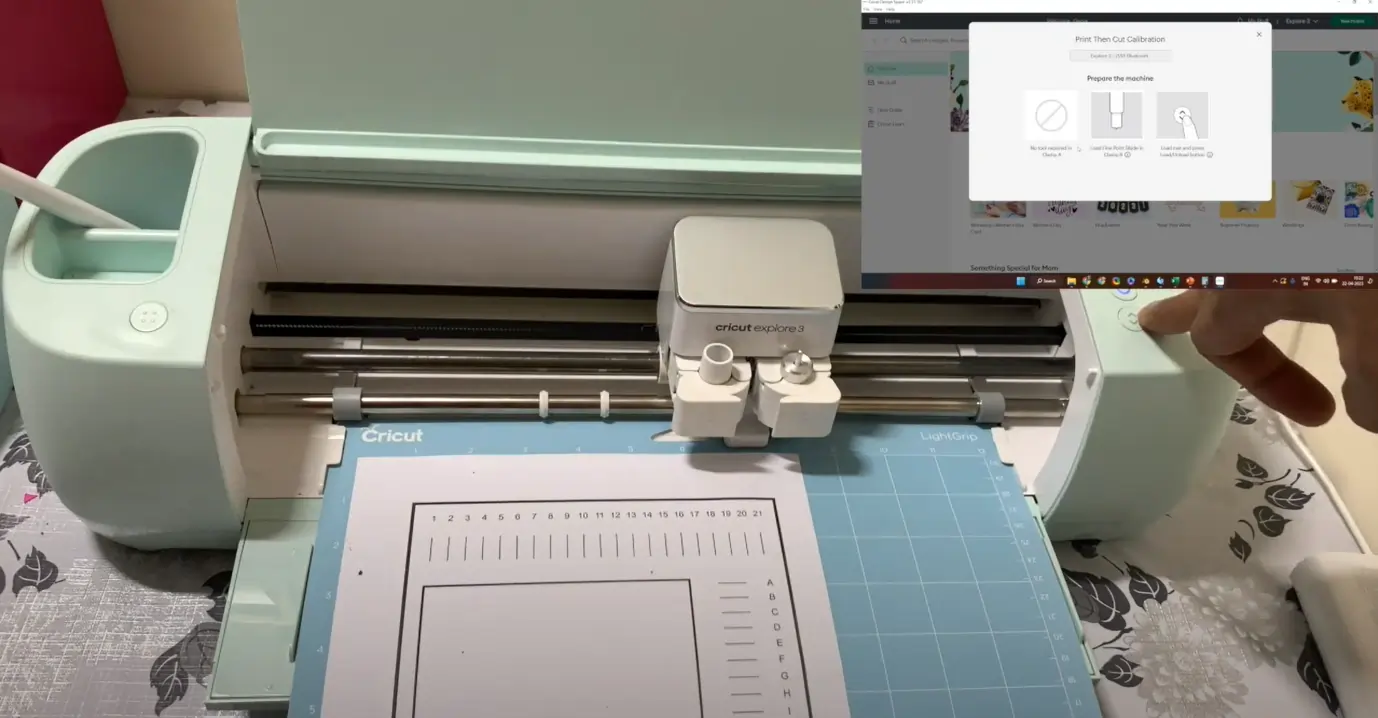
Step 10: The machine will find the printed area’s edges.
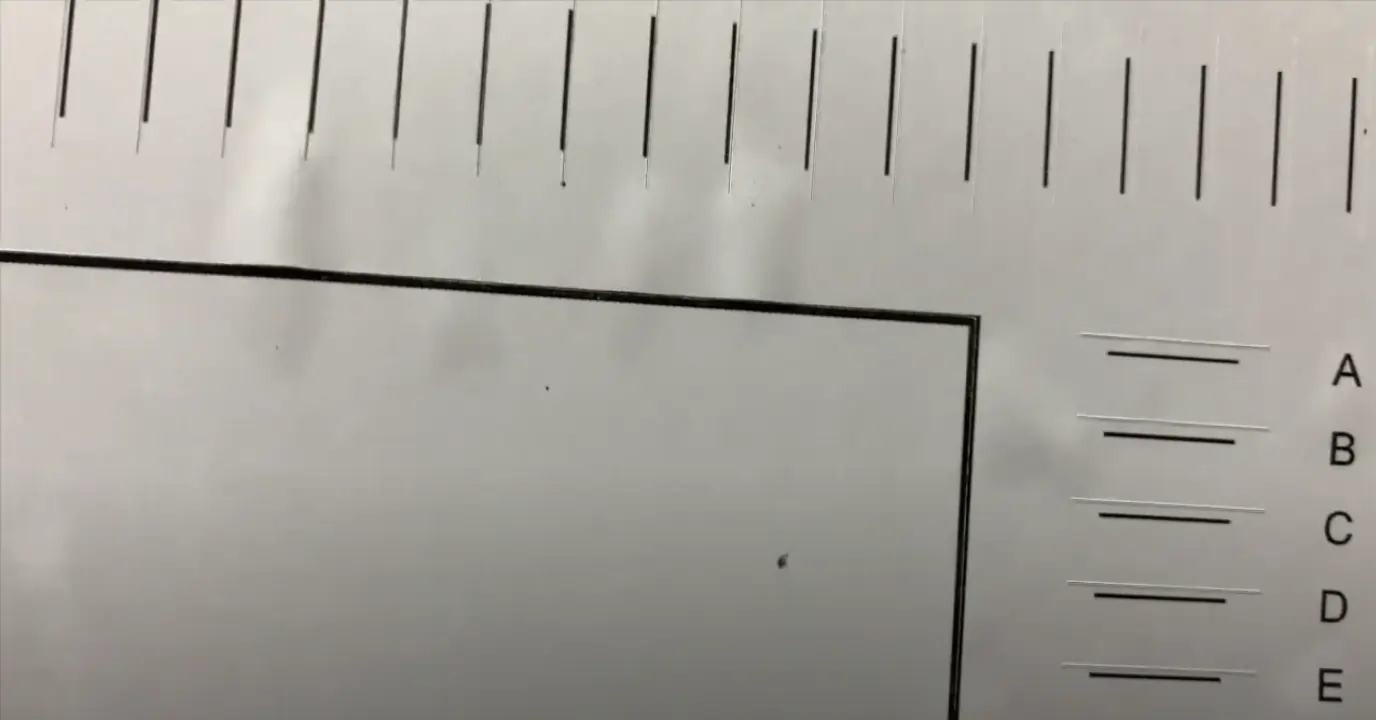
Step 11: Once that is done, it will cut out the centermost square, and always try to cut the center of the thick lines printed on the calibration sheet.
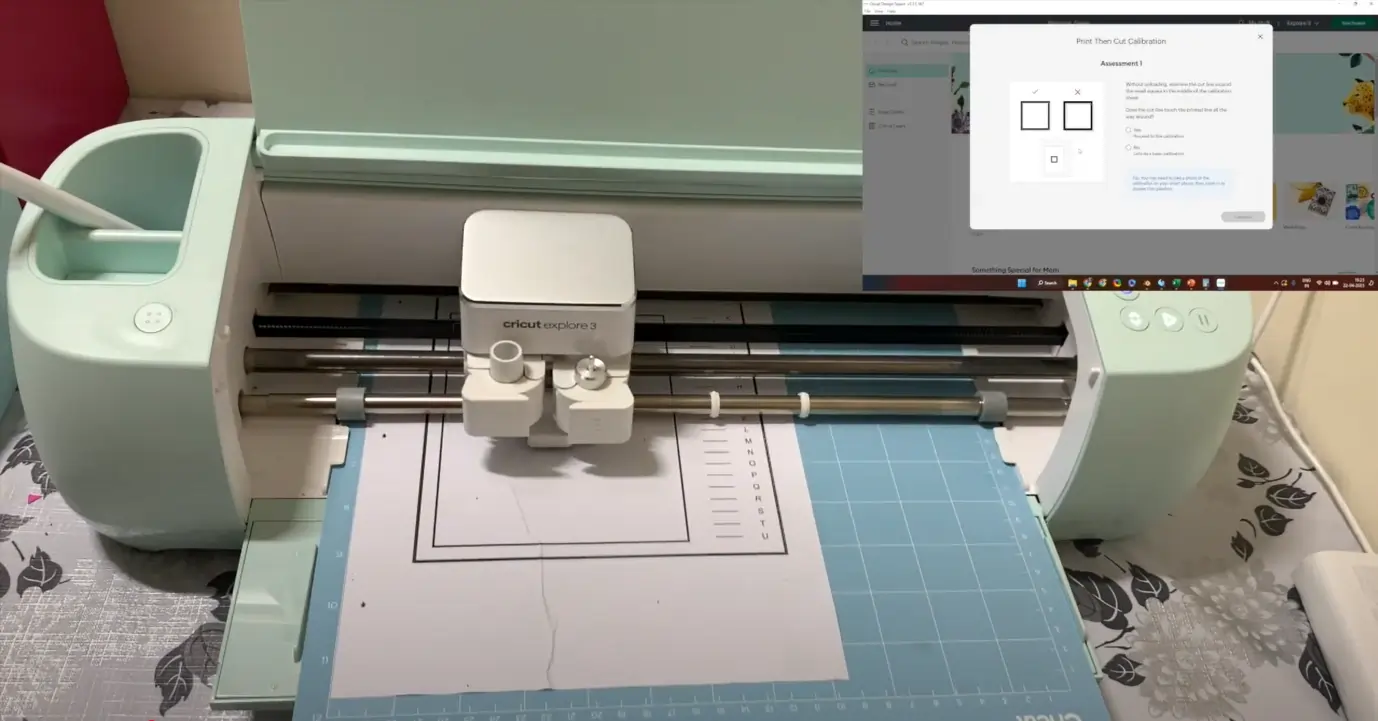
Step 12: Once the machine has cut the centermost square, it will cut the horizontal and vertical lines.
Step 13: Next, it’ll ask you to assess whether it was able to cut the center square properly.
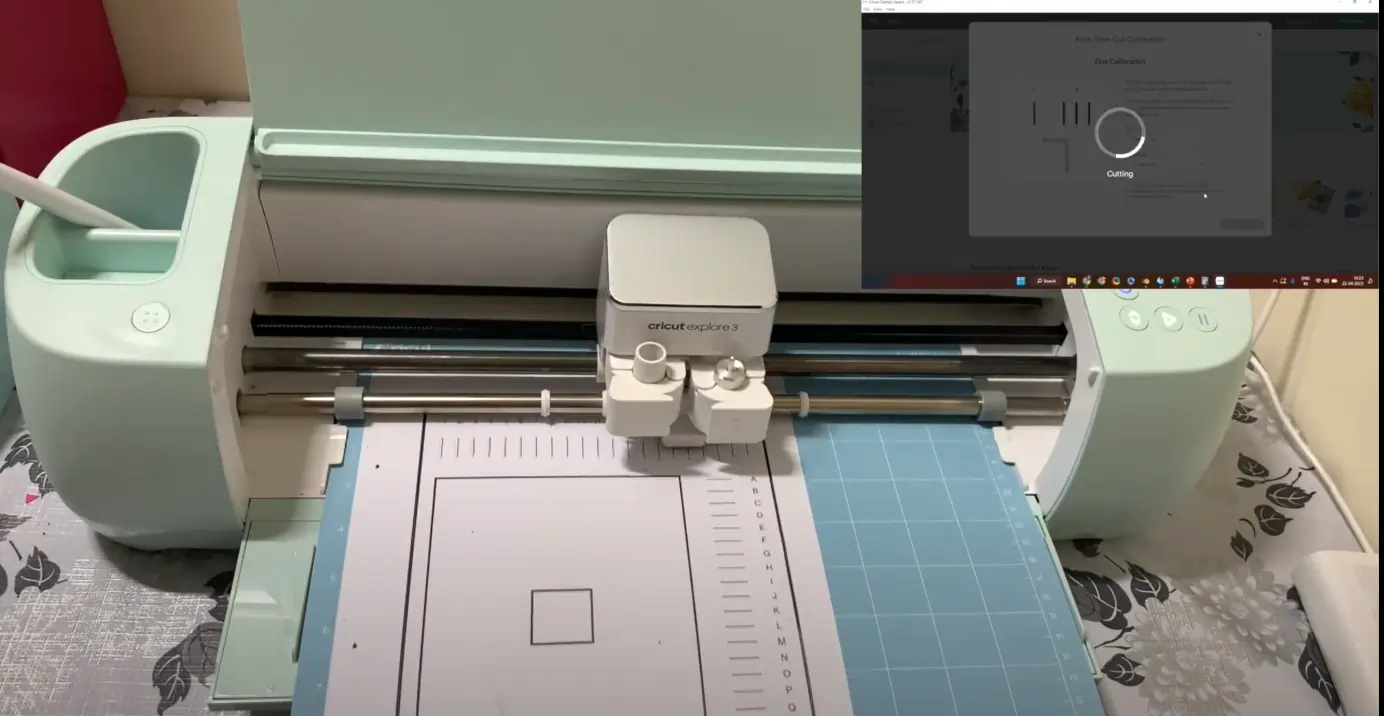
Step 14: If yes, it will ask you to proceed with fine calibration, where it will ask you to select the horizontal lines and vertical lines where the cut was made exactly in the center of the lines.
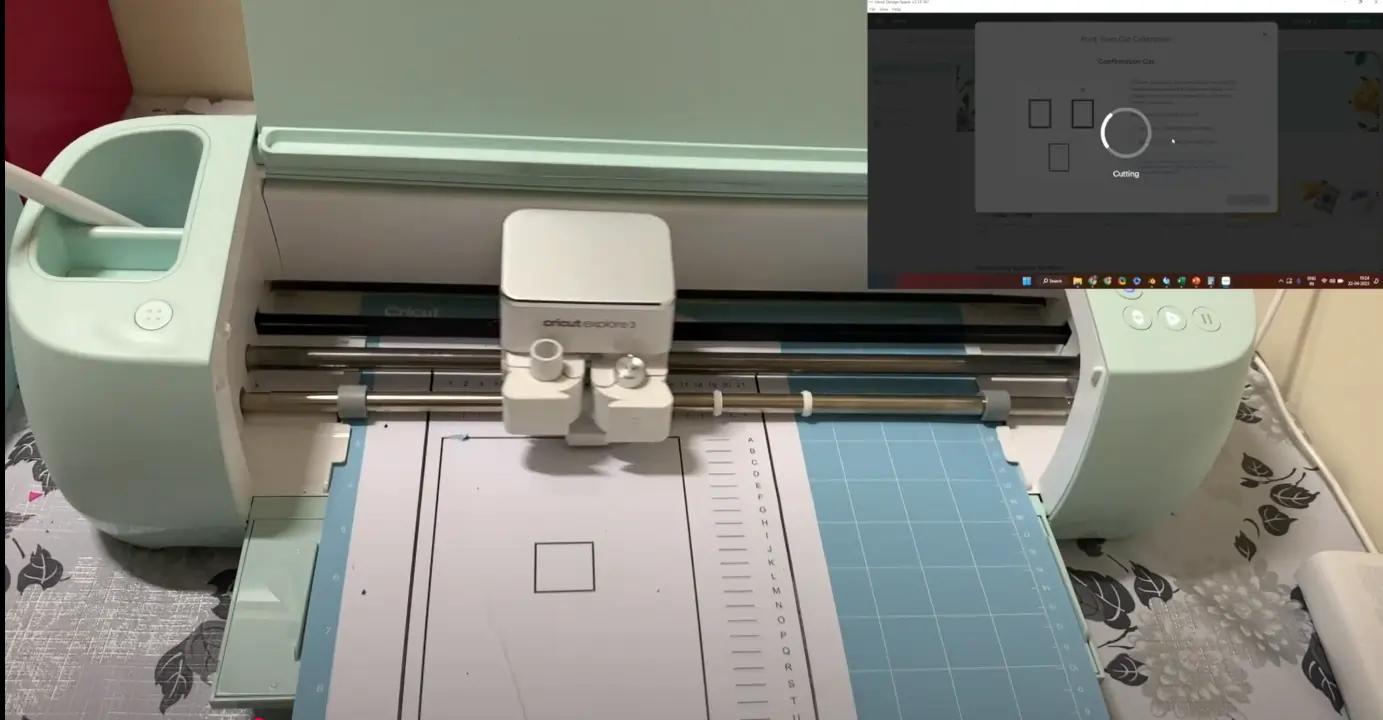
Step 15: Once you provide that information to the machine, it’ll cut the big rectangle in the center, and it will ask you to check whether the cut was made properly on the center of the thick border of the shape.
Step 16: If not, then the machine will save the generated data and prompt you to repeat the calibration process. You can repeat the entire process if you are unsatisfied with the cuts.
Step 17: If satisfied with the calibration, proceed to the cutting process.
Step 18: Once the calibration process is complete, click on Close.
Wrap Up
If your Cricut Explore 3 is calibrated, you can ensure that your cuts are smooth. With regular calibration, you can maintain consistent cutting quality and have your projects look professional-looking and precise over time.
Follow all the instructions to calibrate your Cricut machine with ease. Tackle potential issues that may come along.


