

Calibration is also important for the Print Then Cut feature to function effectively. It ensures that the machine cuts seamlessly along the edge of the printed image. The machine uses the Knife Blade Drive Housing for precise cuts that ensure quality results.
As a beginner, you need to know how to calibrate Cricut Maker 3. We have created a step-by-step guide on the same. Read further to get a detailed understanding.
Common Issues When Calibrating Cricut Maker 3
You may encounter specific challenges when you try to calibrate your Cricut cutting machine. These may include:
- Calibration not starting or getting stuck during the process
- The machine is not cutting precisely after calibration
- Error messages during calibration
- Calibration sheet misprints
Steps to Calibrate Cricut Maker 3
Calibration ensures that the Cricut machine gives optimal cut performance and alignment for your projects. Let’s glance at all the basic steps to calibrate your machine:
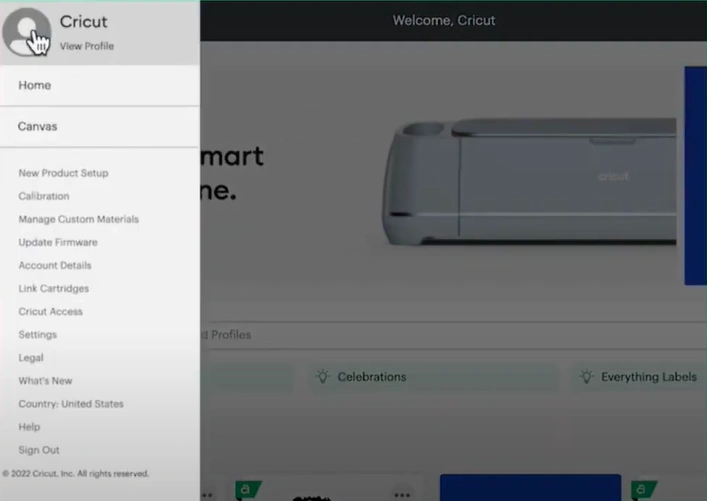
Step 1: Click on the menu in Cricut Design Space and select Calibration.
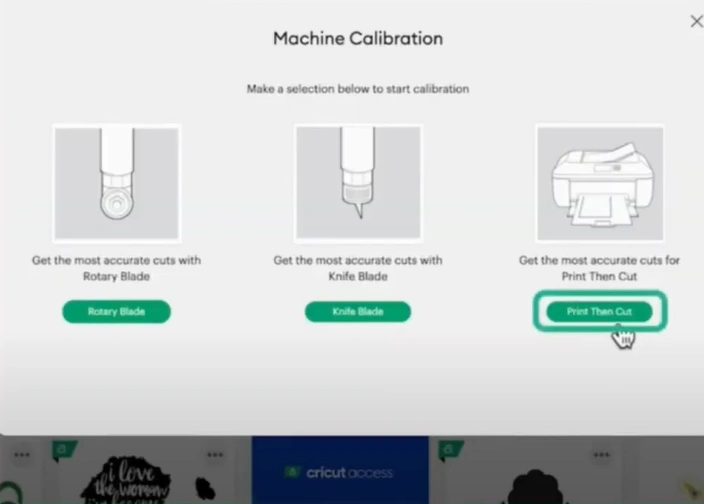
Step 2: Select Print Then Cut; choose your printer and click on Print to print a test sheet.
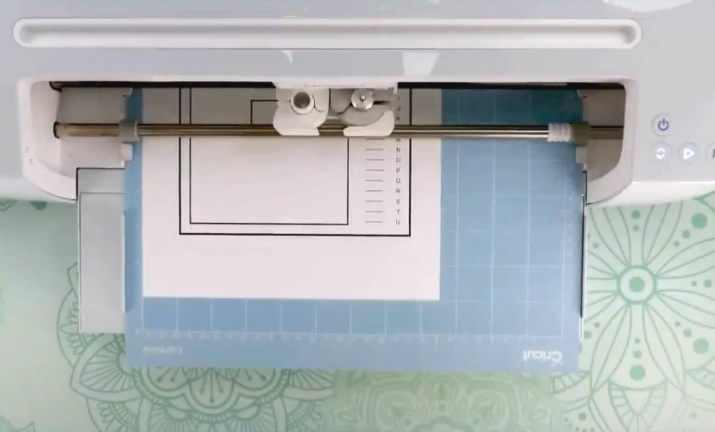
Step 3: Place the test sheet on a blue light grip mat and press the up and down arrow buttons to load.
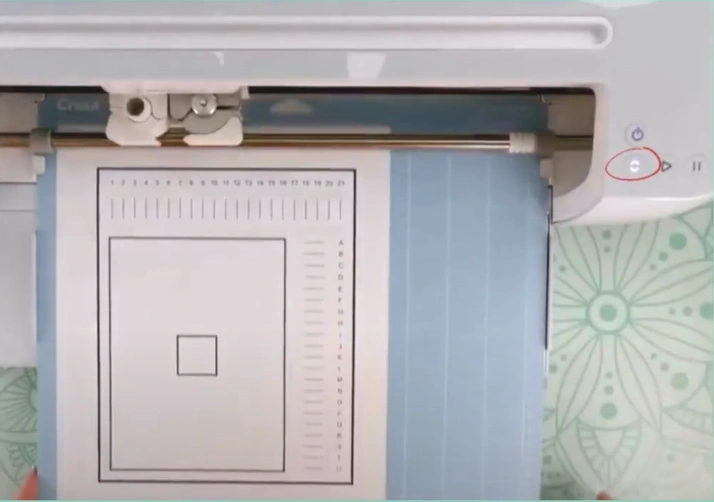
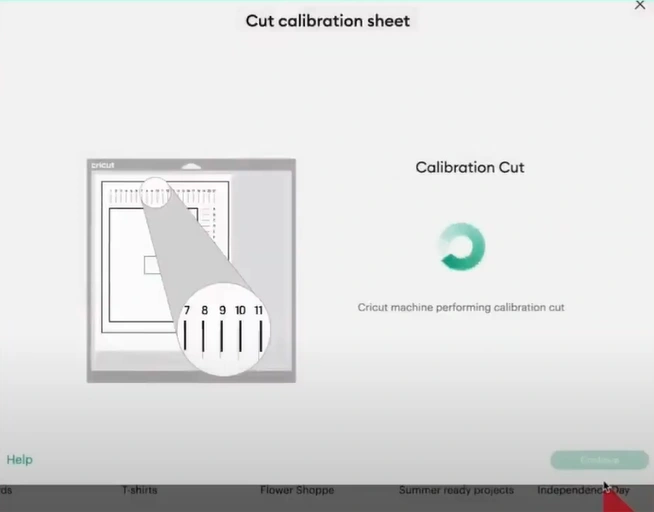
Step 4: Press the start button; Cricut will then scan the printout for calibration marking and will start cutting.
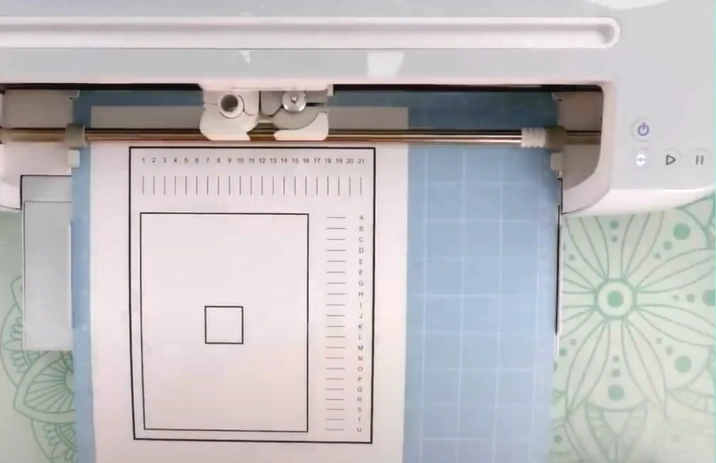
Step 5: Once done, check the cut and see if it touches the printed line without unloading the mat.
Step 6: Go to your computer, select Yes in the Design Space, and click Continue.
Also Read:- How to Set Up Bluetooth on Cricut Maker 3
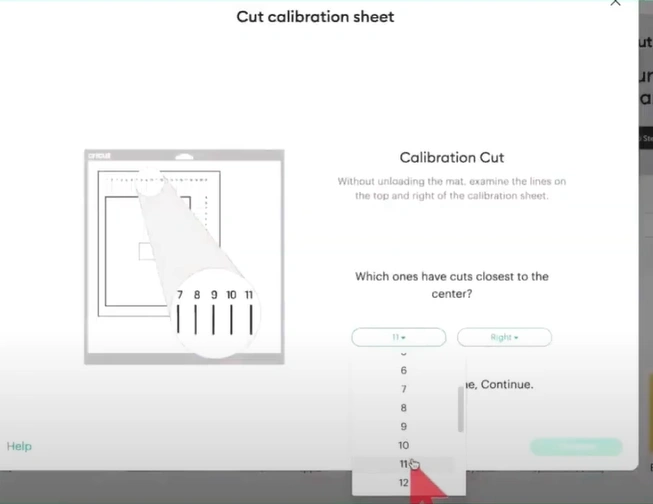
Step 7: Next, the machine will begin the calibration cut along the top and side of the page.
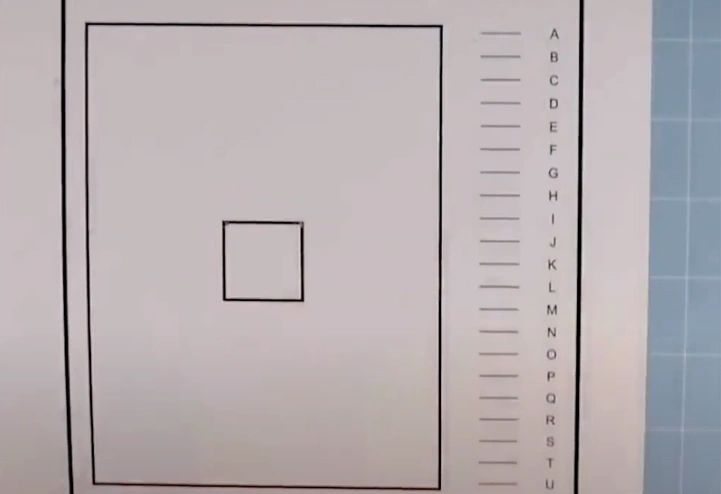
Step 8: Once done, determine which number and letter cuts are closest to the center printed lines without uploading the mat.
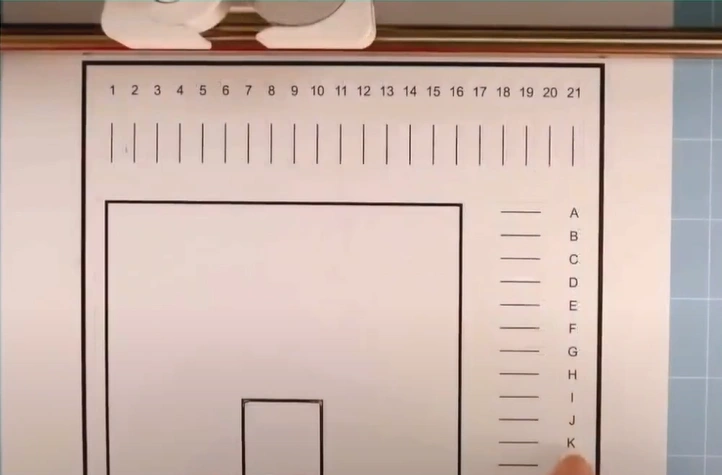
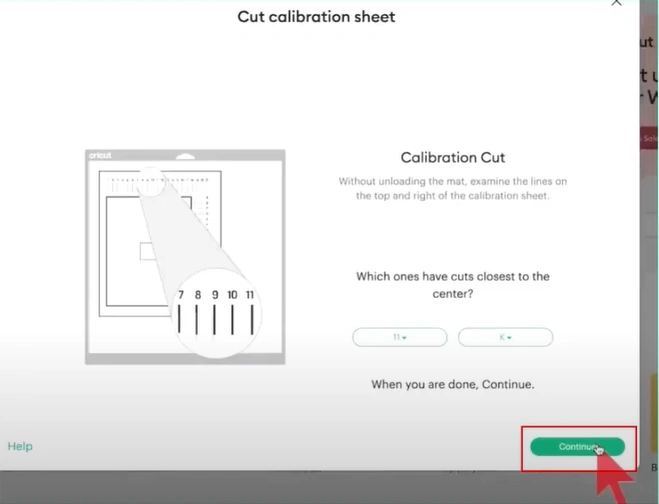
Step 9: In Design Space, click the Top and Right drop-down boxes and choose the corresponding number and letter.
Step 10: Then click on Continue.
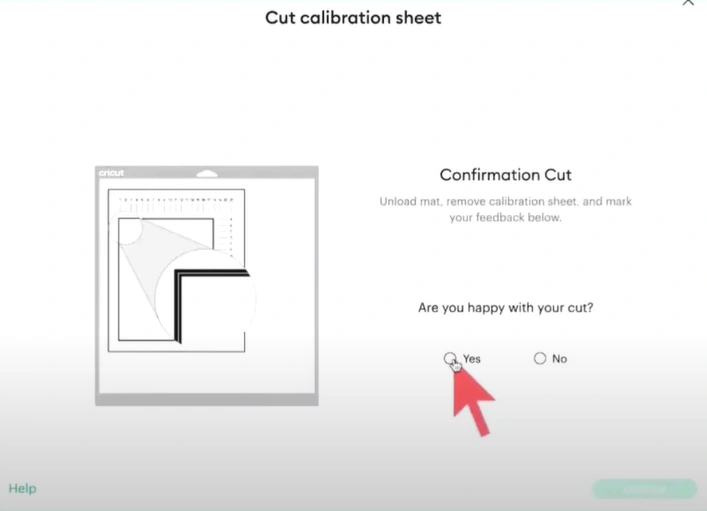
Step 11: The machine will then make a confirmation cut along the large rectangle; if you‘re happy with the cut, select Yes and click Continue.
To Sum Up
This guide on calibrating Cricut Maker 3 ends here. Now, you know the importance of calibration when using your crafting machine. Follow all the above instructions carefully for hassle-free calibration. If any problems arise during the process, they might stem from incorrect printer settings or insufficient lighting.
You can also reach an expert for any help calibrating the Cricut Maker 3.


