
You can expect a wireless connection when using Bluetooth to connect your crafting machine to your computer. This can be a much better option than USB cables. In addition, a Bluetooth connection is helpful for those who don’t have a USB port available on their computer.
But how to connect Cricut Explore 3 to Bluetooth? Here is a complete solution if you are using a Cricut machine and want to connect it to Bluetooth. Let’s start!
Common Problems When Connecting Cricut Explore 3 to Bluetooth
When you try to connect a crafting machine to a Bluetooth connection, you may face the following issues:
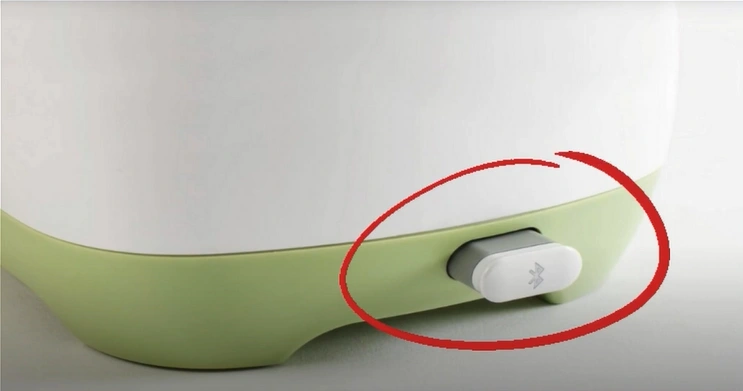
- Distance and positioning
- Driver problems
- Device compatibility
- Software updates
- Issues with the firewall
Steps to Connect Cricut Explore 3 to Bluetooth
Here are the essential steps you must know how to connect Cricut Explore 3 to Bluetooth:
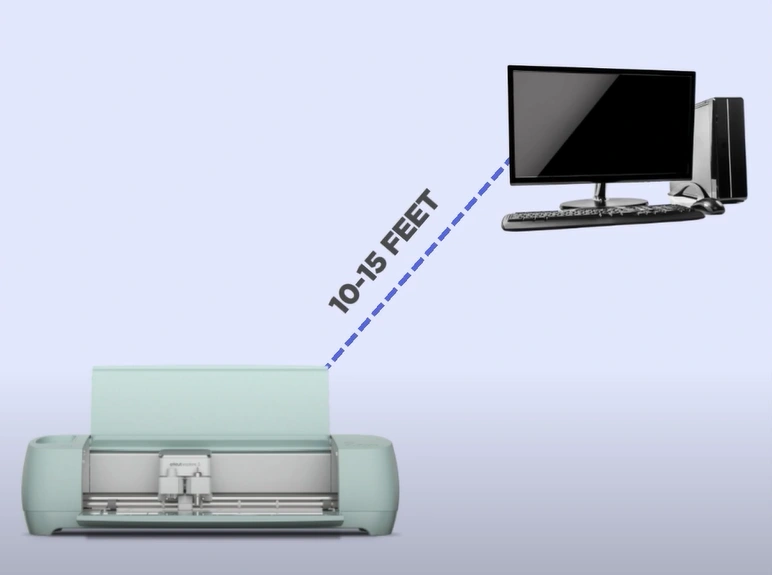
Step 1: Make sure the Cricut machine is powered on and within 10 to 15 feet of your computer.
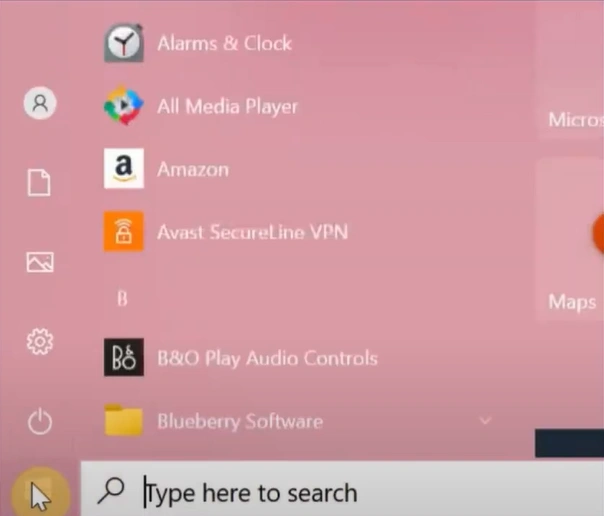
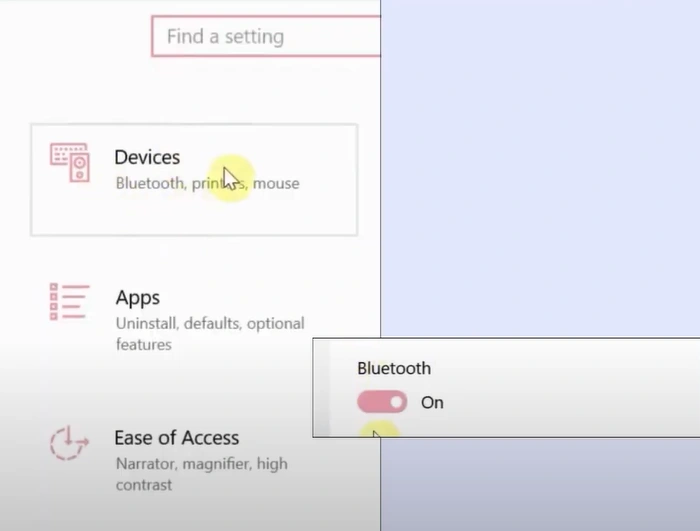
Step 2: Click on the Windows start button and select Settings.
Step 3: Click on Devices and ensure Bluetooth is turned on. If it is not, then turn it on.
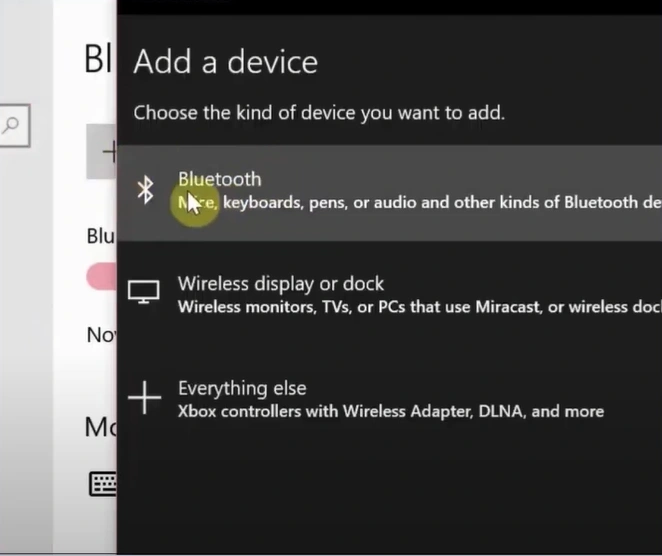
Step 4: Click Add Bluetooth or Other Device, select Bluetooth, and wait for the computer to detect the machine.
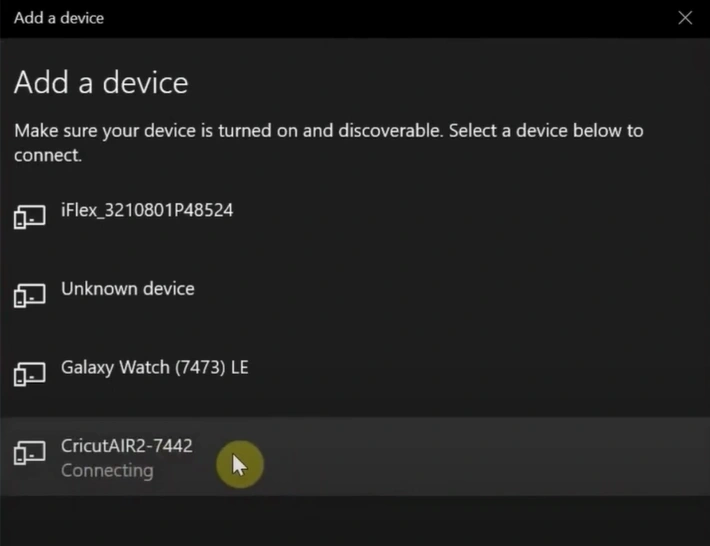
Step 5: Select your machine from the list.
Also Read:- How to Uninstall Cricut Design Space
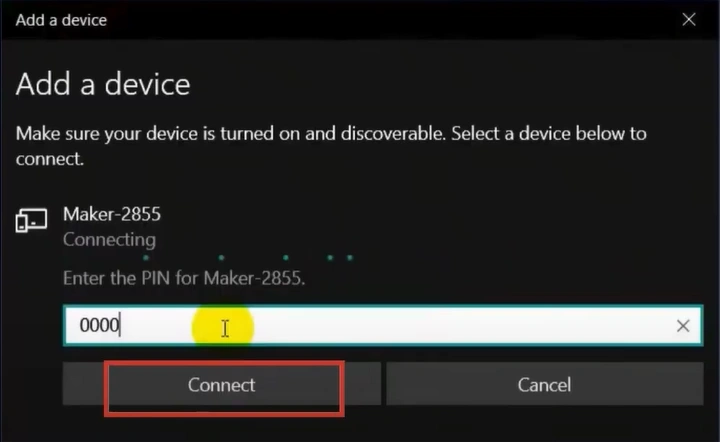
Step 6: If prompted to enter the pin, enter the default pin or the one you’ve set and click Connect.
Step 7: Click Done once it says Your Device is Ready to Go.
In a Nutshell
Follow the steps above to connect your Cricut Explore 3 to Bluetooth. Connecting the machine to Bluetooth provides a wireless, hassle-free crafting experience. When connecting a crafting machine to Bluetooth, you may encounter issues like driver problems, device compatibility, or software updates. So, tackle these issues carefully to ensure a smooth connection process.
For any difficulties or help, you can consider reaching out to a professional for support. You can get the necessary technical support to ensure a successful connection.


