Be it a beginner or an experienced user, both should be aware of the benefits of connecting Cricut Explore Air 2 to bluetooth. It improves the workflow, and the users can unleash more creative opportunities. Connecting your Cricut Explore Air 2 to Bluetooth may seem simple. As you connect it, you can link your device seamlessly with the Cricut machine.
However, while connecting your Cricut Explore Air 2 to Bluetooth, certain problems may arise. These can be pairing failure, hardware malfunction, or interference.
If you want to know how to connect your Explore Air 2 machine to your computer, there are specific steps to follow. Let’s learn how to get your Cricut Explore Air 2 connected to Bluetooth.
Connect Cricut Explore Air 2 Bluetooth With These Steps
Link your device accurately with Cricut Explore Air 2 using the following steps. Perform each step with care:
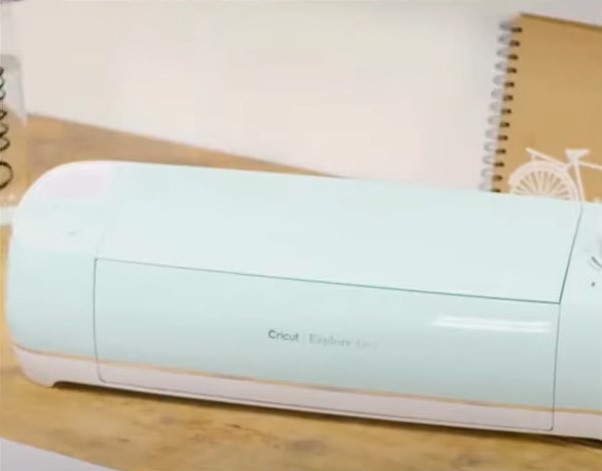
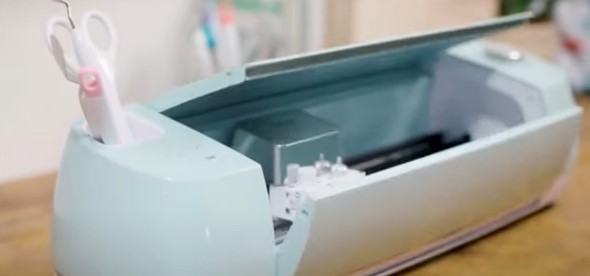
Step 1: First, carefully unbox the machine.
Step 2: Insert the power cable into the machine and the power outlet.
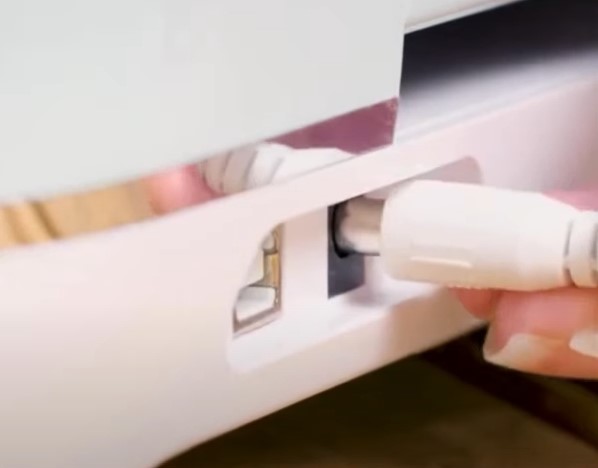
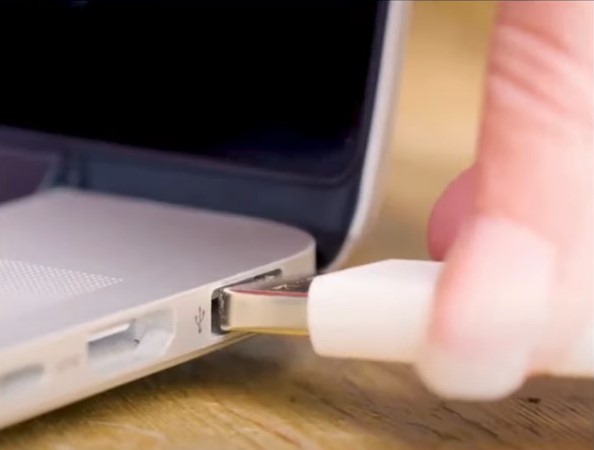
Step 3: Insert the USB cable into the machine and the other end of the computer.
Step 4: Open the web browser and navigate to the official Cricut Setup page.

Step 5: Power on the machine and open it.
Step 6: Check that I agree to the Cricut Terms of Use and Privacy Policy and click Download.

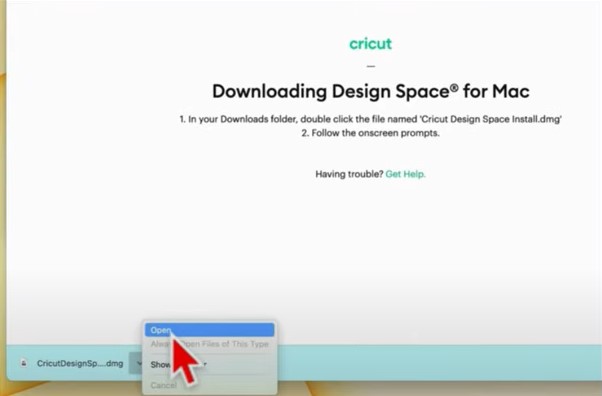
Step 7: Wait for it to download, then open the downloaded file.
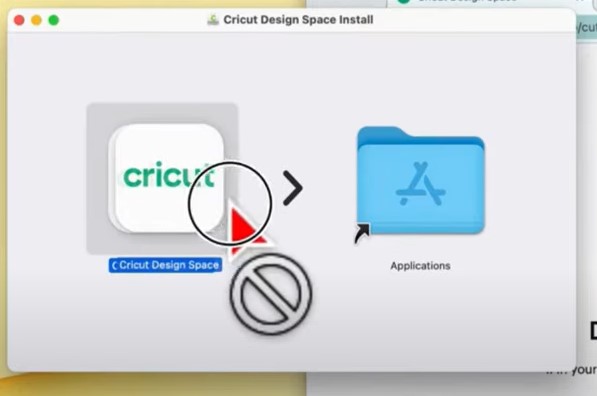
Step 8: Drag and drop the Design Space app into the Application folder.
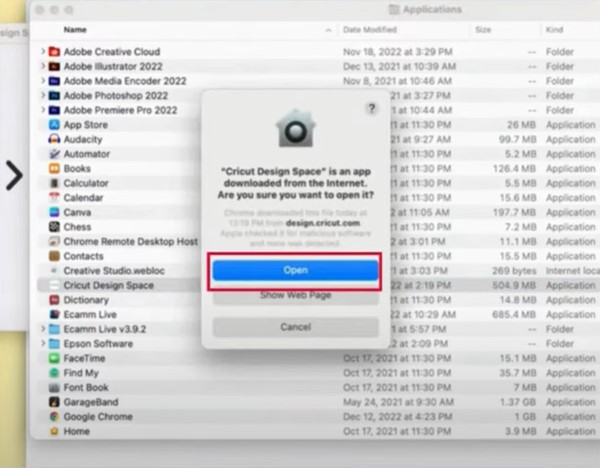
Step 9: Open the Application folder, locate and double-click Cricut Design Space, and click Open if you get a pop-up prompt.
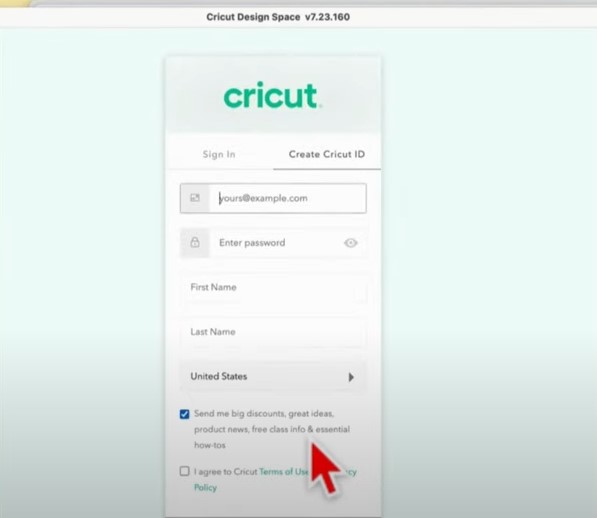
Step 10: Click Product Setup, then sign in or Create a Cricut ID if you do not have one.
Also Read:- How to Setup Cricut Joy Machine?
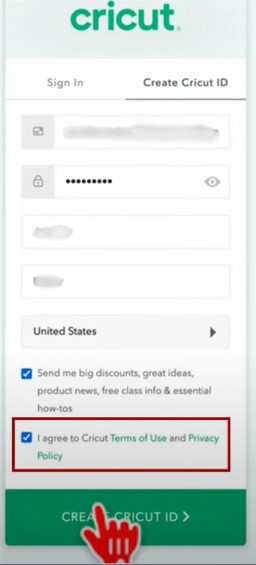
Step 11: Once you’ve filled out all the information, check the terms of use and privacy policy box, and click Create Cricut ID.
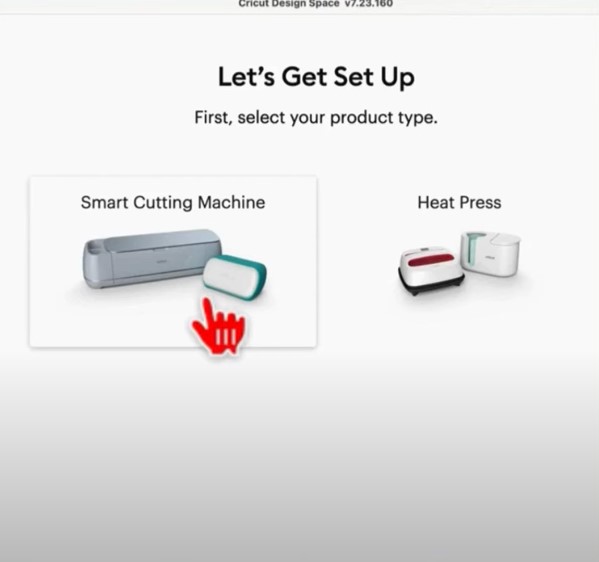
Step 12: Select Smart Cutting Machine and then select Cricut Explore Family.
Step 13: Follow the instructions and click the right arrow button through the Prepare Workspace and Find and Outlet screen.

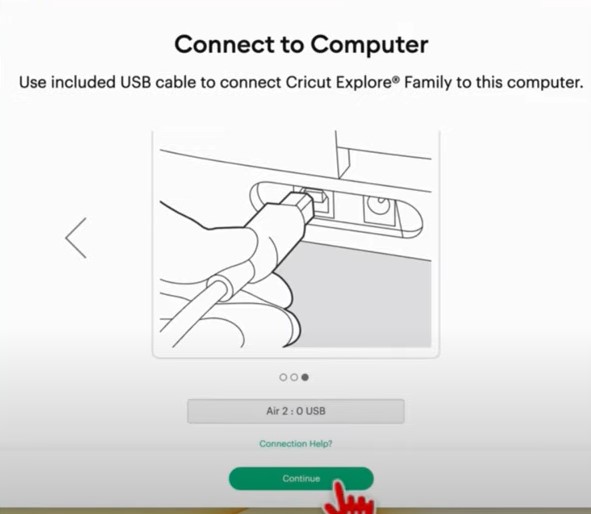
Step 14: When you get to the Connect to Computer screen, if you wish to connect via Bluetooth, navigate to Bluetooth.
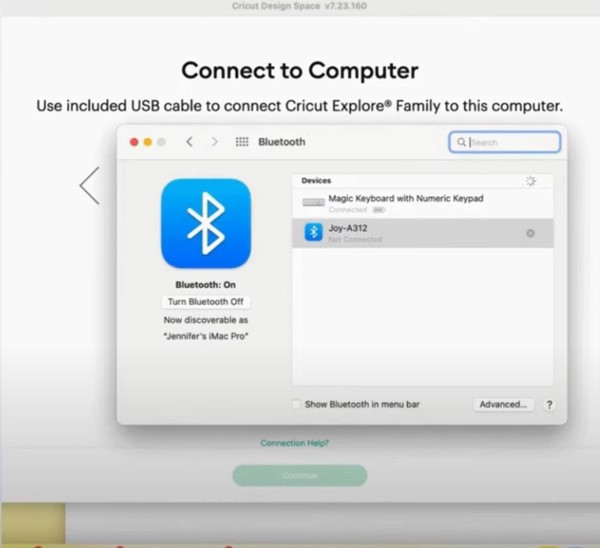
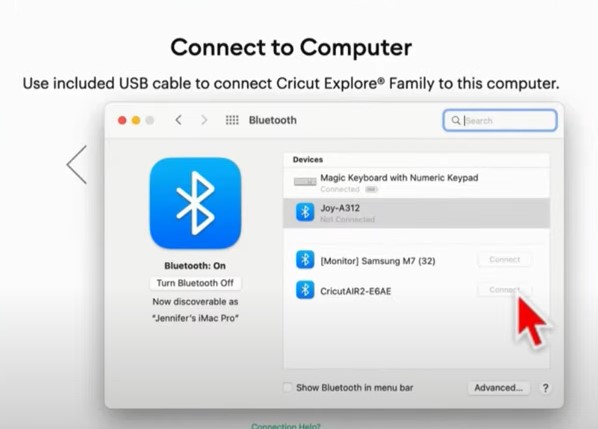
Step 15: Make sure that Bluetooth is turned on and click Connect next to the Cricut Explore Air 2
Step 16: Go back to Cricut Design Space and click the Select Cricut Device drop-down.
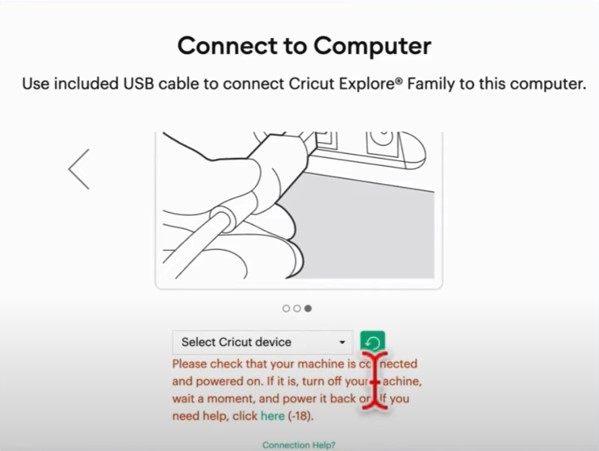
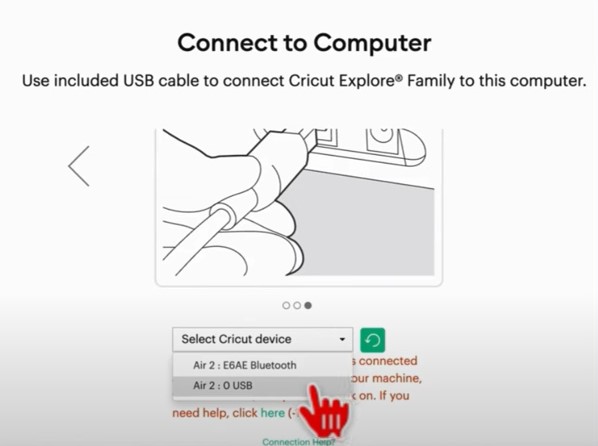
Step 17: Select Air 2: E6AE Bluetooth or Air 2:0 USB, depending on your connection method.
Step 18: Give it a minute to load and click Continue.
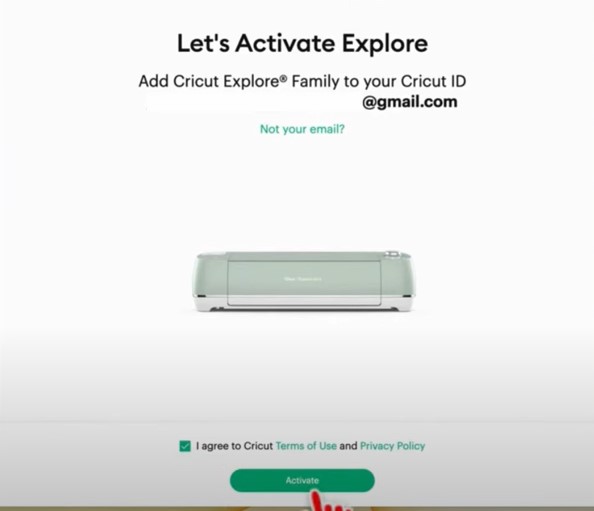
Step 19: When you get the Let’s Activate Explore screen, double-check your email address, agree to the terms of use and policy, and click Activate.
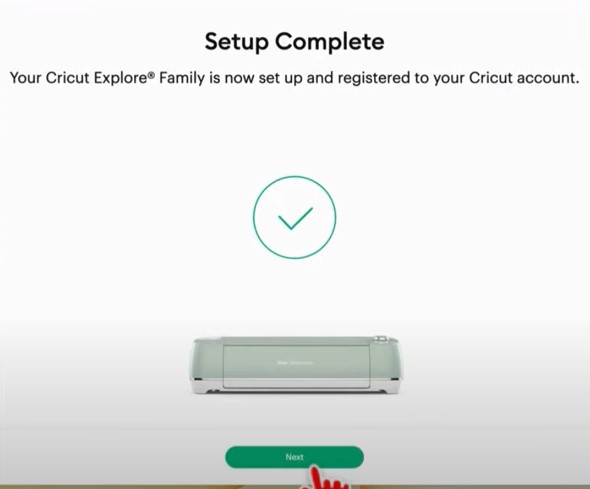
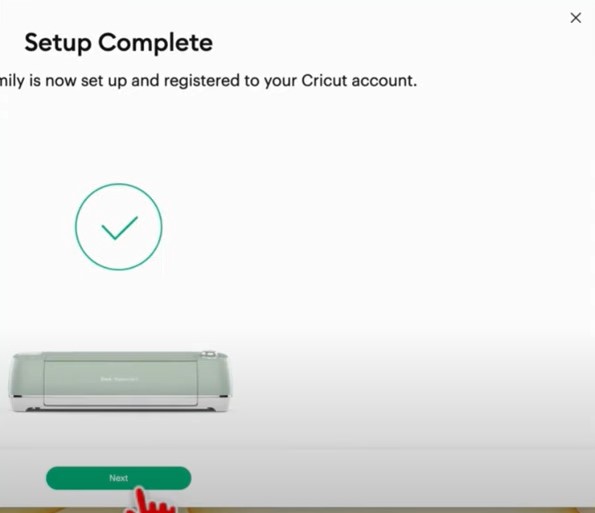
Step 20: When you get the Setup Complete Screen, click Next.
Step 21: Now, you can sign up for Cricut access or sign up later.
Step 22: Go ahead and try a test cut following the on-screen prompts.

Conclusion
All these steps mentioned above to connect Cricut Explore Air 2 Bluetooth can immensely help streamline your crafting process. You can now use Cricut Explore Air 2 and your device from any location.
Do you still need assistance connecting Cricut Explore Air 2 Bluetooth? If so, you must contact an expert.