The Cricut Explore Air 2 is Bluetooth-compatible, allowing wireless connectivity. You can have a cordless setup when you are connected wirelessly to your computer. To connect via Bluetooth, you must first pair your machine with your computer. Go to the Bluetooth settings and select the Cricut from the list of available devices.
We share a tutorial in detail about the complete process of connecting Cricut Explore Air 2 to a computer. Let us walk you through it.
Common Issues When Connecting Cricut Explore Air 2 to Computer
Before we learn how to connect Cricut Explore Air 2 to computer let us make you aware of the potential problems you may face during the process. These can be the following:
- Driver issues
- Incorrect device name
- Bluetooth problems
- Interference from other devices
Steps to Connect a Cricut Explore Air 2 to Your Computer
Here are all the steps you need to know about how to connect your computer to Cricut Explore Air 2:
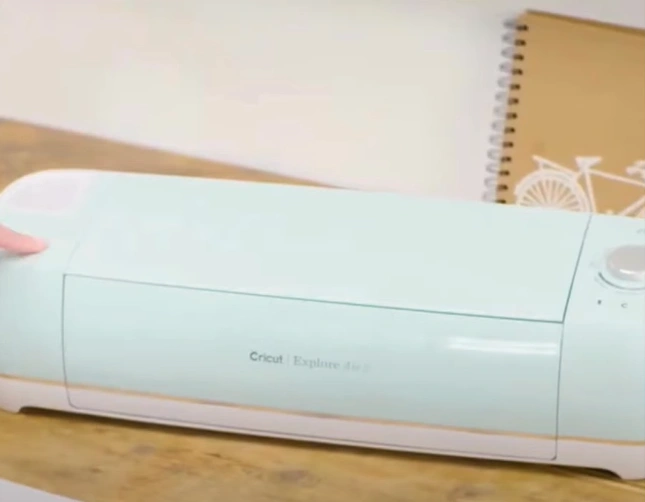
Step 1: Start by inserting the power cable into the Cricut Explore Air 2 and the power outlet. Insert one end of the USB cable into Cricut and the other end into the computer.
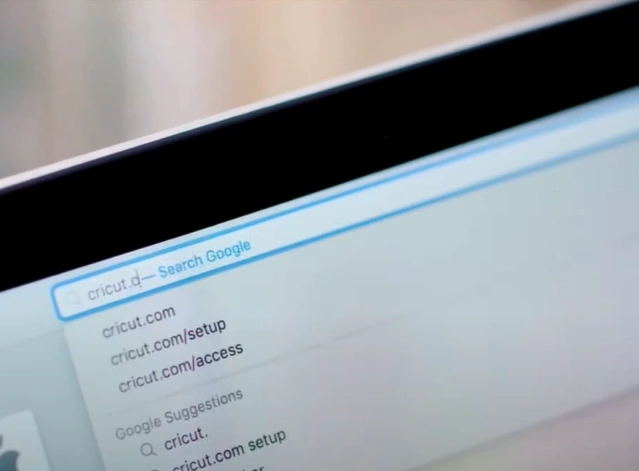
Step 2: Open the web browser and navigate to the official Cricut Setup page.
Step 3: Power on the machine and open it.
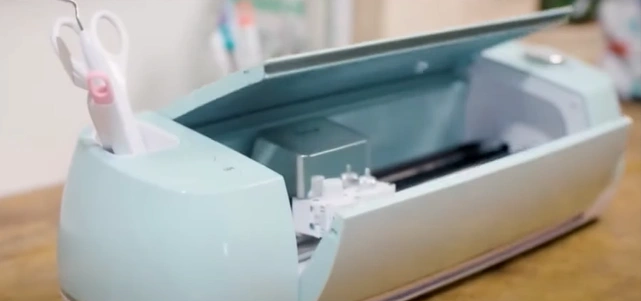
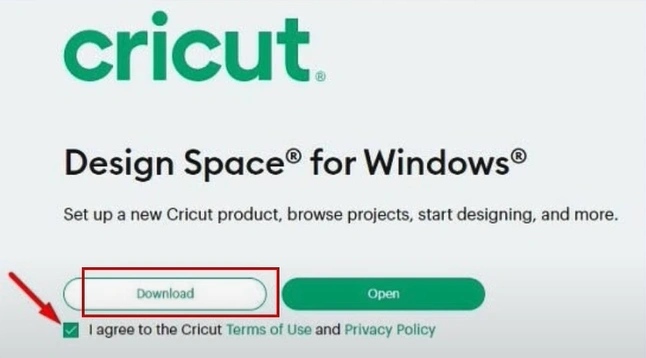
Step 4: Check the I agree to the Cricut Terms of Use and Privacy Policy and click Download.
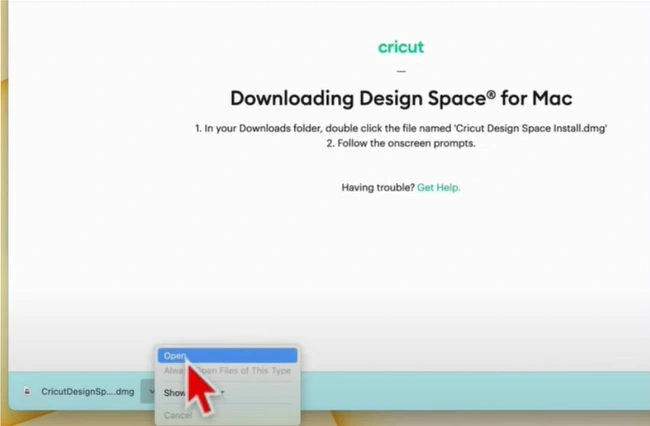
Step 5: Wait for it to download, then open the downloaded file.
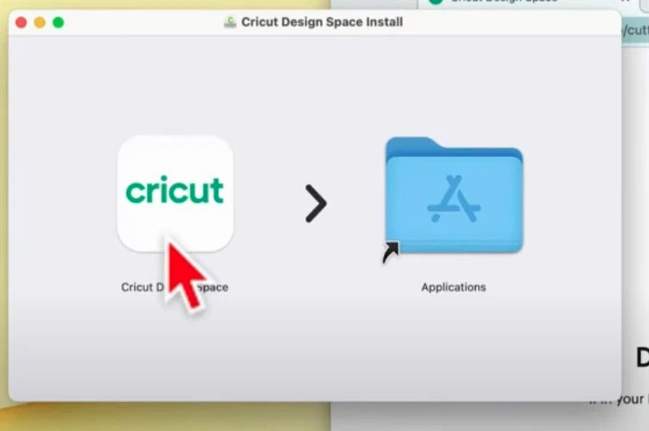
Step 6: Drag and drop the Design Space app into the Application folder.
Step 7: Open the Application folder, locate and double-click Cricut Design Space, and click Open if you get a pop-up prompt.
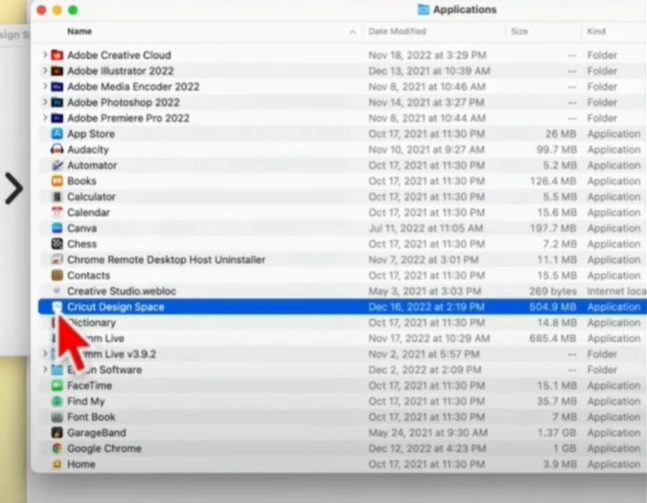
Step 8: Click Product Setup, then Sign in or Create a Cricut ID if you do not have one.
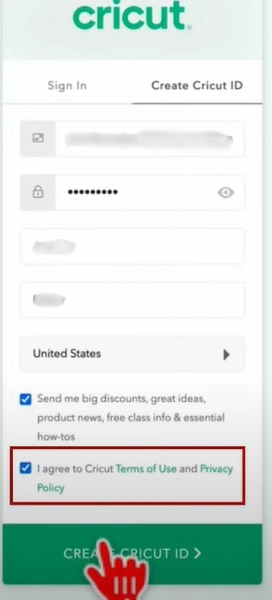
Step 9: Once you’ve filled out all the information, check the terms of use and privacy policy box, and click Create Cricut ID.
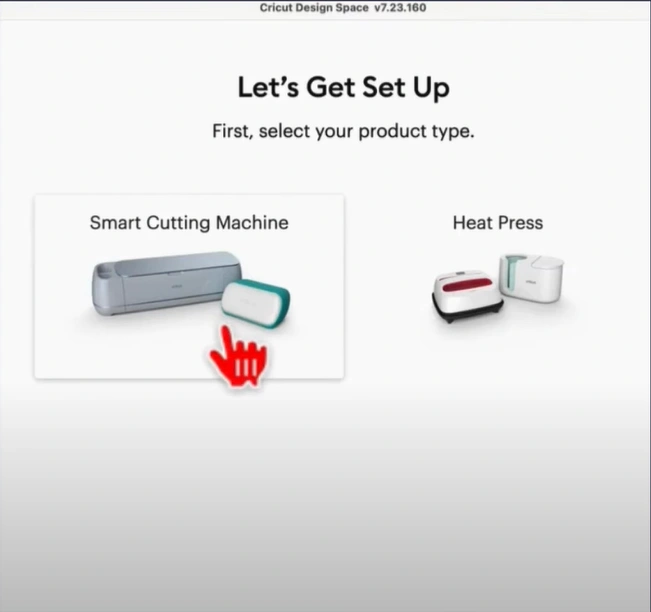
Step 10: Select Smart Cutting Machine and then select Cricut Explore Family.
Also Read:-How to Connect Cricut Explore Air 2 to Bluetooth
Step 11: Follow the instructions and click the right arrow button through the Prepare Workspace and Find and Outlet screen.
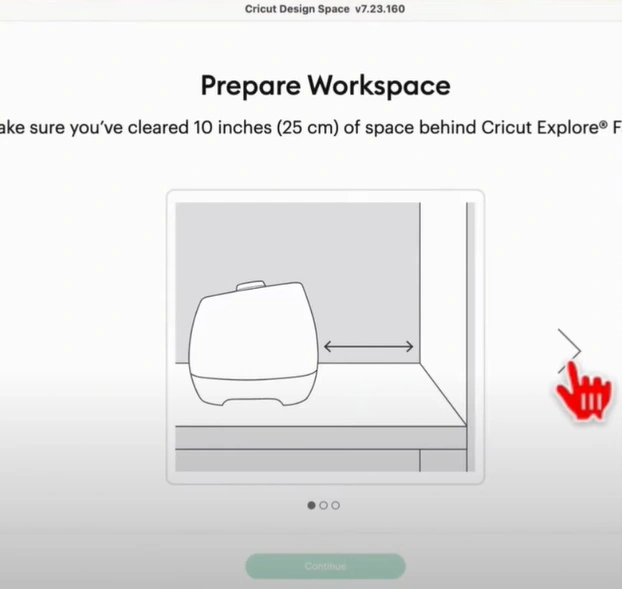
Step 12: When you get to the Connect to Computer screen., if you wish to connect via Bluetooth, navigate to Bluetooth.
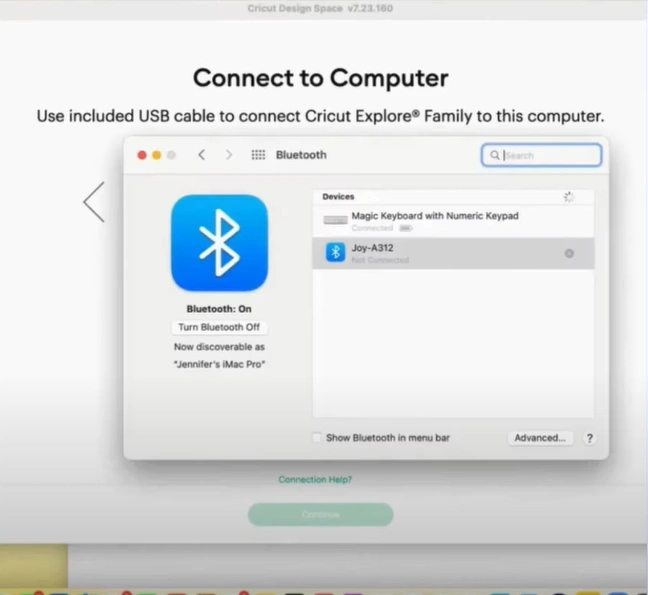
Step 13: Make sure that Bluetooth is turned on and click Connect next to the Cricut Explore Air 2.
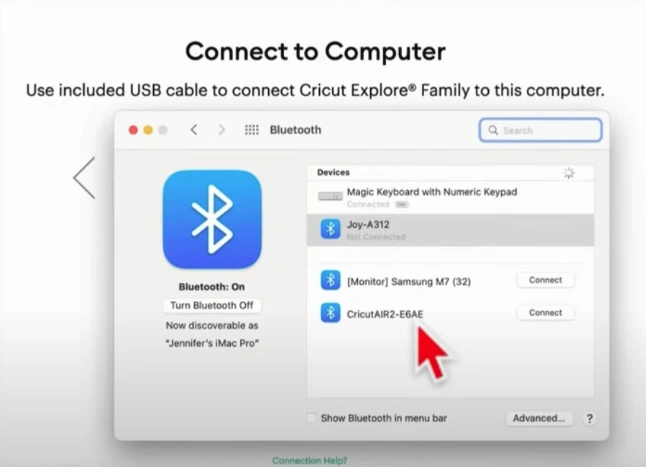
Step 14: Go back to Cricut Design Space and click the Select Cricut Device drop-down.
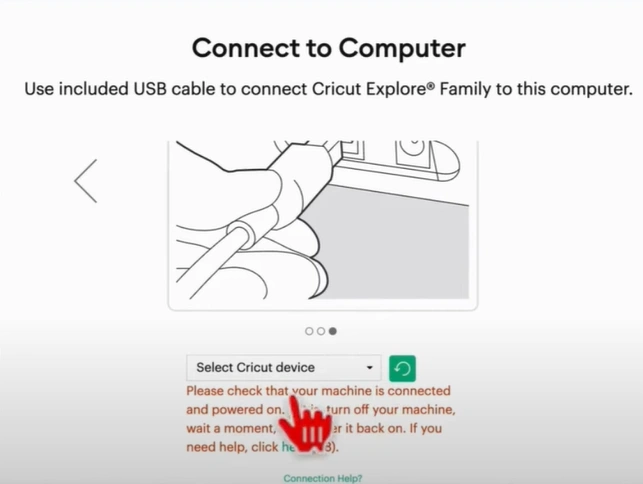
Step 15: Select Air 2: E6AE Bluetooth or Air 2: 0 USB, depending on your connection method.
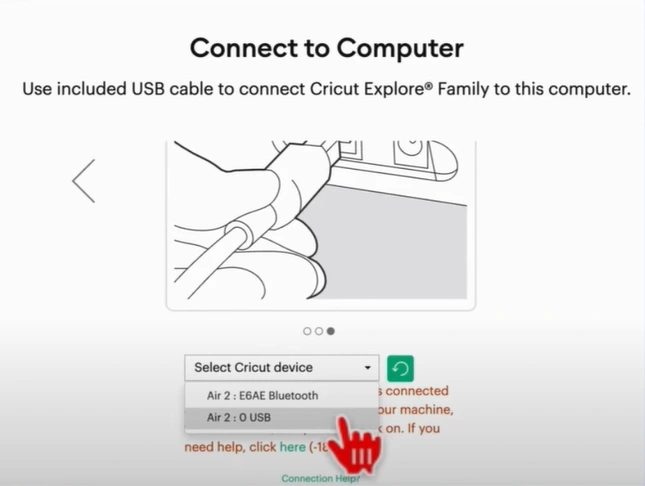
Step 16: Give it a minute to load and click Continue.
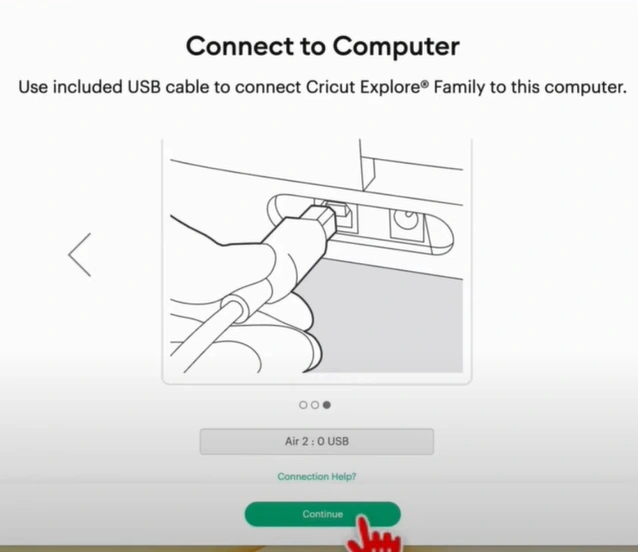
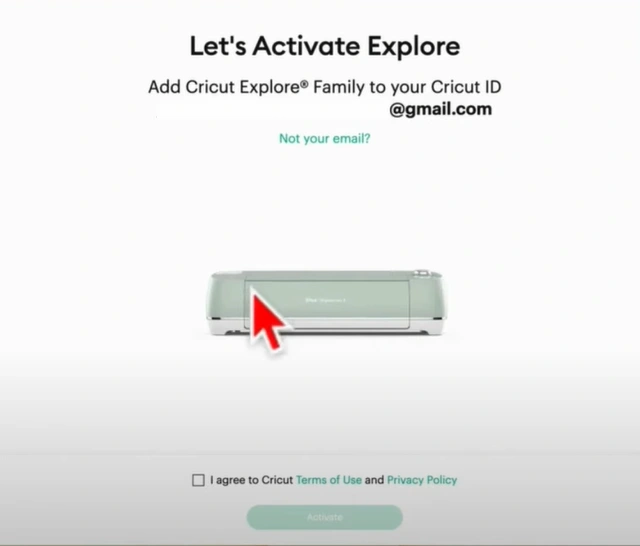
Step 17: When you get the Let’s Activate Explore screen, double-check your email address, agree to the terms of use and policy, and click Activate.
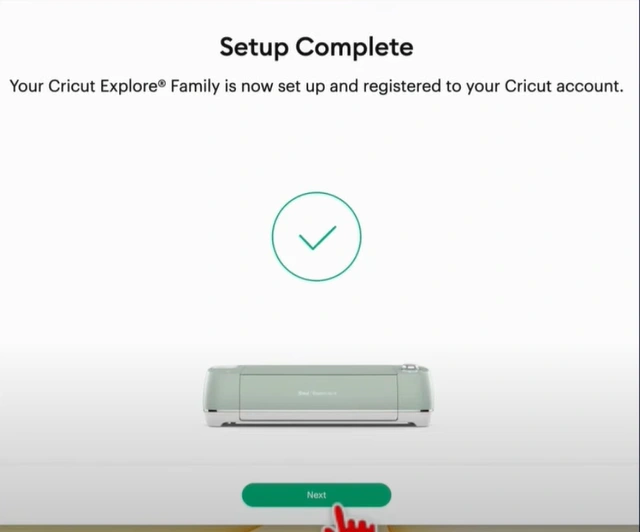
Step 18: When you get the Setup Complete screen, click Next.
Step 19: Now, you can sign up for Cricut Access or sign up later.

Wrap Up
Connecting Cricut Explore Air 2 to computer provides easy access to various tools and features of Design Space. Also, you can enjoy working on a cordless setup with a wireless connection. Once connected, you can easily send designs from your computer to your crafting machine.
For any connectivity issues, you can consult Cricut customer support or a professional for assistance.


