However, you might encounter potential problems while connecting the Cricut Joy machine, such as connectivity issues, firmware update failures, software glitches, or slow performance.
Here, we discuss the step-by-step guide explaining the complete process of connecting Cricut Joy to your computer. Read further to learn how to connect your Cricut Joy to your computer.
What Are The Steps For Connecting Cricut Joy to Computers?
If you want to connect Cricut Joy to your computer precisely, adhere to the following steps:
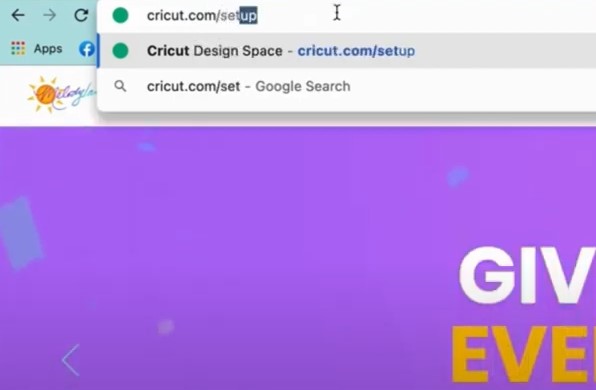
Step 1: First, navigate to the official Cricut setup web page.
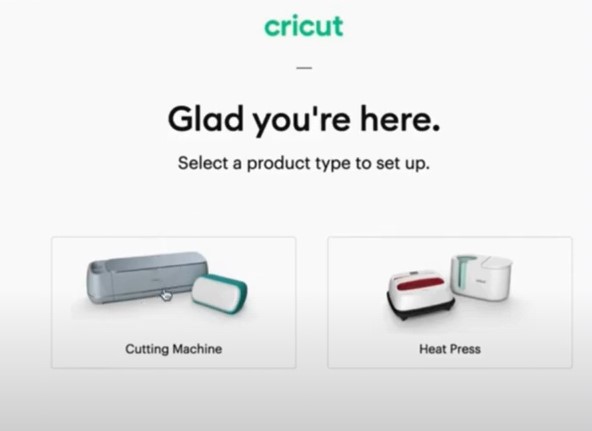
Step 2: Select Smart Cutting Machine, then select Cricut Joy.
Step 3: If you do not have Cricut Design Space downloaded, check the I agree to Cricut Terms of Use and Privacy Policy, then click Download Now.
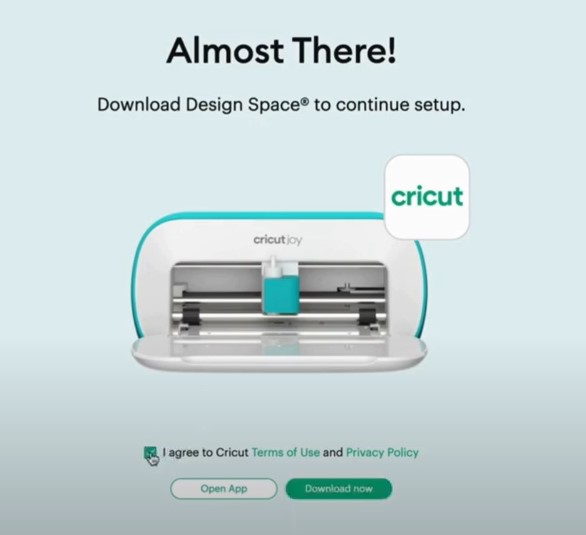
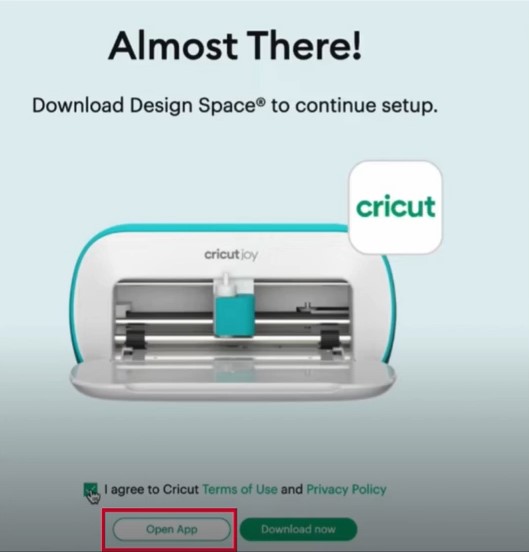
Step 4: If you already have Cricut Design Space downloaded, click Open App.
Step 5: When you get to the Prepare Workspace screen, follow the instructions and click the next arrow button.
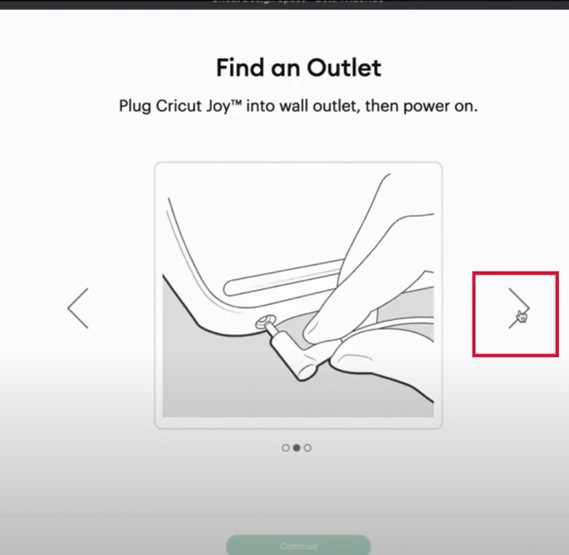
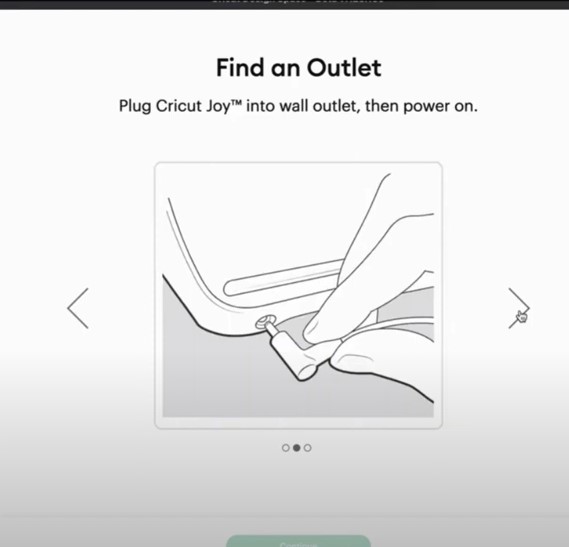
Step 6: When it tells you to find an outlet, go ahead and plug the power cord into the wall outlet and the machine.
Step 7: When you get to the Connect to Computer step, navigate to Bluetooth settings and make sure that it’s turned on.
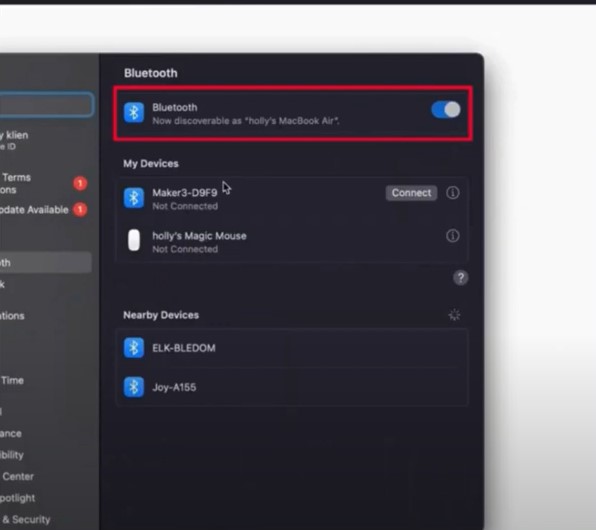
Step 8: Then go ahead and select Cricut Joy from the list of devices available.
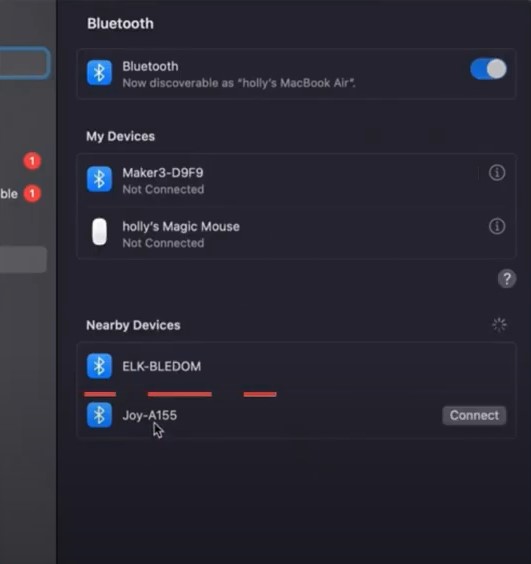
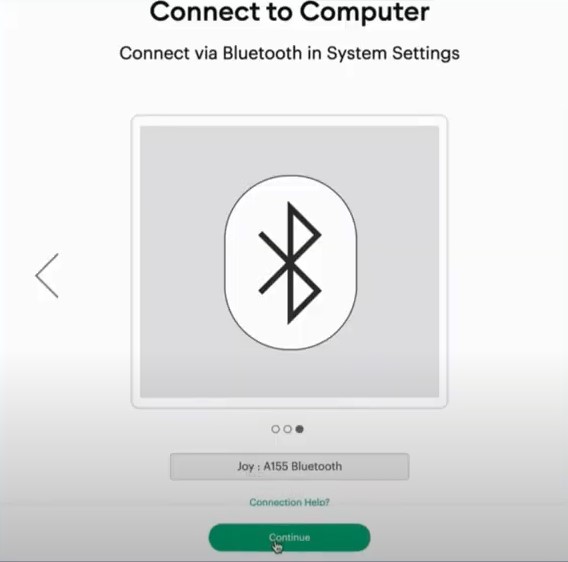
Step 9: Go back to Cricut Design Space and click Continue.
Also Read:- How to Setup Cricut Joy Machine?
Step 10: When it tells you to activate Joy, check the I agree to the Cricut Terms of Use and Privacy Policy box, then click Activate.
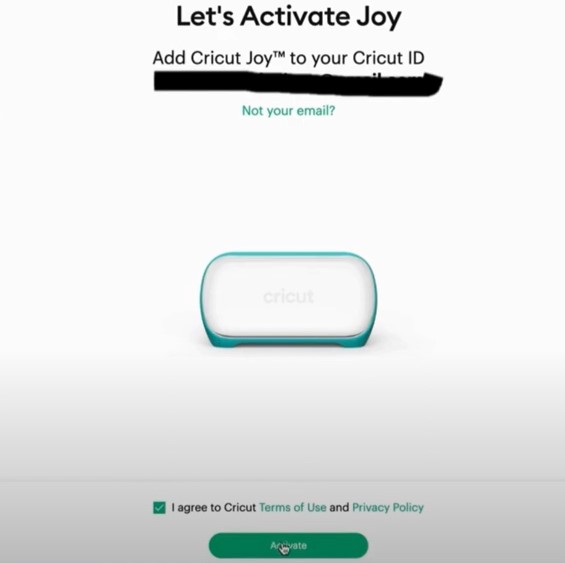
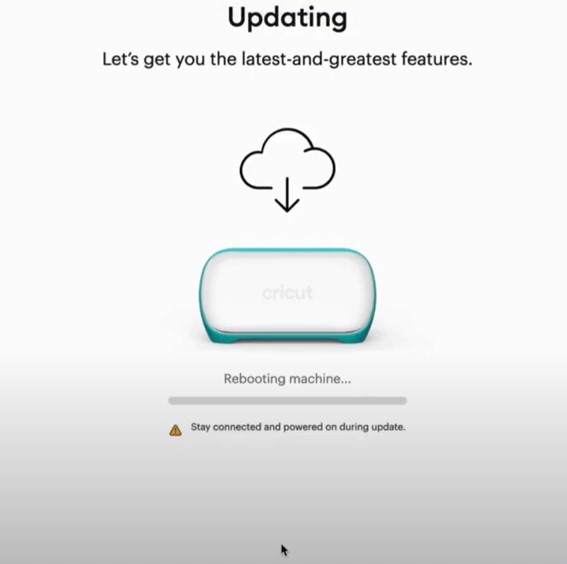
Step 11: Now, wait for the machine to update.
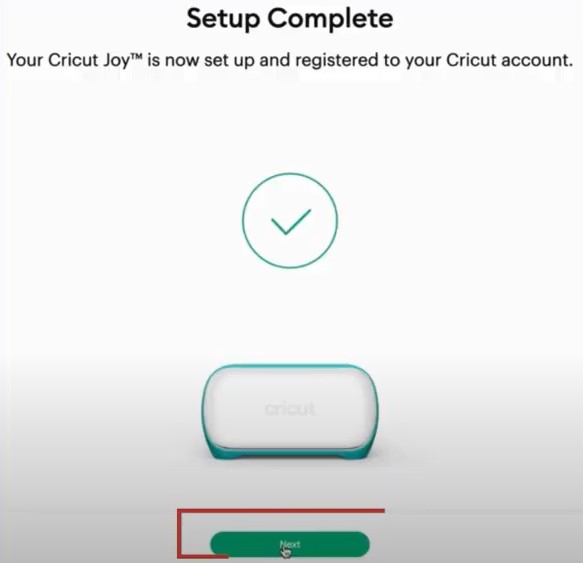
Step 12: Once the setup is complete, click Next.
Step 13: Now, perform a test cut following the on-screen instructions.

Conclusion
Connecting the Cricut Joy to your computer becomes quite effortless with the above-discussed steps. However, if you still need any help connecting Cricut Joy to your computer, contact an expert.

