How to Do Cricut EasyPress 2 Settings?

The Cricut EasyPress 2 is a useful machine for iron-on projects, and it is easy to use because of its lightweight and easy-to-handle design. While using the machine, you need to know which heat settings to apply. The Quick Reference Guide that came with the machine may seem a bit complicated, or you may have misplaced it. Now, what should you do?
 

If you want to learn how to apply the right settings and use the machine correctly, you’re in the right place. We have explained the steps to set the Cricut EasyPress 2 settings. We’ll discuss that next, but first, let’s look at the issues that may show up during setup.

Common Issues When Setting Up Cricut EasyPress 2

The following challenges may show up when you’re trying to configure the EasyPress 2 settings:

  • Firmware update issues
  • Inconsistent heating
  • Wrong temperature displays
  • Unresponsive buttons

Steps to Configure Cricut EasyPress 2 Settings

Start by checking whether the EasyPress 2 is properly connected to the power source. After that, carry on with these simple steps:

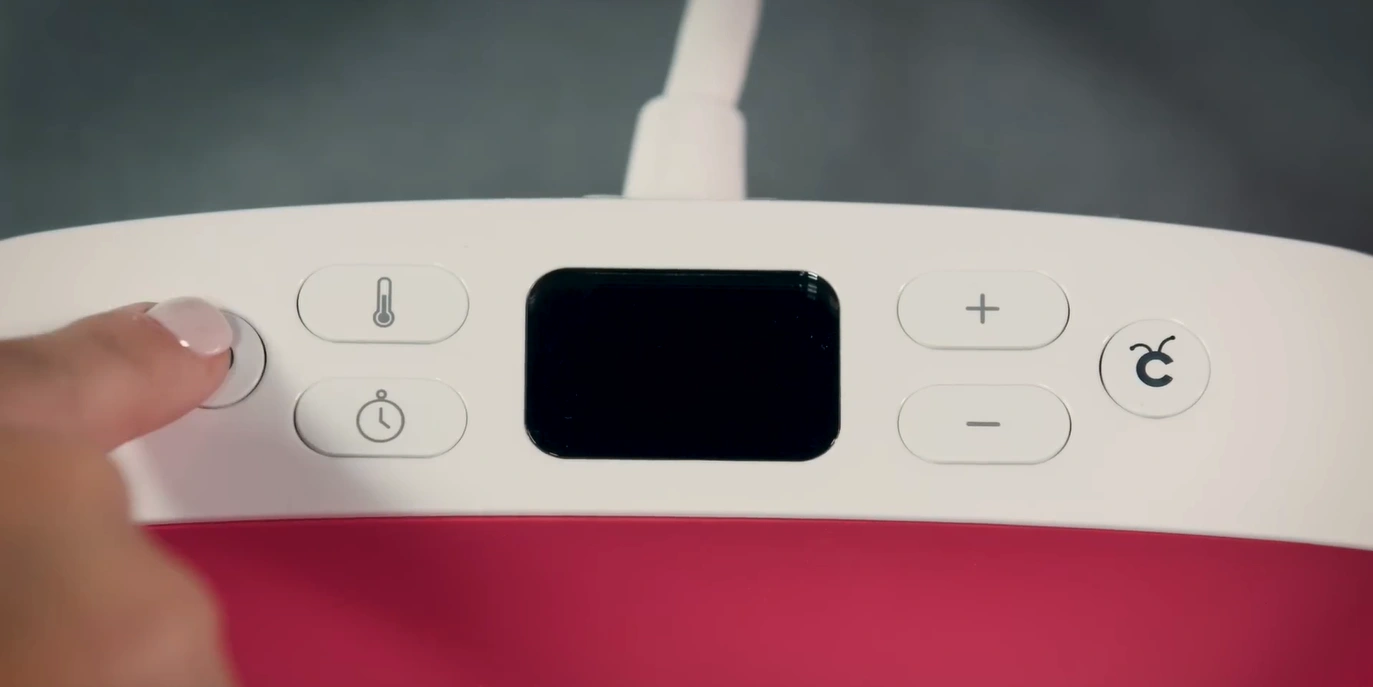
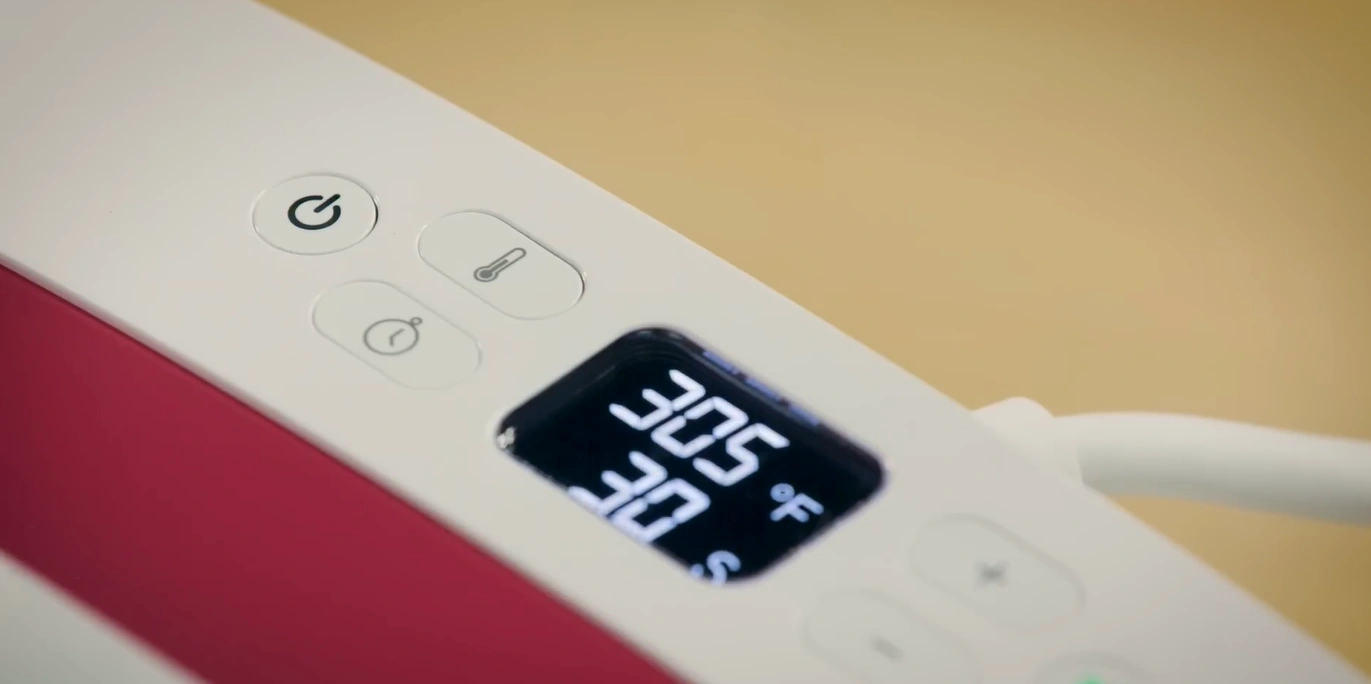
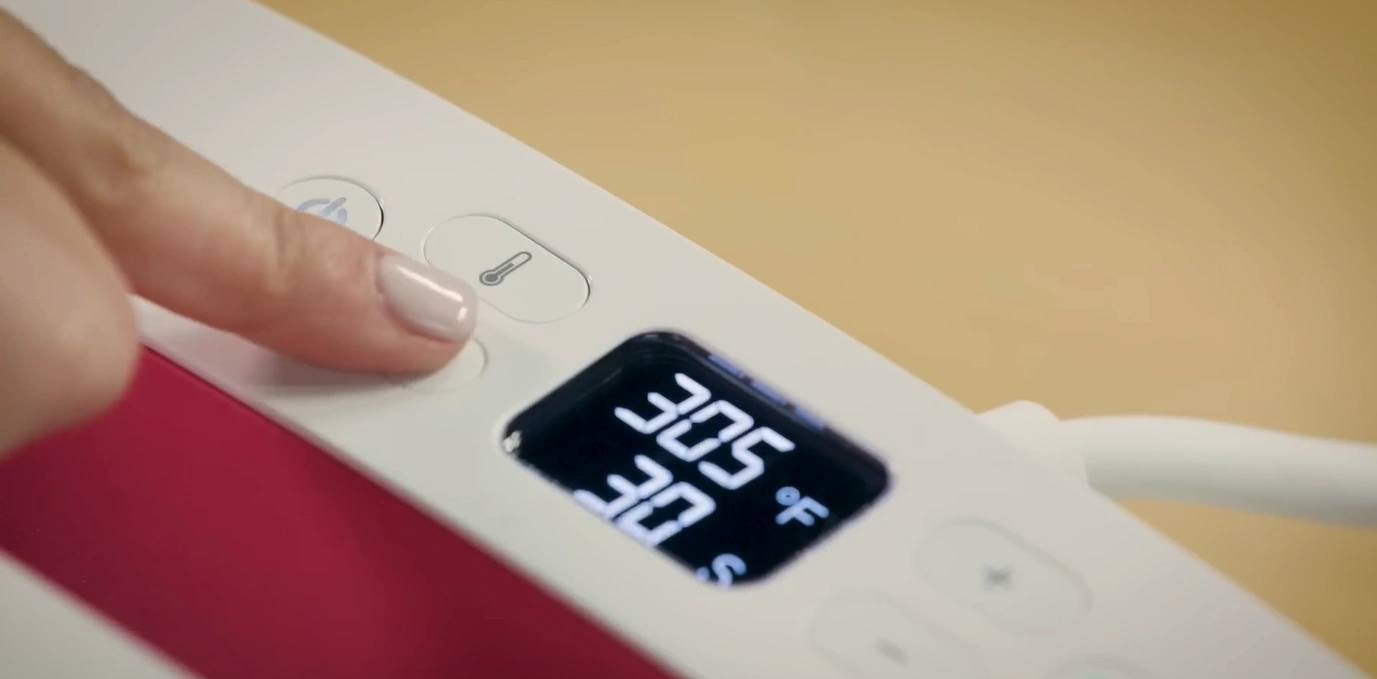
Step 1: Press the power button.

Press the power button

Step 2: Wait for a minute or two for the machine to reach your preferred temperature.

Wait for a minute or two for the machine to reach your preferred temperature.

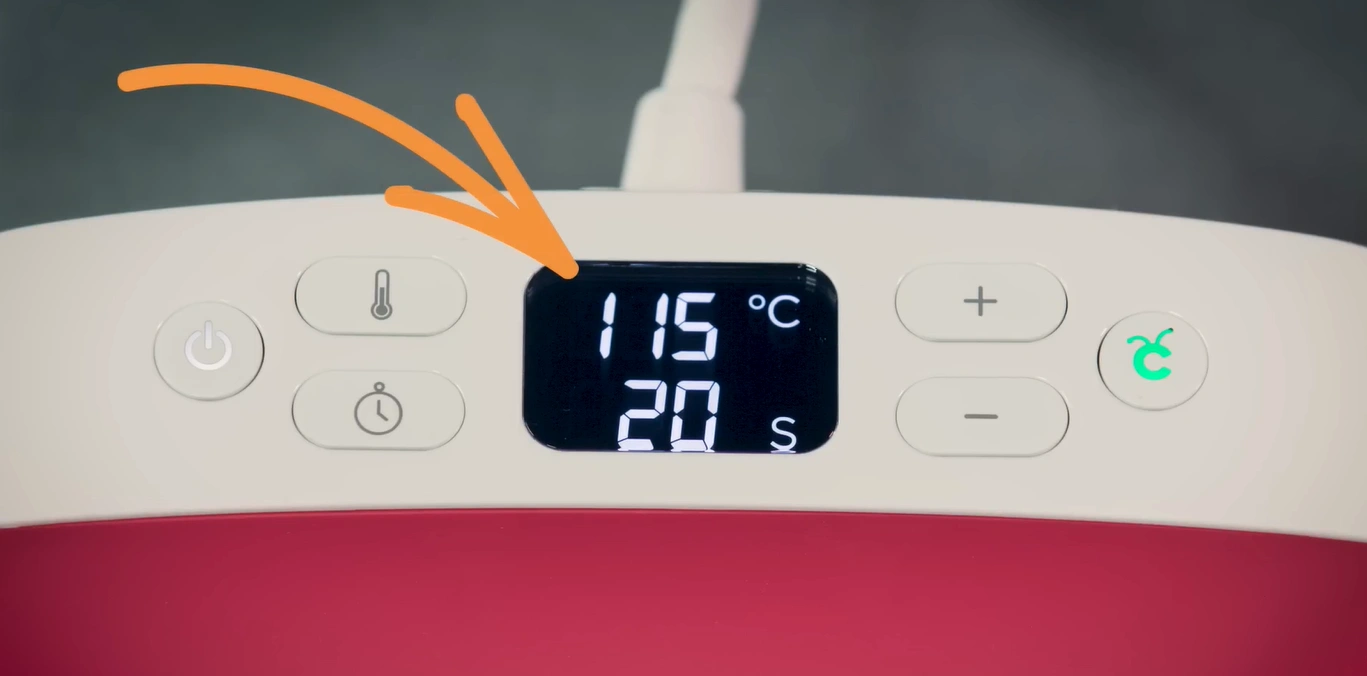
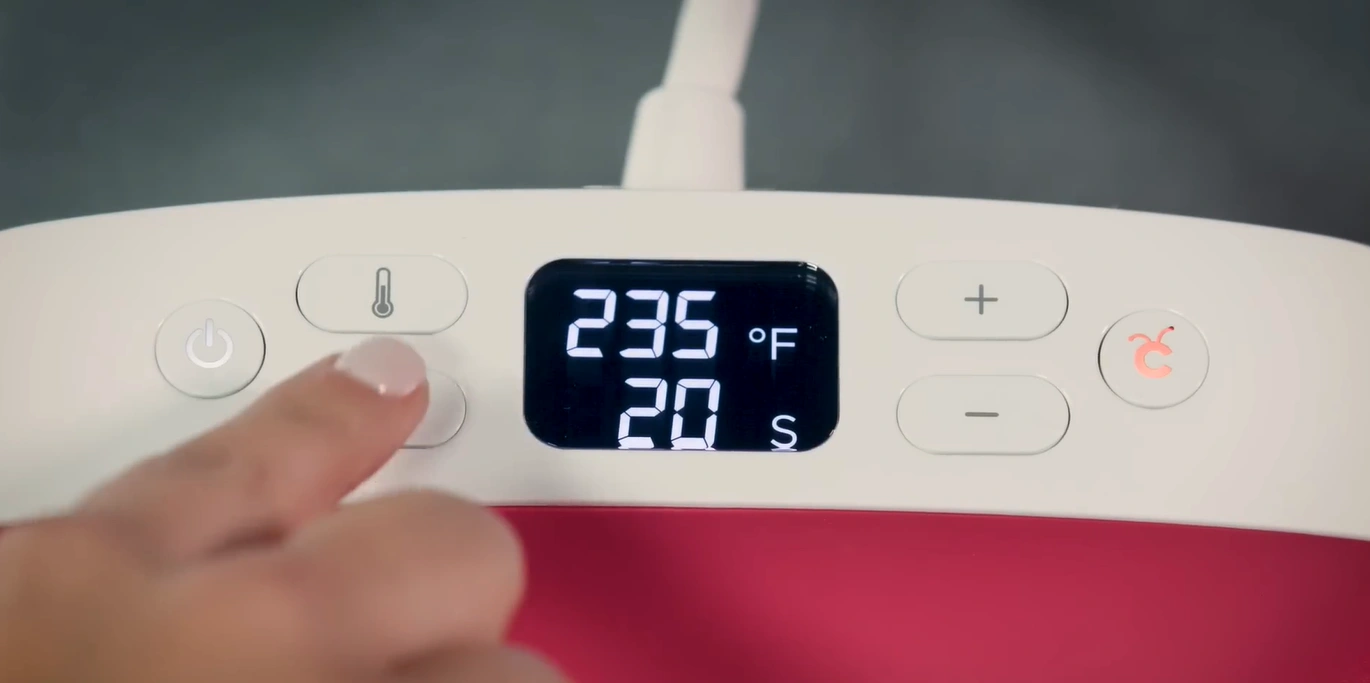
Step 3: To change from Celsius to Fahrenheit or vice versa, press and hold the thermometer button.

change from Celsius to Fahrenheit or vice versa

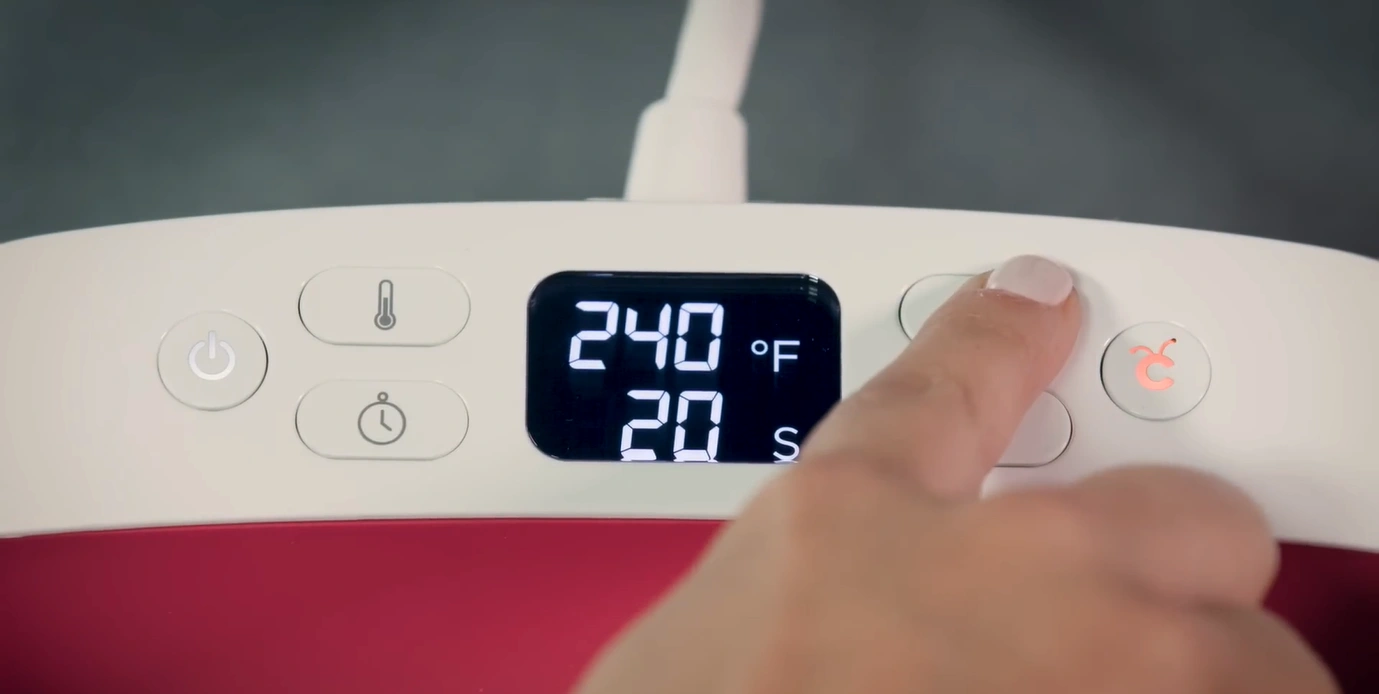
Step 4: Press the thermometer button. When the numbers flash, use the (+) or (-) button to set the temperature.

Press the thermometer button

Step 5: Hold down the (+) or (-) buttons to jump in increments of 10 degrees.

Hold down the (+) or (-) buttons to jump in increments

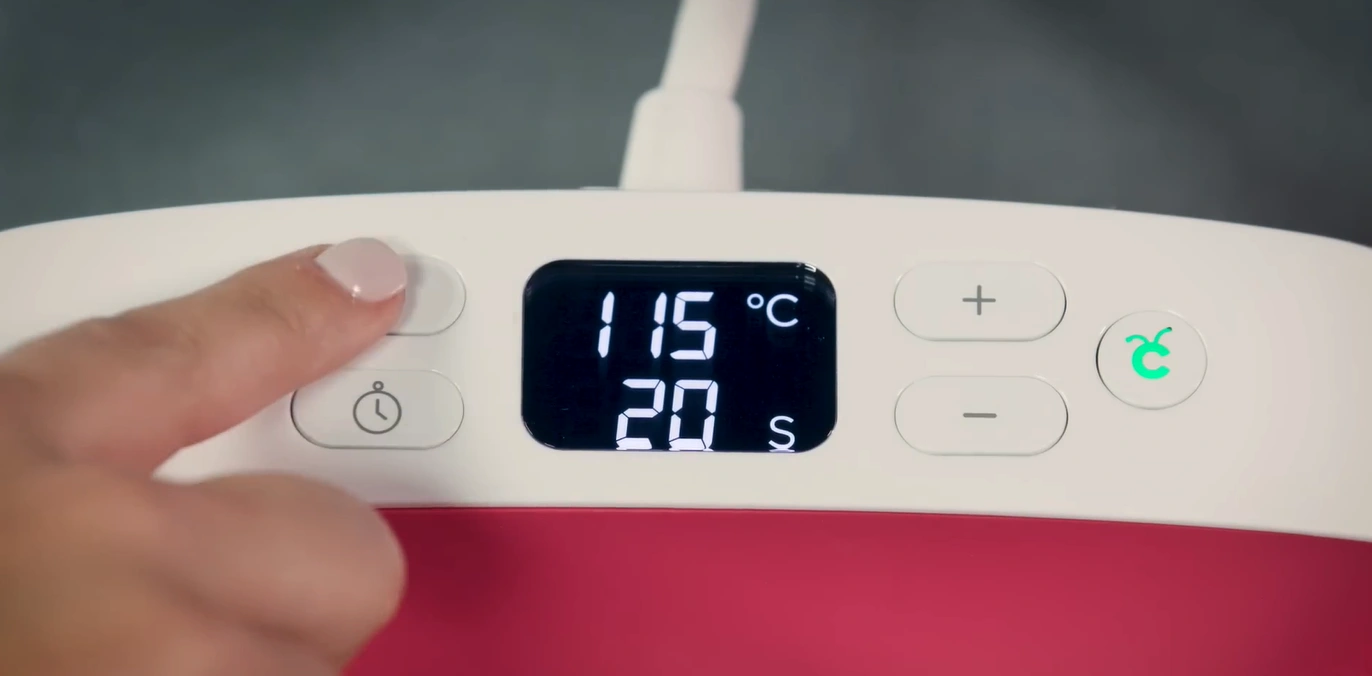
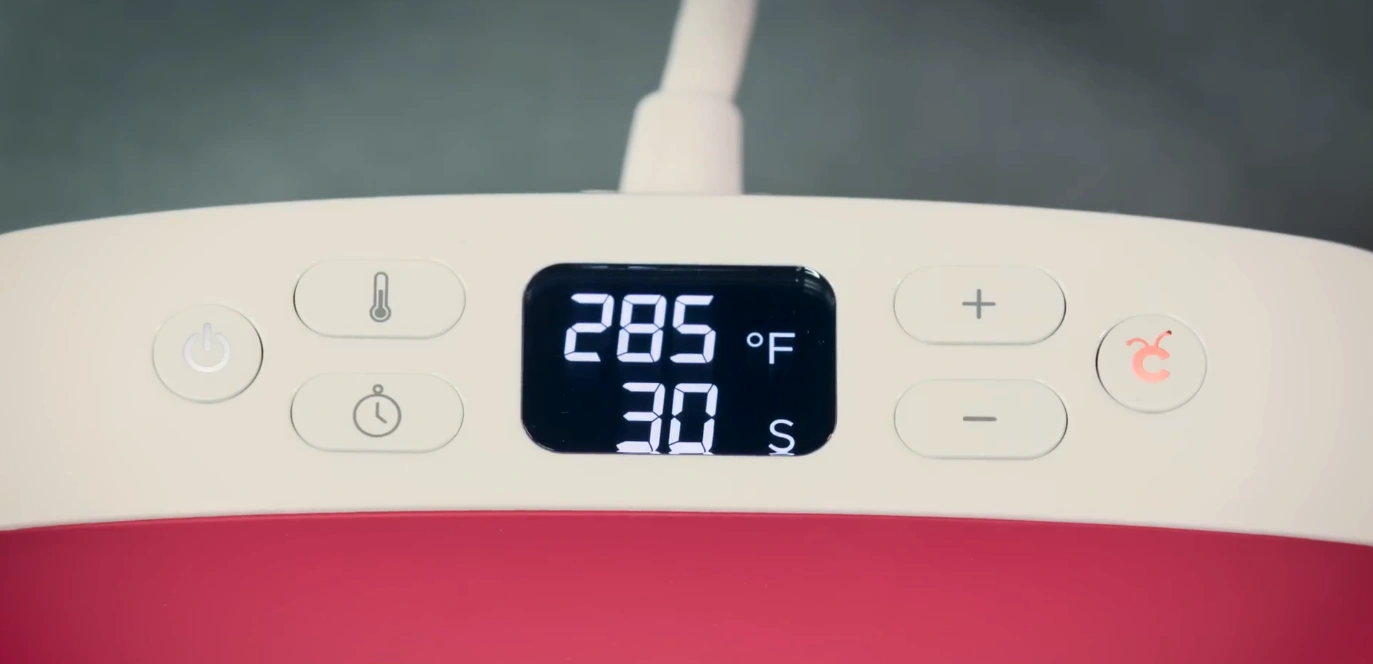
Step 6: Press the timer button. When it flashes, set the time by pressing the (+) button. Hold it to increase the time quickly.

Press the timer button

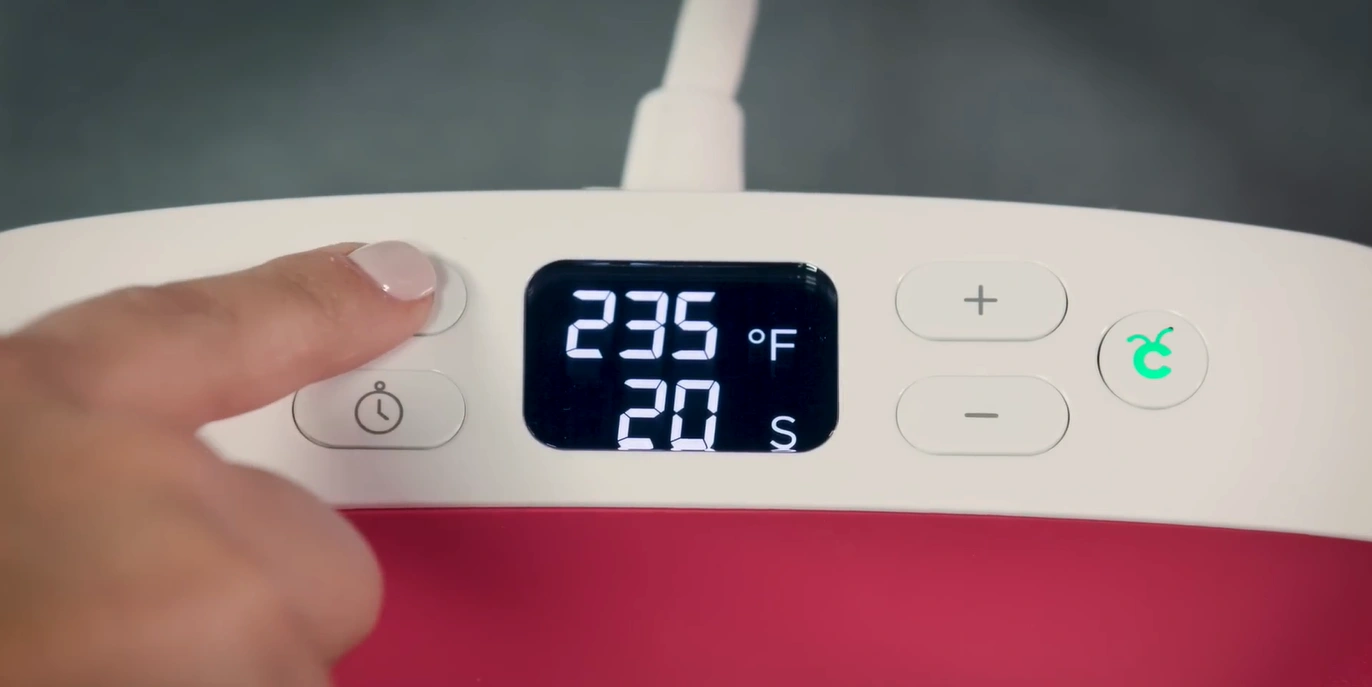
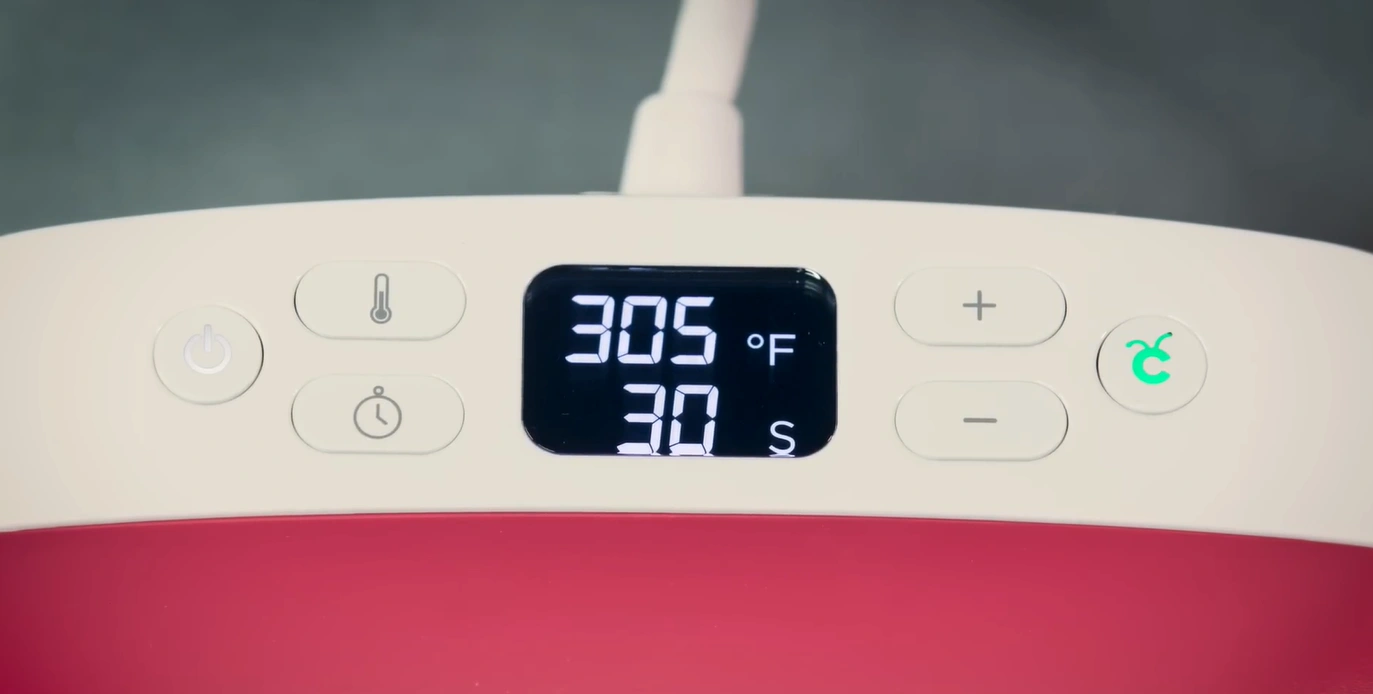
Step 7: The Cricut button stays orange until it reaches the temperature you set.

The Cricut button stays orange

Step 8: When you hear the beep sound and the button turns green, you’re all set to proceed.

When you hear the beep sound and the button turns green

Step 9: If the machine hasn’t been used for more than 10 minutes, it’ll beep 3 times and shut down automatically.

If the machine hasn’t been used for more than 10 minutes

Step 10: Press any button to keep the machine on and continue working.

Press any button to keep the machine on and continue working

Also Read:- How to Set Up Cricut Heat Press?

Wrap Up

After applying the correct settings to your Cricut EasyPress 2 machine, you can use the machine with confidence. Before you press, check that the material you are using is flat and heat-resistant. Get a protective sheet if required. Follow the recommended time and pressure to get the best results each time.

Frequently Asked Questions

Q: How do I set the timer on Cricut EasyPress 2?

To set the timer on your machine, follow the steps given below: 

  1. Press the clock button on the machine. 
  2. Use the (+) and (-) buttons to set the time required for your crafting project. 
  3. Once you’ve set the timer, press the clock button again to start the countdown.

The correct temperature depends on your material. For instance, standard heat-transfer vinyl (HTV) typically requires 305°F for 10-15 seconds. Always check the material’s instructions before you use the machine.

Q: Can I use Cricut EasyPress 2 on all fabrics?

You can use the machine on cotton, polyester, and blends, as well as on wooden surfaces. Place a protective sheet over the fabric if using delicate materials to prevent scorching.

Q: How do I know if my Cricut EasyPress 2 is ready to press?

The display screen shows the set temperature. Once the heat plate reaches the desired temperature, the machine will beep and be ready for use..

Q: How long should I press with Cricut EasyPress 2?

It depends on the material and design you use. Most HTV projects need 10 to 15 seconds. If using infusible ink, it may require 40 seconds.