
For Cricut users, using a cutting machine like Cricut Explore Air 2 with a phone can be a convenient experience. Since the machine is connected to the phone via Bluetooth, you can enjoy crafting without tangled wires and cables.
The first step to using your Cricut machine with your phone is setting it up. This begins with unboxing the machine and placing it on a flat surface. Once done, you need to connect it to a power source and turn it on. The next steps include pairing it with Bluetooth and downloading the Design Space app.
If you want to get started with a Cricut machine and have a convenient mobile crafting experience, you are at the right place. Here we explain about how to use Cricut Explore Air 2 with phone.
Common Issues When Using Cricut Explore Air 2 With Phone
The following issues may arise when using the Cricut cutting machine with your phone:
- The Design Space app crashes
- App and device compatibility issues
- Bluetooth connectivity problems
- Slow upload times
- Battery drain
Steps to Use Cricut Explore Air 2 With Your Phone
If you want to get started with your crafting machine connected to your phone, you must follow these steps:
Enable Bluetooth
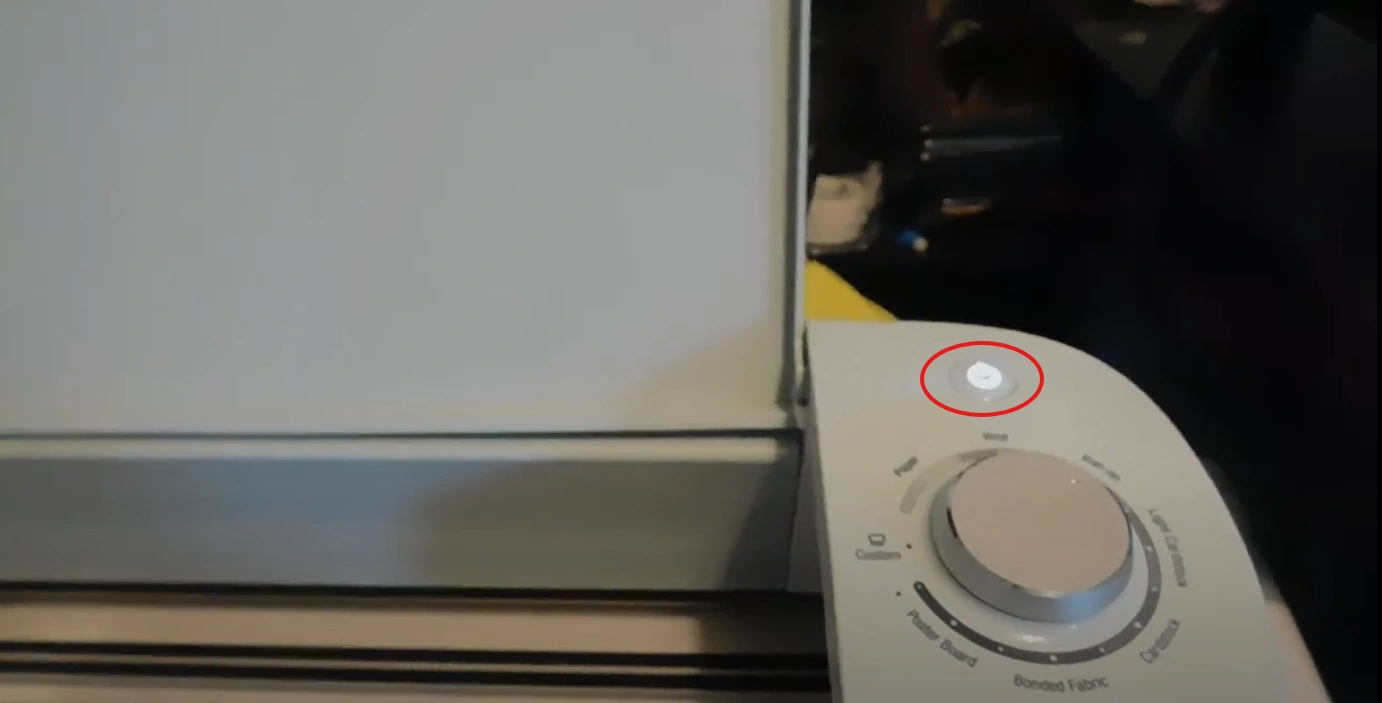
Step 1: Power on the Cricut Explore Air 2 by pressing the power button on the right.
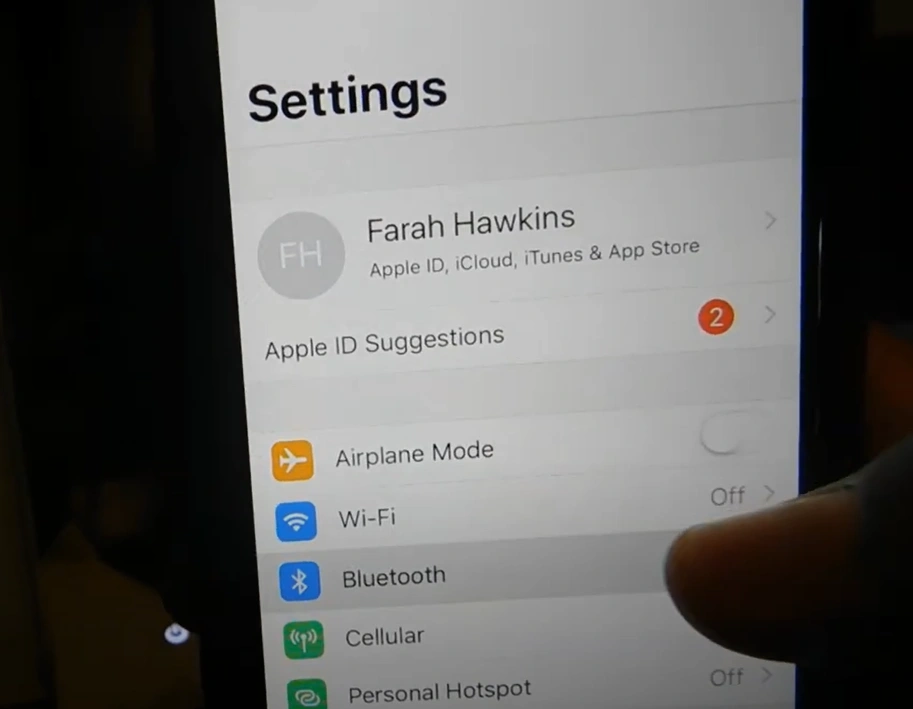
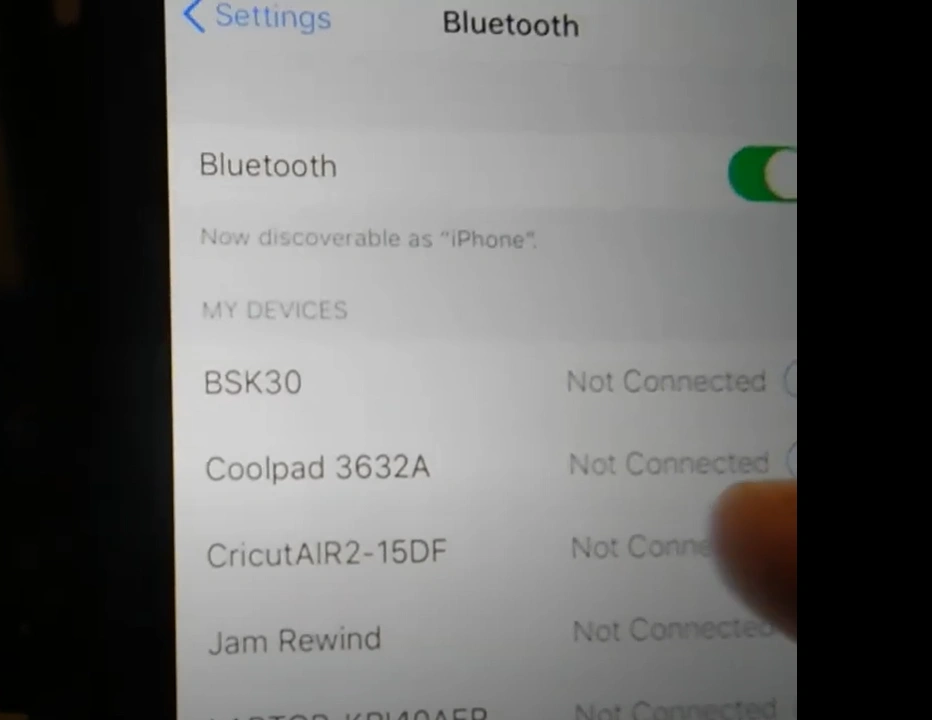
Step 2: Take your phone, go to Settings, and tap on Bluetooth.
Step 3: Turn on Bluetooth by sliding the toggle to the right.
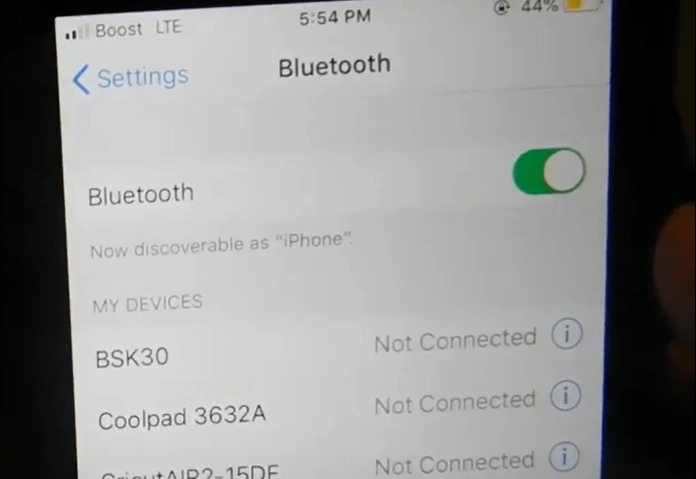
Step 4: Below, you can see various options. Find the name of your device and tap on it.
Also Read:- How to Set Up Cricut Explore 3
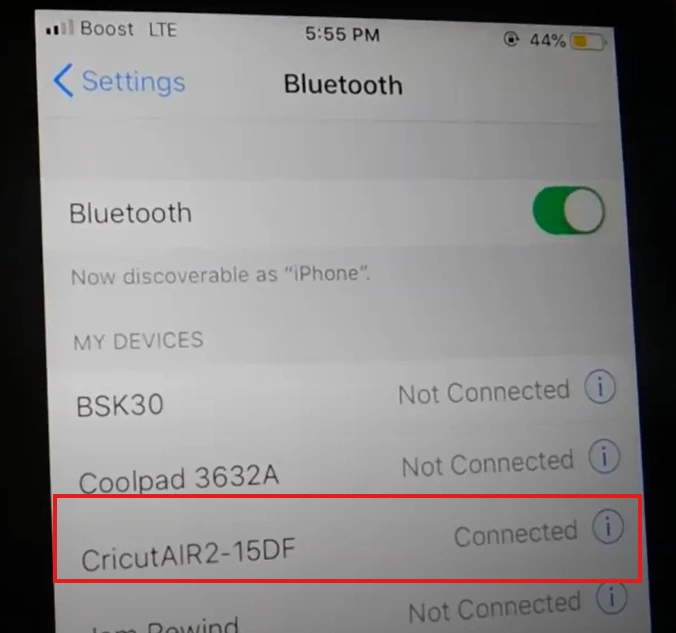
Step 5: Wait for the connection to complete, and you’re ready to use the machine with your phone.
Download and Install Cricut Design Space
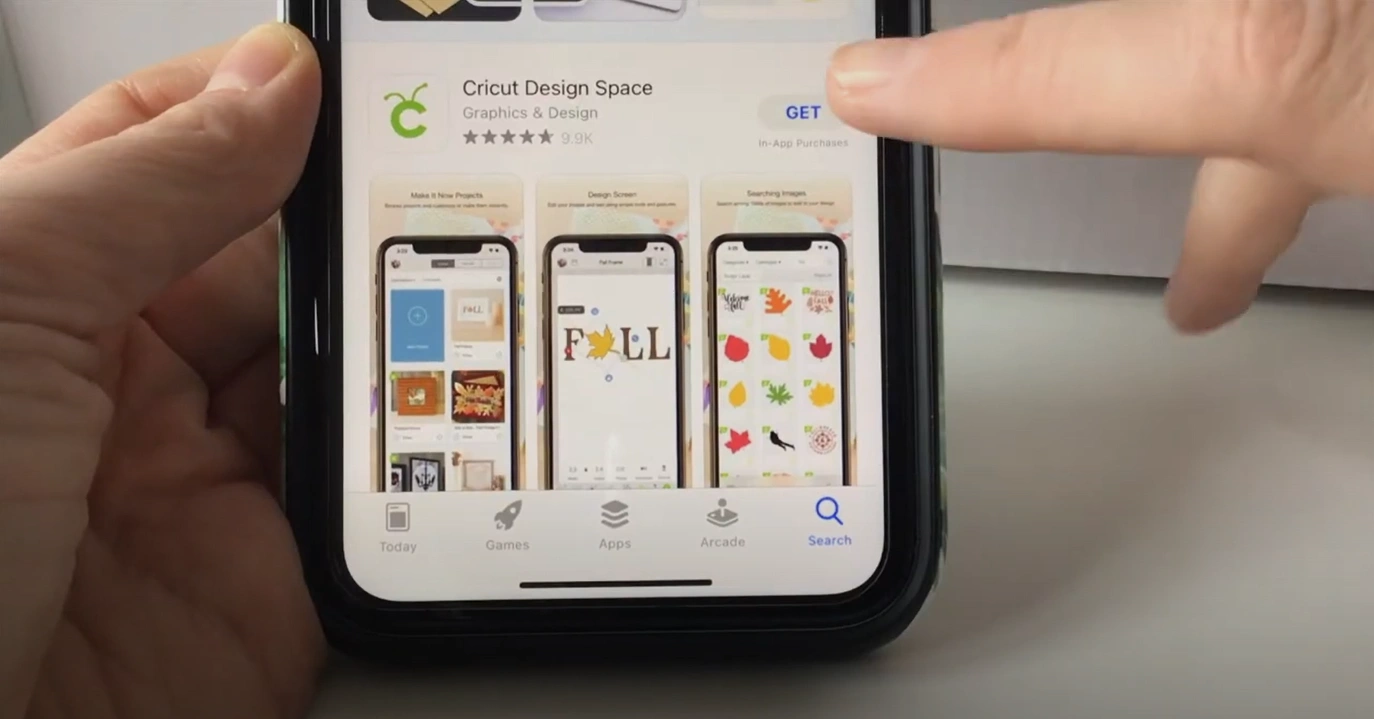
Step 1: After connecting the Cricut Explore Air 2 to your phone via Bluetooth, you must install the Design Space app.
Step 2: Go to the App Store on your phone and search for Design Space. Once you find the application, click on the “Get” button.
Step 3: Wait for a few minutes to let the download complete.
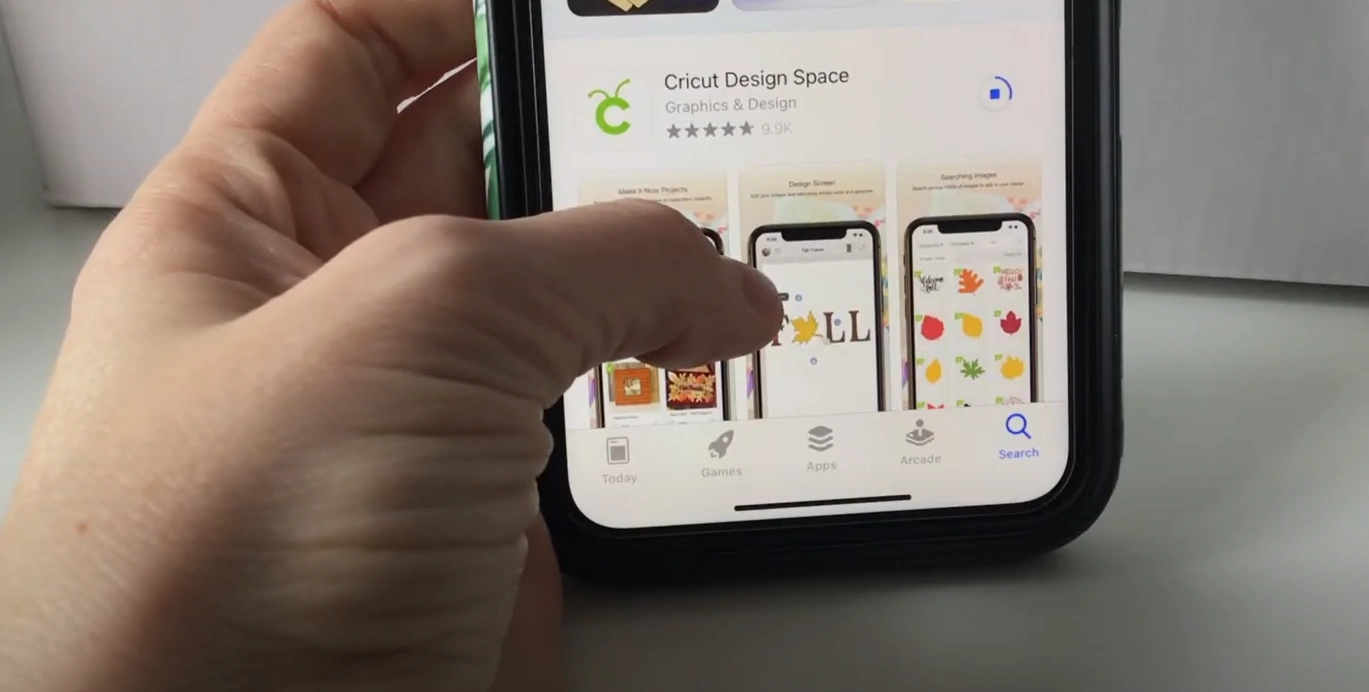
Step 4: Once the software is downloaded, open it.
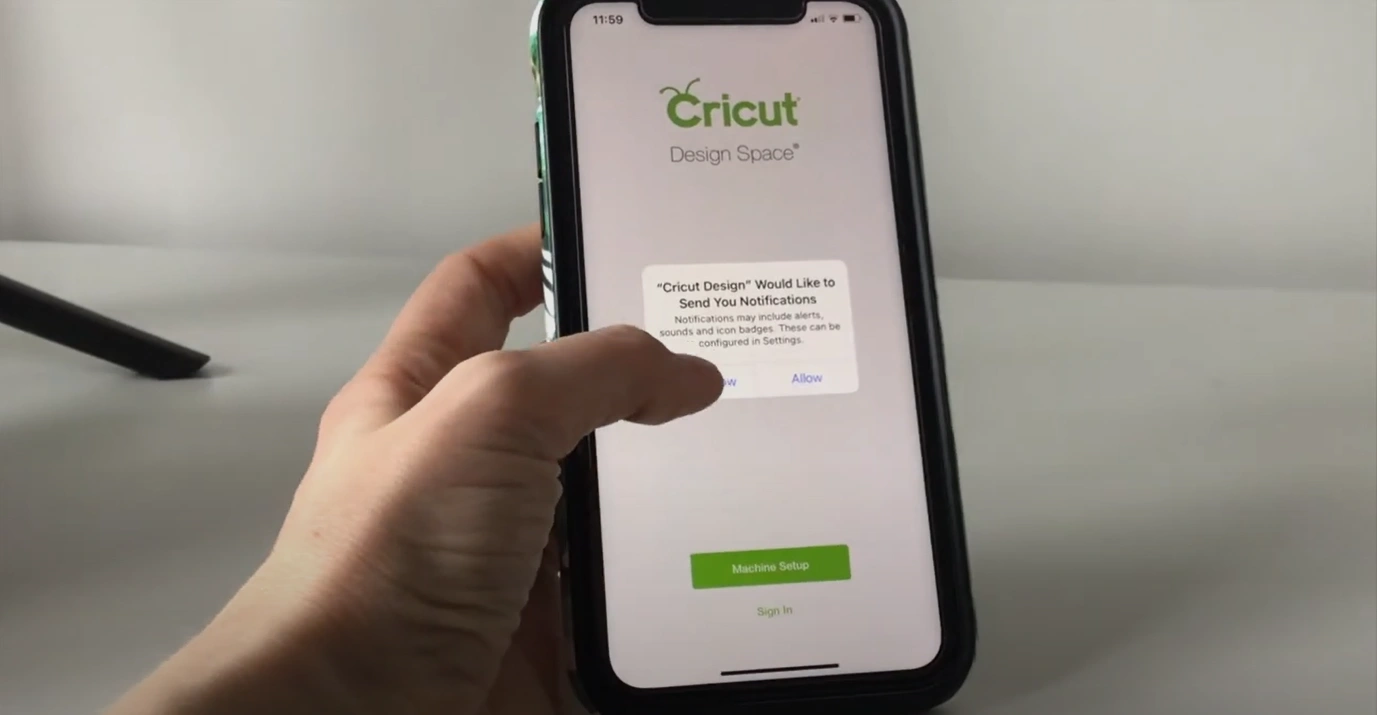
Step 5: If you already have a Cricut account, click Sign In. You must create a new account if you have never used Design Space.
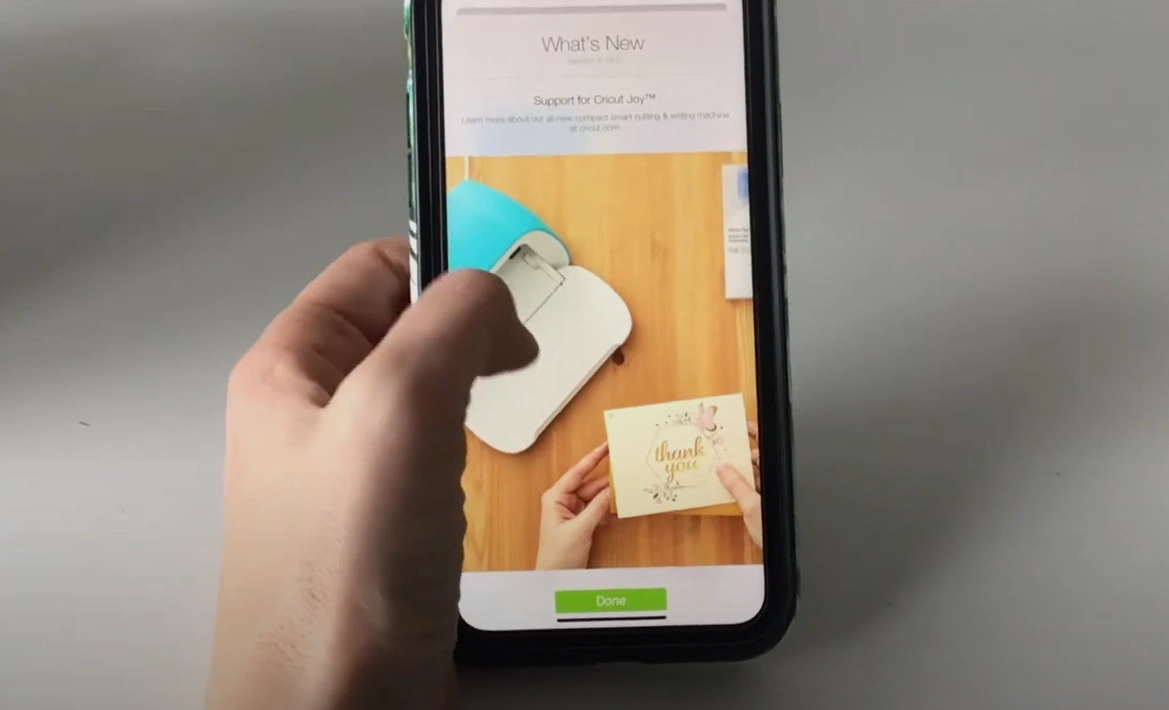
Step 6: You’ll be brought to a new page once you click the Sign In button. Click on Done on the same page.
Step 7: Next, choose the machine you are using. Click on the “Cricut Explore Family” option.
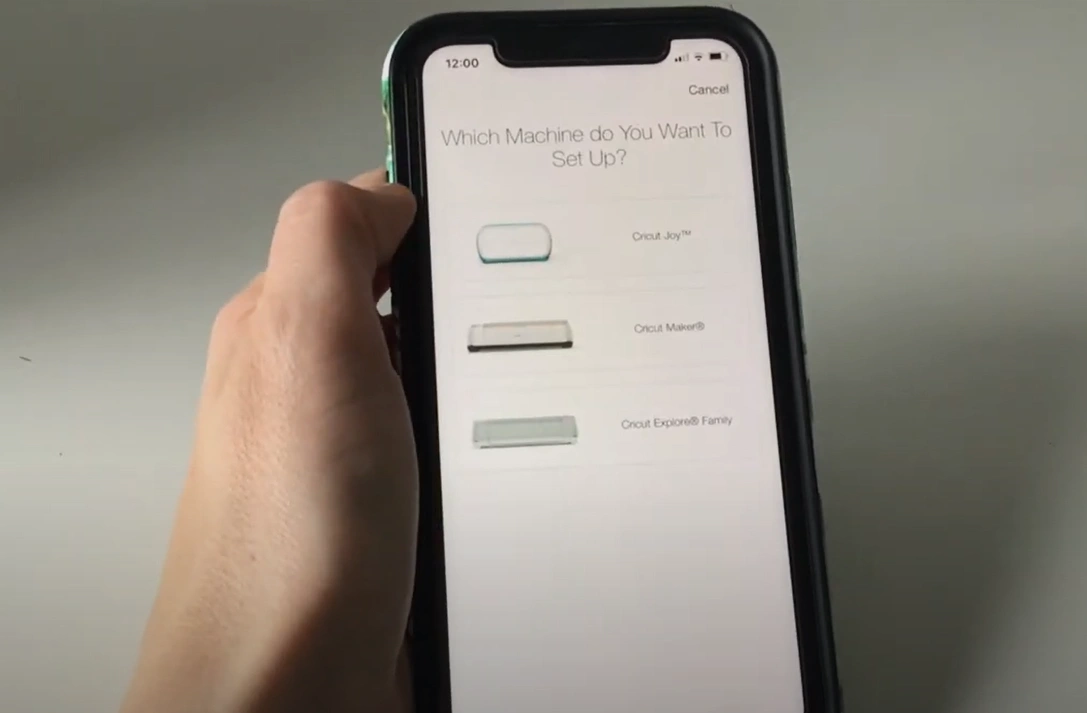
Step 8: Now, click Connect to connect to Bluetooth.
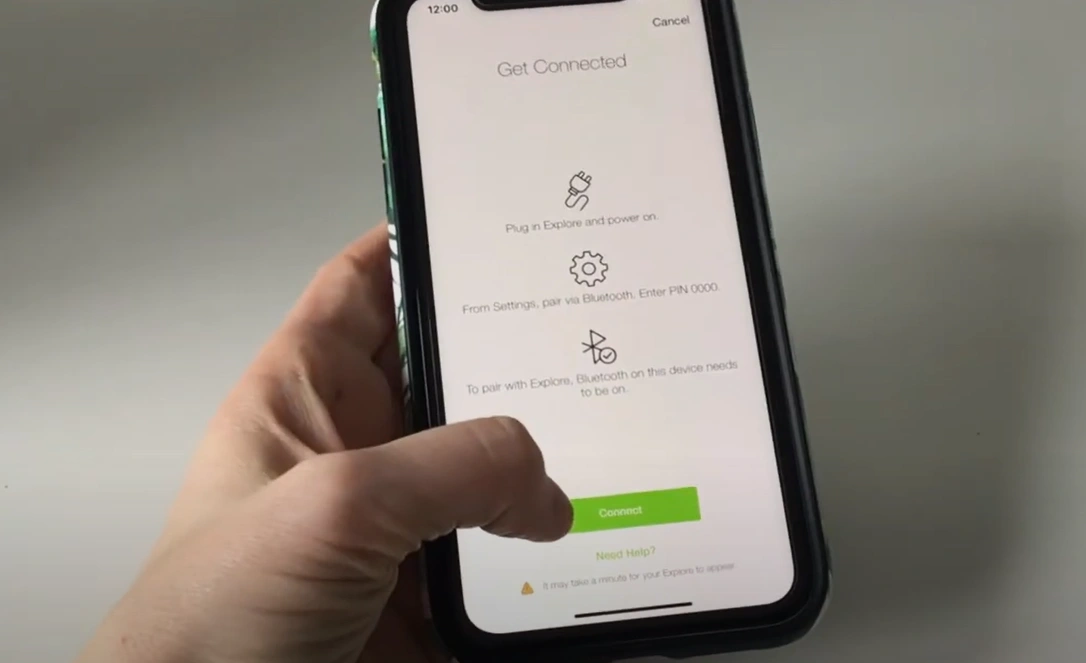
Step 9: The Design Space app may prompt an update if the machine isn’t on the latest version. Wait for a couple of minutes for the update to finish.
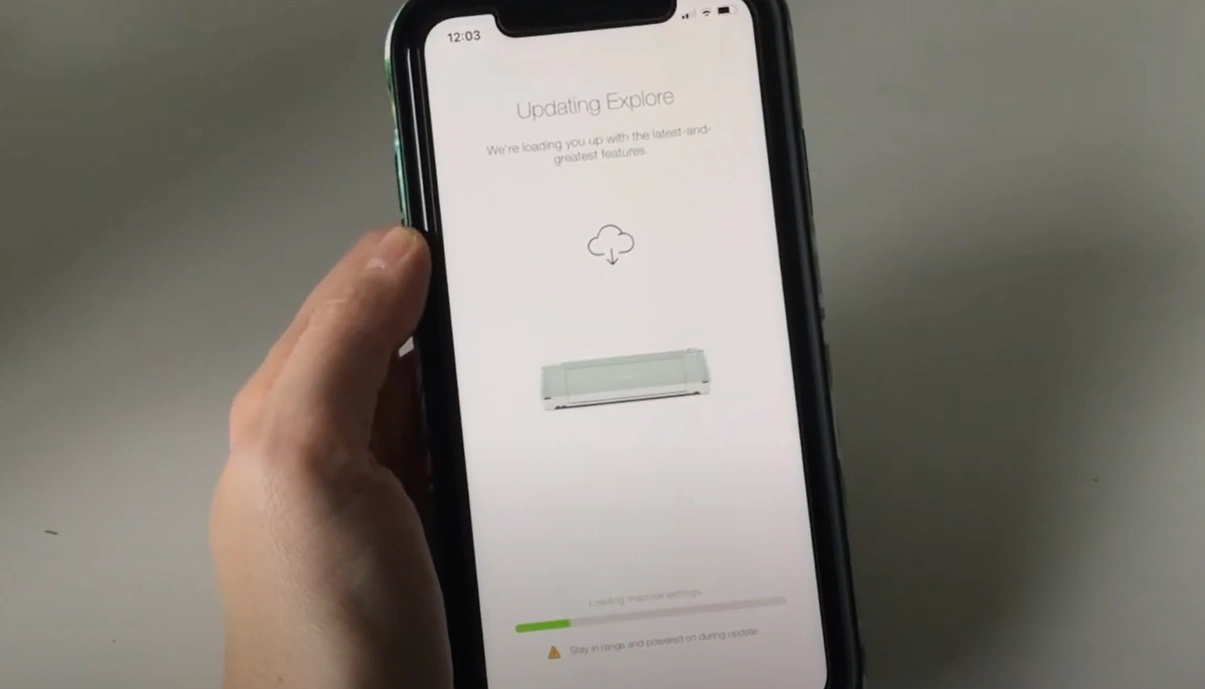
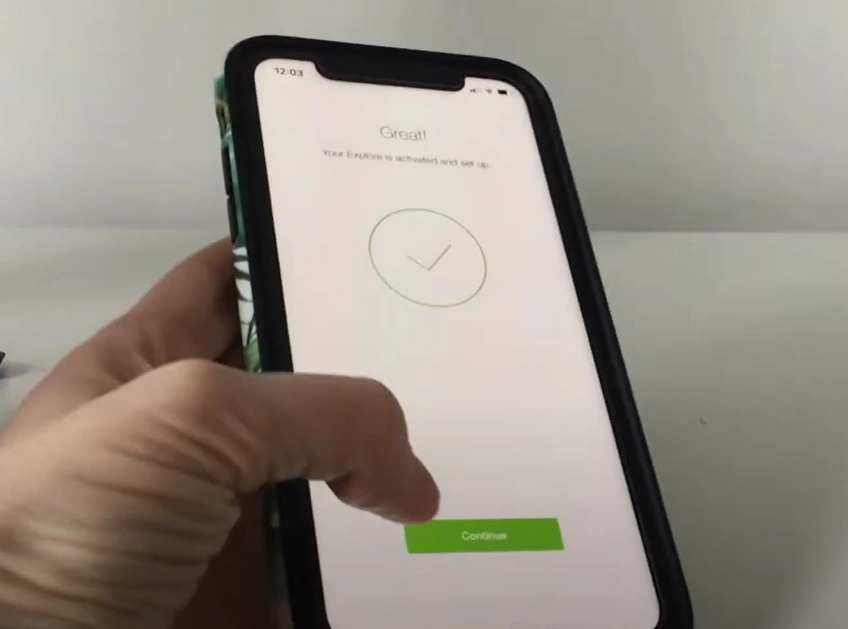
Step 10: Once it is done, click on Continue.
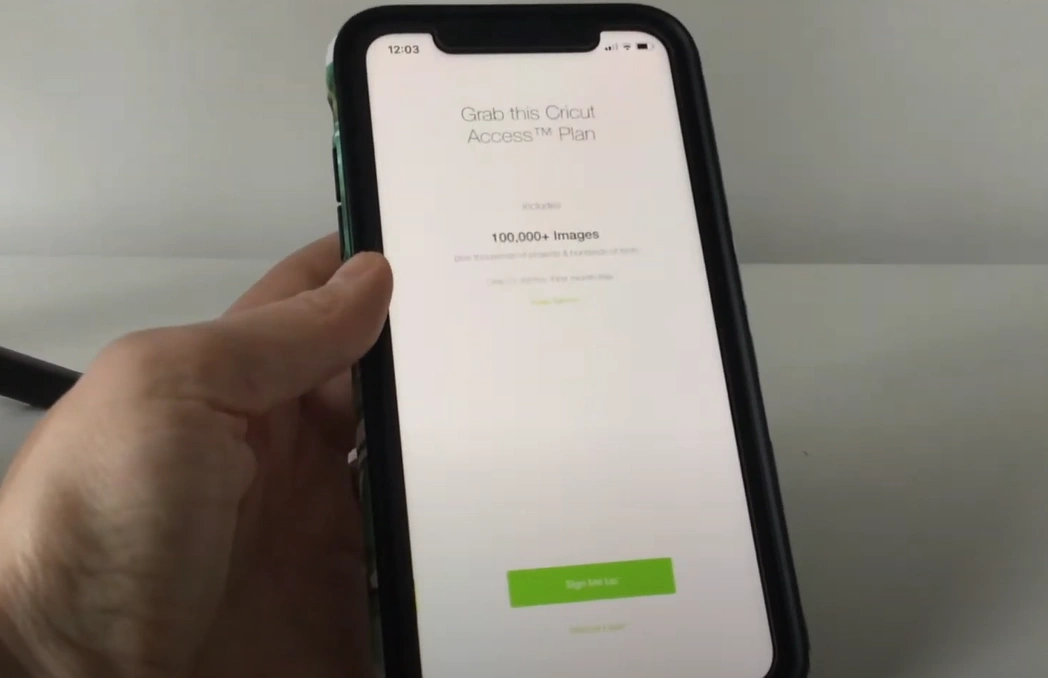
Step 11: Next, it will ask if you want access to Cricut’s library of 100,000+ images. Click on Maybe later if you are not looking for it at the moment.
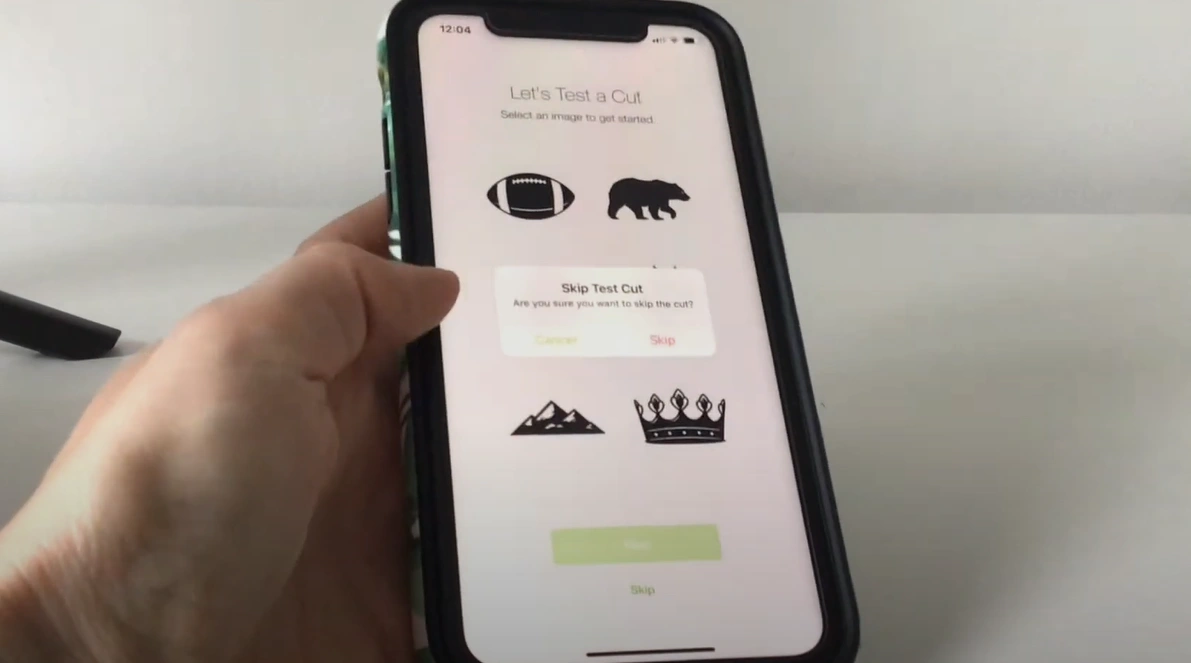
Step 12: It will also ask you for a test cut. You can either choose Next or Skip. If you do not want to try a test cut, tap on the Skip option.
First Project
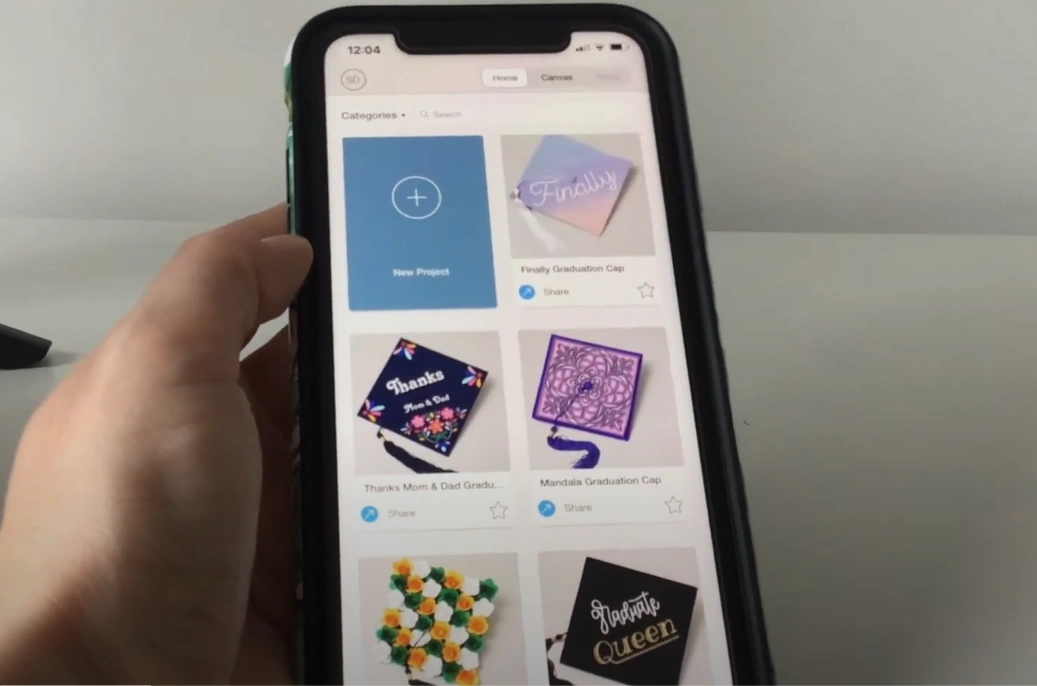
Step 1: On the Design Space home page, tap on New Project.
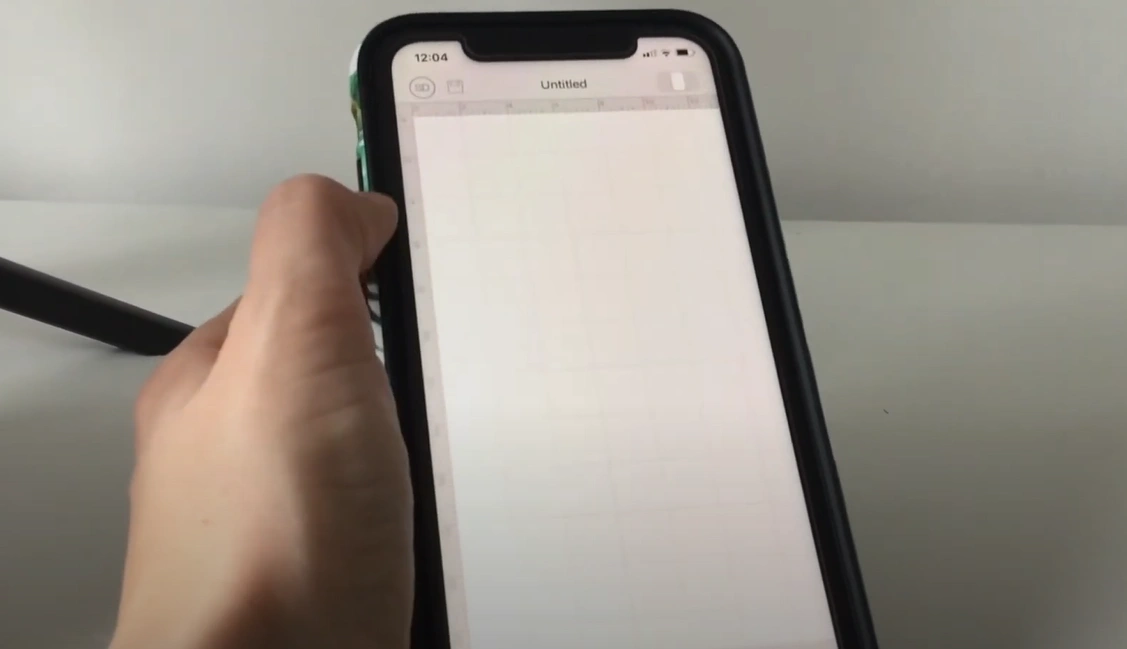
Step 2: You will land on the Design Space canvas. At the bottom of the screen, you can see all the little buttons you usually use when running the software on a computer.
Step 3: You can find several options here, like crop, edit, upload, or add a shape.
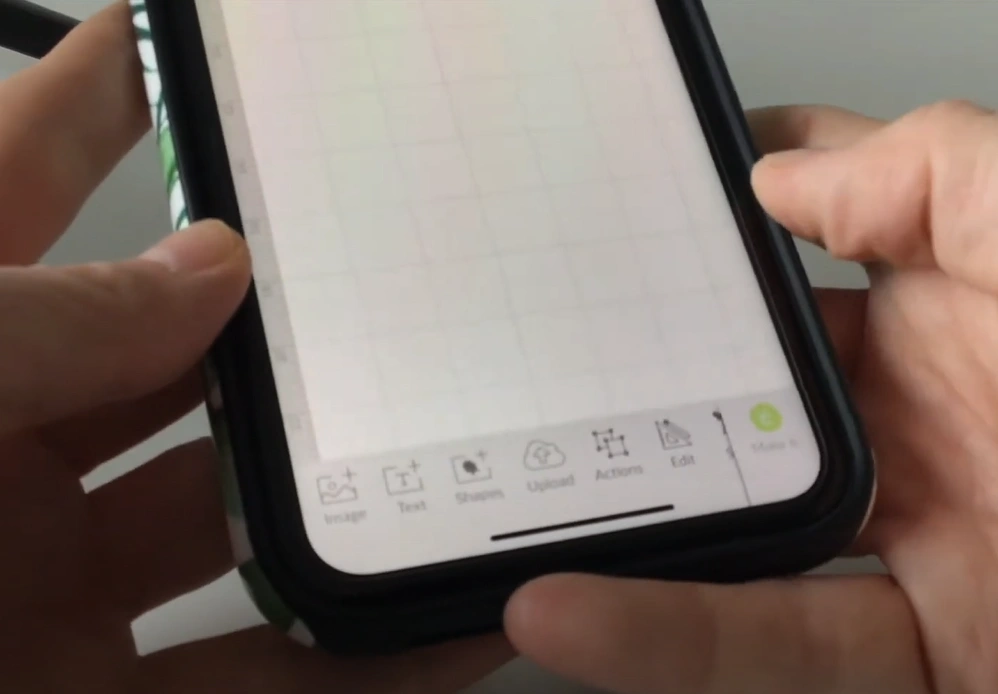
Step 4: If you want to add images, tap on the Image icon.
![]()
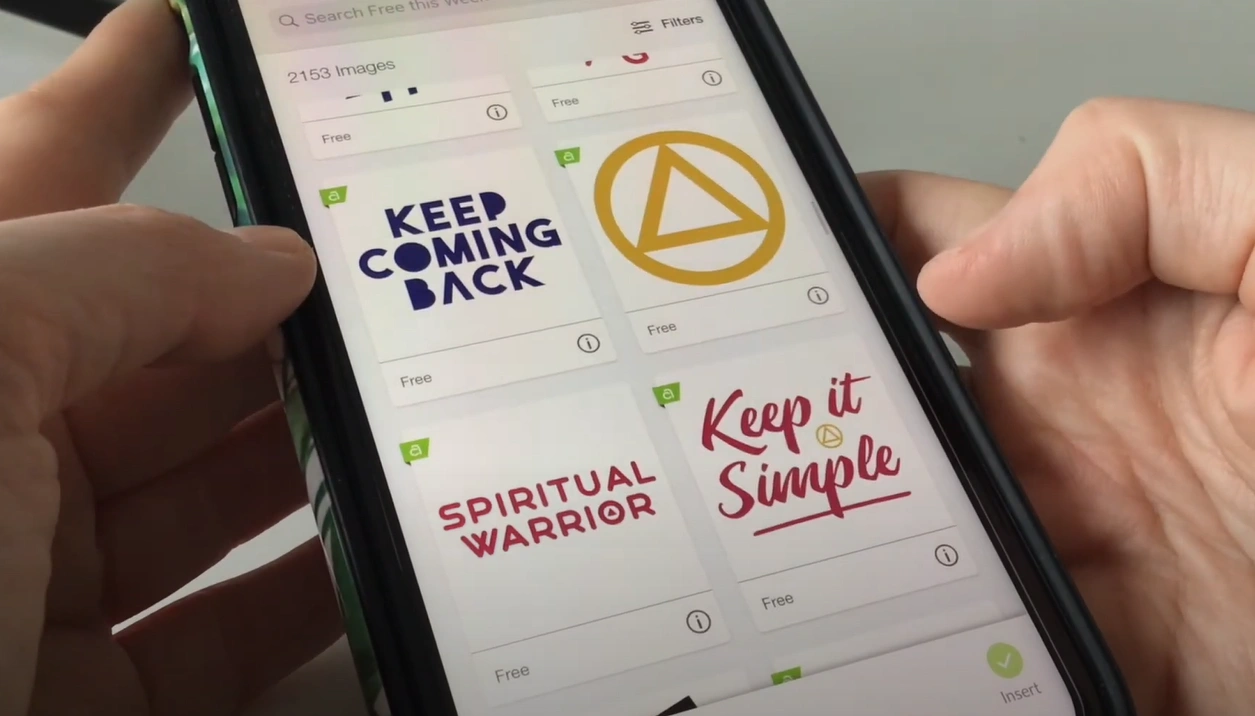
Step 5: Tap on the Occasions option. From there, select Free this Week.
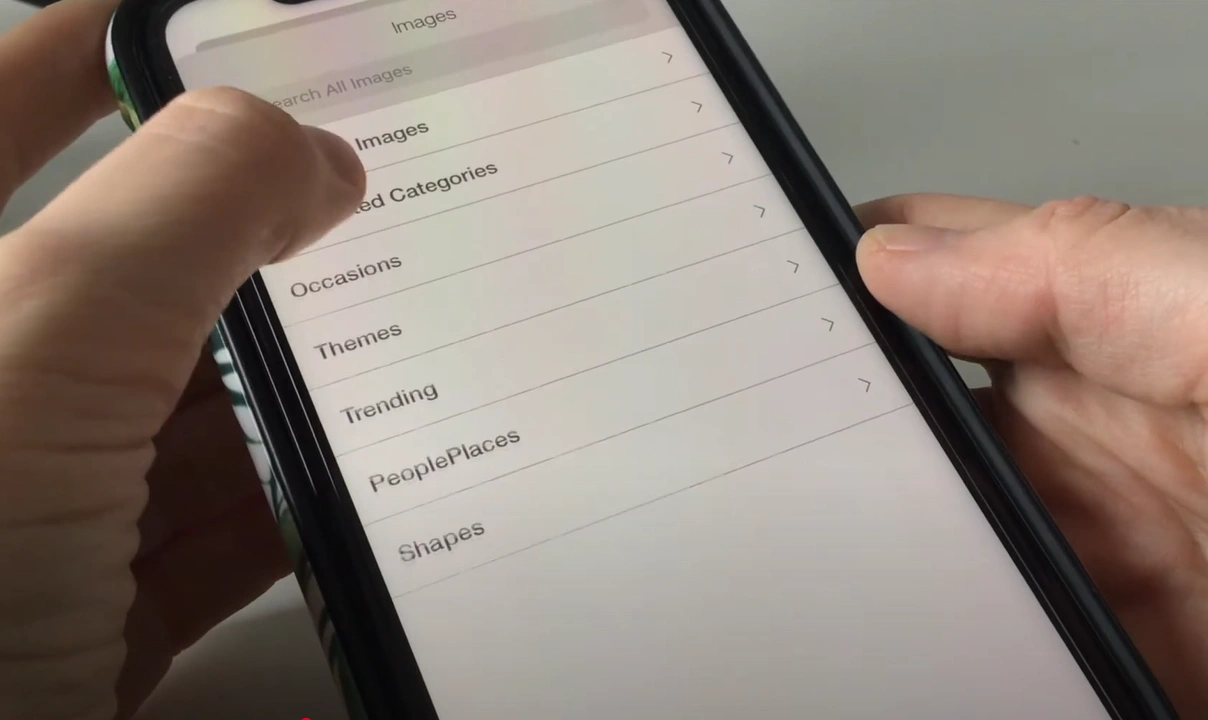
Step 6: You will get loads of choices. Select your preferred image.
Step 7: Go down and select your font style. Select the Text icon.
![]()
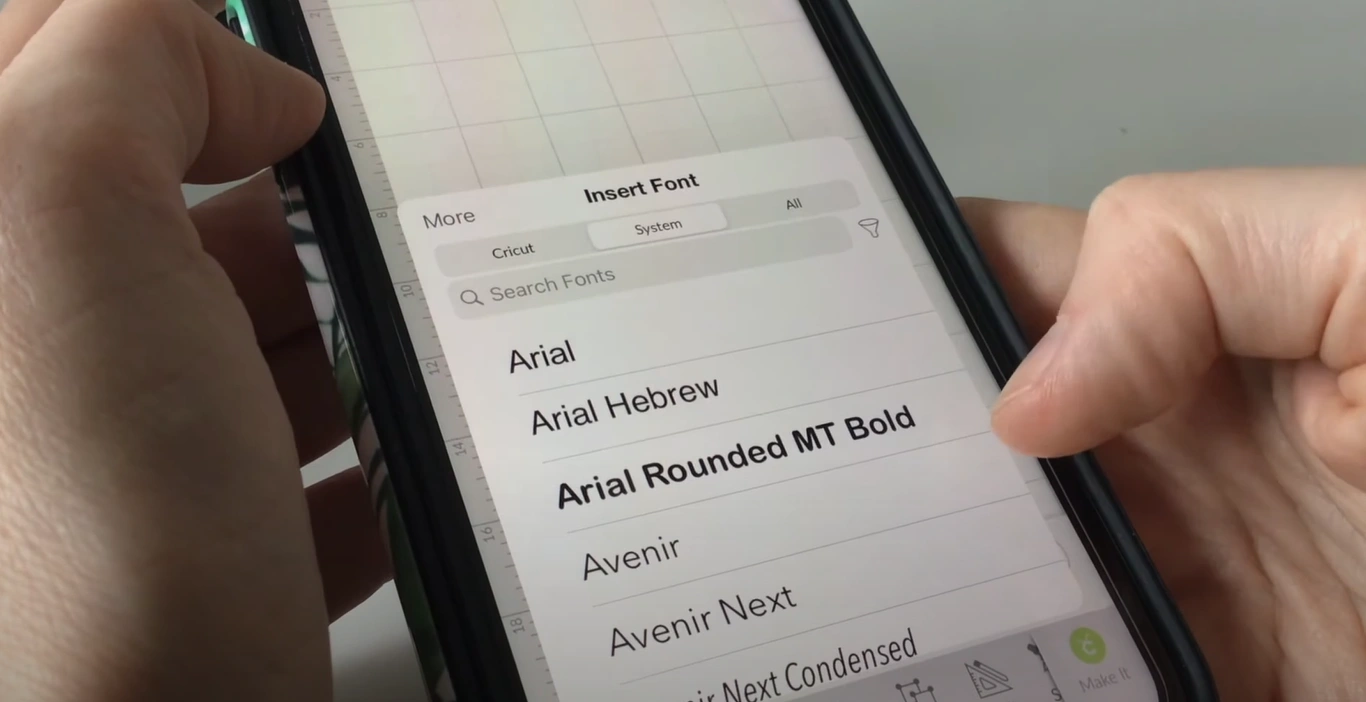
Step 8: You can choose from Cricut fonts and System fonts.
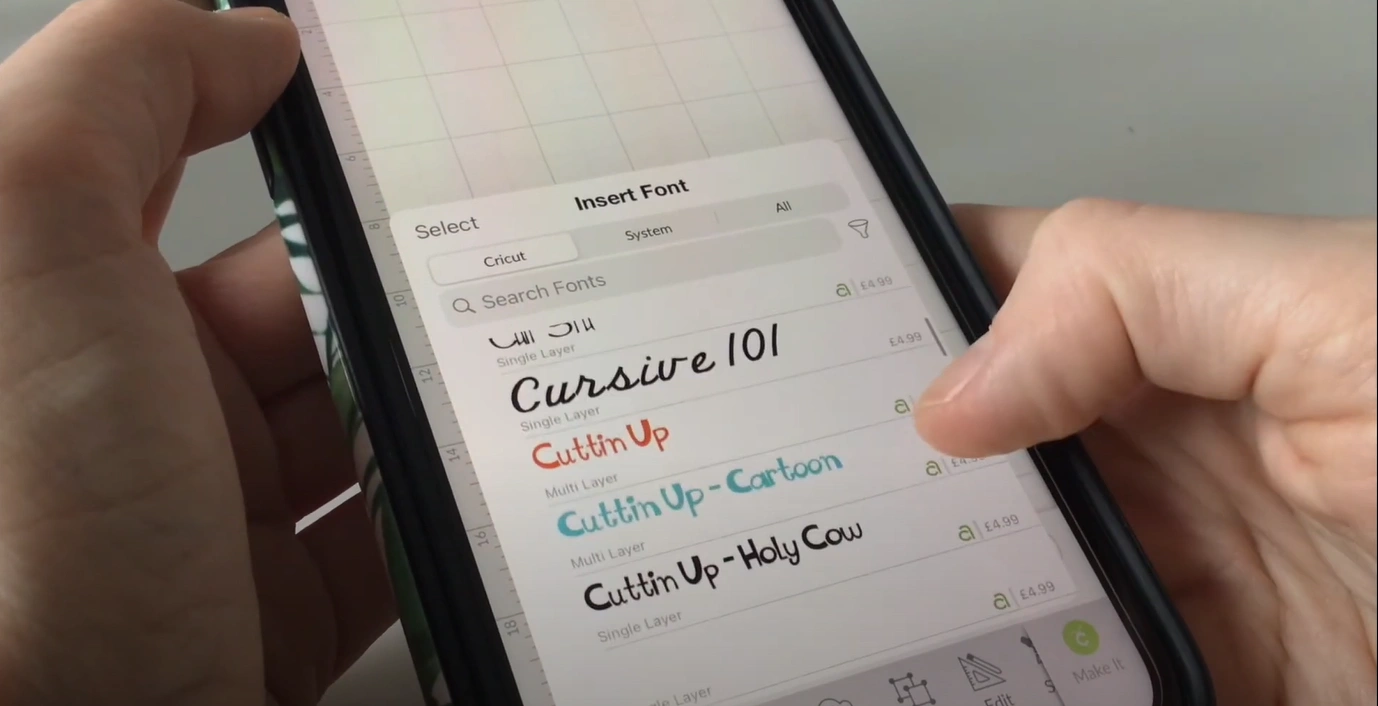
Step 9: If you want to use free fonts, select fonts from your System that are available.
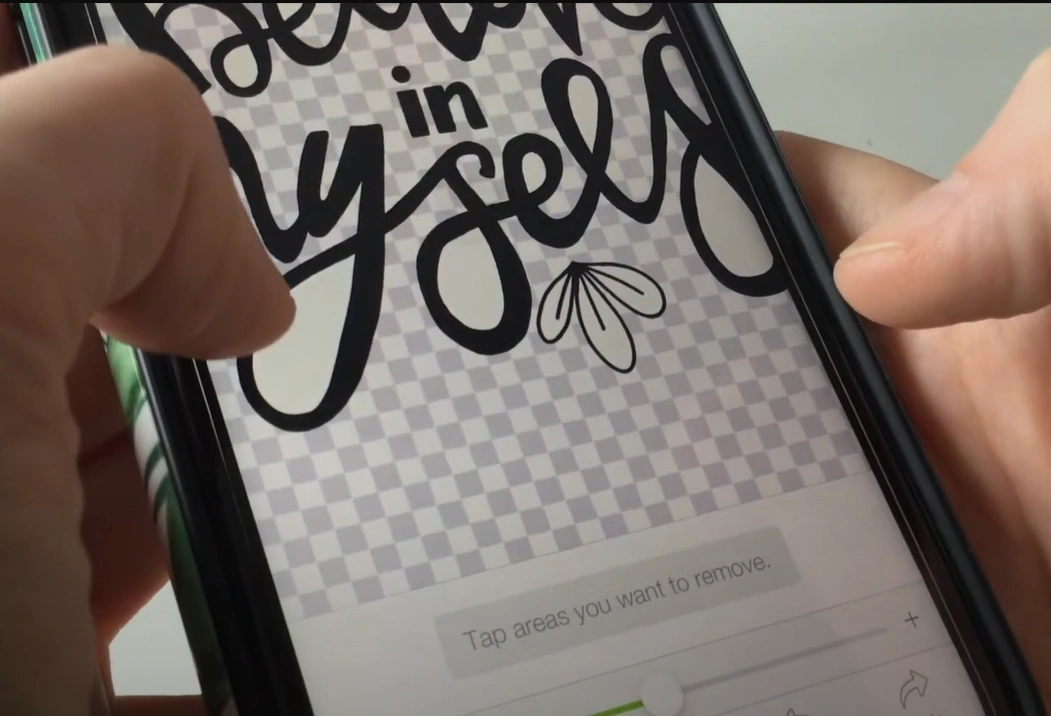
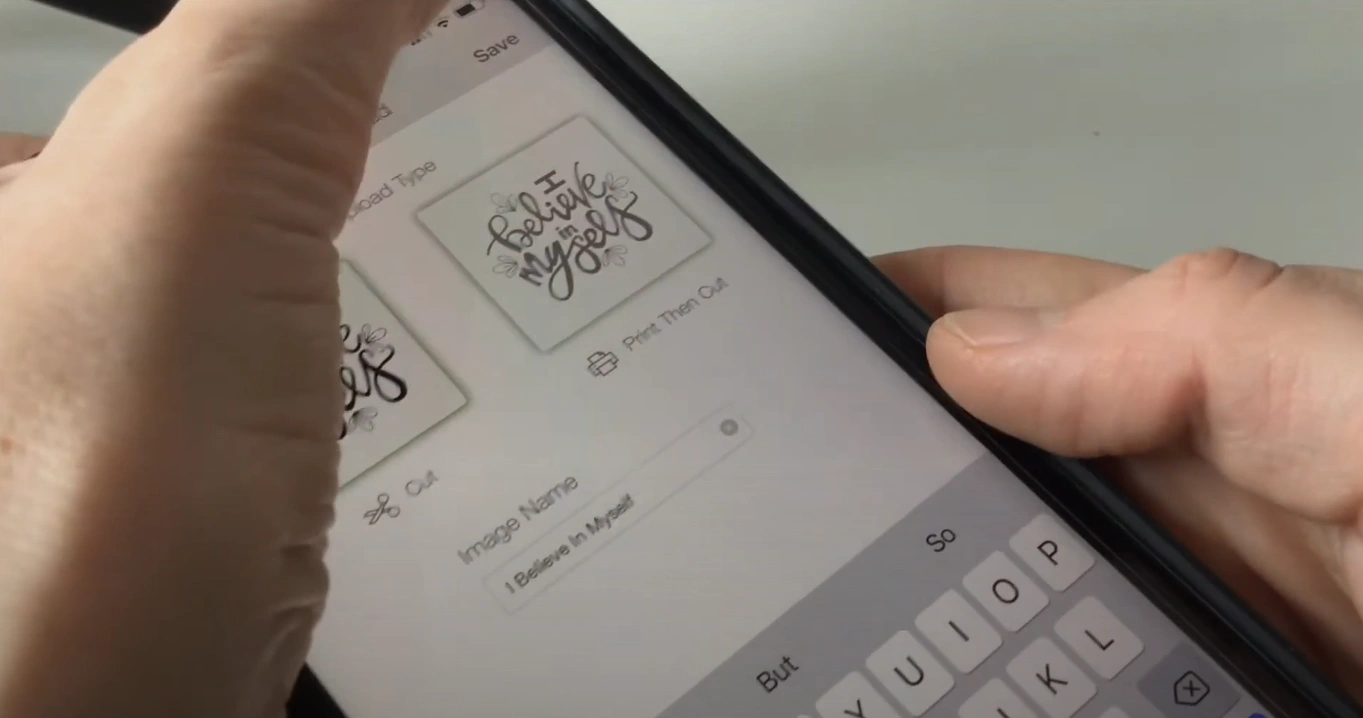
Step 10: After you’ve selected the font, upload a PNG file with a background.
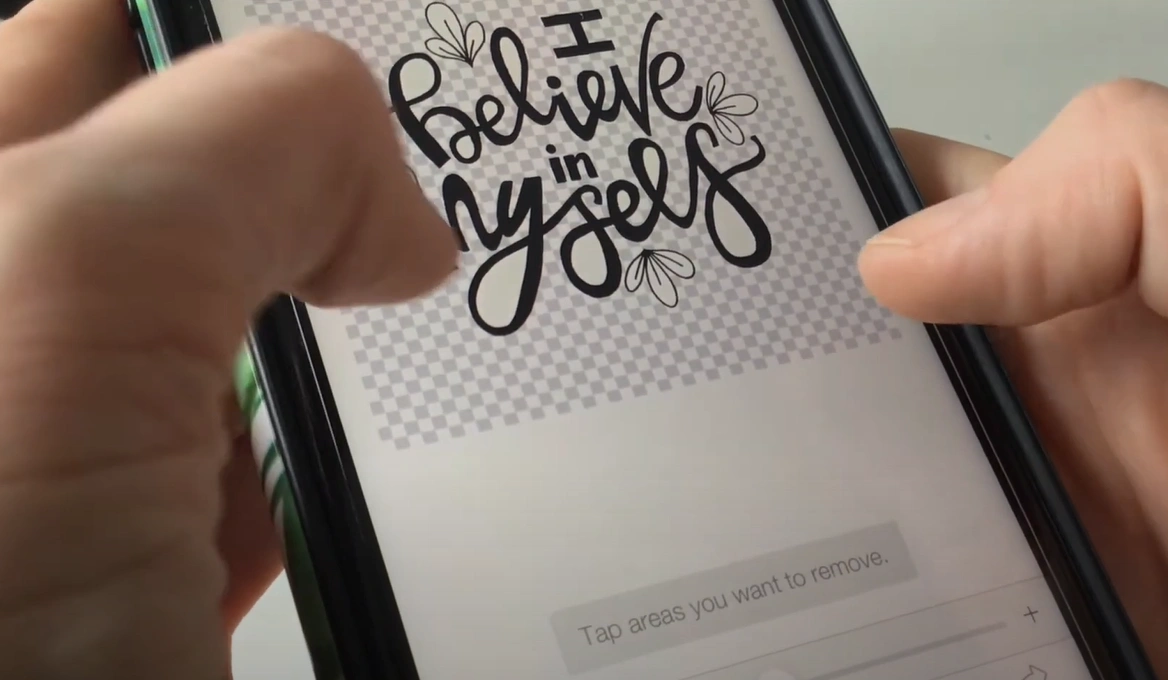
Step 11: Tap on all the white areas to completely remove the background from the image. It would be easier if you had a pen for your phone.
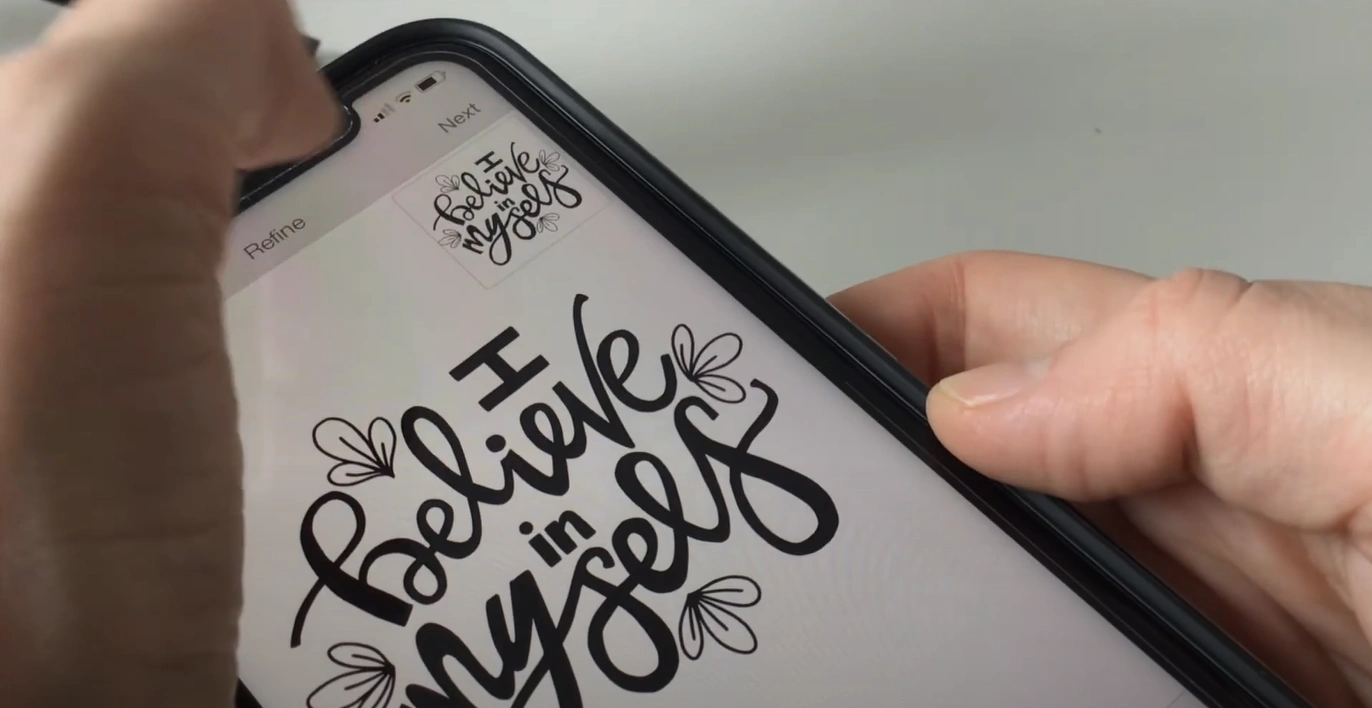
Step 12: As you are done, tap Next.
Step 13: Next, you have to save the image. Write the name you want to save your image in the blank space.
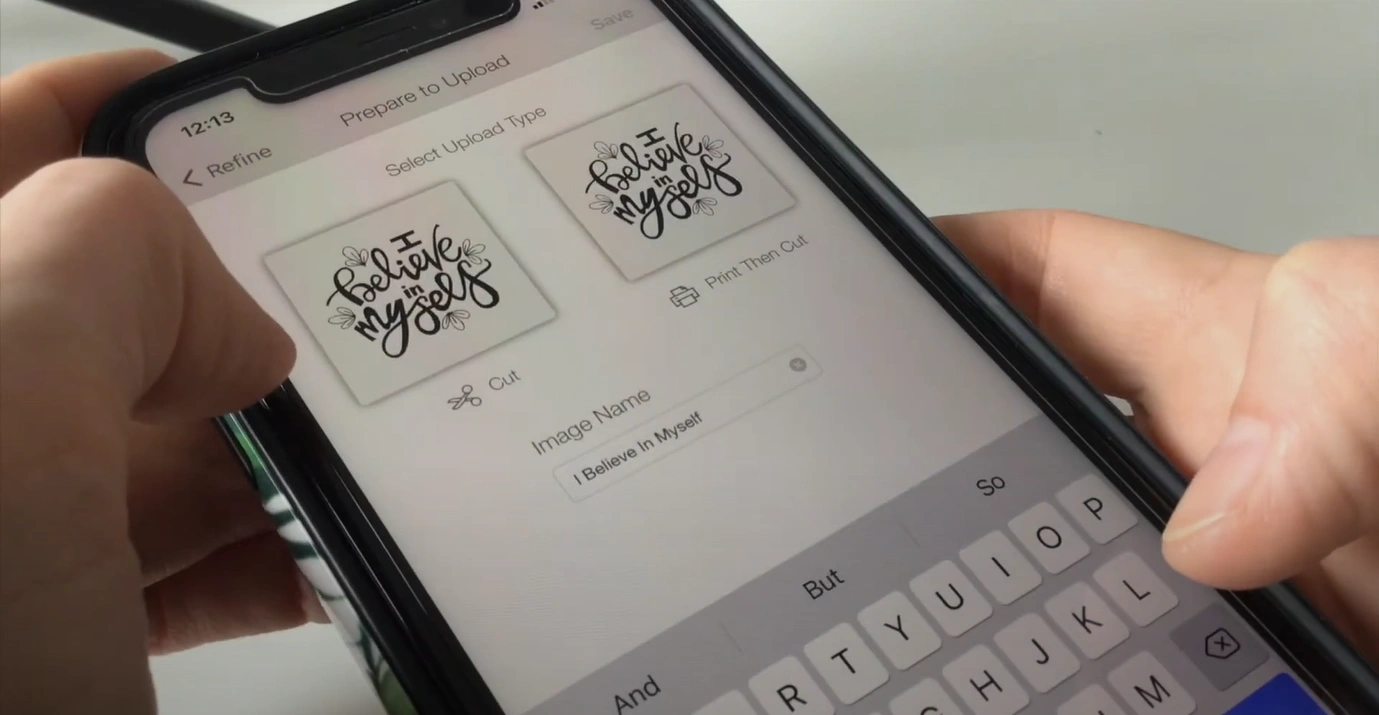
Step 14: Once you have filled in the name, tap Save. Wait for a few seconds. Your image will be uploaded to All Images.
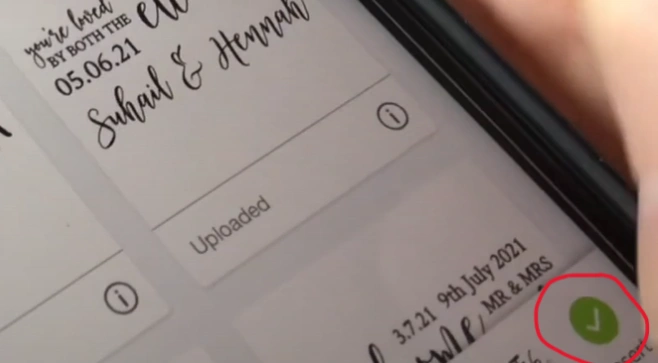
Step 15: Select the uploaded image and tap the green Insert button at the bottom right corner.
After you finish the design part, send the project to your machine for cutting. Follow the instructions, and you will be good to go. Ensure that the Cricut is properly connected to your mobile phone. Select the material you want to cut.
You can also design and cut projects offline if you’ve downloaded the necessary fonts, images, and projects in advance.
To Sum Up
That’s everything you need to know about how to use Cricut Explore Air 2 with phone. Using your crafting machine with your phone is simple and incredibly convenient. Just follow a few easy steps. Connect your phone with the machine via Bluetooth, download the Design Space app on your phone, and you’re ready to start your drawing, writing, or crafting. With the crafting machine and your phone, you can work with various tools to create professional-grade projects anytime and anywhere


