Is your Silhouette Cameo cutting properly? If not, the machine may not be calibrated, there may be no blade within the machine, the blade may be improperly seated, or there is too glossy material. Another reason for the Silhouette Cameo not cutting issue can be incorrect roller placement.
Before you make your cutting machine a thing of the past, read this comprehensive guide dedicated to troubleshooting the Silhouette Cameo not cutting issue. Let us walk you through the right methods.
Fixing Silhouette Cameo Not Cutting Issue: Potential Problems
The users might face many challenges when resolving the Silhouette Cameo not cutting issue. A few of them are as follows:
- Cutting settings
- Design issues
- Blade issues
- Material issues
Methods to Fix Silhouette Cameo Not Cutting Issue
The following are all the key methods to fix Silhouette Cameo not cutting issue. Let’s take a look at each one:
Method 1: Check Blade
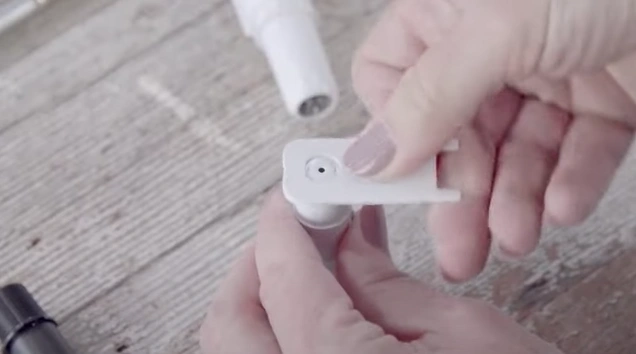
Step 1: Make sure the blade is fully seated in the housing.
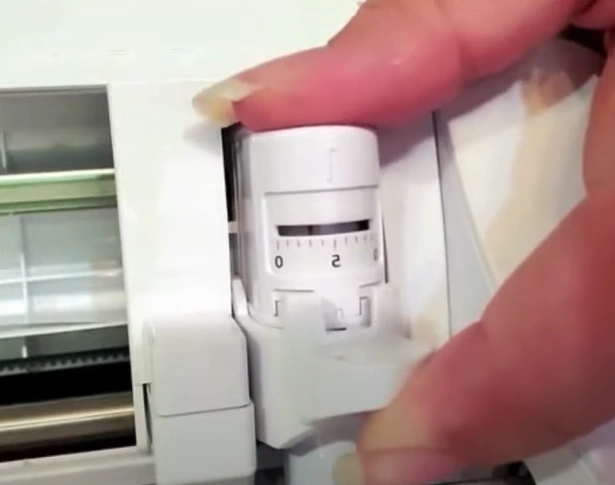
Step 2: Remove the blade from its carriage if cutting thicker materials.
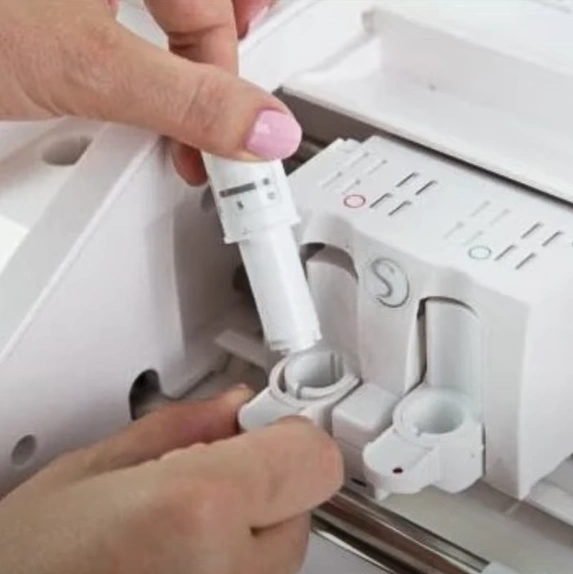
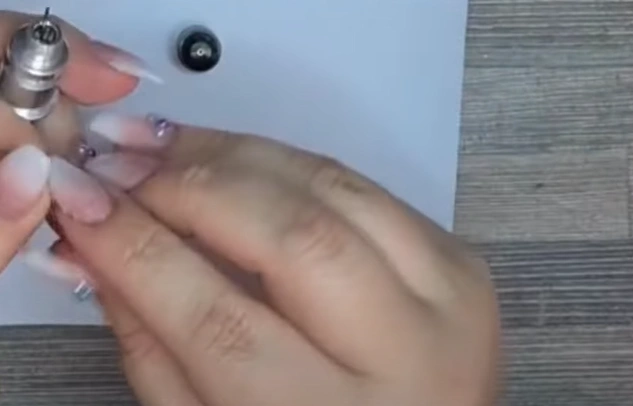
Step 3: Ensure that the cap on the tip is not unscrewed.
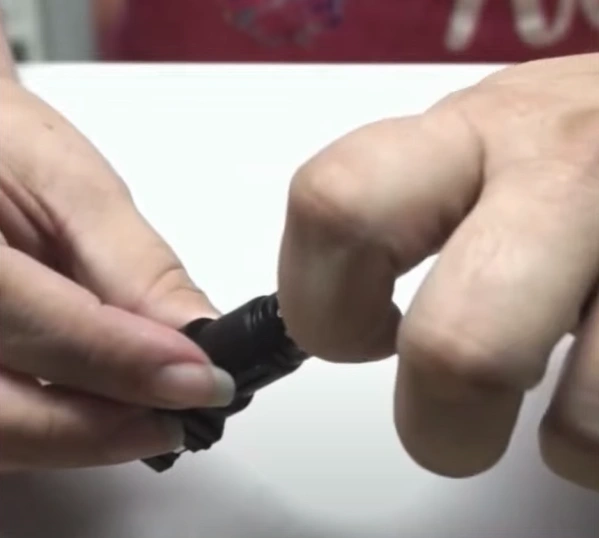
Step 4: While checking the cap, check if the blade requires cleaning; to check, unscrew the cap.
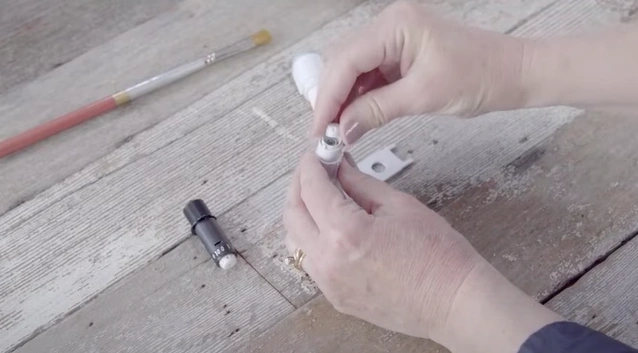
Step 5: Grab a brush and brush away any debris found.
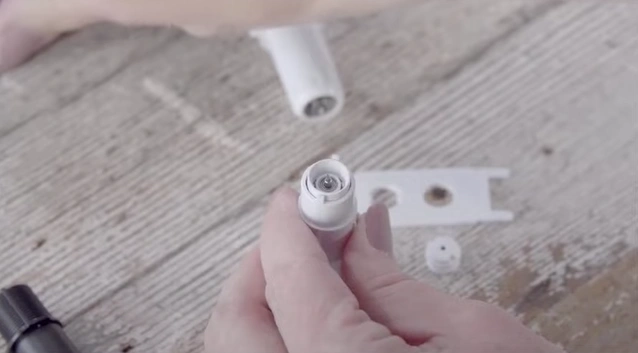
Step 6: While cleaning, check and see if there are any chips in the blade.
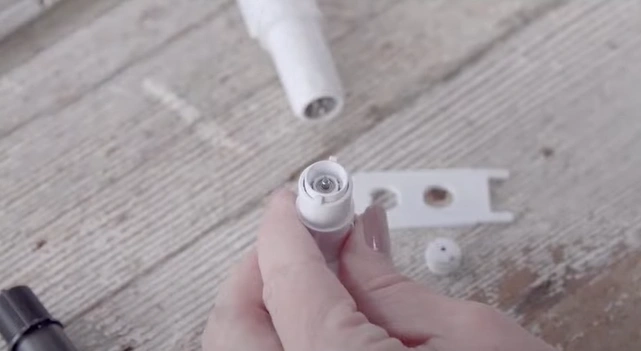
Step 7: If the blade is chipped, you may need to change it.
Also Read:- How do you Setup The Silhouette Cameo 4?
Step 8: Once done, screw the cap back on.
Method 2: Check Software Settings
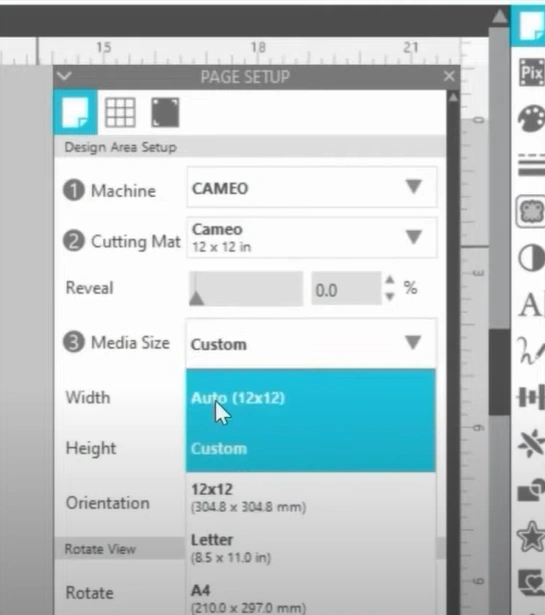
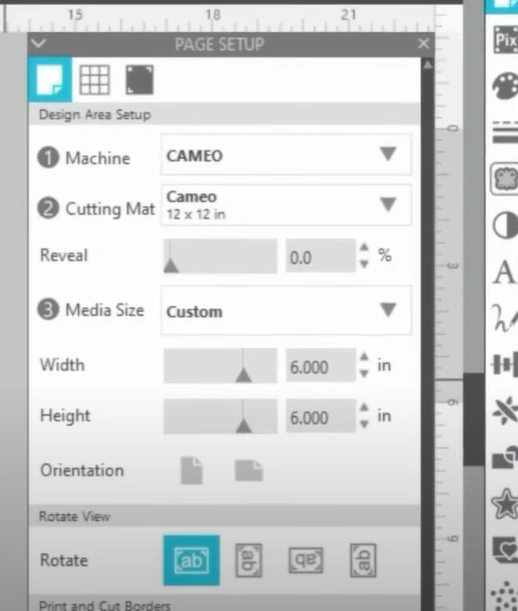
Step 1: In the Page Setup panel, make sure that the right machine is selected.
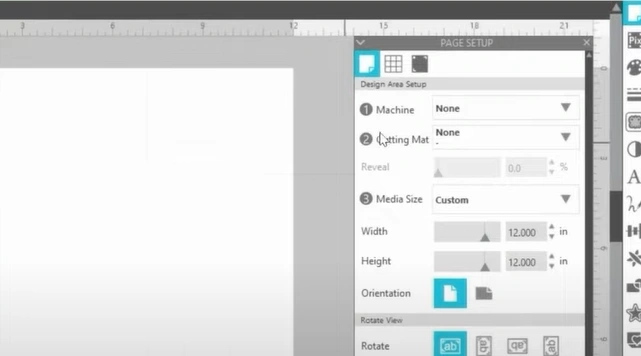
Step 2: Make sure to select the right Cutting Mat as well.
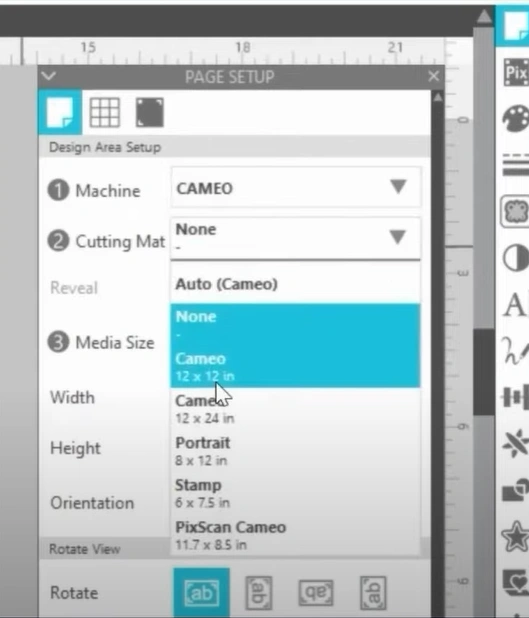
Step 3: Next, ensure that the Media Size is set correctly.
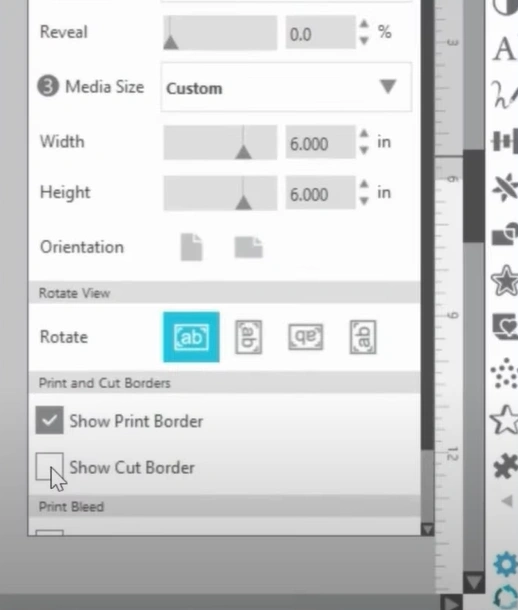
Step 4: If you are working on a Print and Cut project, check Show Print Border.
Step 5: Ensure you’ve checked the Show Cut Border Option.
Method 3: Calibrate the Machine
Step 1: In Silhouette Studio, go to the Send panel.
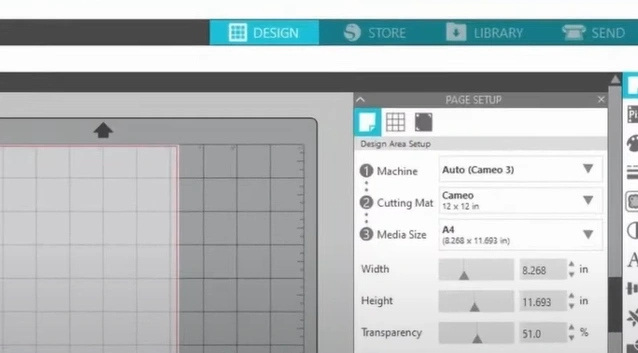
Step 2: Right-click the machine that requires Calibration and click Calibration.
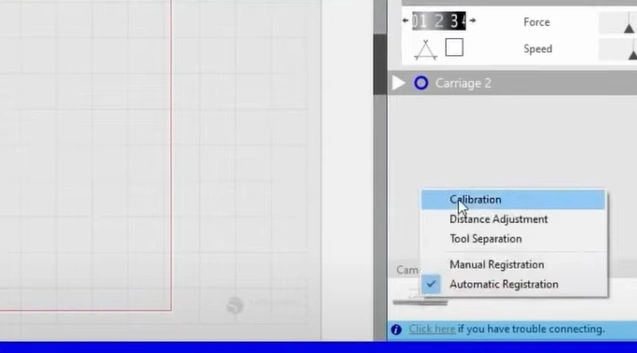
Step 3: Wait for it to load the Test Page.
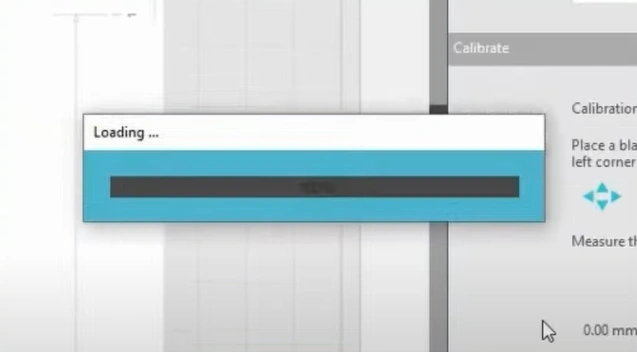
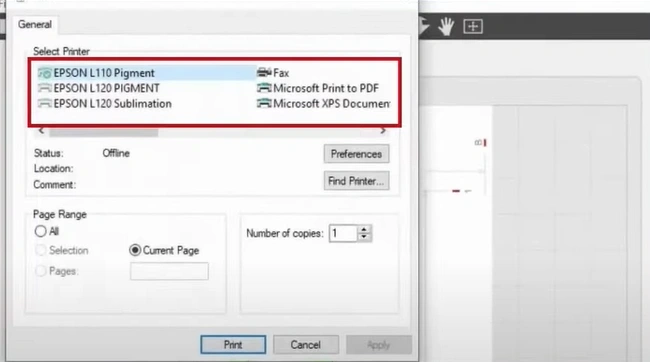
Step 4: Click Print Test Page and select your printer in the Print pop-up prompt.
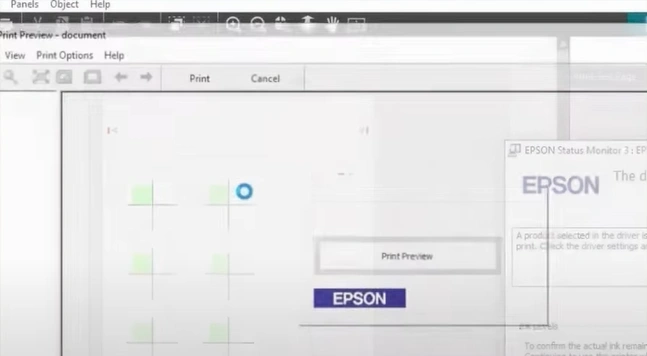
Step 5: Click Preferences, check the settings, then check the Print Preview box.
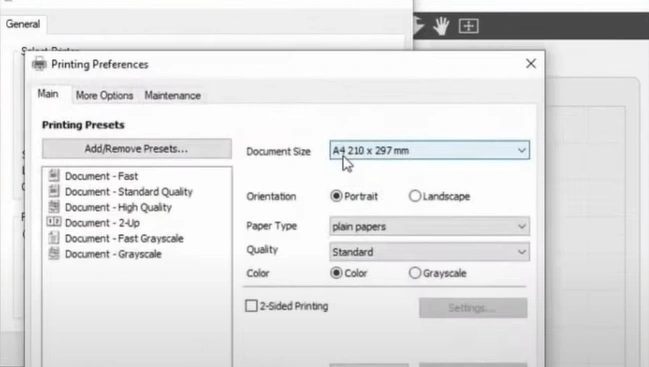
Step 6: Click OK, then click Apply and Print.
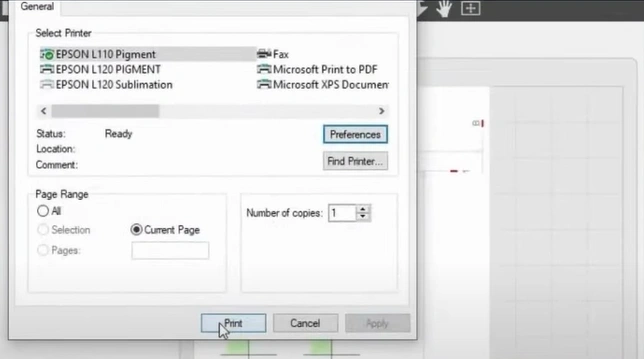
Step 7: Click Print in the Print Preview document and wait for the printer to print the Calibration test page.
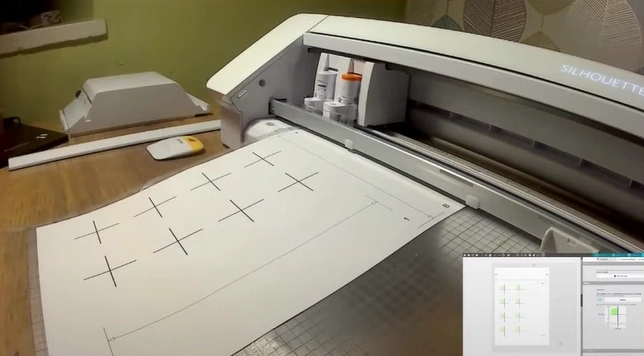
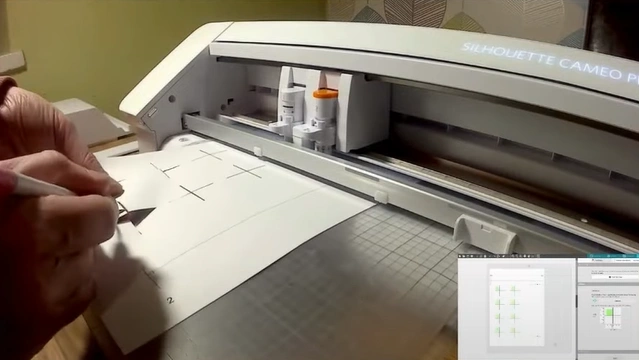
Step 8: Place the printed test page on a cutting mat and load it into the machine.
Step 9: Go back to Silhouette Studio and click Calibrate/Cut Test Lines.
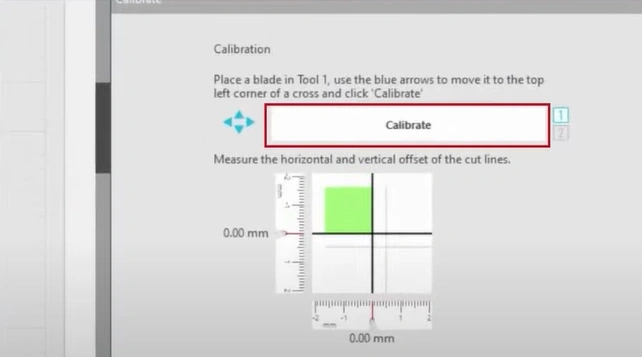
Step 10: Once it’s done cutting, check to see if there are any deviations in the cuts.
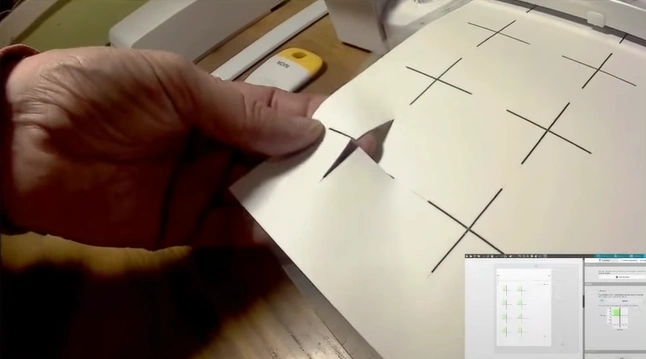
Step 11: If the cut lines are off, use the ruler to adjust the slider to match the distance.
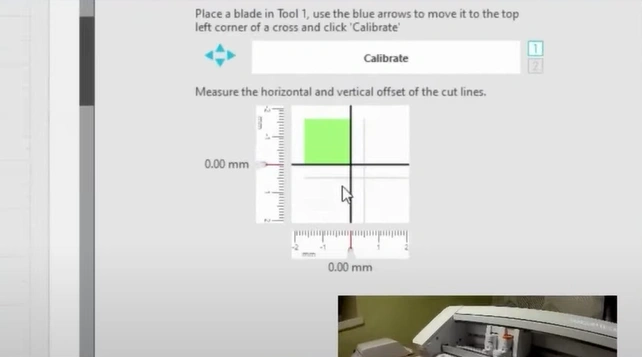
Step 12: Go ahead and print another test page and load it into the machine.
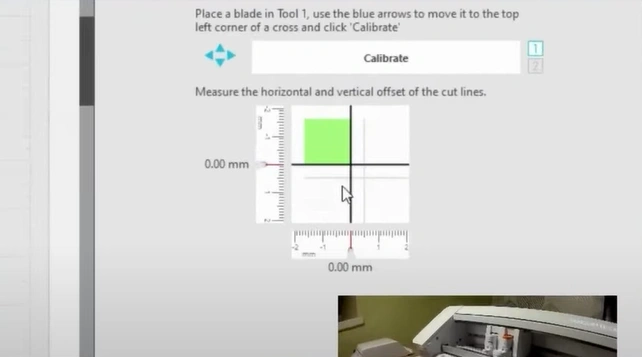
Step 13: Repeat the same steps to perform another calibration.
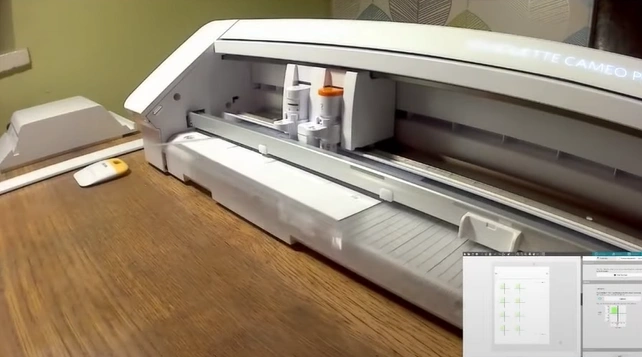
Step 14: Once done, check the cut lines.
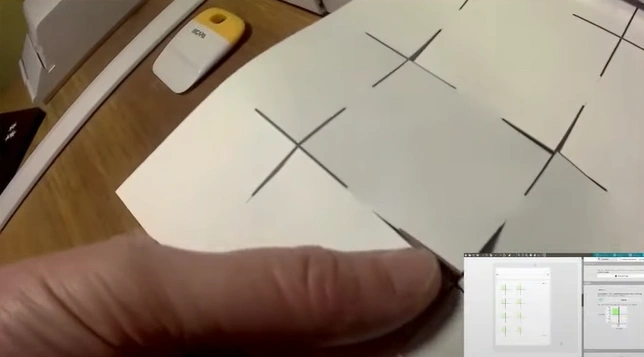
Step 15: Repeat the same steps until you’re happy with the cut lines.
To Sum Up
No need to worry when your Silhouette Cameo does not cut right. Just remember the above solutions, and you are good to go. Follow each step carefully and be wary of the challenges that may arise during troubleshooting.
If you are still struggling to fix the “Silhouette Cameo not cutting” issue, remember that expert assistance is always available.


