
With the Cricut Joy Xtra, you can design various projects, such as personalized t-shirts, custom cards, full-color stickers, and drinkware. The machine is also equipped with a printable sensor that allows users to print designs on sticker paper and cut them precisely. Cricut Joy Xtra is also compatible with over 50 materials, such as cardstock, vinyl, and iron-on, making it perfect for various projects.
Are you someone who has not worked on any Cricut machine before and wants to learn how it works? Here is a full tutorial on how to use Cricut Joy Xtra. Let us go further.
Potential Issues That Arise When Using Cricut Joy Xtra
Several issues may occur when you start using the crafting machine. Here are a few of them:
- Bluetooth connectivity issues
- Software glitches
- Problems with the alignment of cuts
- Missing accessories
- Limited material support
Steps to Use Cricut Joy Xtra for Beginners
If you are new to crafting, then you must follow these essential steps to learn how to use a Cricut Joy Xtra:
Unboxing
Step 1: Open the Cricut machine box. You’ll see an envelope with a user manual having basic information about the machine.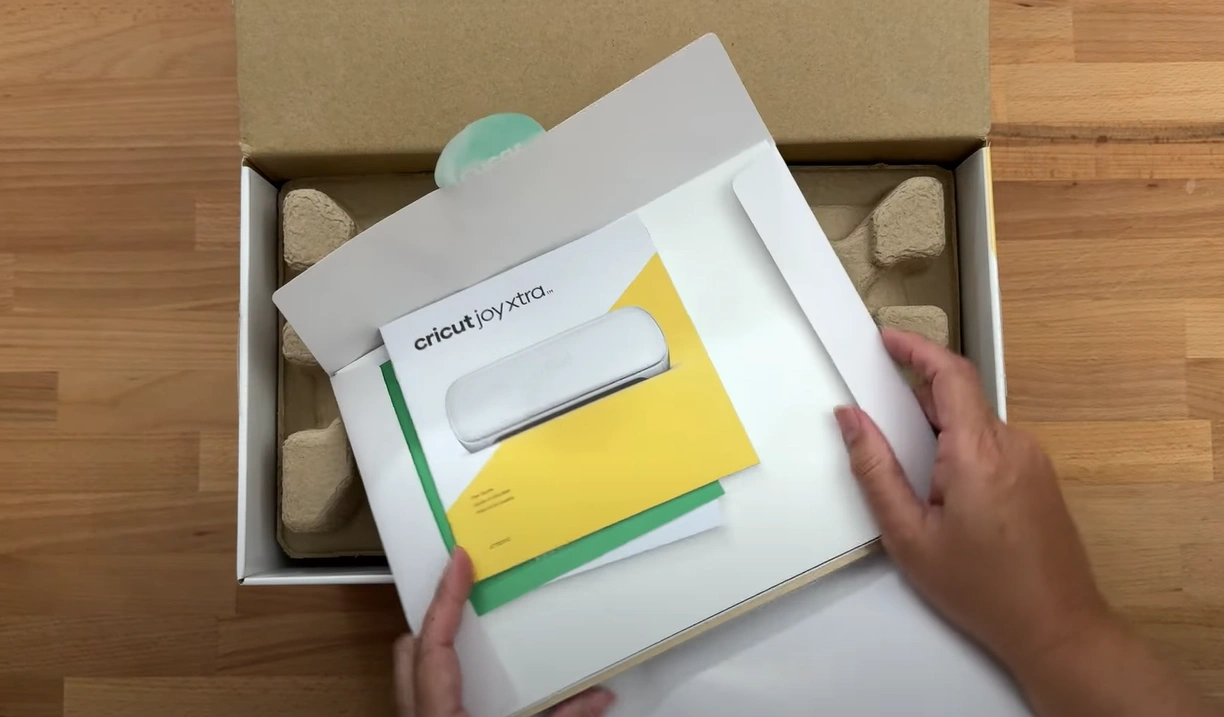
Step 2: In the same envelope, you’ll get a warranty card and a few pieces of vinyl to test the machine.
Step 3: Take the machine out and place it on a stable surface.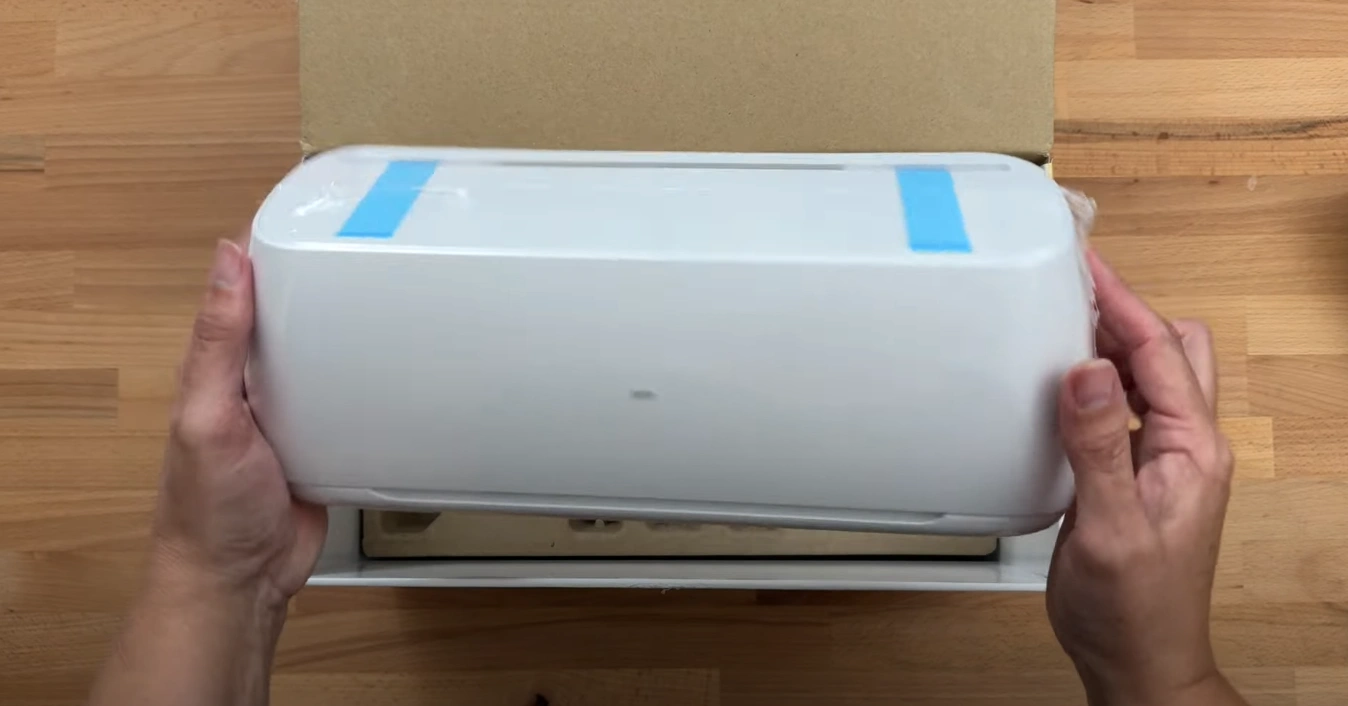
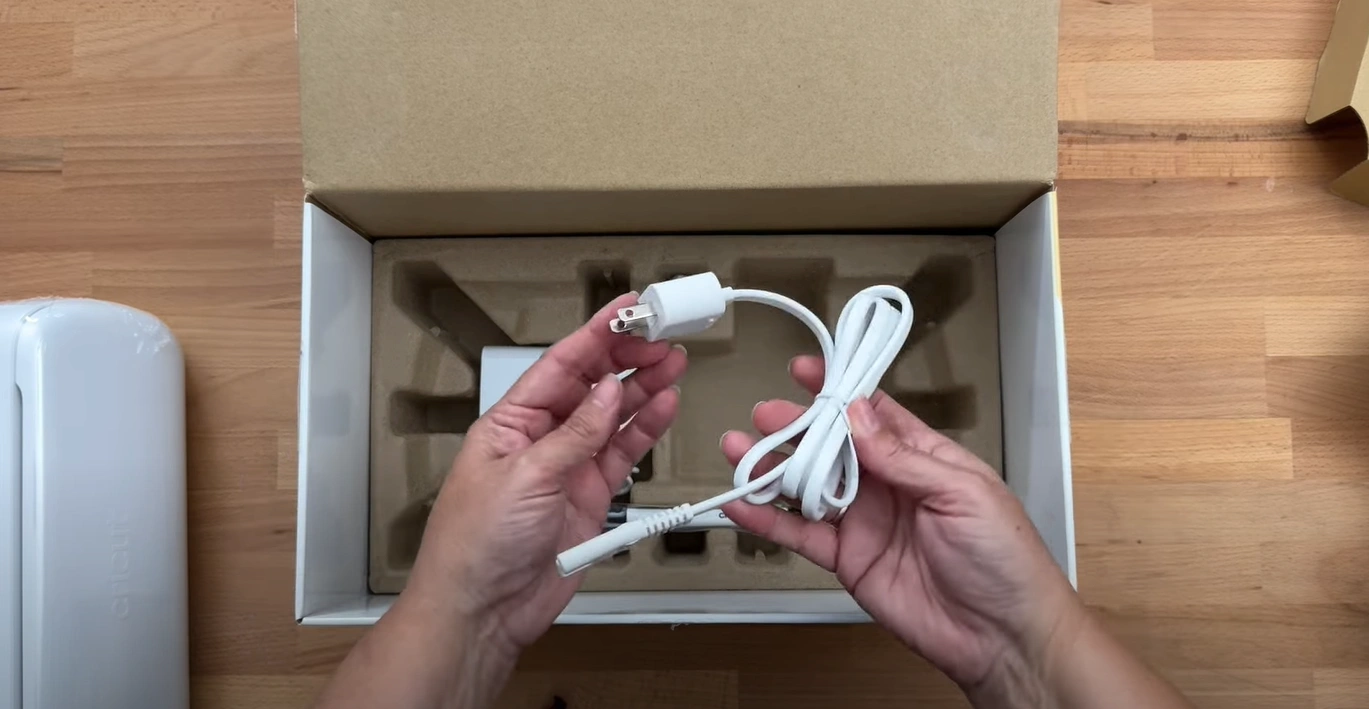
Step 4: Inspect the box for other tools (a power cable, power adapter, fine-point pen, and mini weeder).
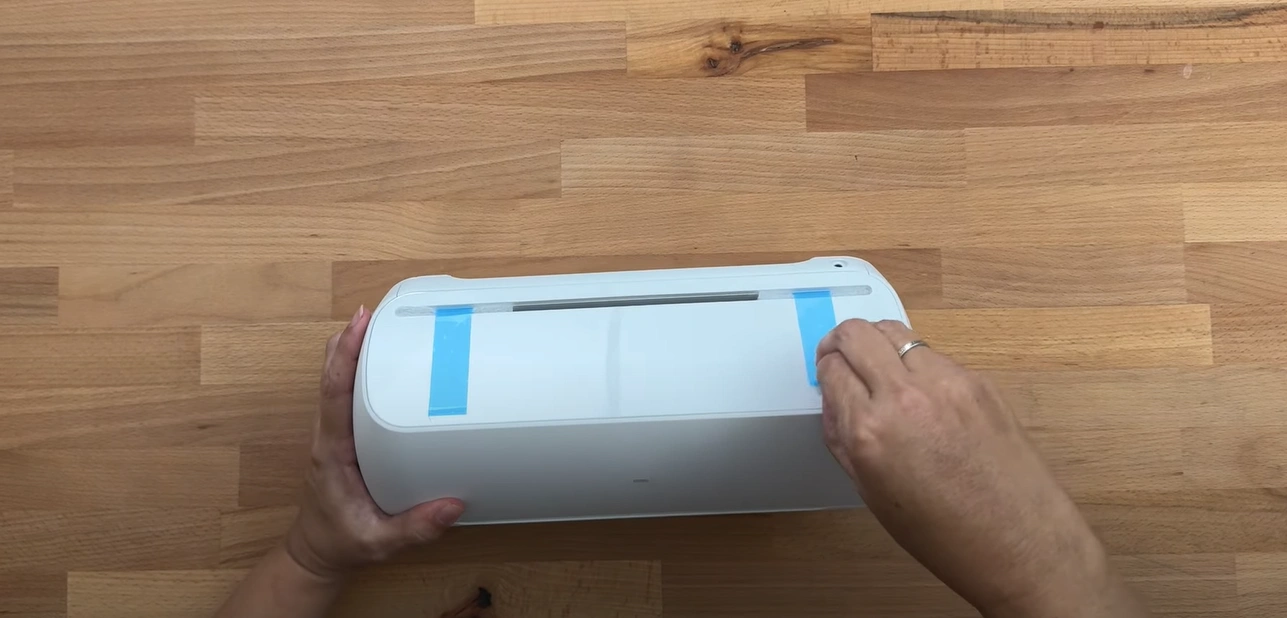
Step 5: Remove the protective plastic wrapping from the machine.
Setup Process
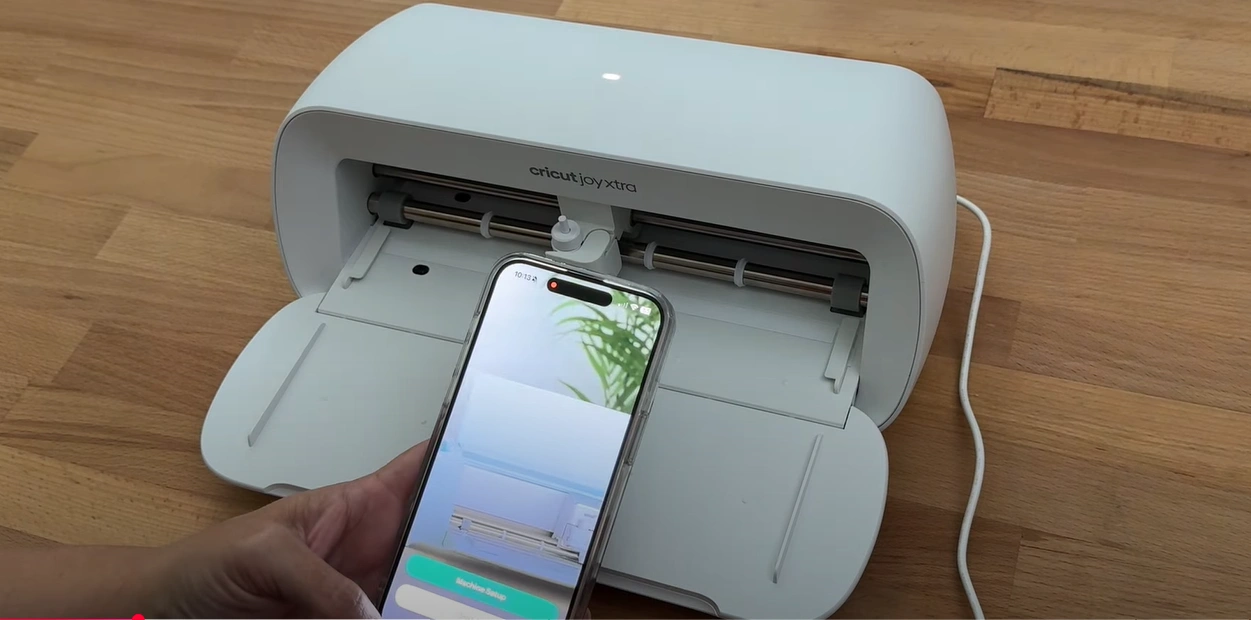
Step 1: Plug in the power cable at the back, and you will see a light at the top.
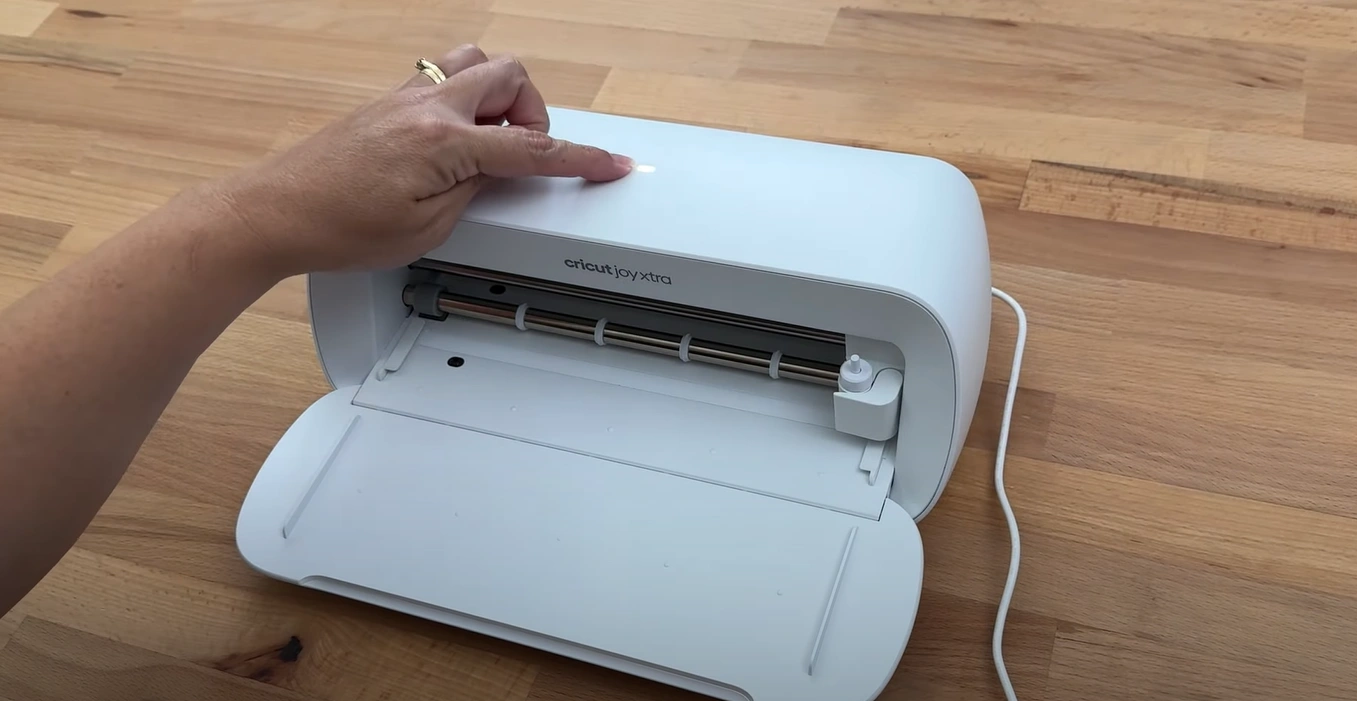
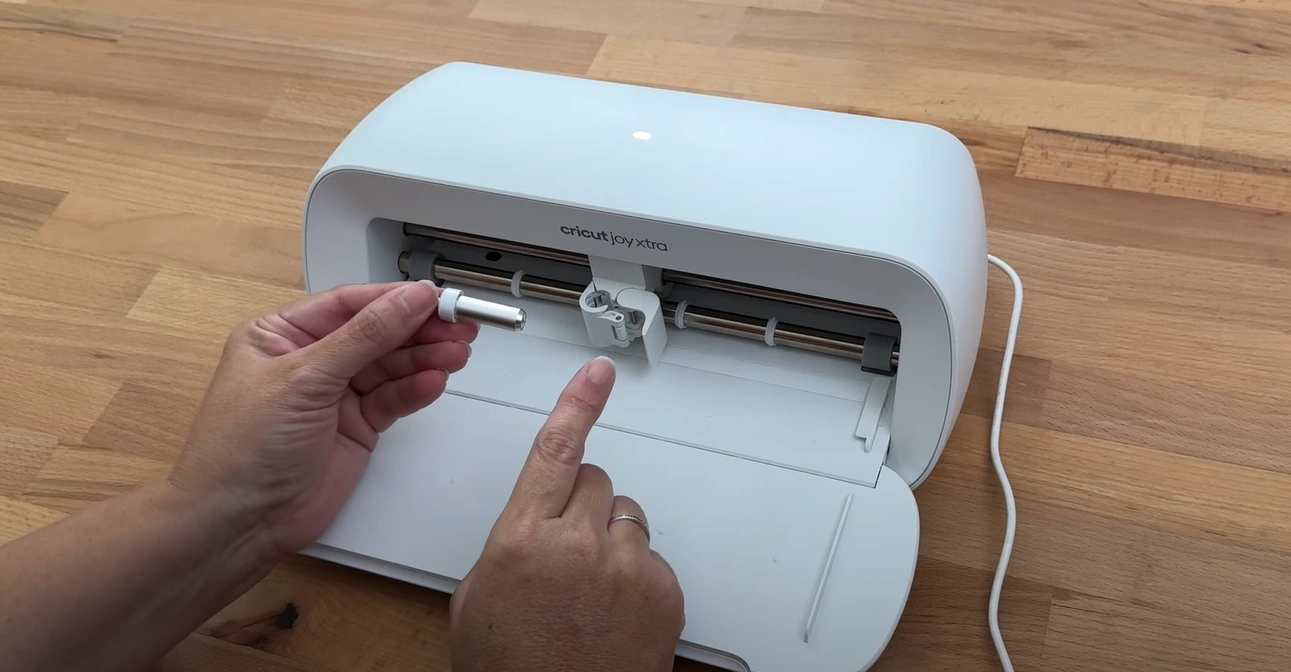
Step 2: Open the machine’s lid. The tool clamp is right in front, and it can be opened and changed.

Step 3: The machine comes with a fine-point blade. You can use your pens to draw or write with them. Also, you can use a foil tool (sold separately) for specialized projects.
Step 4: Next, you need to access the machine through the Design Space application.
Also Read:- How to Reset Cricut Joy
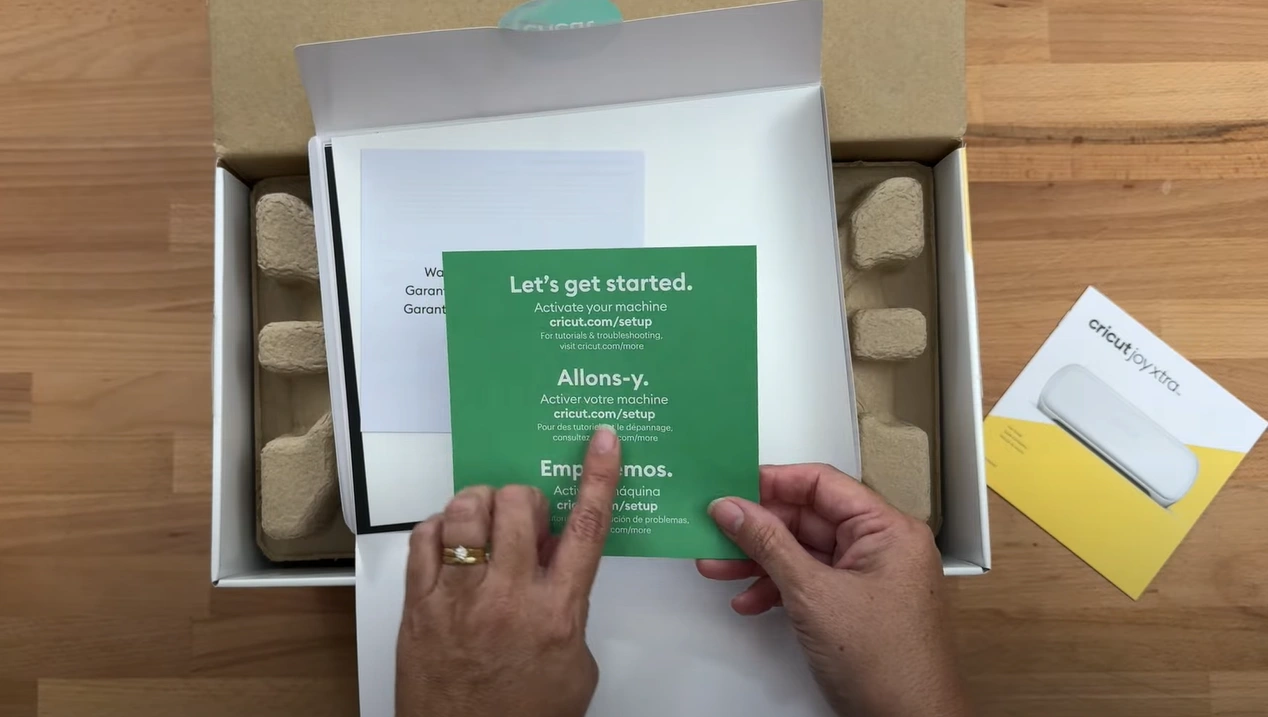
Step 5: Go to your device and navigate to the official Cricut setup page.
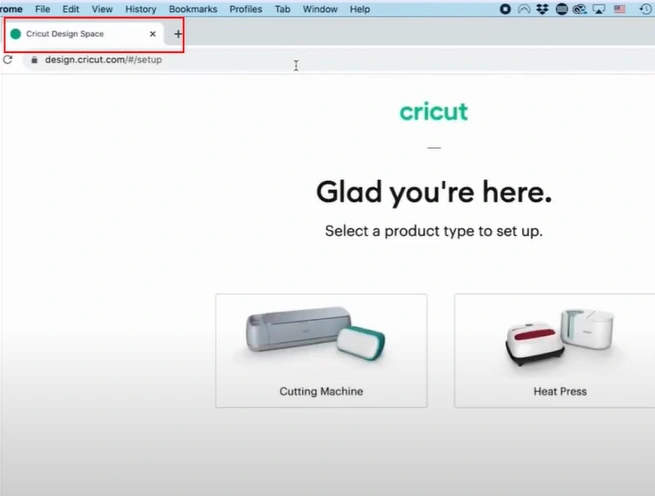
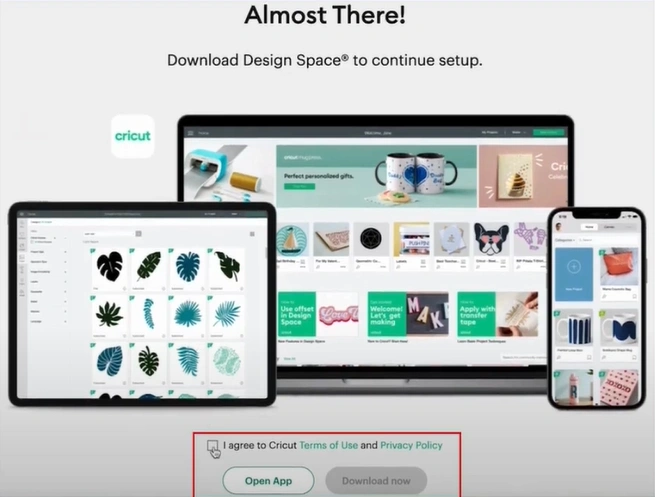
Step 6: Select Cutting Machine, agree to the terms and conditions, and click Download Now if it is not already in your system.
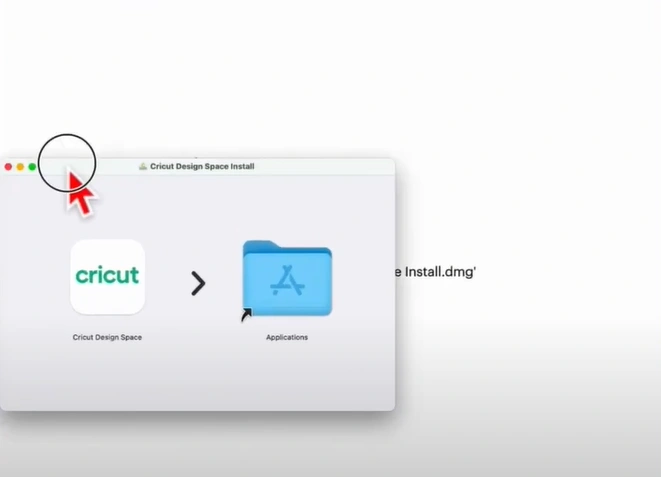
Step 7: Once the download is complete, open the downloaded file, then drag and drop Design Space to Applications.
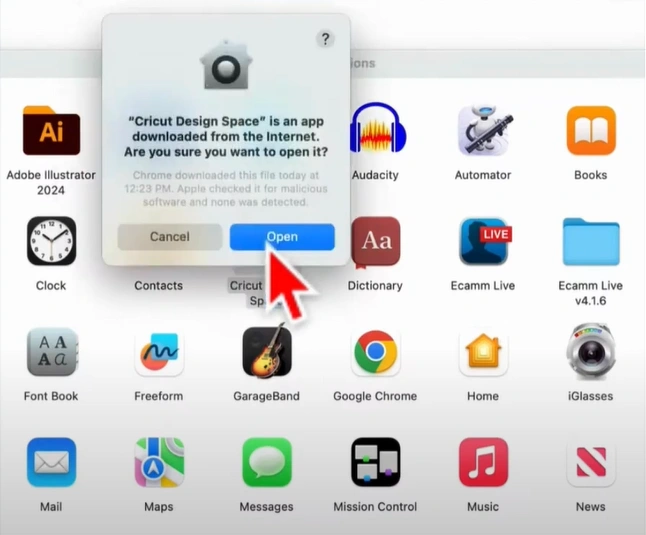
Step 8: Double-click Design Space, then click Open when prompted.
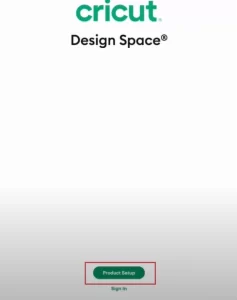
Step 9: When the Design Space screen loads, click Product Setup.
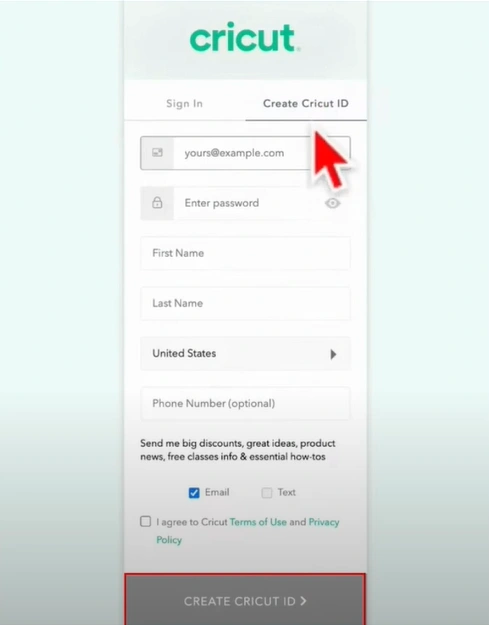
Step 10: Now, go ahead and create a Cricut ID. After agreeing to the terms of use and privacy policy, click Create Cricut ID.
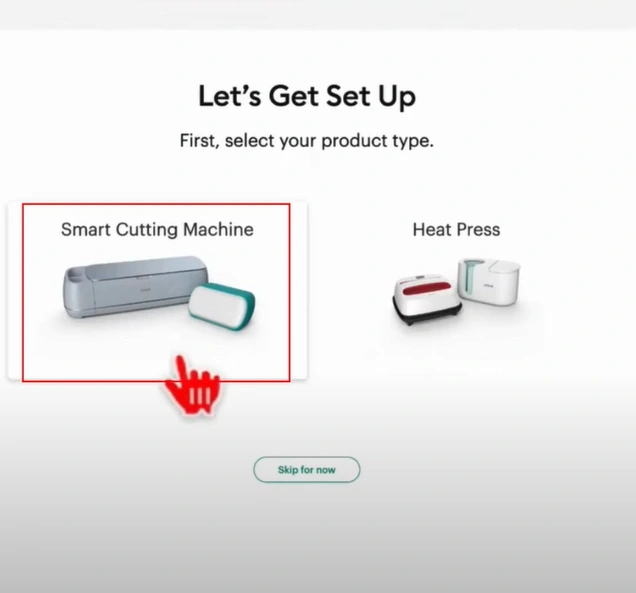
Step 11: When you get the Let’s Get Set Up screen, select Smart Cutting Machine, then select Cricut Joy Xtra.
Step 12: In the Prepare Workspace screen, follow the instructions and click the arrow icon to go to the next screen.
![]()
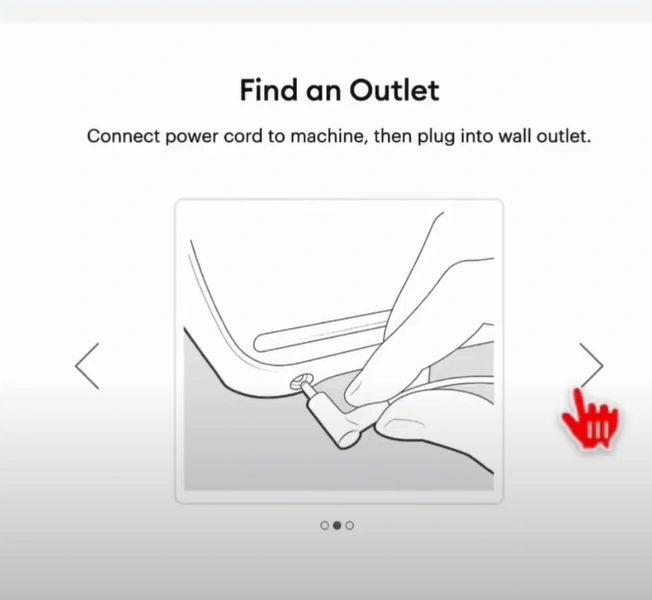
Step 13: When you get the Find an Outlet screen, plug the power cord into the machine and power outlet, then click the arrow icon.
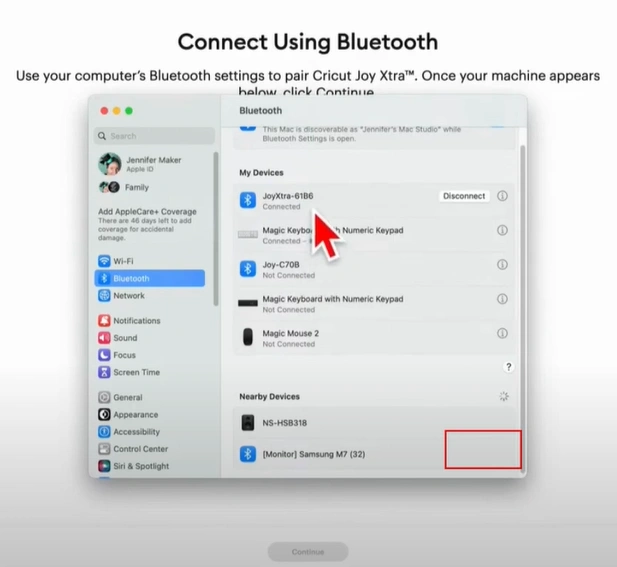
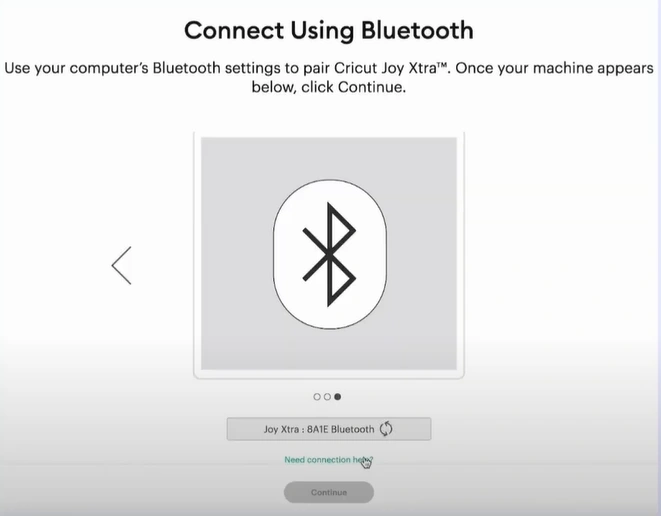
Step 14: When it tells you to connect using Bluetooth, navigate to your device’s Bluetooth settings to connect.
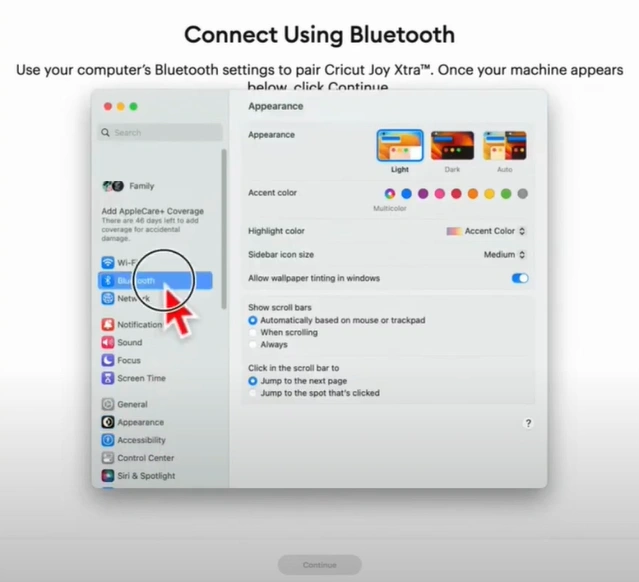
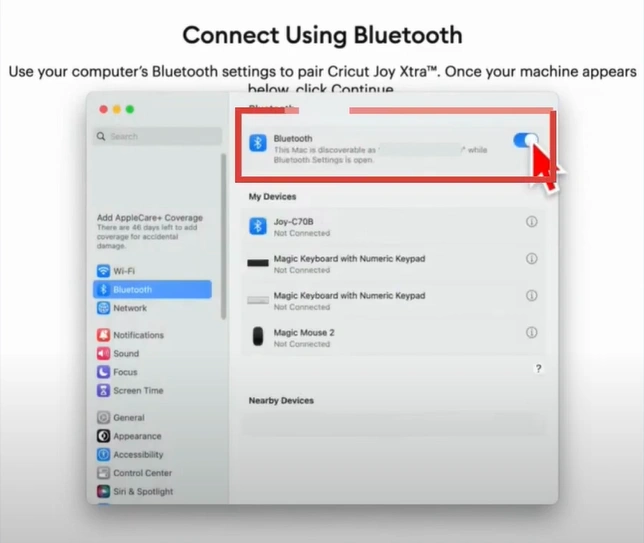
Step 15: Make sure Bluetooth is turned on, then look for your device.
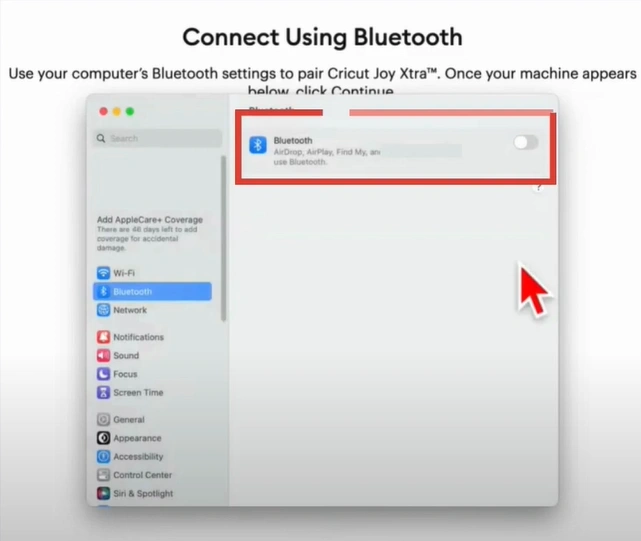
Step 16: If it cannot detect your device, turn off Bluetooth, turn it back on, and see if it can detect your device.
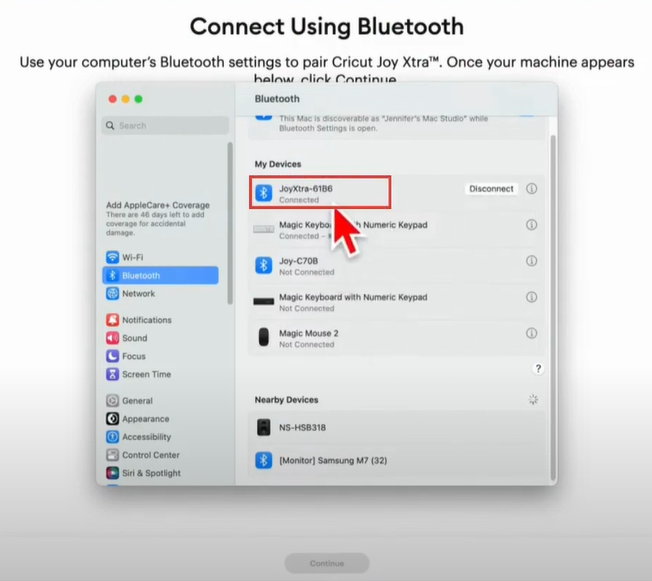
Step 17: Once it detects your device, click Connect next to the device and wait for the connection to establish.
Step 18: Once the connection is established, it’ll say Connected under the device.
Step 19: Now, go back to Design Space, and you’ll see it’s connected; then click Continue.
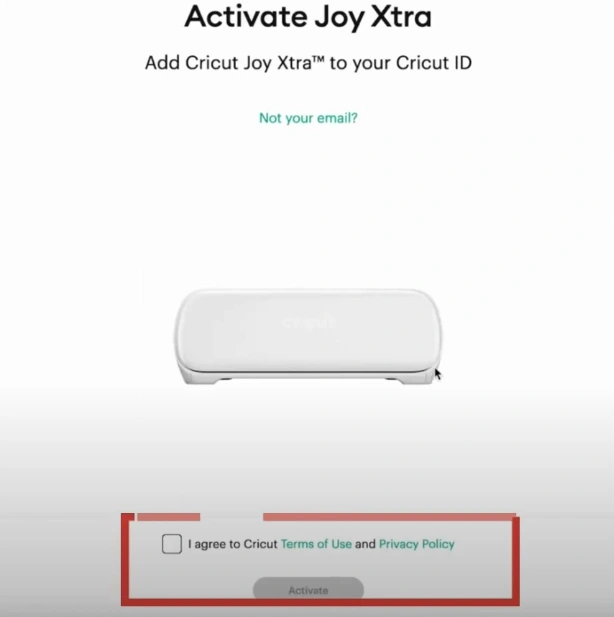
Step 20: In the Activate Cricut Joy Xtra screen, double-check your email address, agree to the terms of use and policy, and click Activate.
Step 21: You’ll get a machine registration successful notification banner, and it’ll start updating automatically.
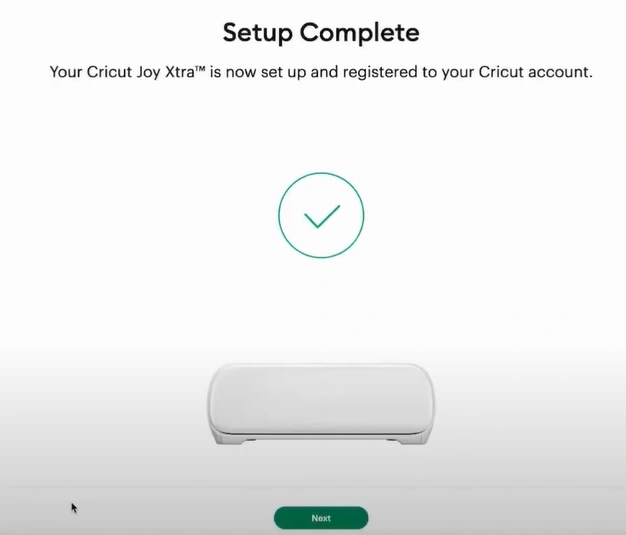
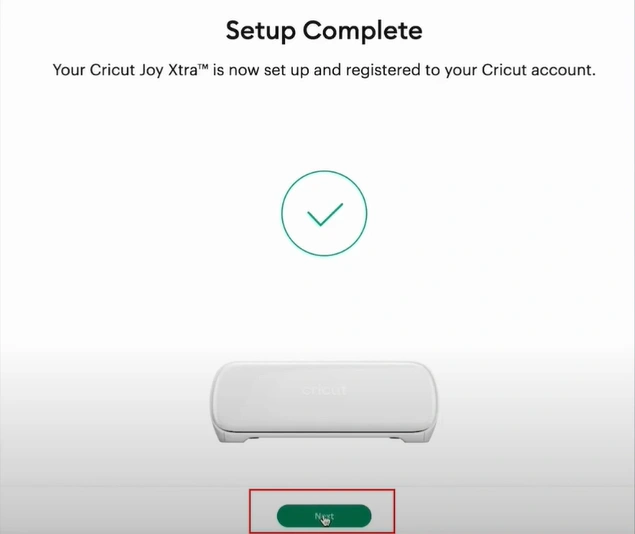
Step 22: Once the update is complete, click Next in the Setup Complete screen.
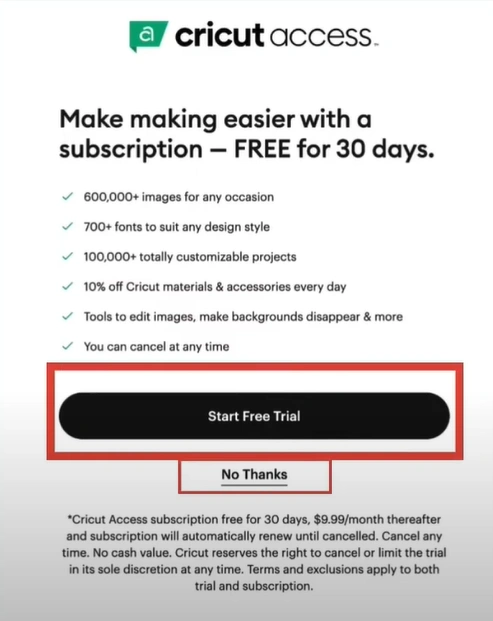
Step 23: Now, you can click Start Free Trial or click No Thanks.
Step 24: When you get the Let’s Test Your Machine screen, click Next, then go ahead and try cutting a project.
First Project
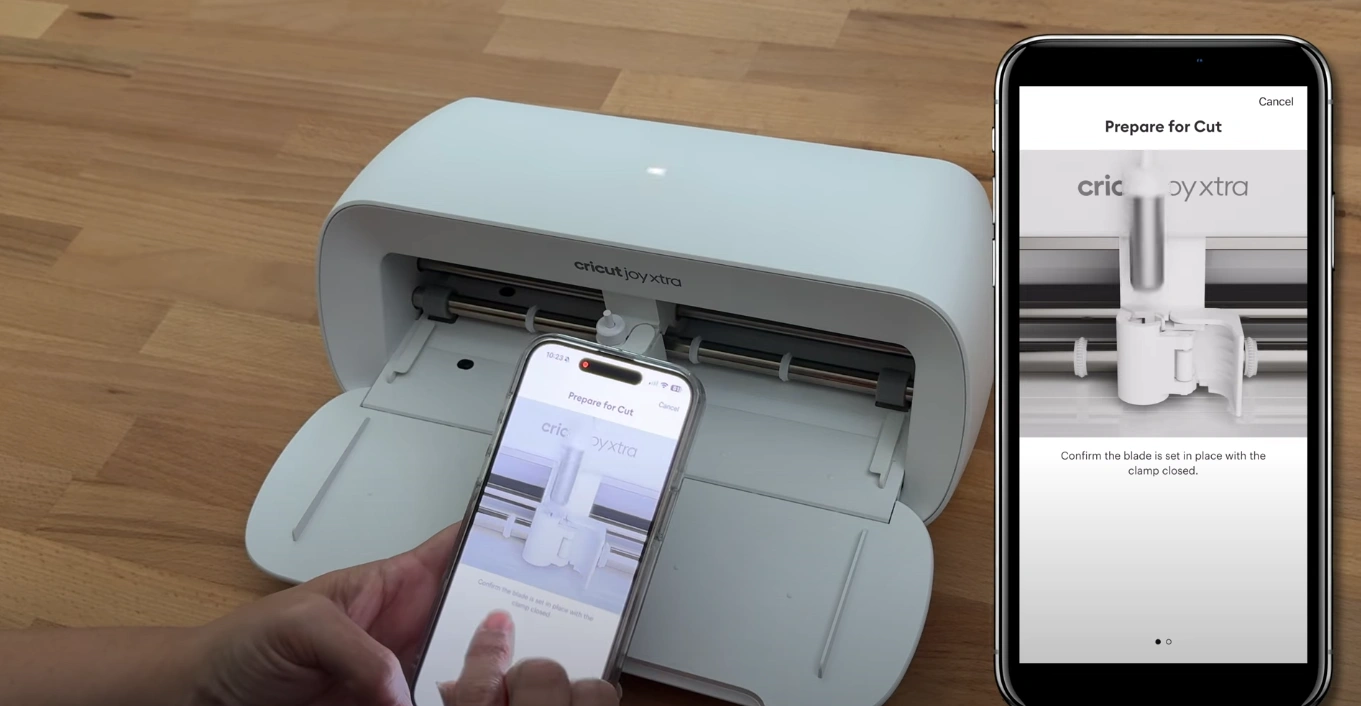
Step 1: Confirm that the blade is set in place and the clamp is fully closed.
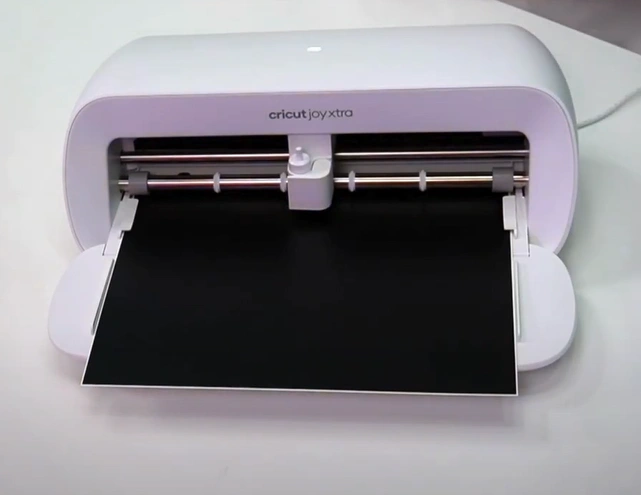
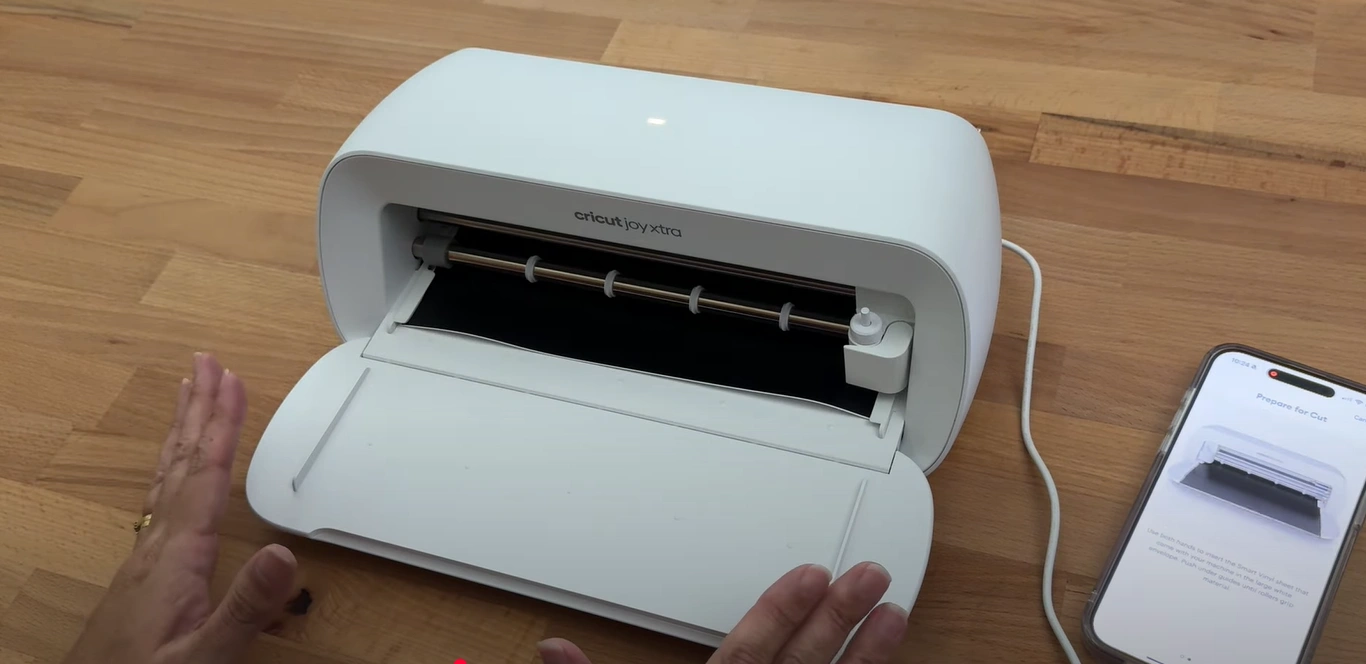
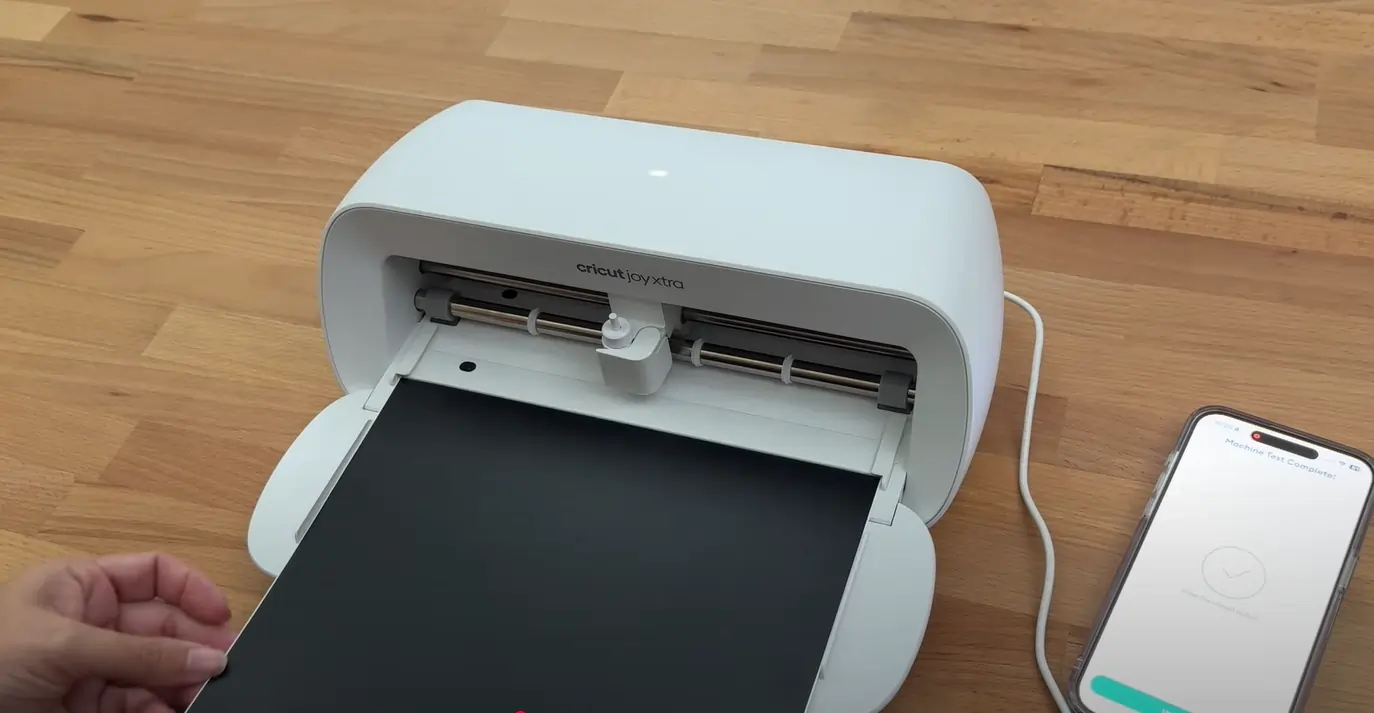
Step 2: Take the smart vinyl sheet that comes with the machine and insert it using both hands to ensure that it is aligned properly.
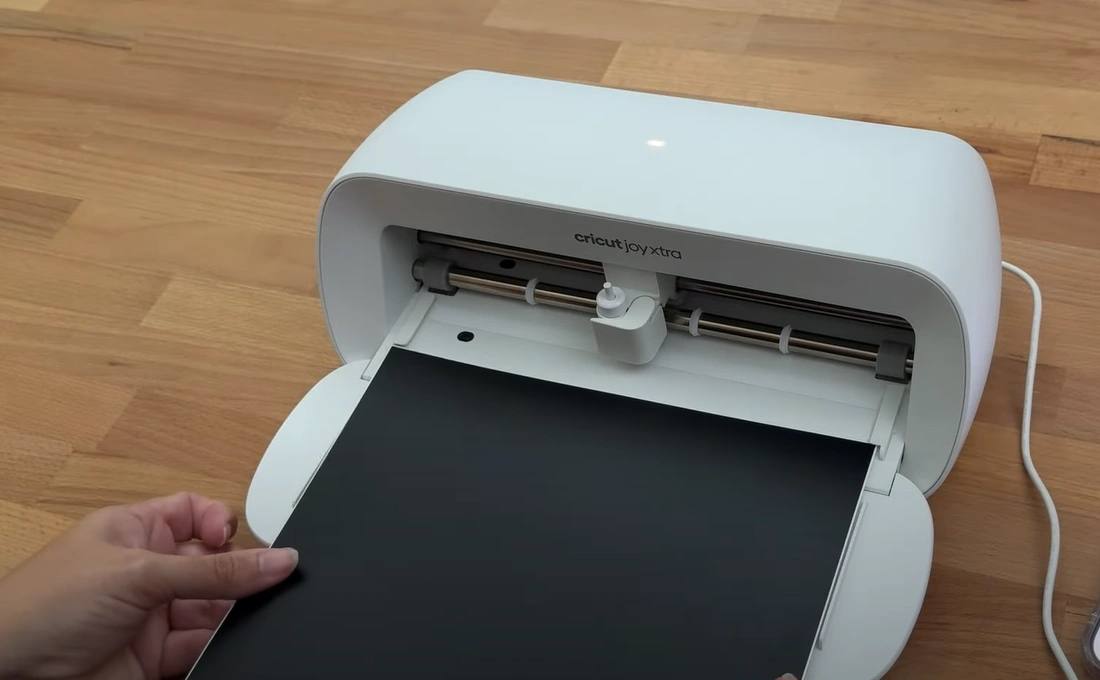
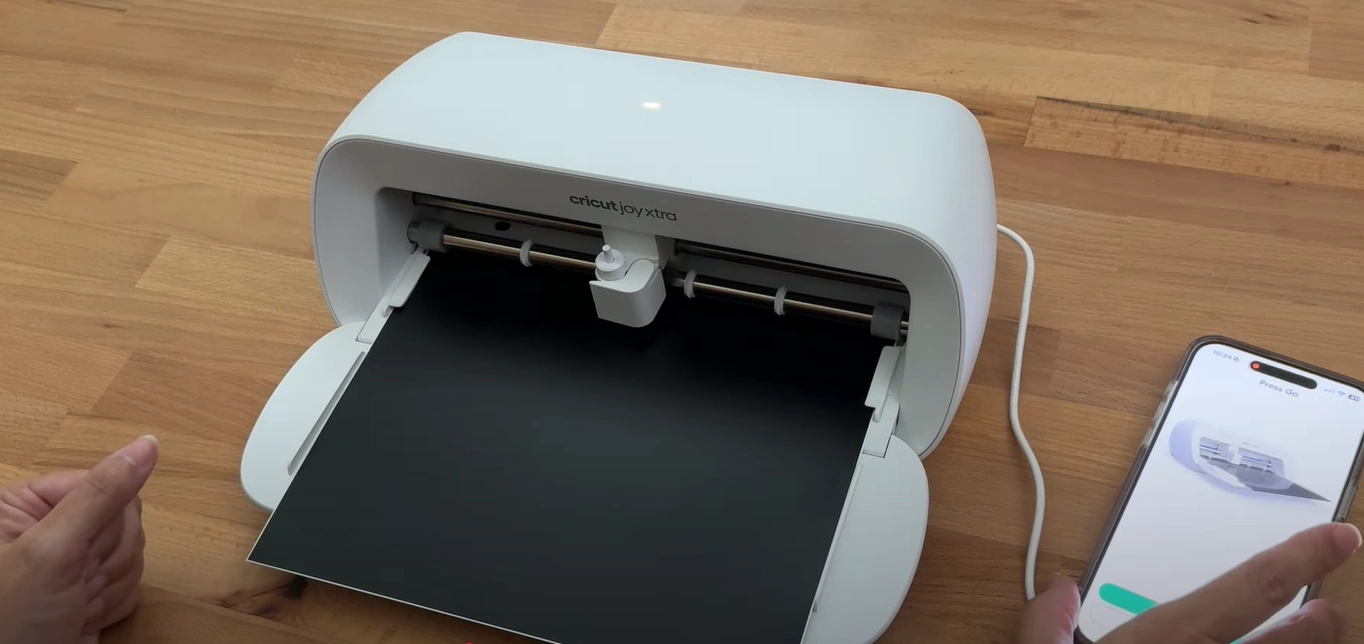
Step 3: The machine will automatically load the material and begin the process.
Step 4: Your device will prompt you to press “Go.” Once you tap on Go, the cutting process will start.
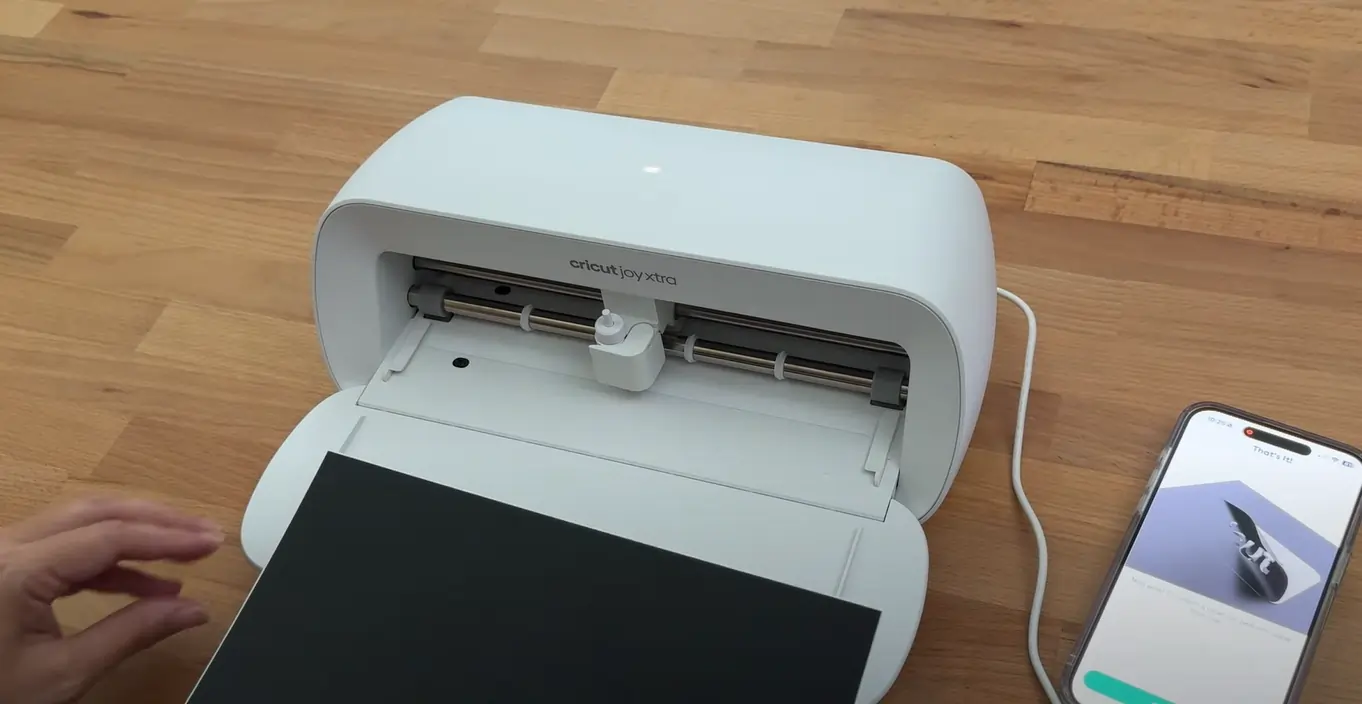
Step 5: After that, again on your device, it will tell you to “Unload” the sheet.
Step 6: Remove the sheet from the machine once you tap on the “Unload” button.
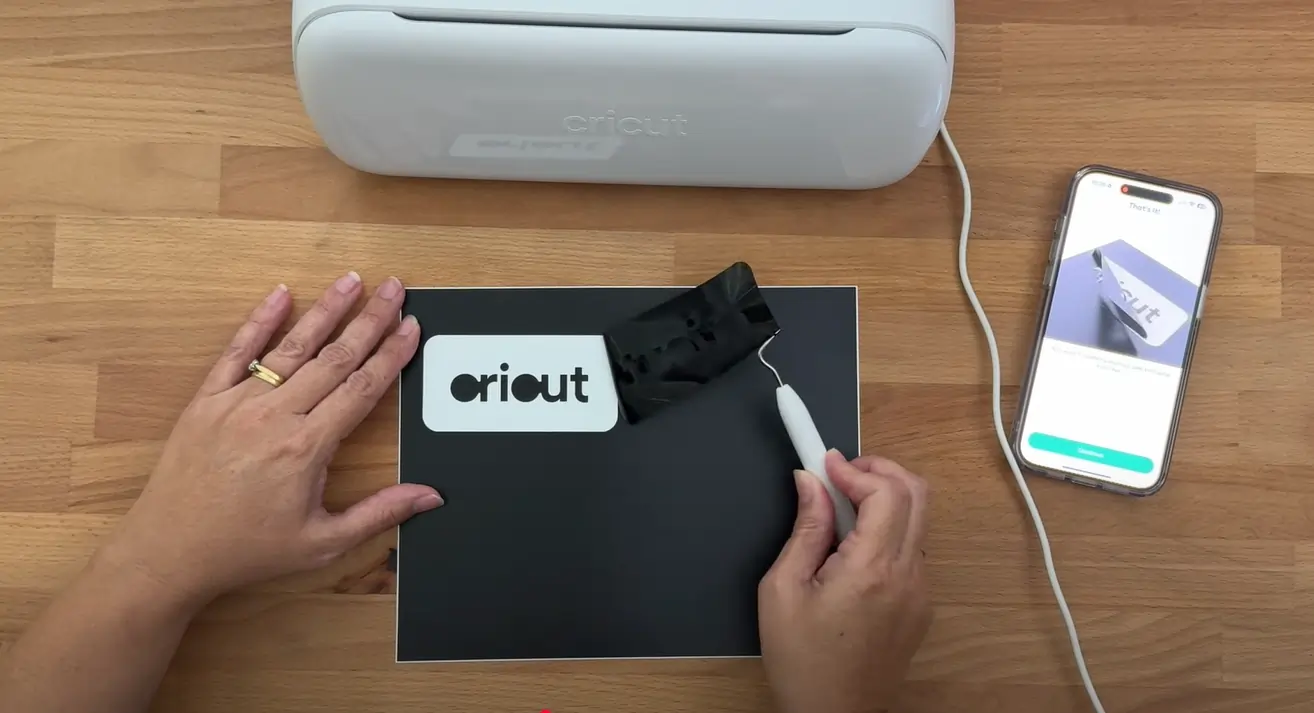
Step 7: Get the mini weeder tool that came with the box to see how that cut is. The weeder will help you check and clean up your cuts.
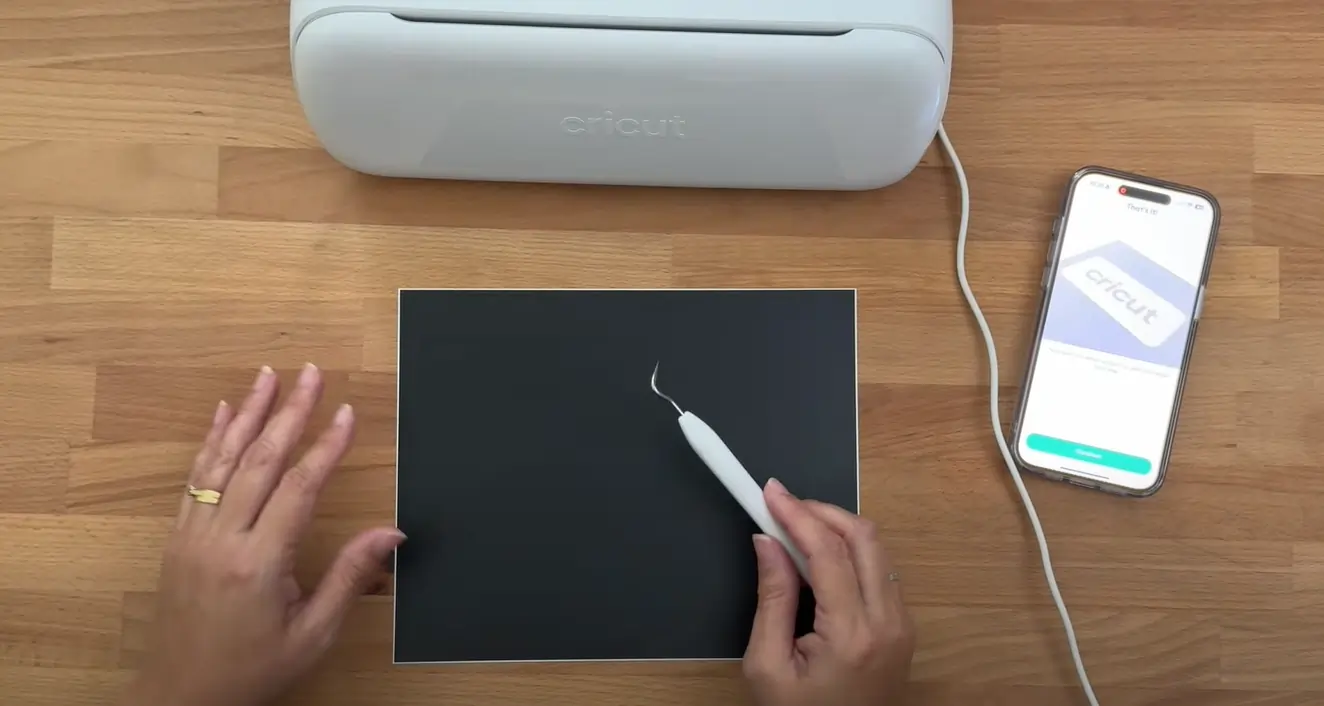
Step 8: Use the weeder tool to remove excess material and reveal your design.
To Sum Up
That concludes this guide on how to use Cricut Joy Xtra. We hope this guide inspires you to unleash your creativity with the Cricut machine. Whether you are a beginner or a pro crafter, the Cricut Joy Xtra is created to make crafting simple and enjoyable.
Remember, potential issues can occur when setting up or using the Cricut machine, so be mindful of them.


