

Common Issues When Making a Stencil With Cricut
A beginner in Cricut often makes small mistakes or faces errors when creating stencils. It is quite normal to run into a few bumps along the way, but these mistakes can affect the quality of the final outcome.
Here are the most common issues that may occur when making a stencil with Cricut:
- Using the wrong material type
- Design is too delicate or intricate
- Not mirroring the image
- Difficult weeding process
- Wrong application surface
Steps to Make a Stencil With Your Cricut Machine
Creating a stencil with a Cricut machine is simple when you follow the correct steps. Here are all the steps you need to follow:
Step 1: Open Design Space on your computer.
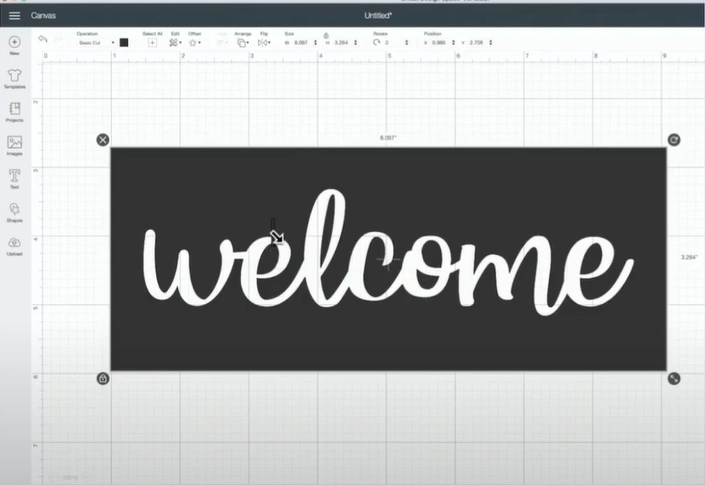
Step 2: The first thing that you need to do is create a design or upload one if you already have a design.
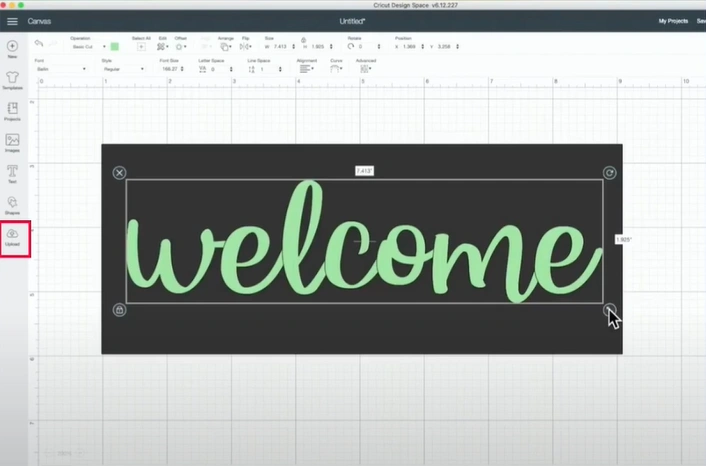
Step 3: Resize the design by clicking and dragging the edges to fit your desired stencil size.
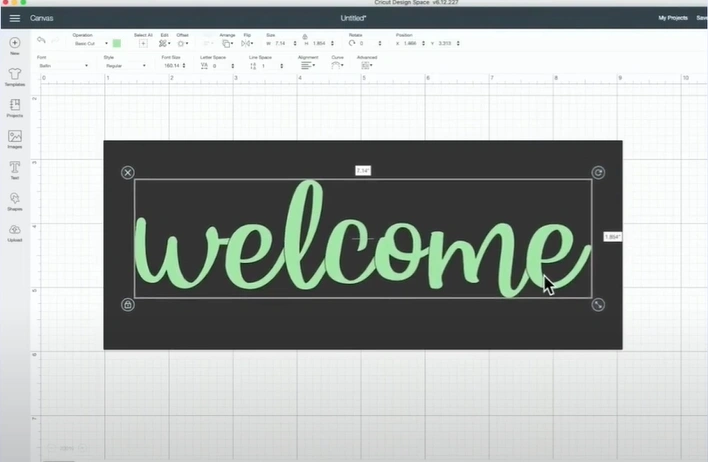
Step 4: Next, go over to the bottom right side of the screen and click on Weld.
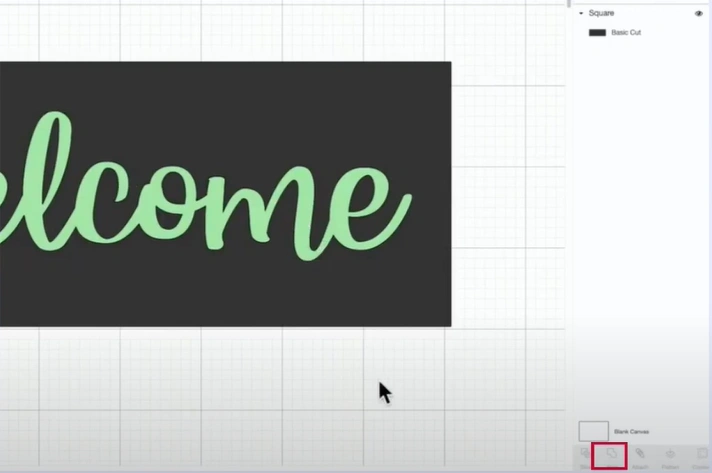
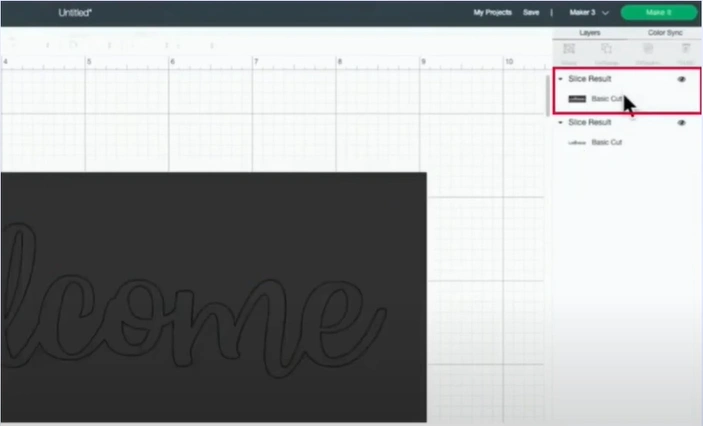
Step 5: Select the design and the background shape you’re using as the stencil template, then click Slice.
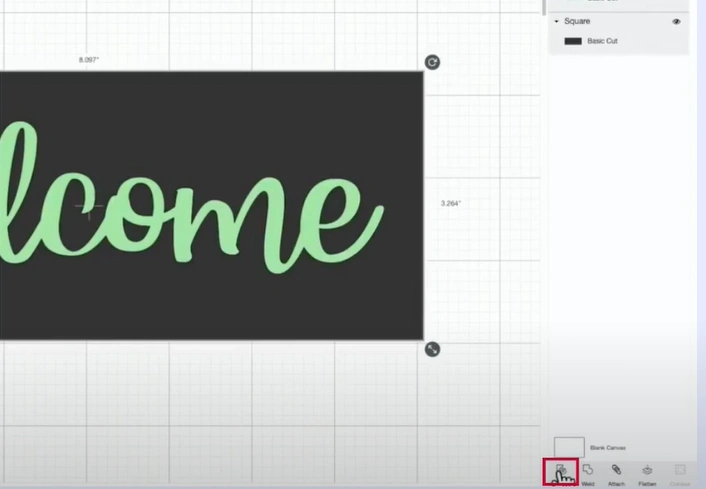
Step 6: From the Layers panel, delete the Slice Result, and you will get the stencil.
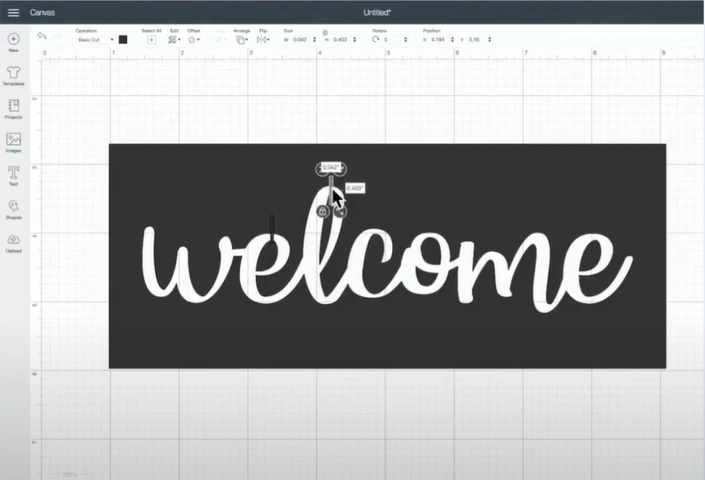
Step 7: Go to Shapes again, select a square, and then do the sizing. By doing so, you can keep the letters within the stencil.

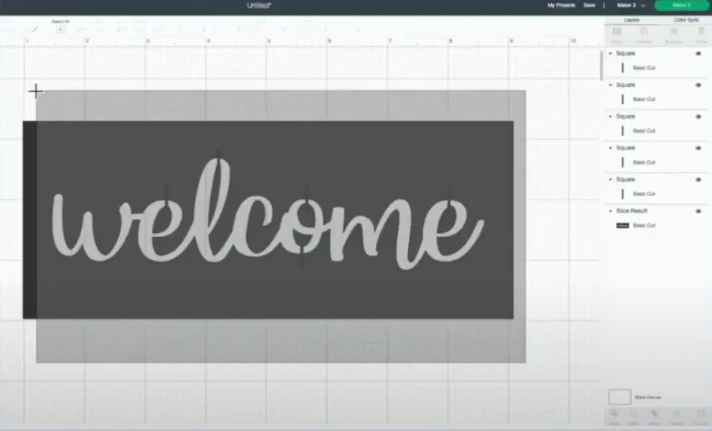
Step 8: Pull the tiny shape and place it between the letters. Right-click on the shape and select Duplicate.
Step 9: Place the duplicated shape in another letter and repeat the process until you are sure the stencil will stay in place.
Step 10: Select all the design pieces and click Weld on the screen’s bottom right side.
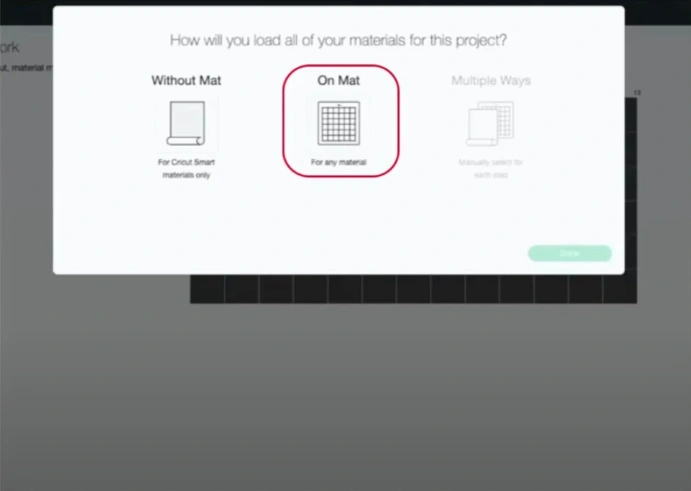
Step 11: When you’re ready, click on Make It, select Mat, click Done, then press Continue.
Step 12: Wait for your machine to connect, then click on Browse All Materials.
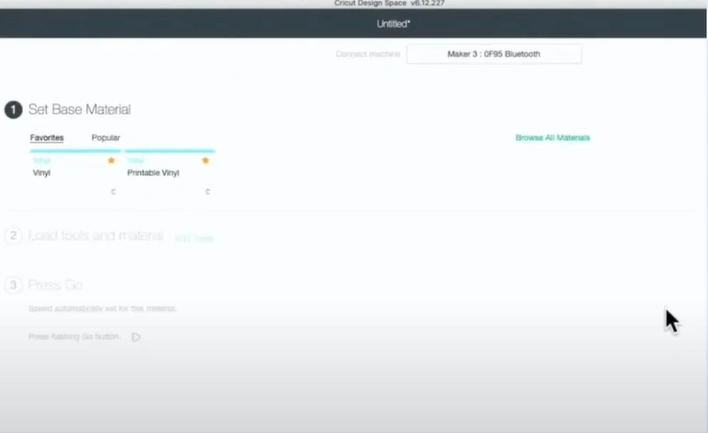
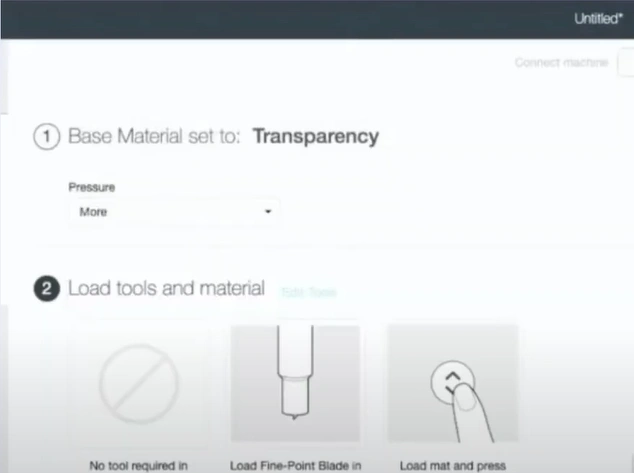
Step 13: Type the material in the search bar, select Transparency, then click Done.

Step 14: Set the Pressure to More.
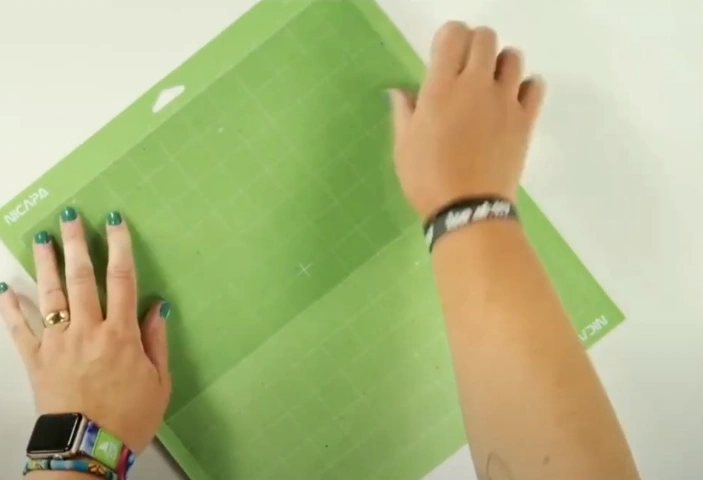
Step 15: Secure the material onto a StandardGrip mat and use a brayer to ensure it adheres evenly.
Step 16: Load the cutting mat onto the machine and change the blade to a Fine-point blade.
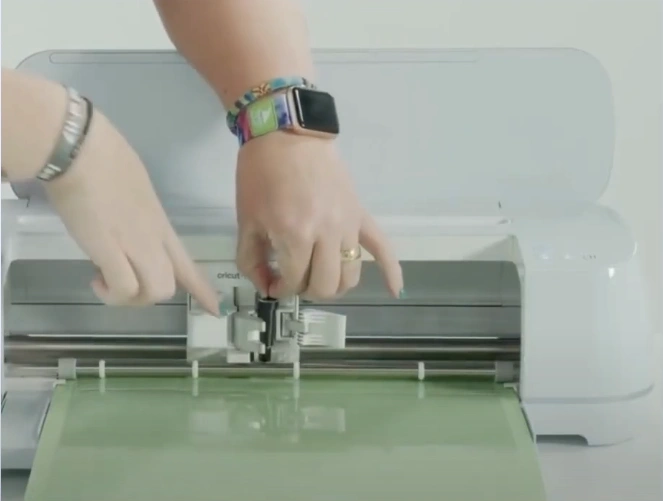
Step 17: Then press the flashing start button to start cutting.
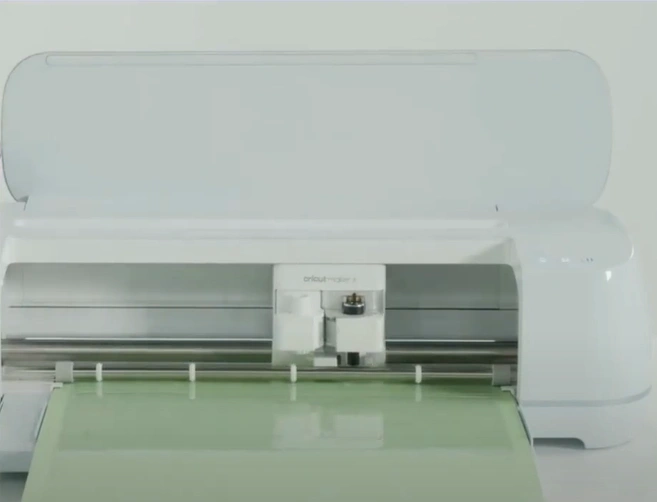
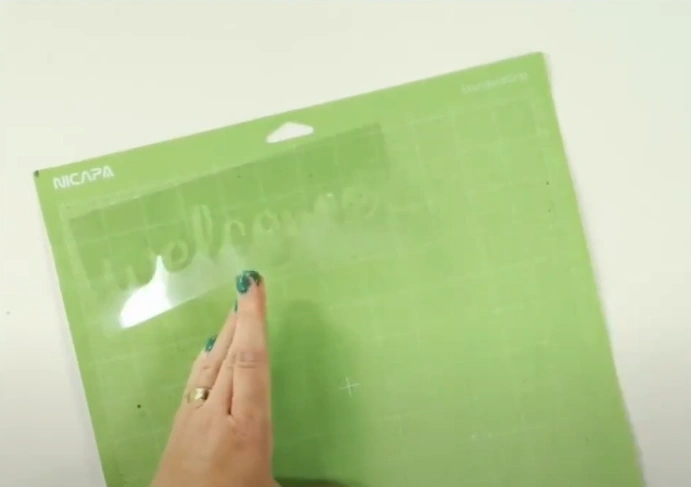
Step 18: After cutting, leave the mat in the machine and use a weeding tool to check if the material has been fully cut.
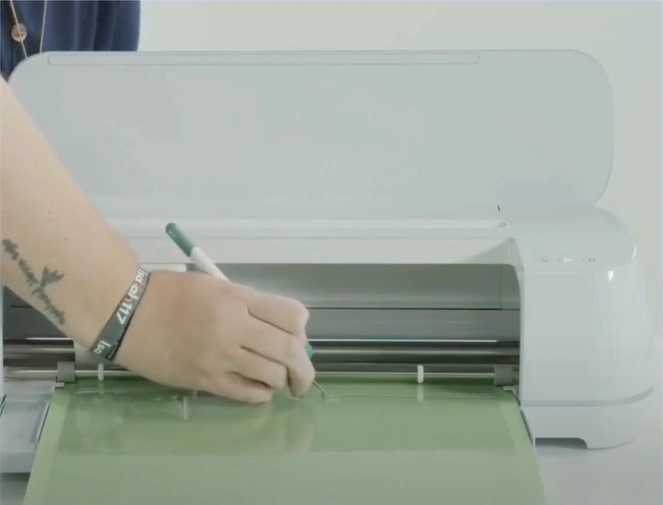
Step 19: If it didn’t cut all the way through, press the start button again to give it another pass of the cut.

Step 20: Unload the mat by pressing the load and unload button, then trim and peel off the excess material.
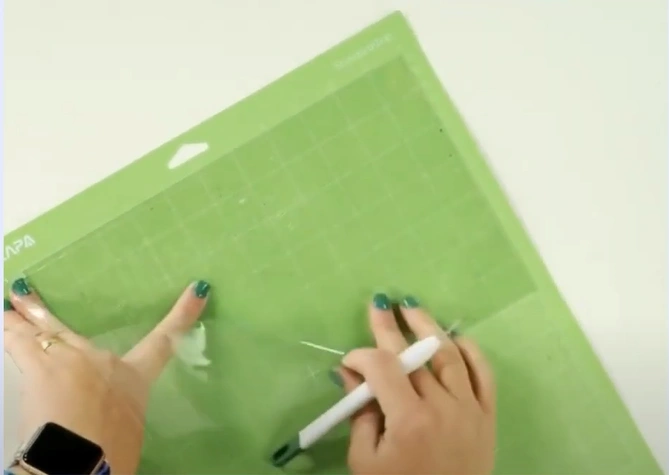
Step 21: Now, weed out the stencil and carefully peel away the material from the mat, and you’re done.
Also Read:- How to Turn Off Auto Mirror in Cricut
In a Nutshell
Creating a stencil with your Cricut machine is simple and rewarding. The “how to make a stencil with Cricut” process is the same for any Cricut machine. Going step by step from start to finish can make your experience smooth and enjoyable.
Prepare your crafting machine and materials, and follow the steps to start your stencil-making project. Turn your ideas into incredibly crafted custom stencil designs.


