
These tricks greatly improved my crafting projects. With smooth vinyl removal, I no longer worry about tears or curled edges. Earlier, peeling vinyl without damage felt like a battle—one wrong move, and the entire design could fall apart. Now, my results are consistently clean and professional. I never imagined crafting could be this enjoyable.
If you’re also struggling with removing Cricut vinyl, I have some suggestions that may help ease the process. Before going there, I want you to learn about a few issues that often arise when removing vinyl.
Common Issues When Removing Cricut Vinyl
When removing the Cricut vinyl from your design, it is quite possible to experience the following issues:
- Adhesive residue may remain
- Difficult to remove vinyl
- Scratches or damage caused by using the wrong tools or methods
Steps for Removing Cricut Vinyl
Have you ever tried removing material like Cricut vinyl from the cutting mat only to end up with ripped or uneven results? Here are some tips to correctly remove vinyl from the mat:
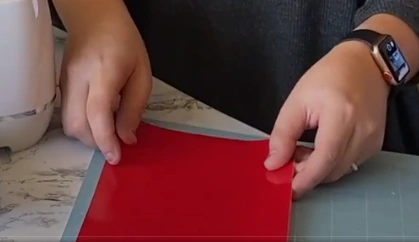
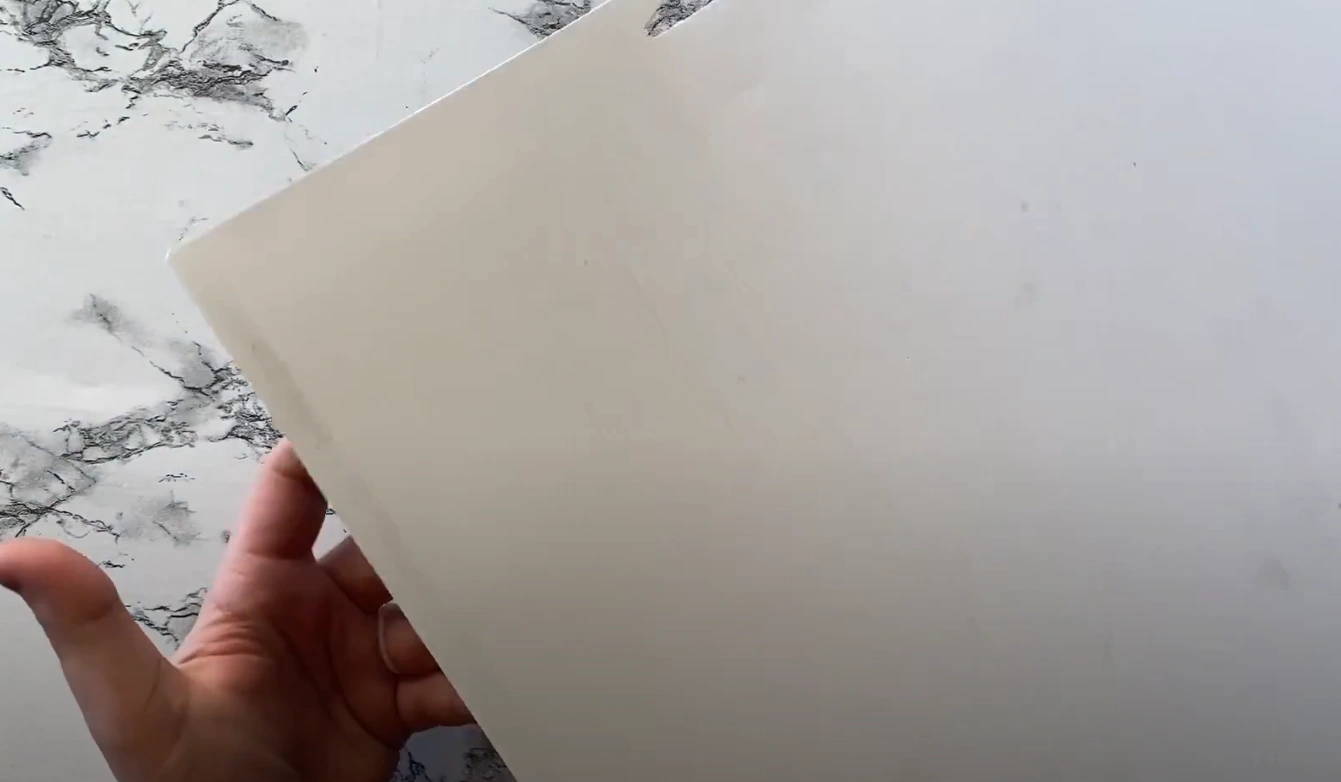
Step 1: Place the vinyl sheet on a LightGrip cutting mat.
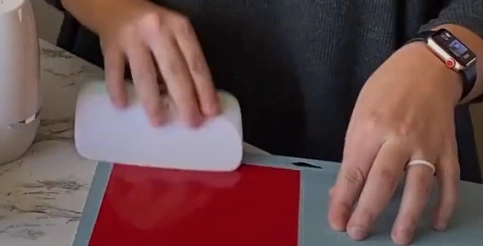
Step 2: Smooth the vinyl onto the mat using a brayer to avoid bubbles or wrinkles.
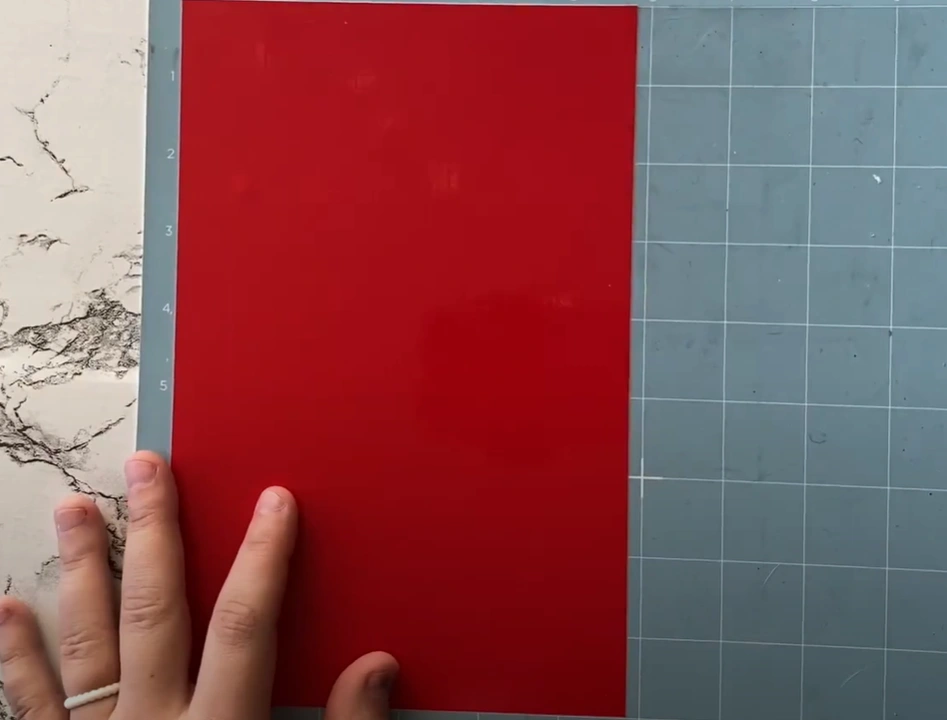
Step 3: Check for any creases or bubbles.
Step 4: Flip the mat over so the vinyl faces down.
Step 5: Gently bend the mat backward while holding the vinyl flat.
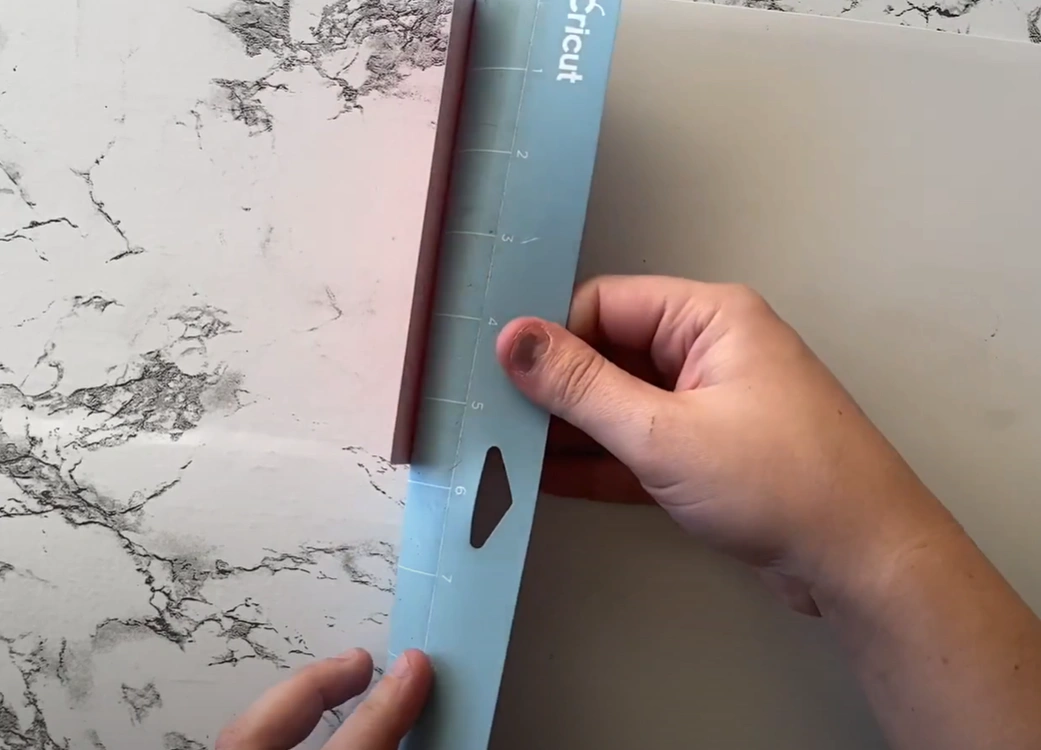
Step 6: Let the mat release the vinyl naturally to avoid curling.
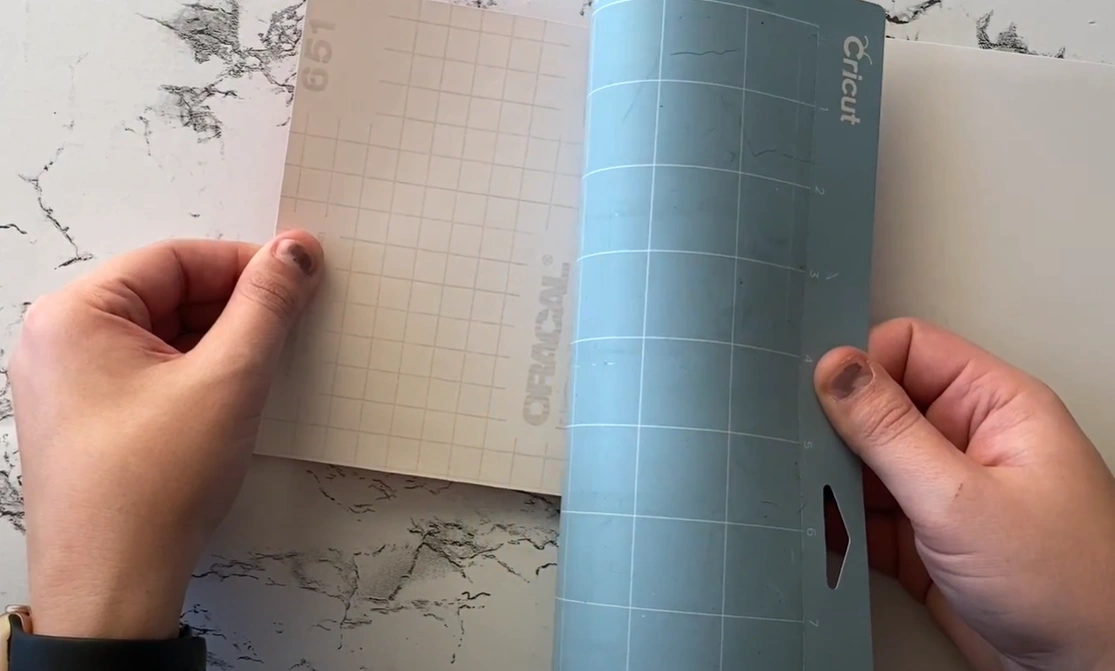
Step 7: Once you have removed the vinyl, use a tweezer or spatula tool to gently lift small bits of the vinyl stuck to the mat.
Also Read:- How to Setup Cricut Explore 3?
To Conclude
Using proper techniques and the right cutting mat can make removing vinyl much easier. Following the above simple tips will help you avoid ripping, curling, or uneven edges, ensuring your DIY projects turn out clean, smooth, and professional-looking every time.


