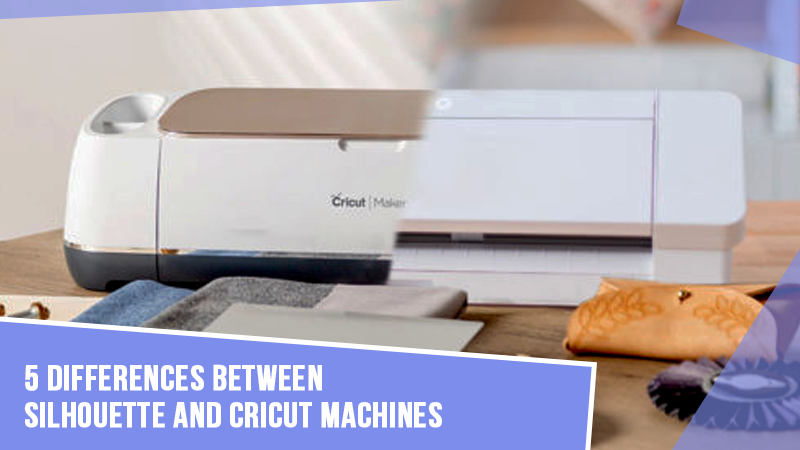
Setting up Cricut Explore Air 2 allows you to download the Design Space program. The Design Space software gives a user-friendly interface for creating and editing designs.
Once your Cricut Explore Air 2 is set up, you can access advanced features and exclusive content available through the Design Space app. These include exclusive designs, fonts, and images. The setup process also enables you to connect your machine wirelessly via Bluetooth. Since there is a wireless connection, you can ensure great flexibility and convenience when working on your projects.
But how to set up a Cricut Explore Air 2? Read this comprehensive guide that outlines all the steps associated with the Cricut Explore Air 2 setup.
Potential Issues to Set Up a Cricut Explore Air 2
Here are the potential problems that you may face while you are setting up a Cricut machine:
- Test cut issues
- Firmware update problems
- Screen freezes
- Power button issues
- Material compatibility
The Process to Set Up a Cricut Explore Air 2
Setting up a crafting machine can open up endless crafting possibilities. Here are all the essential steps to set up Cricut Explore Air 2:
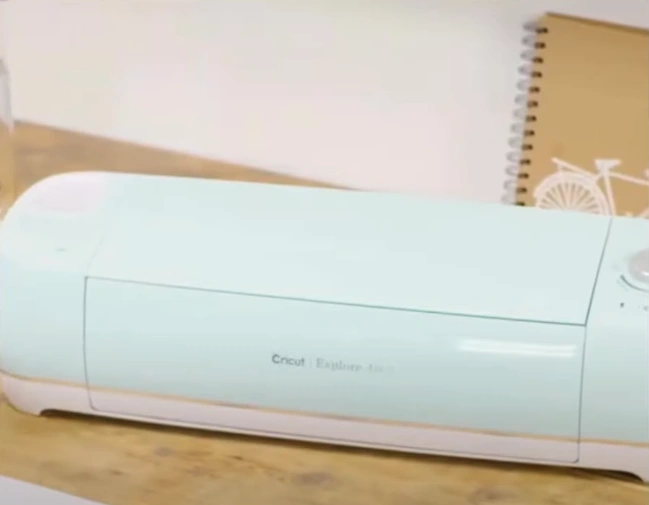
Step 1: First, carefully inbox the machine.
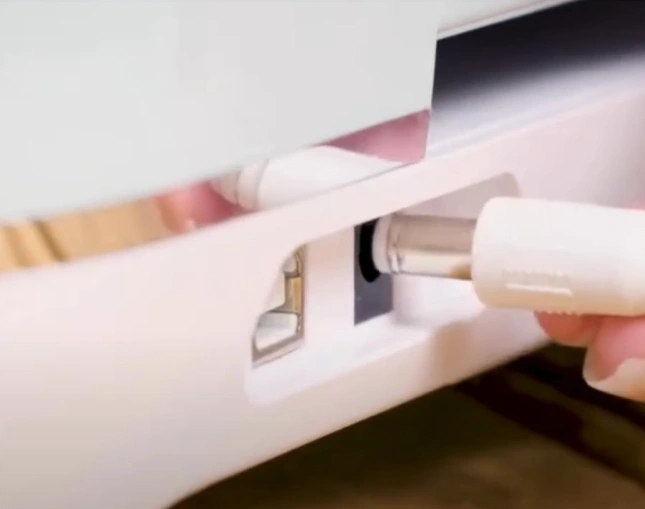
Step 2: Insert the power cable into the machine and the power outlet.
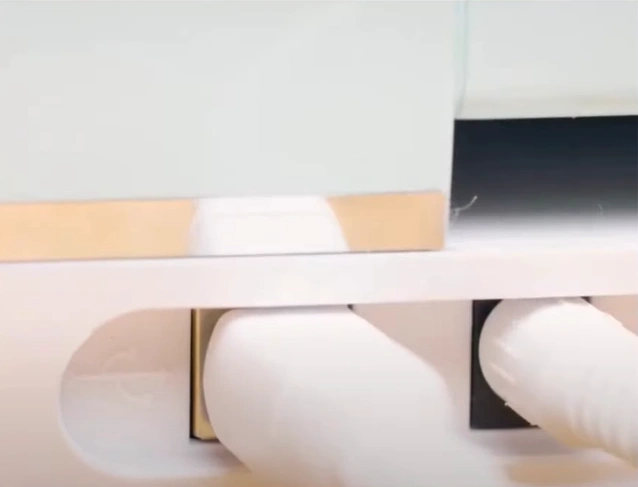
Step 3: Insert the USB cable into the machine and the other end to the computer.
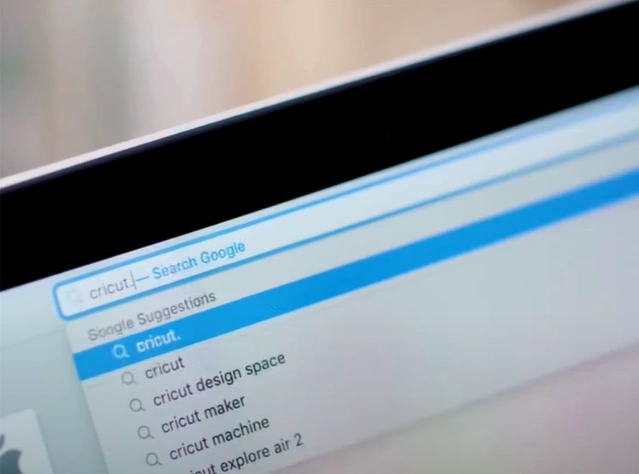
Step 4: Open the web browser and navigate to the official Cricut Setup page.
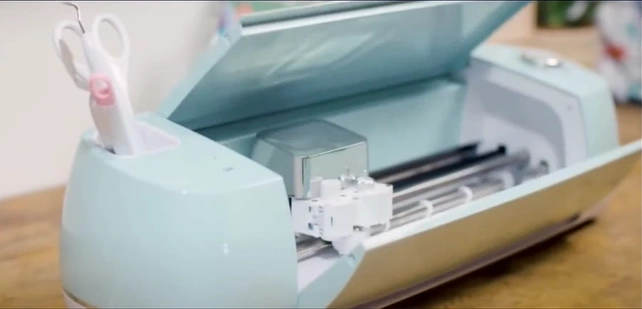
Step 5: Power on the machine and open it.
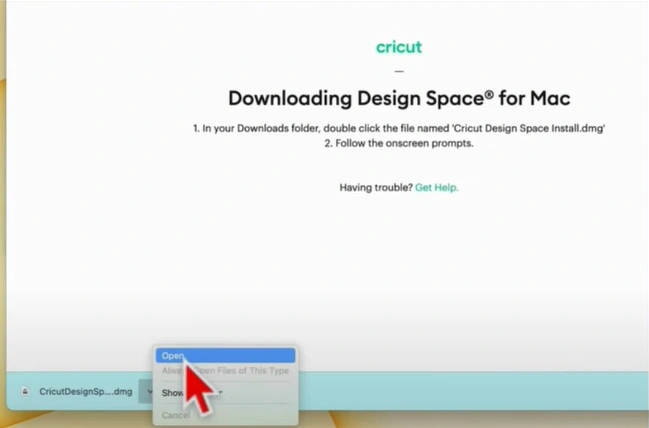
Step 6: Check the I agree to the Cricut Terms of Use and Privacy Policy and click Download.

Step 7: Wait for it to download, then open the downloaded file.
Step 8: Drag and drop the Design Space app into the Applications folder.
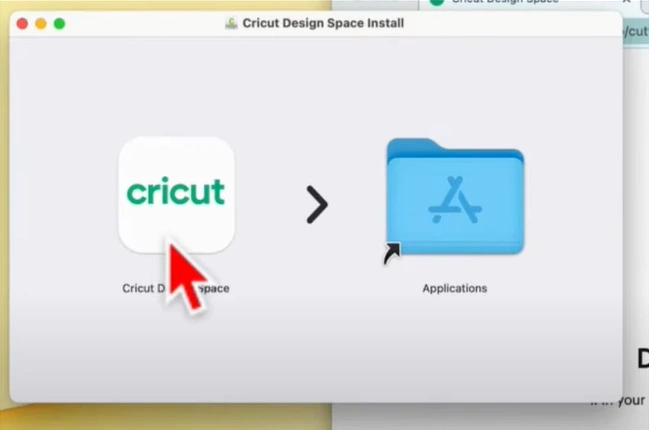
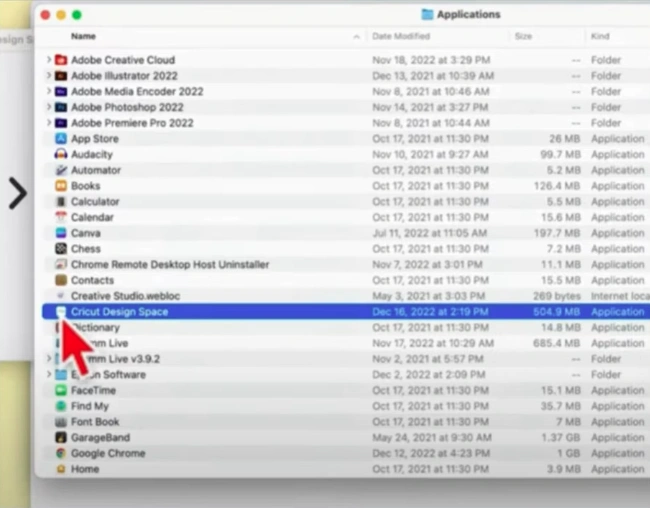
Step 9: Open the Applications folder, locate and double-click Cricut Design Space, and click Open if you get a pop-up prompt.
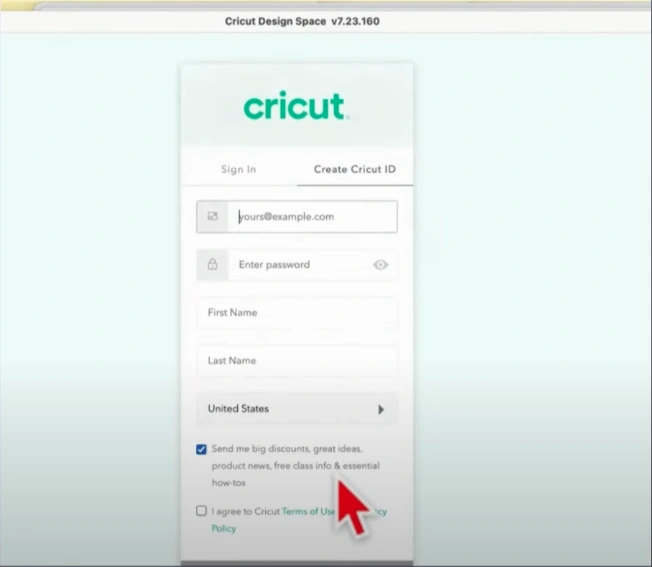
Step 10: Click Product Setup, then Sign in or Create a Cricut ID if you do not have one.
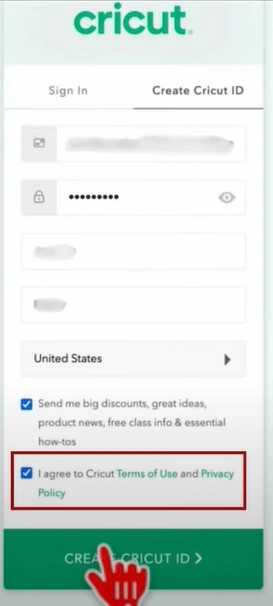
Step 11: Once you’ve filled out all the information, check the terms of use and privacy policy box, and click Create Cricut ID.
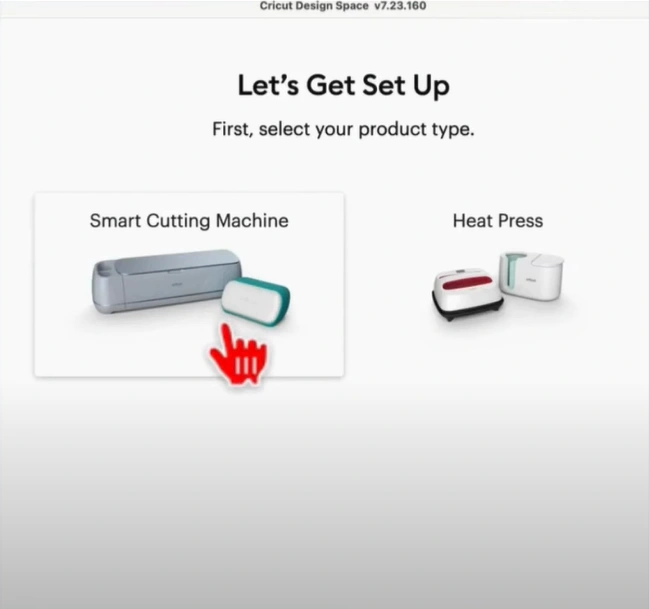
Step 12: Select Smart Cutting Machine and then select Cricut Explore Family.
Step 13: Follow the instructions and click the right arrow button through the Prepare Workspace and Find and Outlet screen.
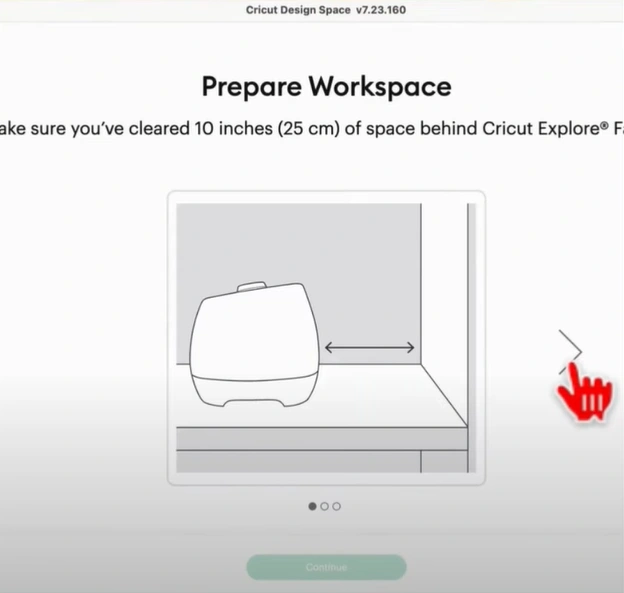
Step 14: When you get to the Connect to Computer screen, navigate to Bluetooth if you wish to connect via Bluetooth.
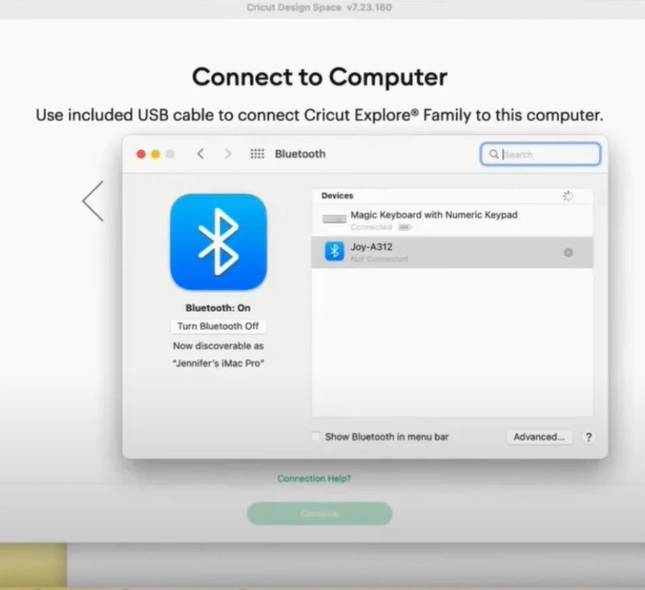
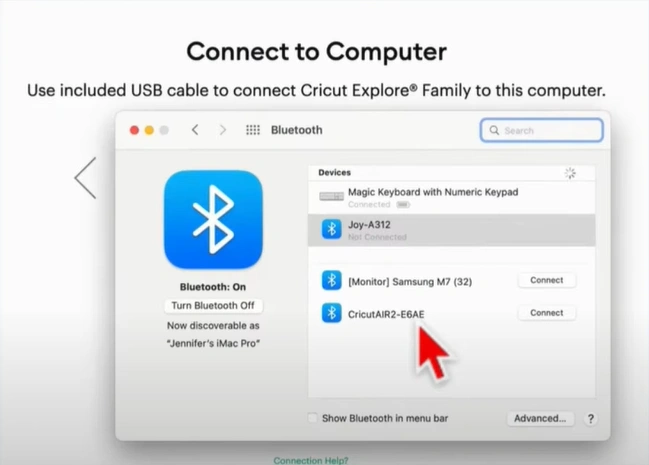
Step 15: Make sure that Bluetooth is turned on and click Connect next to the Cricut Explore Air 2.
Step 16: Go back to Cricut Design Space and click the Select Cricut Device drop-down.
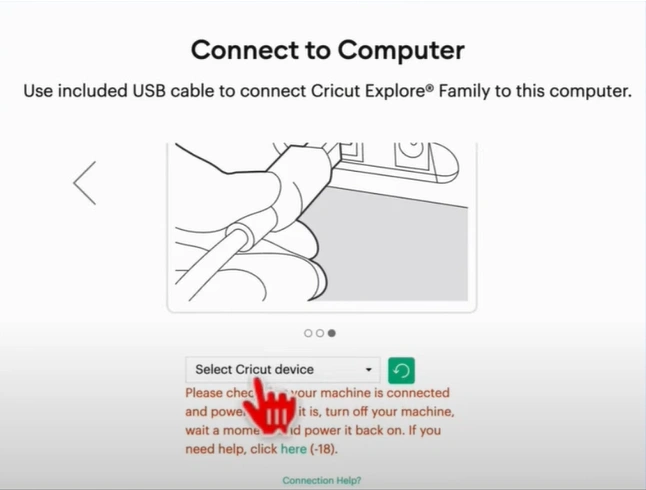
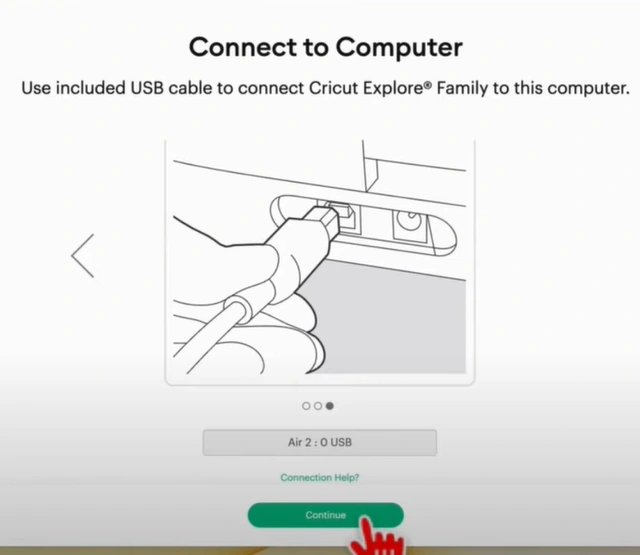
Step 17: Select Air 2: E6AE Bluetooth or Air 2: 0 USB, depending on your connection method.
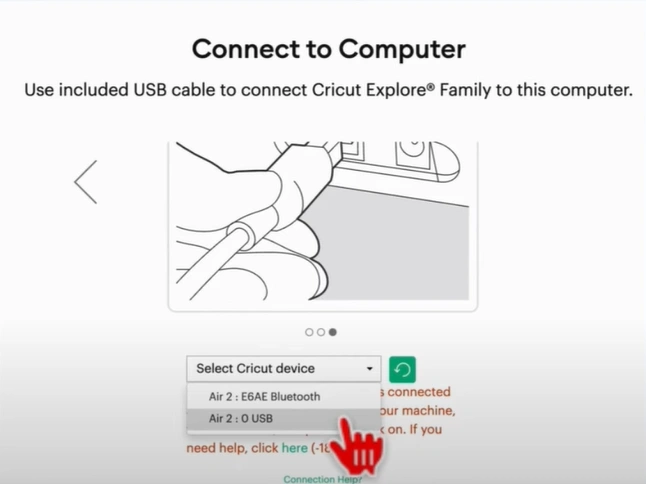
Step 18: Give it a minute to load and click Continue.
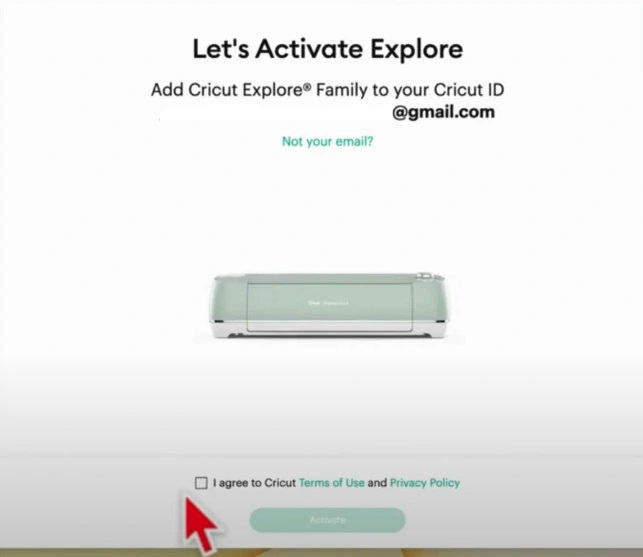
Step 19: When you get the Let’s Activate Explore screen, double-check your email address, agree to the terms of use and policy, and click Activate.
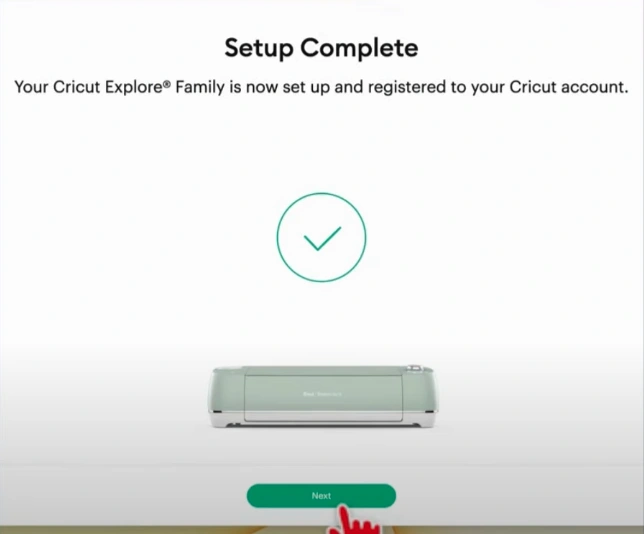
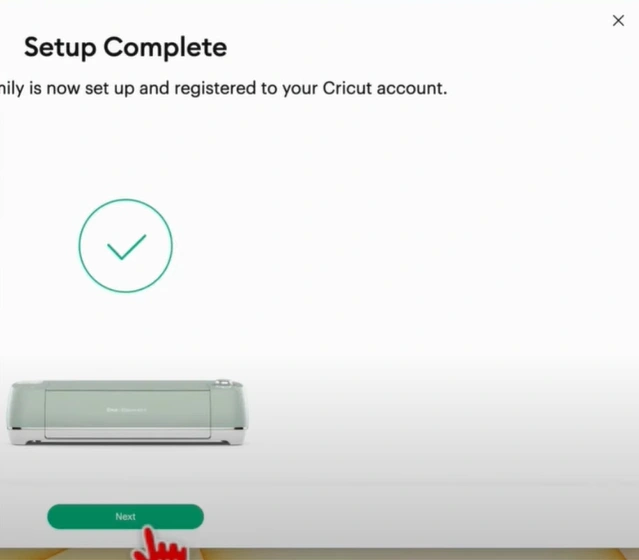
Step 20: When you get the Setup Complete screen, click Next.
Step 21: Now, you can sign up for Cricut access or sign up later.
Step 22: Go ahead and try a test cut following the on-screen prompts.

To Sum Up
Here, we conclude this guide on Cricut Explore Air 2 set up. Follow the above instructions and ensure that your machine is ready for use. Start your crafting projects with your all-new Cricut Explore Air 2.
When setting up the Cricut machine, you may encounter potential issues like test cut failures, firmware update errors, or screen freezes. If you still have issues setting up a Cricut machine, contact an expert for assistance.


