

Do you want to start crafting with your Cricut Explore Air 2? You must first set up the machine to begin your crafting journey. Whether you are a beginner or upgrading, setting up the machine is essential for seamless crafting.
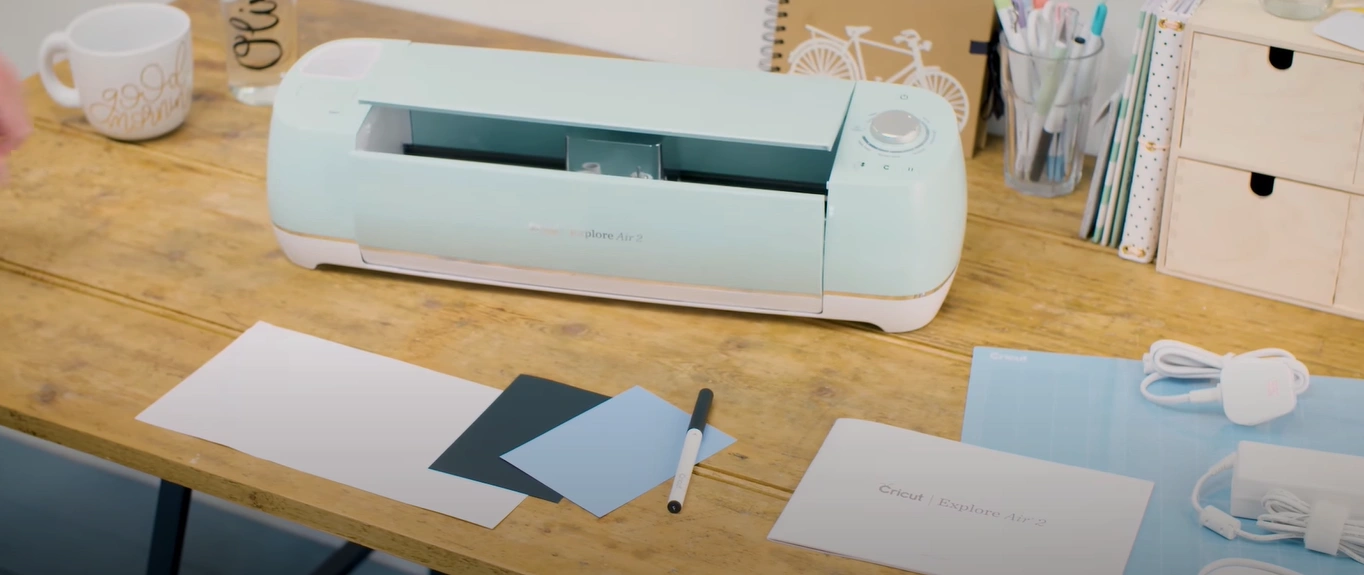
The Cricut Explore Air 2 is a versatile machine that can work with various materials, including cardstock, vinyl, and iron-on. This makes it ideal for projects like personalized t-shirts, home décor, greeting cards, and more.
Setting up your Cricut cutting machine is straightforward and has the right instructions. Let’s explore the complete method for setting up the Cricut Explore Air 2 and get you crafting in no time.
Common Challenges When Setting Up Cricut Explore Air 2
Here are a few potential issues you may face when setting up your Cricut Explore Air 2:
- Browser compatibility
- Software updates
- The machine gets stuck during the test cut
- The machine is not cutting properly
Steps to Set Up a Cricut Explore Air 2
Start crafting with confidence by setting up the Cricut Explore Air 2 correctly. Adhere to these essential steps to set up your all-new crafting machine:
On Computer
Step 1: First, carefully take out the Cricut machine from the box.
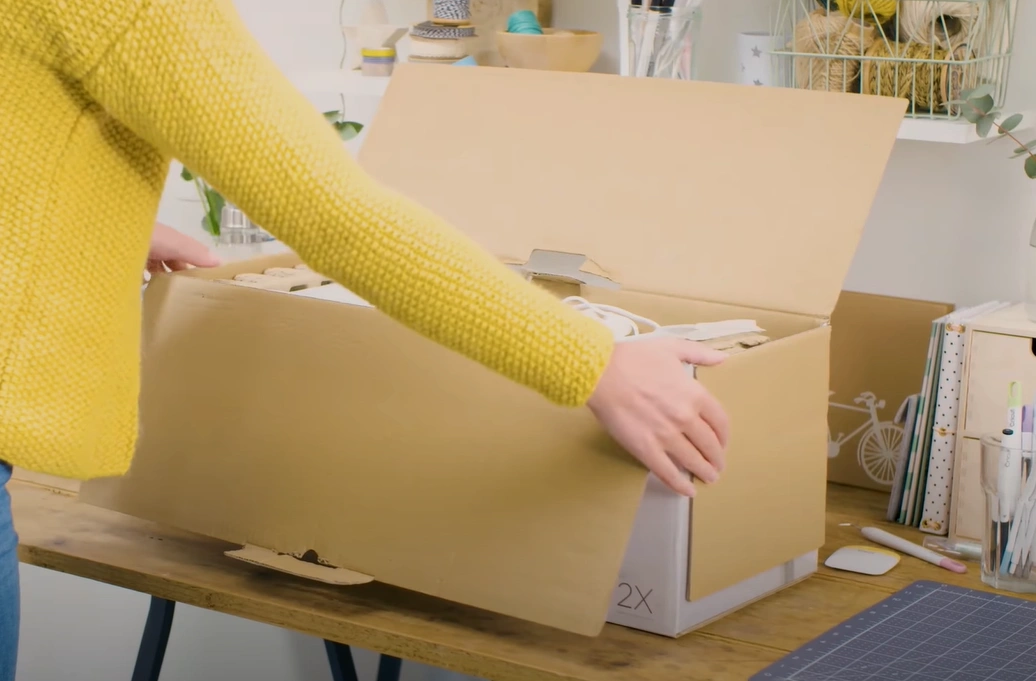
Step 2: Remove the packaging that comes along.
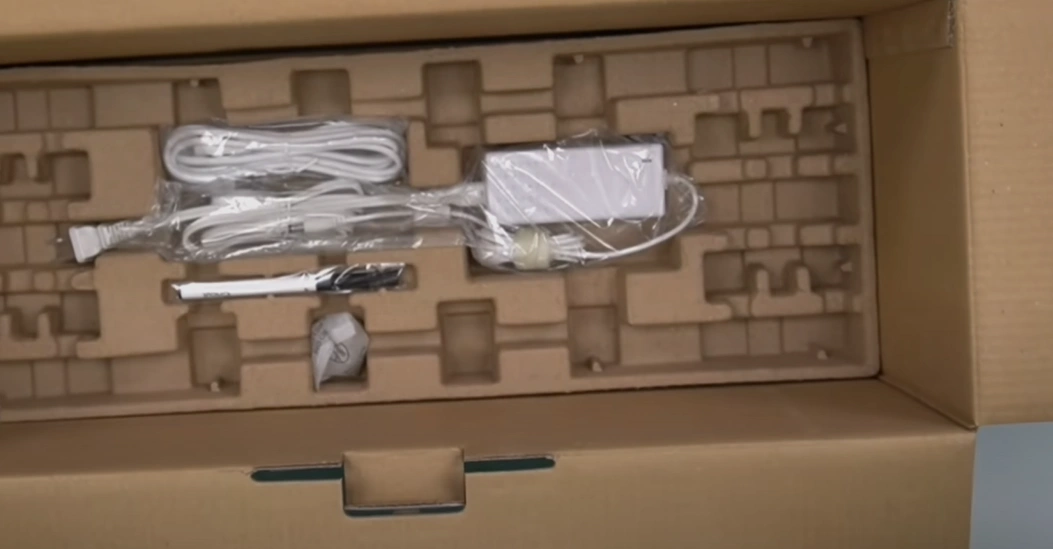
Step 3: You also get a welcome guide, Cricut pen, power cable, USB cable, light grip cutting mat, and resource materials.
Step 4: Insert the power cable into the round hole at the back of the Cricut machine.
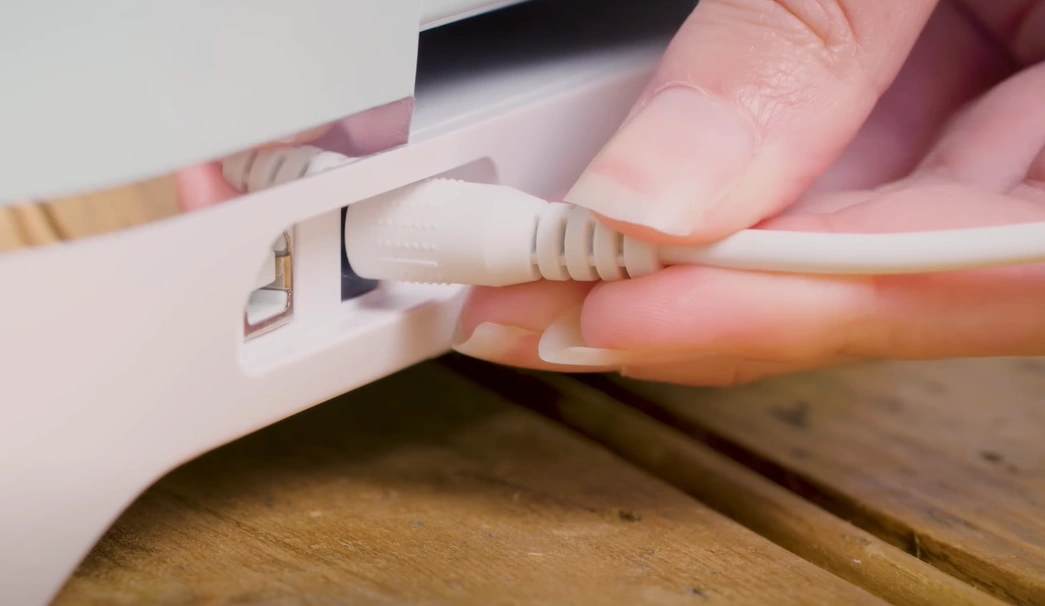
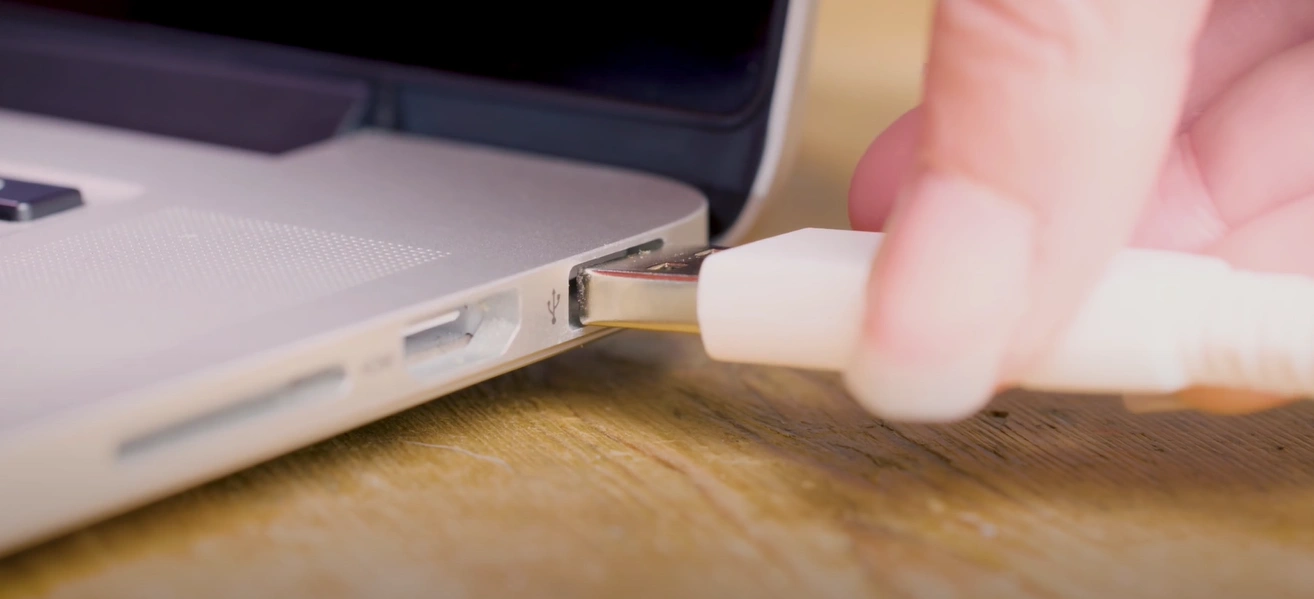
Step 5: Insert the USB cable into the remaining port on the machine and connect the other end to your desktop or laptop.
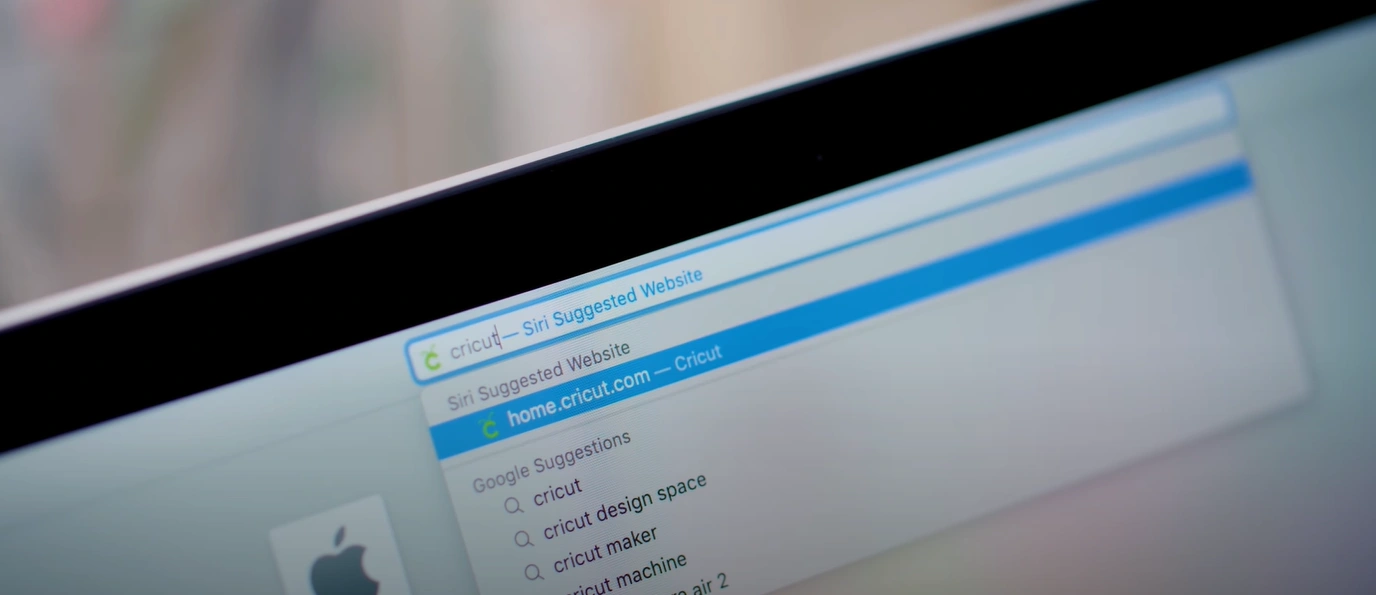
Step 6: Open your web browser and type cricut.com/setup.
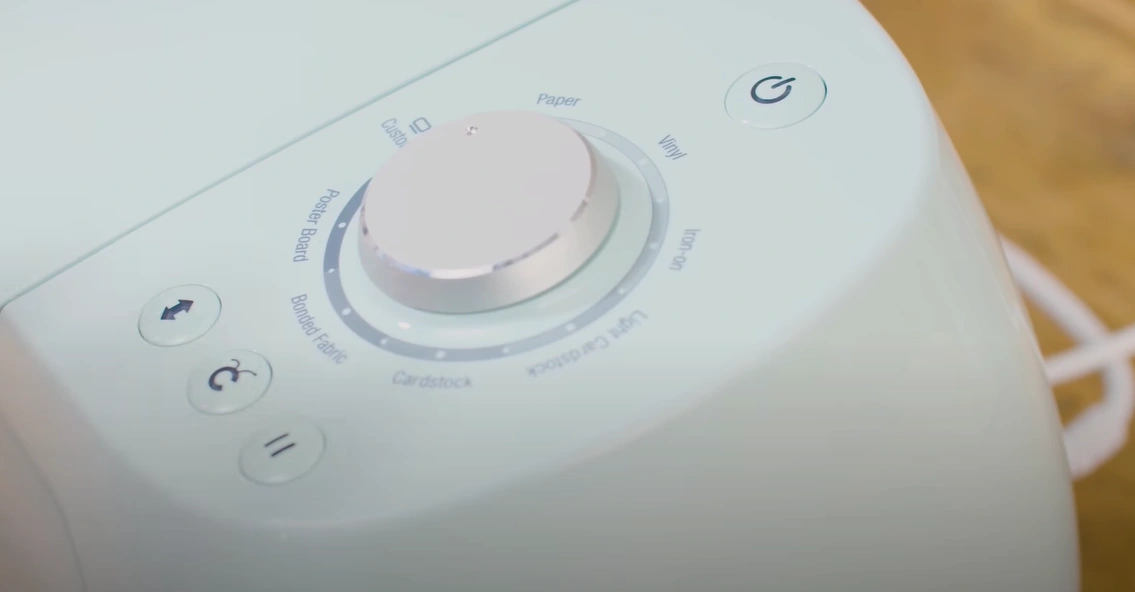
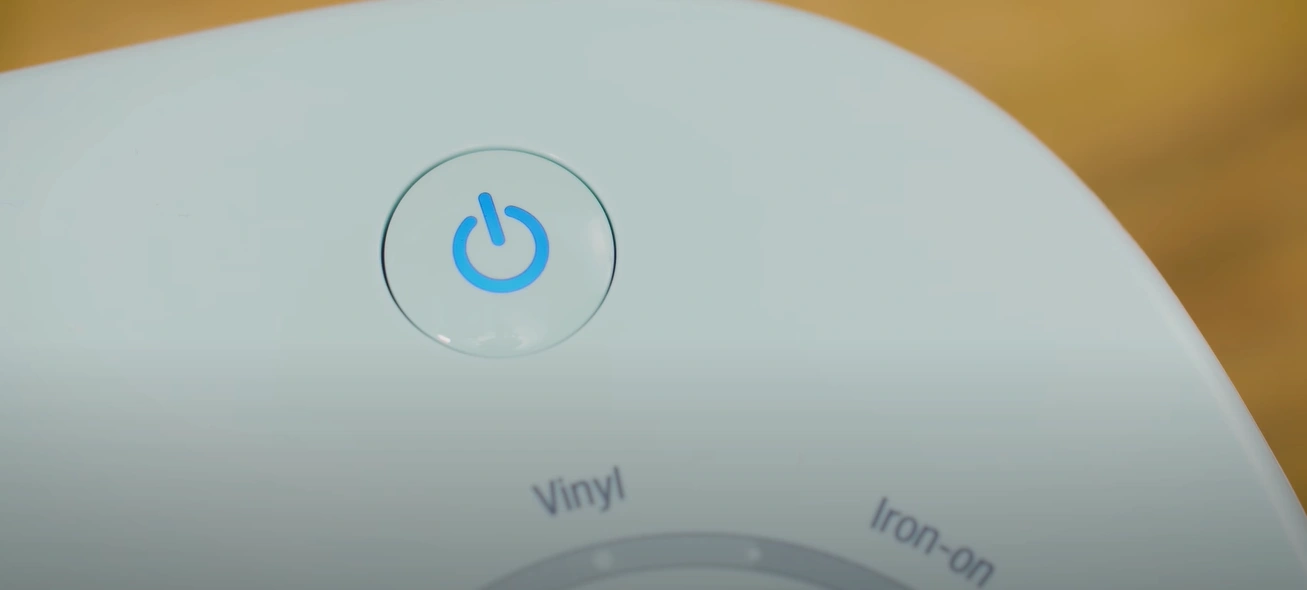
Step 7: Press the power button on the machine.
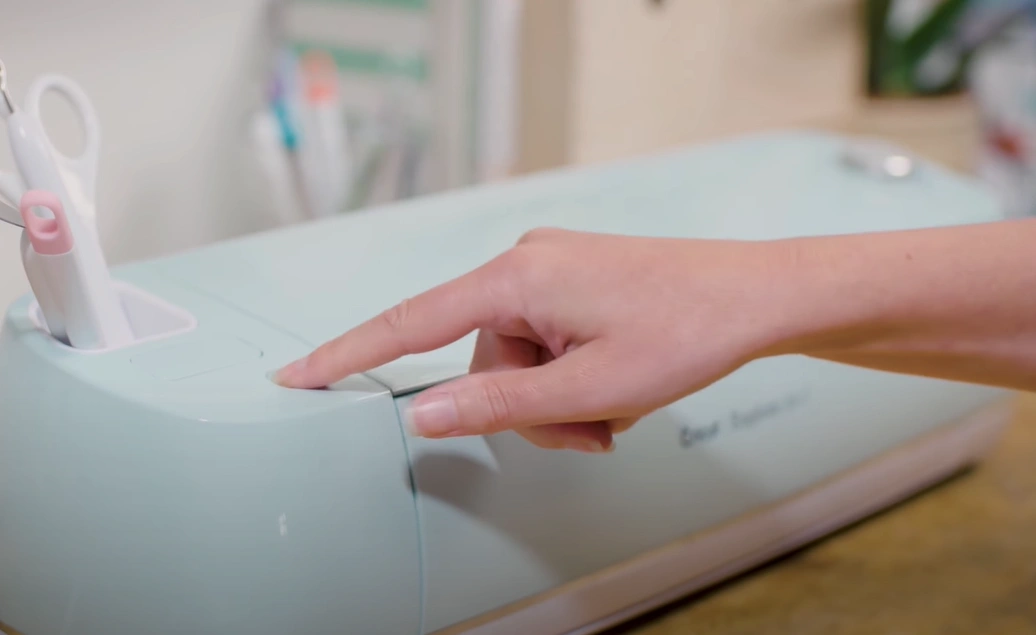
Step 8: Press the Open button on the left-hand side of the machine to open the loading tray.
Also Read:- How to Setup Cricut Design Space
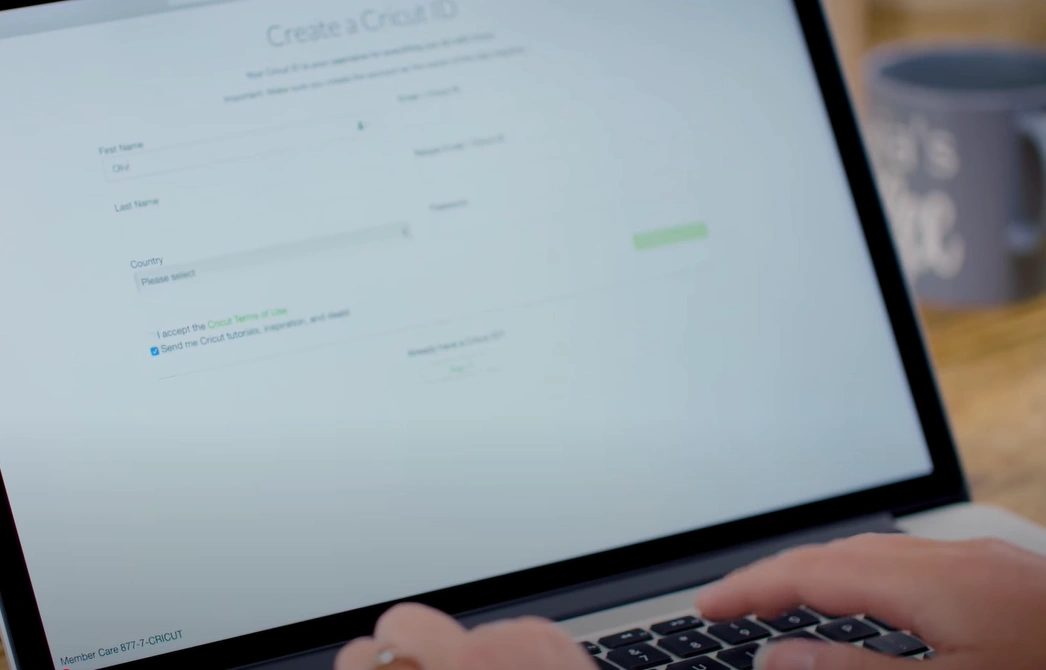
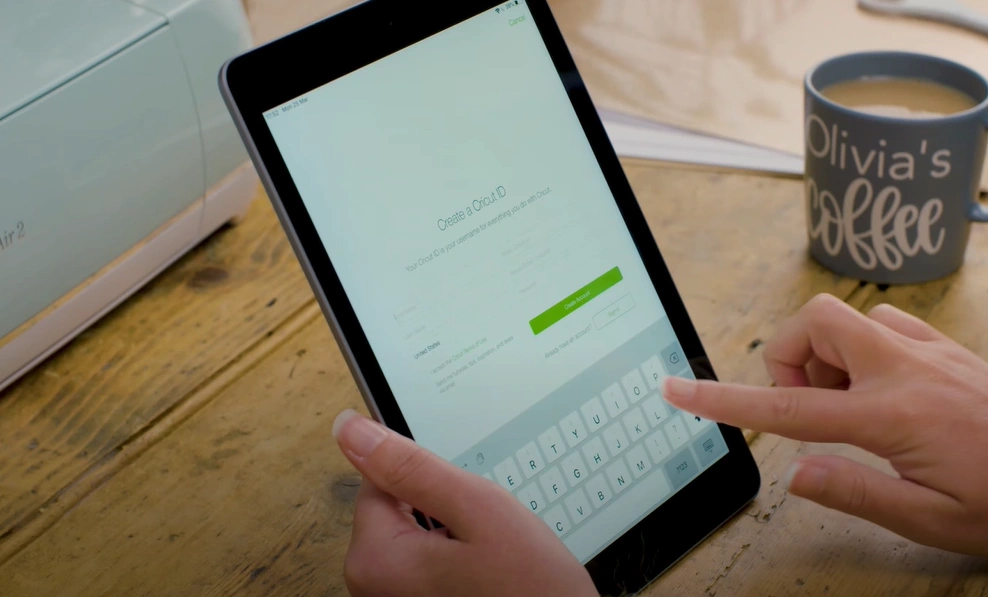
Step 9: Create a Cricut ID by filling out the required fields on the form.
Step 10: Download the Design Space plug-in as directed on the screen.
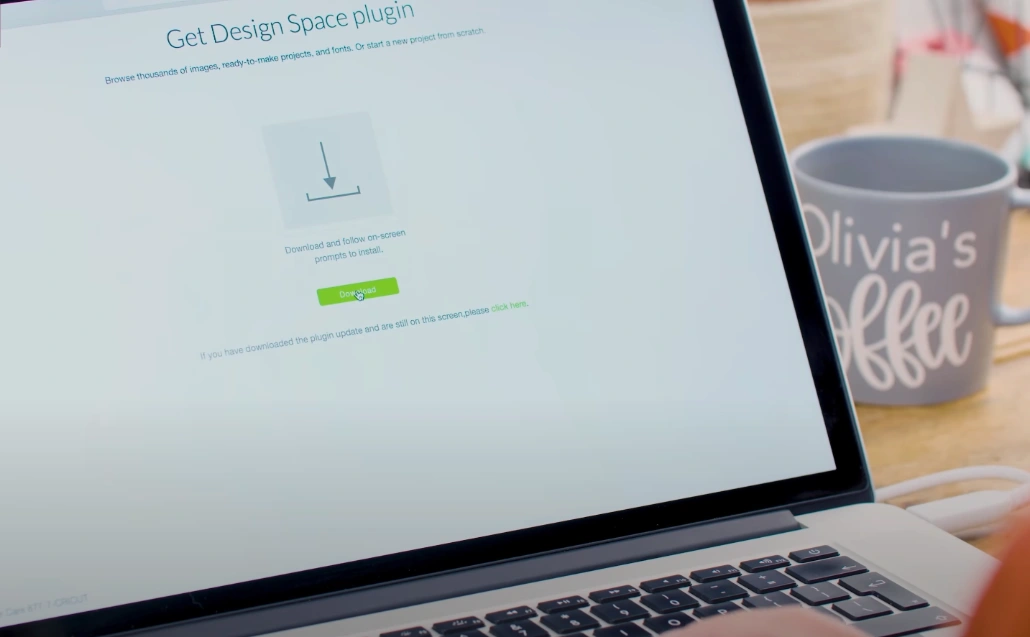
Step 11: Follow the on-screen prompts once you have logged in to the Design Space.

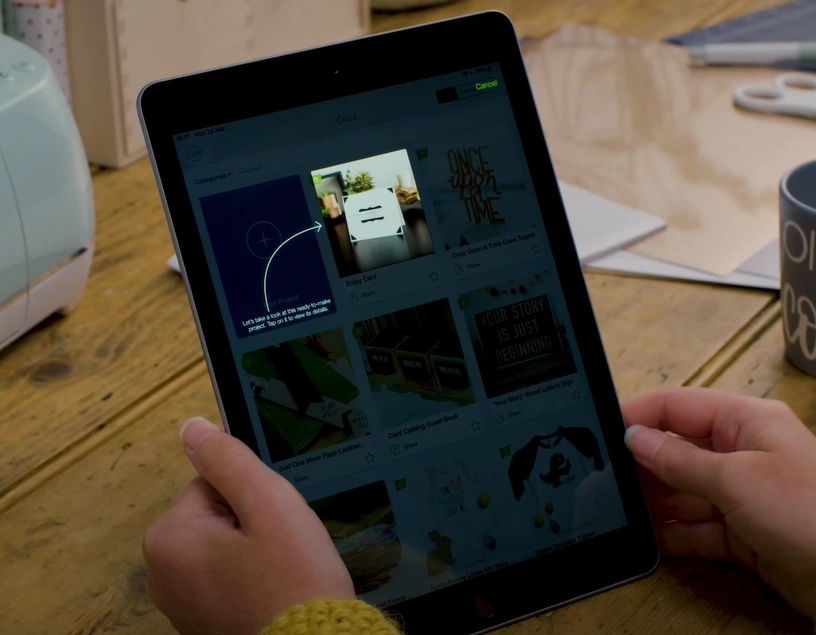
On Phone/Tablet
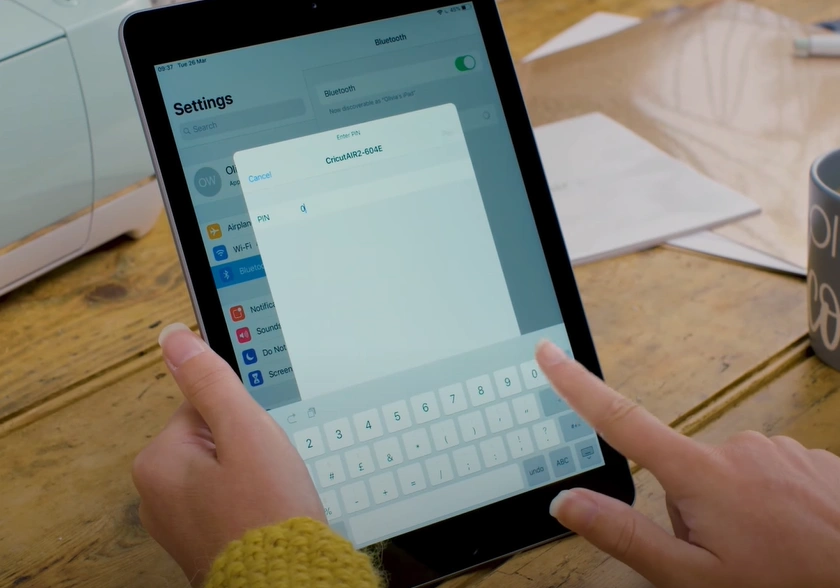
Step 1: Open Settings and select the Bluetooth menu on your device. Turn on Bluetooth.
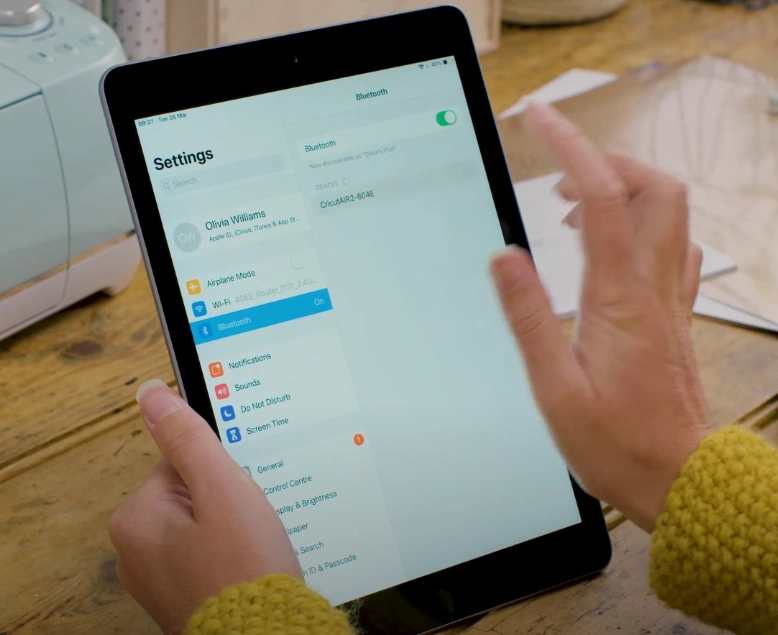
Step 2: Select the Cricut model from the device list.
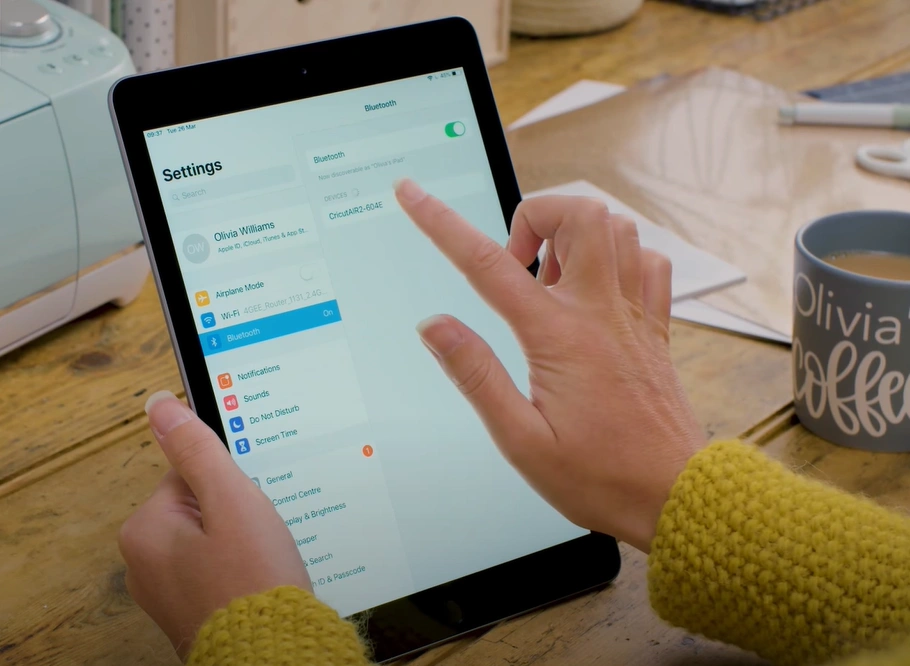
Step 3: Enter the code 0000 to pair with your crafting machine.
Step 4: The indicator light will turn blue, showing that the machine is connected to your device via Bluetooth.
Step 5: Follow the on-screen instructions to create your Cricut ID.
Step 6: After that, log in to Design Space.
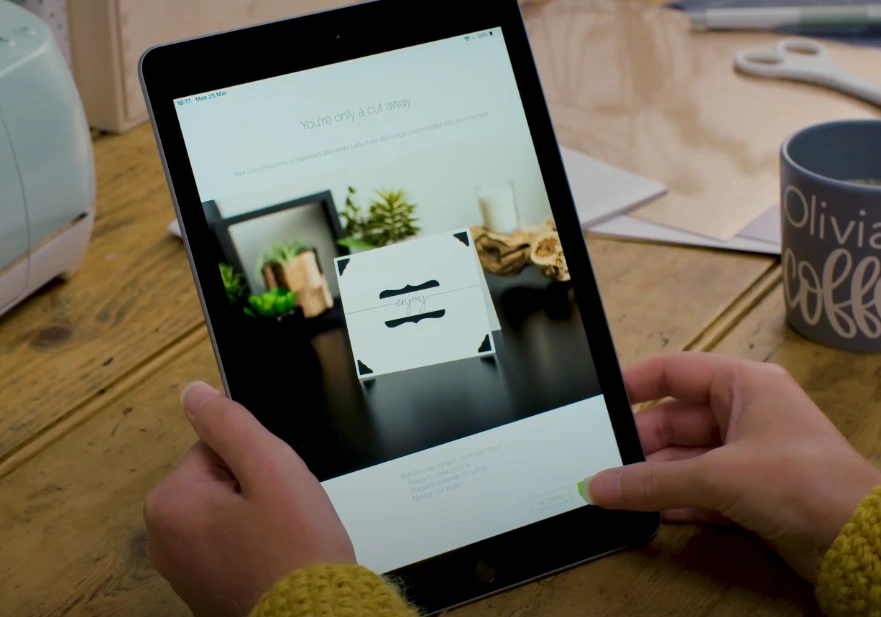
Step 7: Follow the on-screen prompts to take a tour of Design Space.
To Conclude
That was the easiest way to set up your Cricut Explore Air 2. Follow each instruction carefully. Moreover, position the machine at least 10 inches away from the wall to allow the mat to move freely. This will allow the mat to move freely through the machine.


